


- 项目链接:https://github.com/donwenx/chartRoom
- WebSocket 详细介绍请看这一篇 WebSocket 和 Server-Sent Events
准备工作
- 前端部分就直接跳过了
- 只需要一个输入框和聊天区域
// git 初始化
git init
// 安装 ws
npm i ws
实现逻辑
-
当用户进入聊天室,分配用户 Id、用户头像;(后续扩展:后续可以通过 token 获取用户信息,因为是模拟的所以随机分配信息)
-
用户信息与其关联的客户端
webSocket链接 -
存储用户信息之后,将用户信息发送给前端
-
同时发送当前聊天室的用户列表,给所以已经连接的用户
-
用户下线时,从用户列表中剔除下线用户,并通知所有在线用户
-
用户格式:
interface User {
  id: string;
  name: string;
  avatar: string;
}
- 用户发送信息格式:
interface Info {
  id: string;
  name: string;
  avatar: string;
  time: string;
  message: string;
}
消息类型:
- user: 表示发送用户登录时给到的用户信息
- message:表示发送的消息
- userList:表示所有的用户列表
interface type {
  type: "user" | "message" | "userList";
}
引入 socket 设置 3000 端口
const WebSocket = require("ws");
const wss = new WebSocket.Server({ port: 3000 });
定义一个用户组用来放用户,声明下一个用户 id
const user = []; // 用户组
let nextUserId = 1; // 下一个id
使用 connection 连接
wss.on("connection", (ws) => {});
send 用于发送数据 ws.send()
监听客户端的 message 消息
ws.on("message", (data) => {});
监听用户关闭连接
ws.on("close", () => {});
前端配置
在初始化后监听
// 收到的消息
ws.addEventListener("message", ({ data }) => {
  const res = JSON.parse(data); // 收到服务端发来的message
});
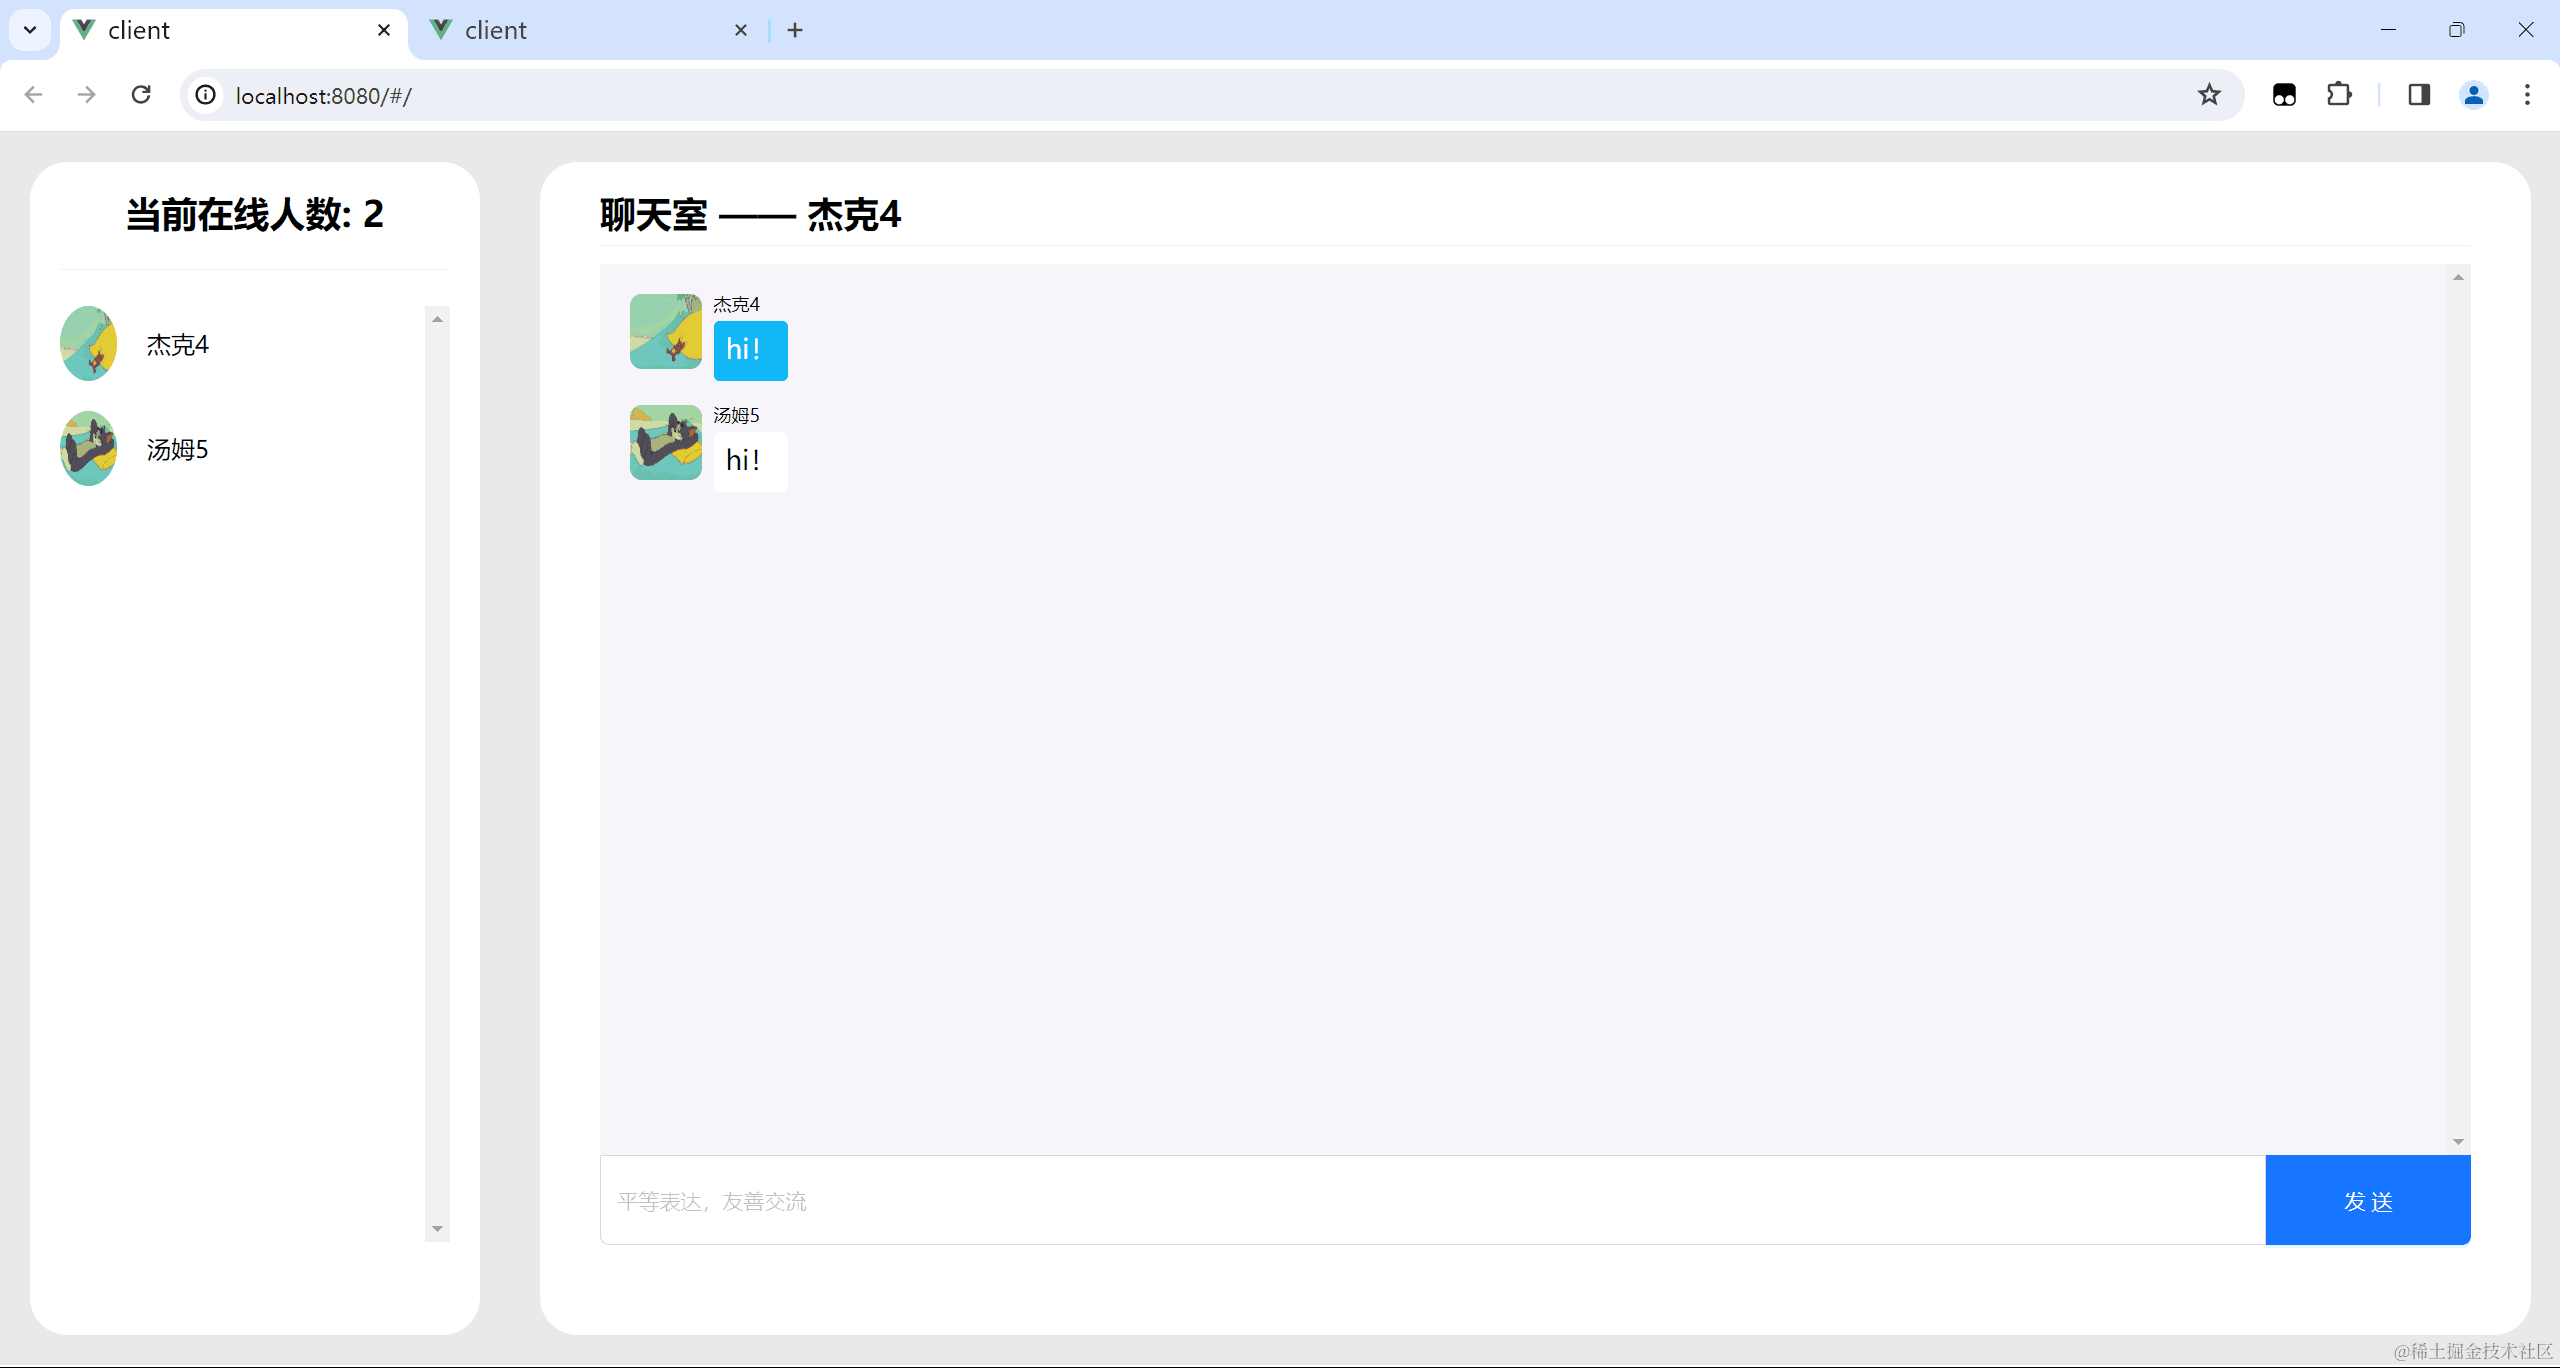
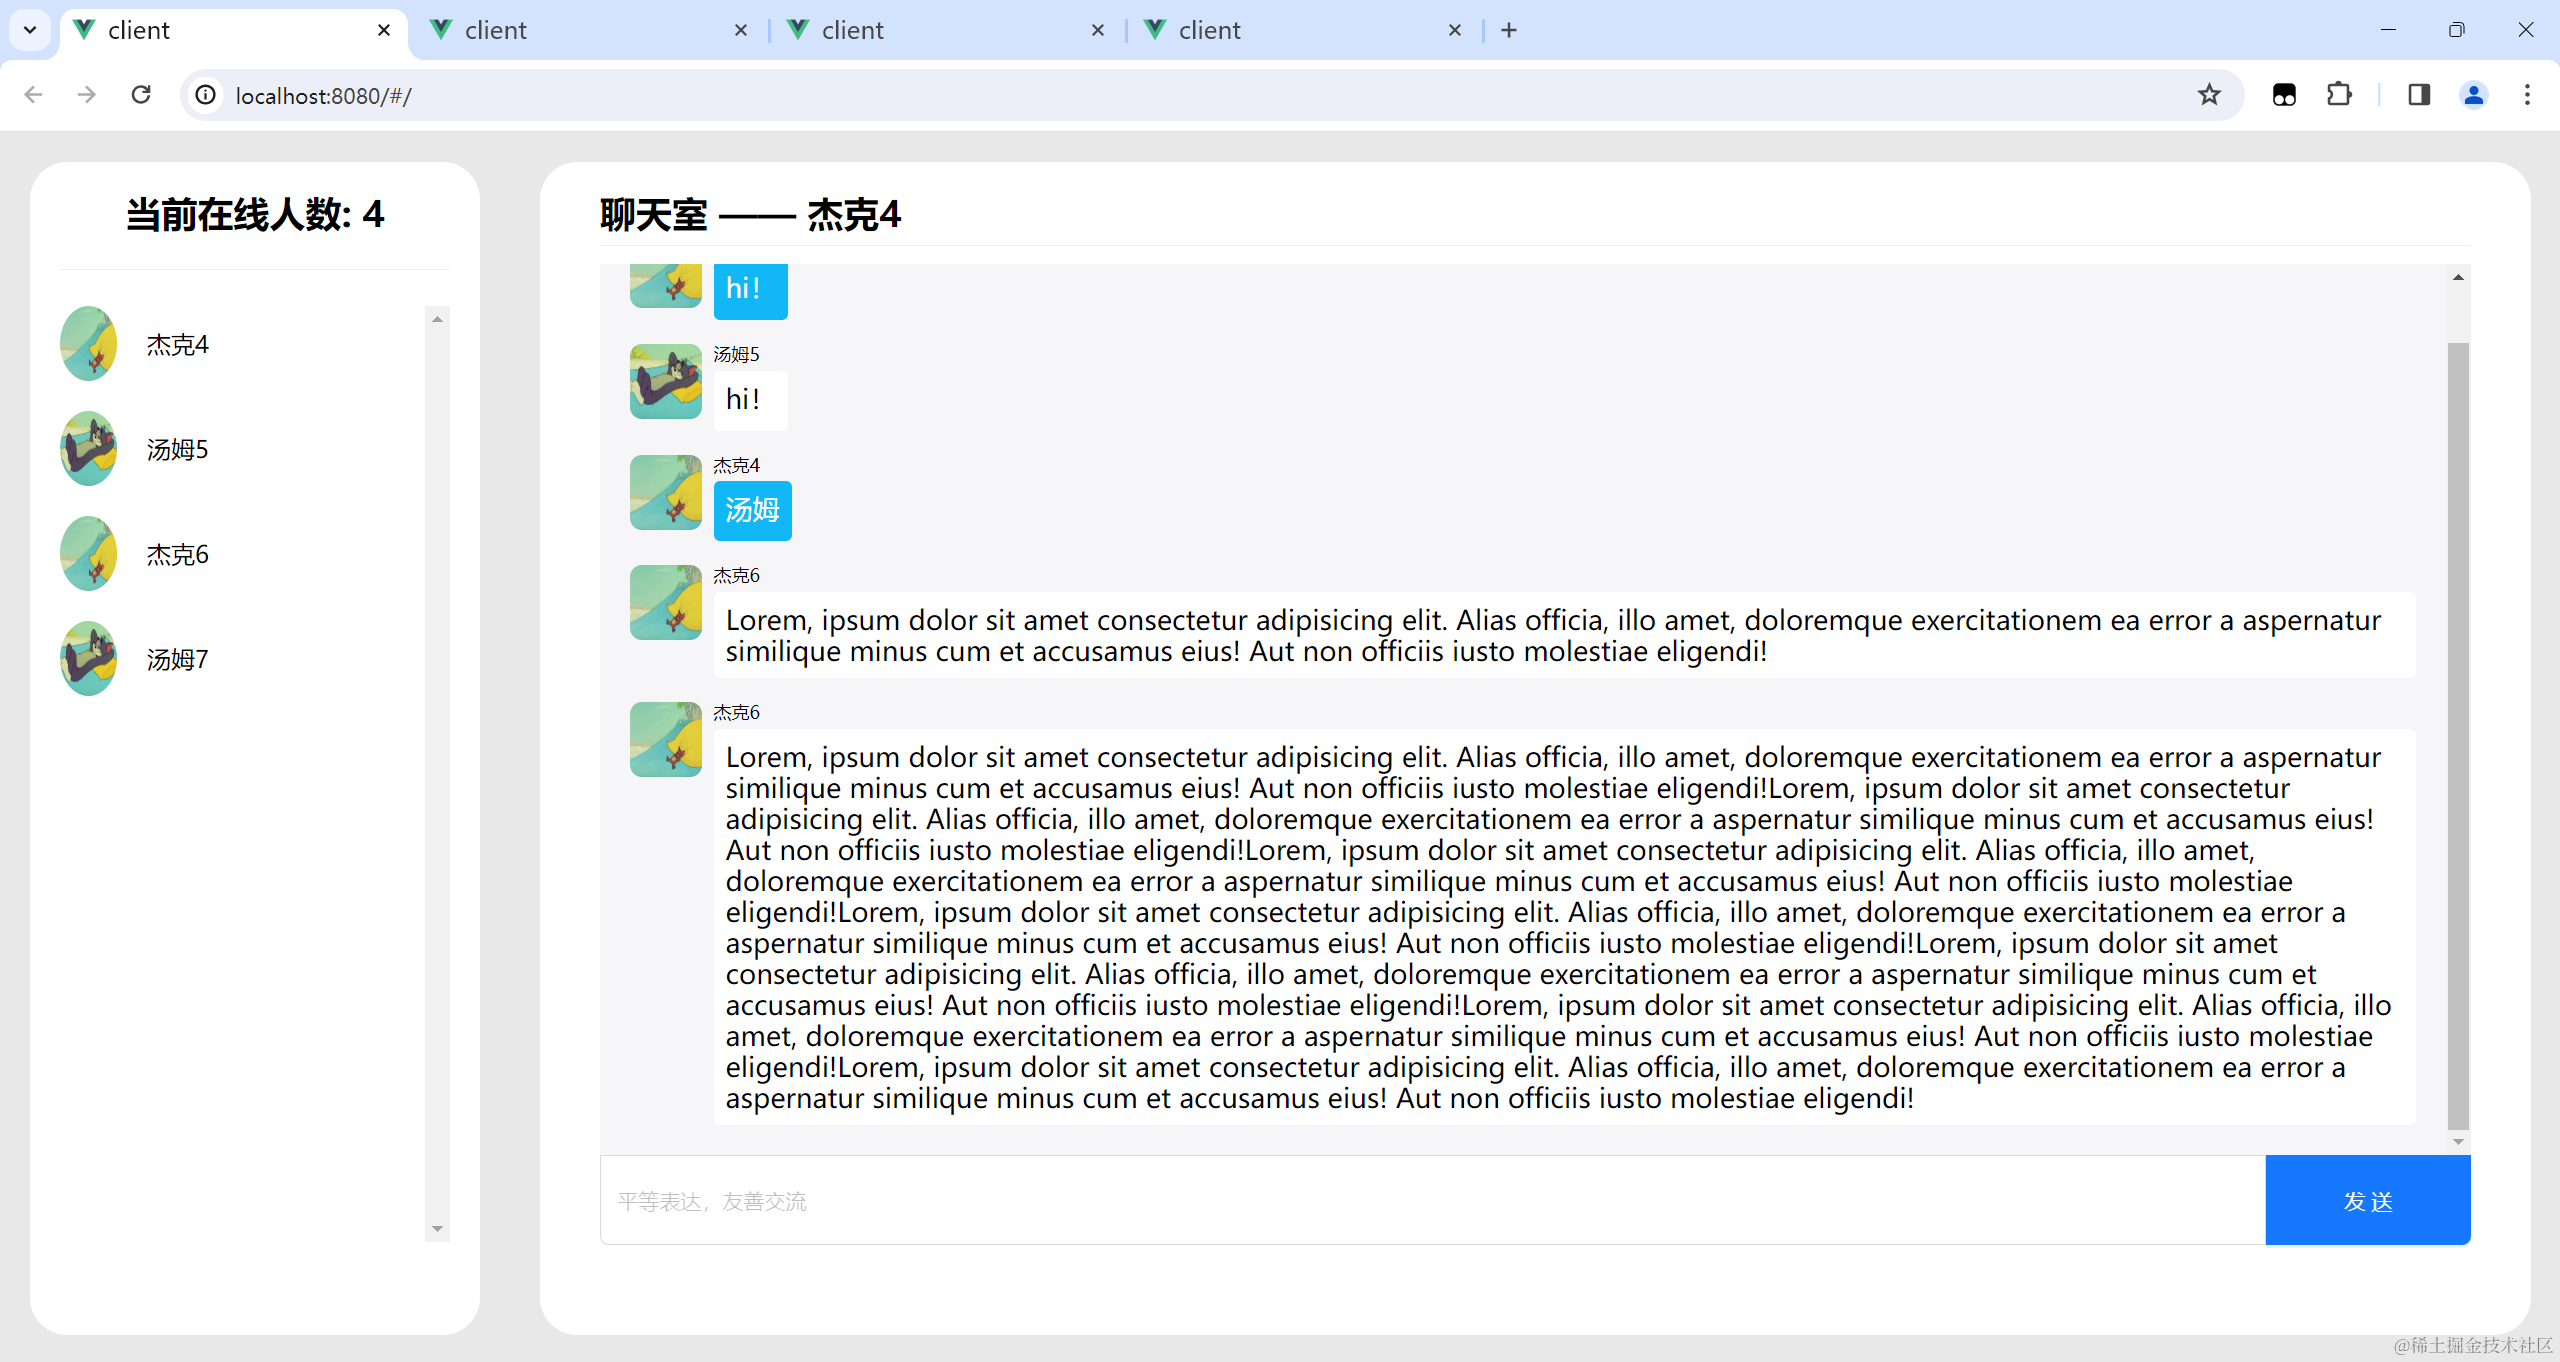
截图

server.js 完整代码
// server.js
const WebSocket = require("ws");
const wss = new WebSocket.Server({ port: 3000 });

const user = []; // 用户组
let nextUserId = 1; // 下一个id
const sendAll = (message) => {
  // 给每个用户发送一下消息
  user.forEach((item) => item.ws.send(JSON.stringify(message)));
};
wss.on("connection", (ws) => {
  // 每次进来一个用户,就把下一个id赋值给它
  const userId = nextUserId;
  const userInfo = {
    id: userId,
    name: (userId % 2 !== 0 ? "汤姆" : "杰克") + userId,
    avatar: `avatar/0${(userId % 2) + 1}.png`,
    ws,
  };

  console.log(userId, "进来了");
  nextUserId += 1; // 自增id
  user.push(userInfo); // 将新的用户保存到用户组中

  // 发送最新进来的人,在线人数
  sendAll({
    type: "userList",
    userId,
    userCount: user.length,
    userList: user.map((item) => {
      const { ws, ...data } = item;
      return data;
    }),
  });

  // 给自己发送一个消息,告知客户端身份
  ws.send(
    JSON.stringify({
      type: "user",
      userInfo: {
        id: userInfo.id,
        name: userInfo.name,
        avatar: userInfo.avatar,
      },
    })
  );

  // 接收来自客户端的消息
  ws.on("message", (data) => {
    const res = {
      id: userId,
      type: "message",
      data: JSON.parse(data),
    };
    // 设置一个给所有用户发送一下最最新消息
    sendAll(res);
  });

  ws.on("close", () => {
    console.log(userId, "离开了");
    // 用户离开了,需要删除属于他的聊天内容
    user.splice(
      user.findIndex((item) => item.id === userId),
      1
    );
    // 有人离开,发送用户列表通知
    sendAll({
      type: "userList",
      userId,
      userCount: user.length,
      userList: user.map((item) => {
        const { ws, ...data } = item;
        return data;
      }),
    });
  });
});
前端操作内容
import { ref } from "vue";
import { message } from "ant-design-vue";
const [messageApi] = message.useMessage();

interface User {
  id: string;
  name: string;
  avatar: string;
}
interface Info {
  id: string;
  name: string;
  avatar: string;
  time: string;
  message: string;
}

// 聊天信息
const info = ref<Info[]>([]);
// 当前用户
const user = ref<User>({
  id: "",
  name: "",
  avatar: "",
});
// 在线人数
const people = ref<User[]>([]);

const numPeople = ref<number>(0);
const input = ref<string>("");

// 点击发送
const onClickInput = () => {
  if (input.value !== "") {
    const data = {
      ...user.value,
      message: input.value,
    };
    // send 发送,需要把json转为字符串
    ws.send(JSON.stringify(data));
    input.value = "";
  }
};

const ws = new WebSocket("ws://localhost:3000");
ws.addEventListener("open", () => {
  console.log("连接上服务器");
  // send 发送数据
  // ws.send('来新订单了!')
});

// 收到的消息
ws.addEventListener("message", ({ data }) => {
  const res = JSON.parse(data);
  // console.log('res:',res.data)
  // 用户列表
  if (res.type === "userList") {
    numPeople.value = res.userCount;
    people.value = res.userList;
    console.log("当前在线人数" + numPeople.value);
    messageApi.info("当前在线人数" + numPeople.value);
  }
  // 新增消息
  if (res.type === "message") {
    info.value.push(res.data);
  }
  // 用户个人信息
  if (res.type === "user") {
    user.value = res.userInfo;
  }
});
- 项目链接:https://github.com/donwenx/chartRoom
- WebSocket 详细介绍请看这一篇 WebSocket 和 Server-Sent Events


 1861
1861

 被折叠的 条评论
为什么被折叠?
被折叠的 条评论
为什么被折叠?
 到【灌水乐园】发言


