


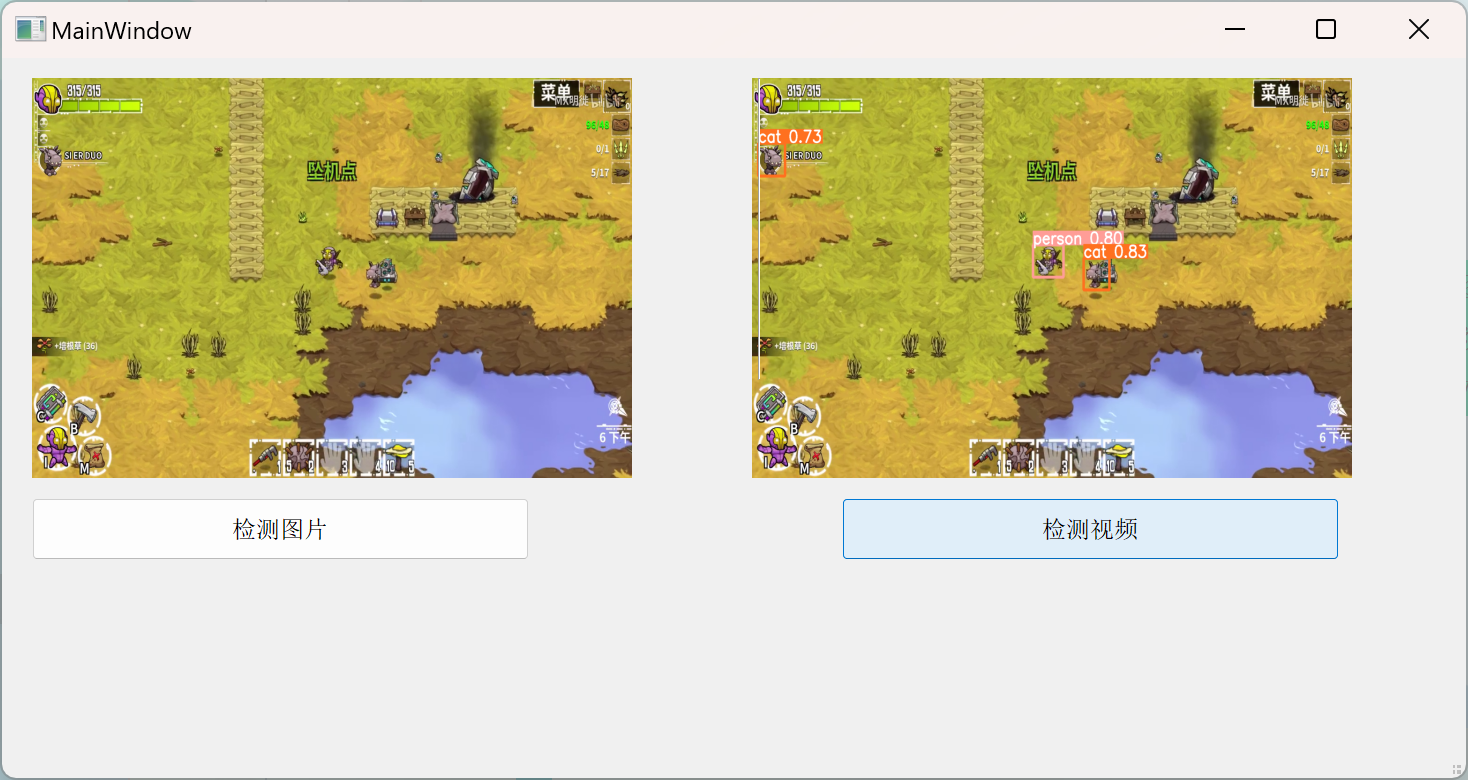
界面展示
需要文件:qt_inference.py(主窗口)、ui_main_window.py(ui界面)、yolov5环境(models包、utils包、权重文件、视频图片相关包)
1.QT Designer创建UI(略)
首先:QT Designer创建UI、UI转Python文件----->得到ui_main_window.py(ui界面的文件)

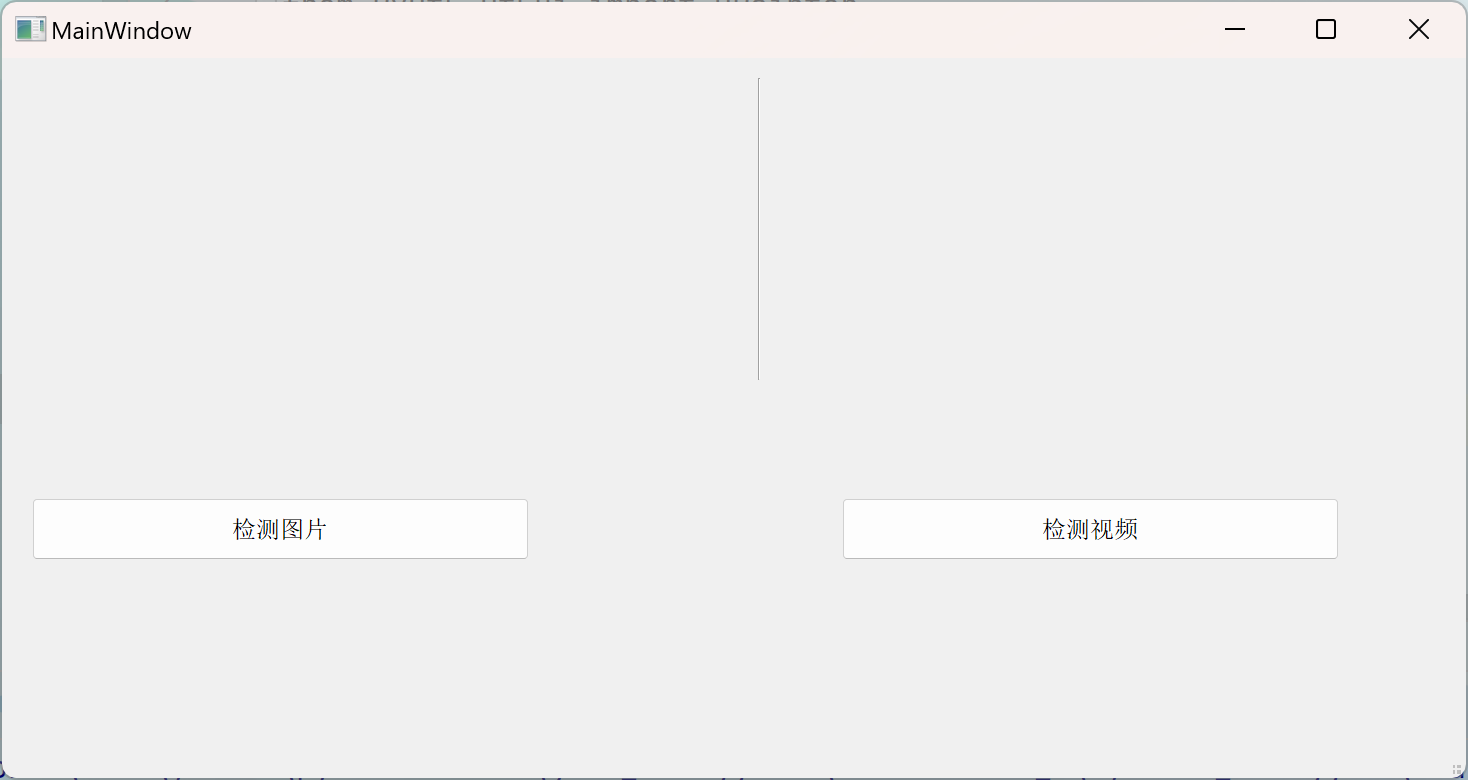
ui_main_window.py运行得到的界面
ui_main_window.py代码
from PyQt5.QtWidgets import QWidget, QLabel, QPushButton, QFrame, QMainWindow, QApplication, QStatusBar, QVBoxLayout
from PyQt5.QtCore import QRect, Qt, QMetaObject
from PyQt5.QtGui import QPainter


class Ui_MainWindow(object):
    def setupUi(self, MainWindow):
        if not MainWindow.objectName():
            MainWindow.setObjectName(u"MainWindow")

            # 调整主窗口大小
        MainWindow.resize(1464, 720)

        self.centralwidget = QWidget(MainWindow)
        self.centralwidget.setObjectName(u"centralwidget")

        # 输入框调整
        self.input = QLabel(self.centralwidget)
        self.input.setObjectName(u"input")
        self.input.setGeometry(QRect(30, 20, 600, 400))
        self.input.setScaledContents(True)
        self.input.setAlignment(Qt.AlignCenter)

        # 输出框调整
        self.output = QLabel(self.centralwidget)
        self.output.setObjectName(u"output")
        self.output.setGeometry(QRect(750, 20, 600, 400))
        self.output.setScaledContents(True)
        self.output.setAlignment(Qt.AlignCenter)

        # 分隔线调整
        self.line = QFrame(self.centralwidget)
        self.line.setObjectName(u"line")
        # 中心位置
        self.line.setGeometry(QRect(727, 20, 61, 302))
        self.line.setFrameShape(QFrame.VLine)
        self.line.setFrameShadow(QFrame.Sunken)

        # 检测图像按钮调整
        self.det_image = QPushButton(self.centralwidget)
        self.det_image.setObjectName(u"det_image")
        # 调整按钮大小(如果需要)和位置
        self.det_image.setGeometry(QRect(30, 440, 497, 62))  # 调整高度以适应新的窗口尺寸

        # 检测视频按钮调整
        self.det_video = QPushButton(self.centralwidget)
        self.det_video.setObjectName(u"det_video")
        self.det_video.setGeometry(QRect(840, 440, 497, 62))

        MainWindow.setCentralWidget(self.centralwidget)
        self.statusbar = QStatusBar(MainWindow)
        self.statusbar.setObjectName(u"statusbar")
        MainWindow.setStatusBar(self.statusbar)

        self.retranslateUi(MainWindow)

        QMetaObject.connectSlotsByName(MainWindow)

    def retranslateUi(self, MainWindow):
        _translate = QApplication.translate
        MainWindow.setWindowTitle(_translate("MainWindow", "MainWindow"))
        self.det_image.setText(_translate("MainWindow", "检测图片"))
        self.det_video.setText(_translate("MainWindow", "检测视频"))

    # 测试代码


if __name__ == "__main__":
    import sys

    app = QApplication(sys.argv)
    MainWindow = QMainWindow()
    ui = Ui_MainWindow()
    ui.setupUi(MainWindow)
    MainWindow.show()
    sys.exit(app.exec_())
2.创建主窗口类MainWindow(qt_inference.py)
初始代码,更完整的函数代码在后面
import sys
from PyQt5.QtWidgets import QMainWindow, QApplication
from ui_main_window import Ui_MainWindow
class MainWindow(QMainWindow, Ui_MainWindow):
def __init__(self):
super(MainWindow, self).__init__()
self.setupUi(self) # 根据ui文件编译成的 py类
self.run()
def open_image(self):
print('image detect')
def open_video(self):
print('video detect')
def run(self):
self.det_image.clicked.connect(self.open_image)
self.det_video.clicked.connect(self.open_video)
if __name__ == '__main__':
app = QApplication(sys.argv)
window = MainWindow()
window.show()
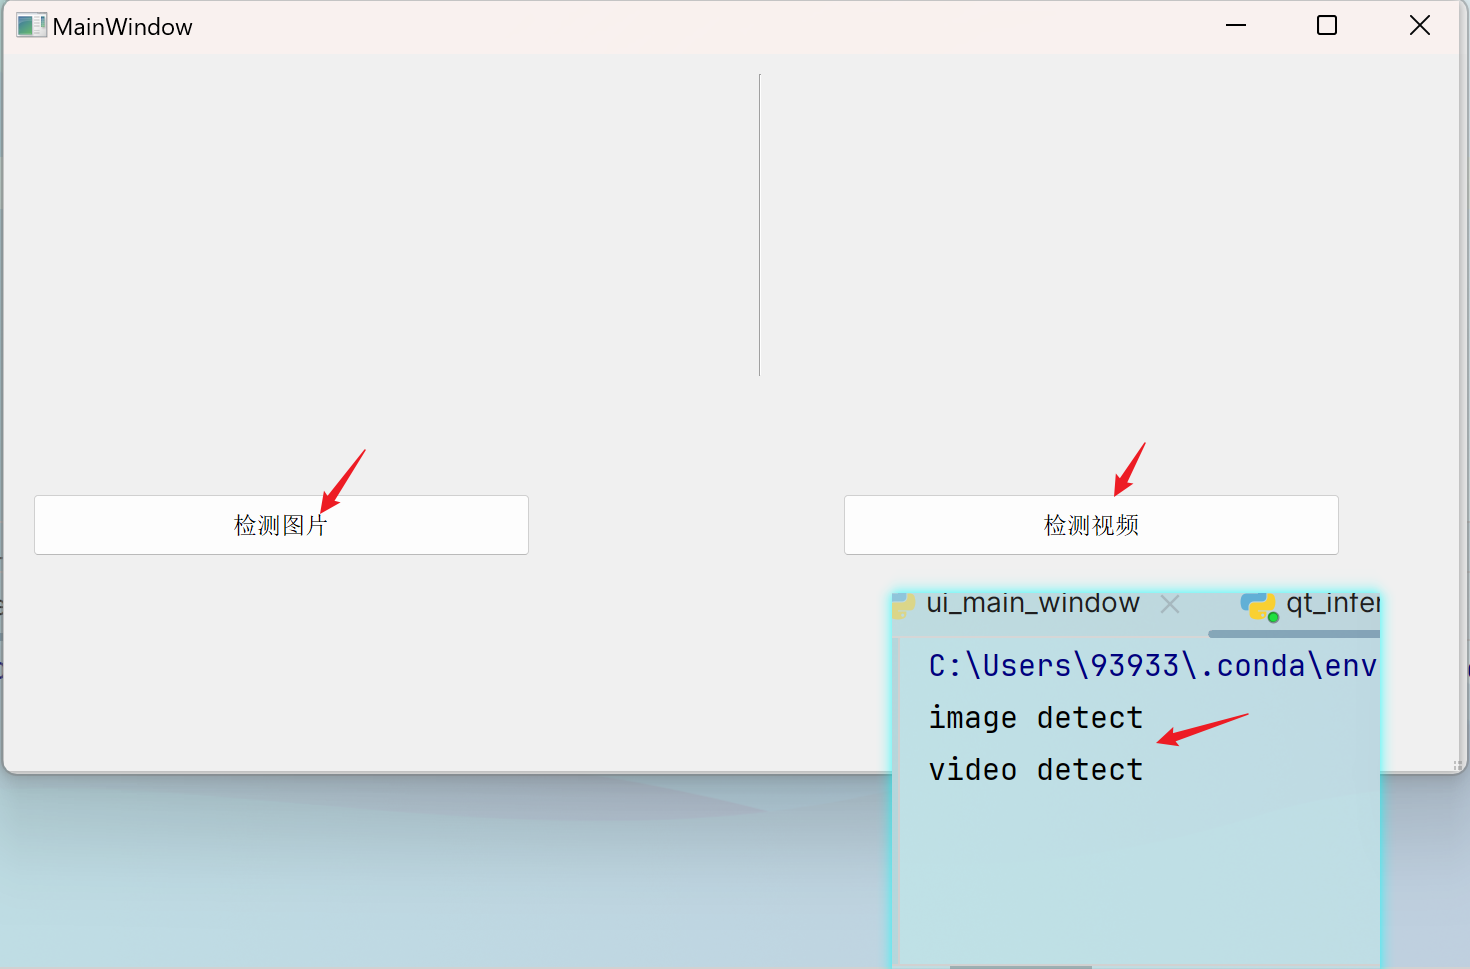
app.exec()点击按钮,打印输出
3.添加检测图片、视频相关方法
打开图片方法:
    def image_pred(self,file_path):
        results=self.model(file_path)
        image=results.render()[0]
        return convert2QImage(image)
    def open_image(self):
        print('点击了图片检测')
        file_path, _ = QFileDialog.getOpenFileName(self, "Open Image File", "", "Images (*.png *.jpg *.bmp)")
        if file_path:  # 检查是否选择了文件
            print(file_path)
            qimage = self.image_pred(file_path)
            self.input.setPixmap(QPixmap(file_path))
            self.output.setPixmap(QPixmap.fromImage(qimage))
打开视频方法:
    def video_pred(self):
        ret, frame = self.video.read()
        if not ret:
            self.timer.stop()
        else:
            frame = cv2.cvtColor(frame, cv2.COLOR_BGR2RGB)
            self.input.setPixmap(QPixmap.fromImage(convert2QImage(frame)))
            results = self.model(frame)
            image = results.render()[0]
            self.output.setPixmap(QPixmap.fromImage(convert2QImage(image)))
    def open_video(self):
        print("点击了检测视频!")
        file_path, _ = QFileDialog.getOpenFileName(self, "Open Image File", "", "Images *.mp4")
        if file_path:
            self.video = cv2.VideoCapture(file_path)
            self.timer.start()
数组转换、绑定UI的函数
def convert2QImage(img):
    # 获取图像的高度、宽度和通道数
    height, width, channel = img.shape
    # 根据NumPy数组创建QImage对象,这里假设图像是RGB格式
    return QImage(img, width, height, width * channel, QImage.Format_RGB888)
# 绑定UI控件的事件处理函数
def bind_slots(self):
self.det_image.clicked.connect(self.open_image) # 将“检测图像”按钮的点击事件绑定到open_image函数
self.det_video.clicked.connect(self.open_video) # 将“检测视频”按钮的点击事件绑定到open_video函数
self.timer.timeout.connect(self.video_pred) # 将定时器的超时事件绑定到video_pred函数4.添加yolov5模型相关代码
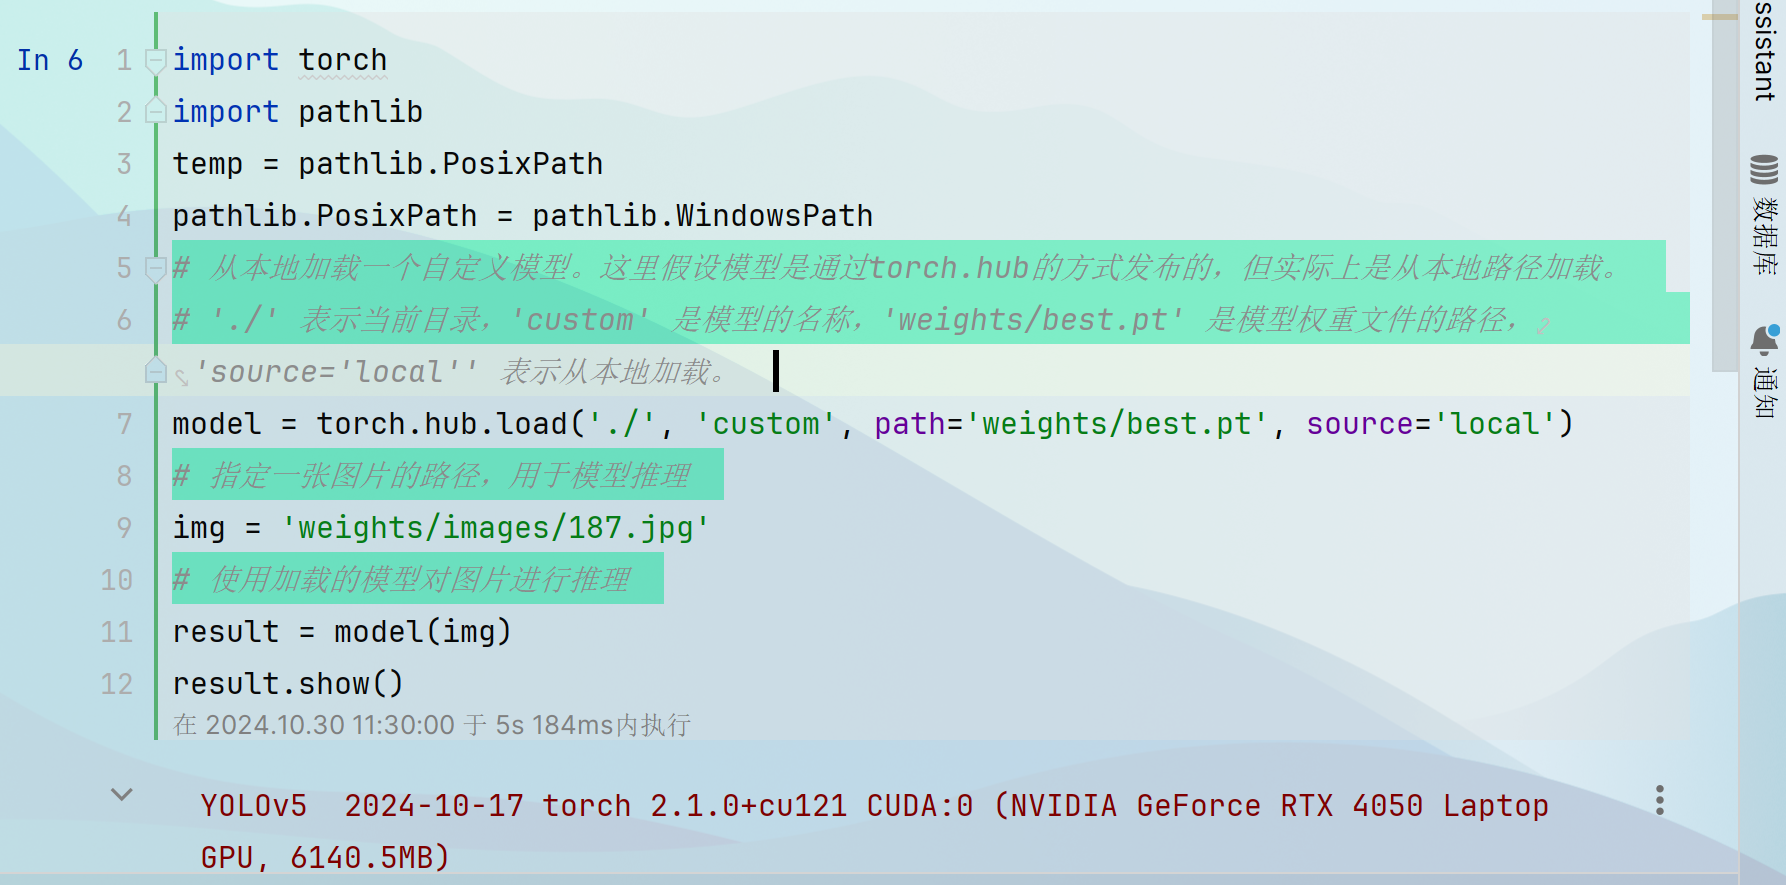
1.测试本地加载模型对图片的推理(需要yolov5相关环境,本人用的6.0版本)
2.往MainWindow类中添加相关模型代码(需要yolov5相关环境)
5.完整主窗口类MainWindow代码(qt_inference.py)
- MainWindow类:定义了主窗口的类,包括UI初始化、模型加载、事件绑定等功能。
- convert2QImage函数:将NumPy数组格式的图像转换为QImage对象,以便在PyQt5的图形界面中显示。
- image_pred函数:使用加载的模型对单张图像进行预测,并返回预测结果的QImage对象。
- open_image函数:打开文件对话框选择图像文件,使用模型进行预测,并在UI上显示原始图像和预测结果。
- video_pred函数:从视频捕获对象读取一帧,使用模型进行预测,并在UI上显示原始视频帧和预测结果。
- open_video函数:打开文件对话框选择视频文件,开始处理视频帧。
- bind_slots函数:将UI控件的事件处理函数绑定到相应的信号上。
import sys
import cv2
import torch
from PyQt5.QtGui import QPixmap, QImage
from PyQt5.QtWidgets import QMainWindow, QApplication, QFileDialog
from PyQt5.QtCore import QDir, QTimer
from ui_main_window import Ui_MainWindow
def convert2QImage(img):
# 获取图像的高度、宽度和通道数
height, width, channel = img.shape
# 根据NumPy数组创建QImage对象,这里假设图像是RGB格式
return QImage(img, width, height, width * channel, QImage.Format_RGB888)
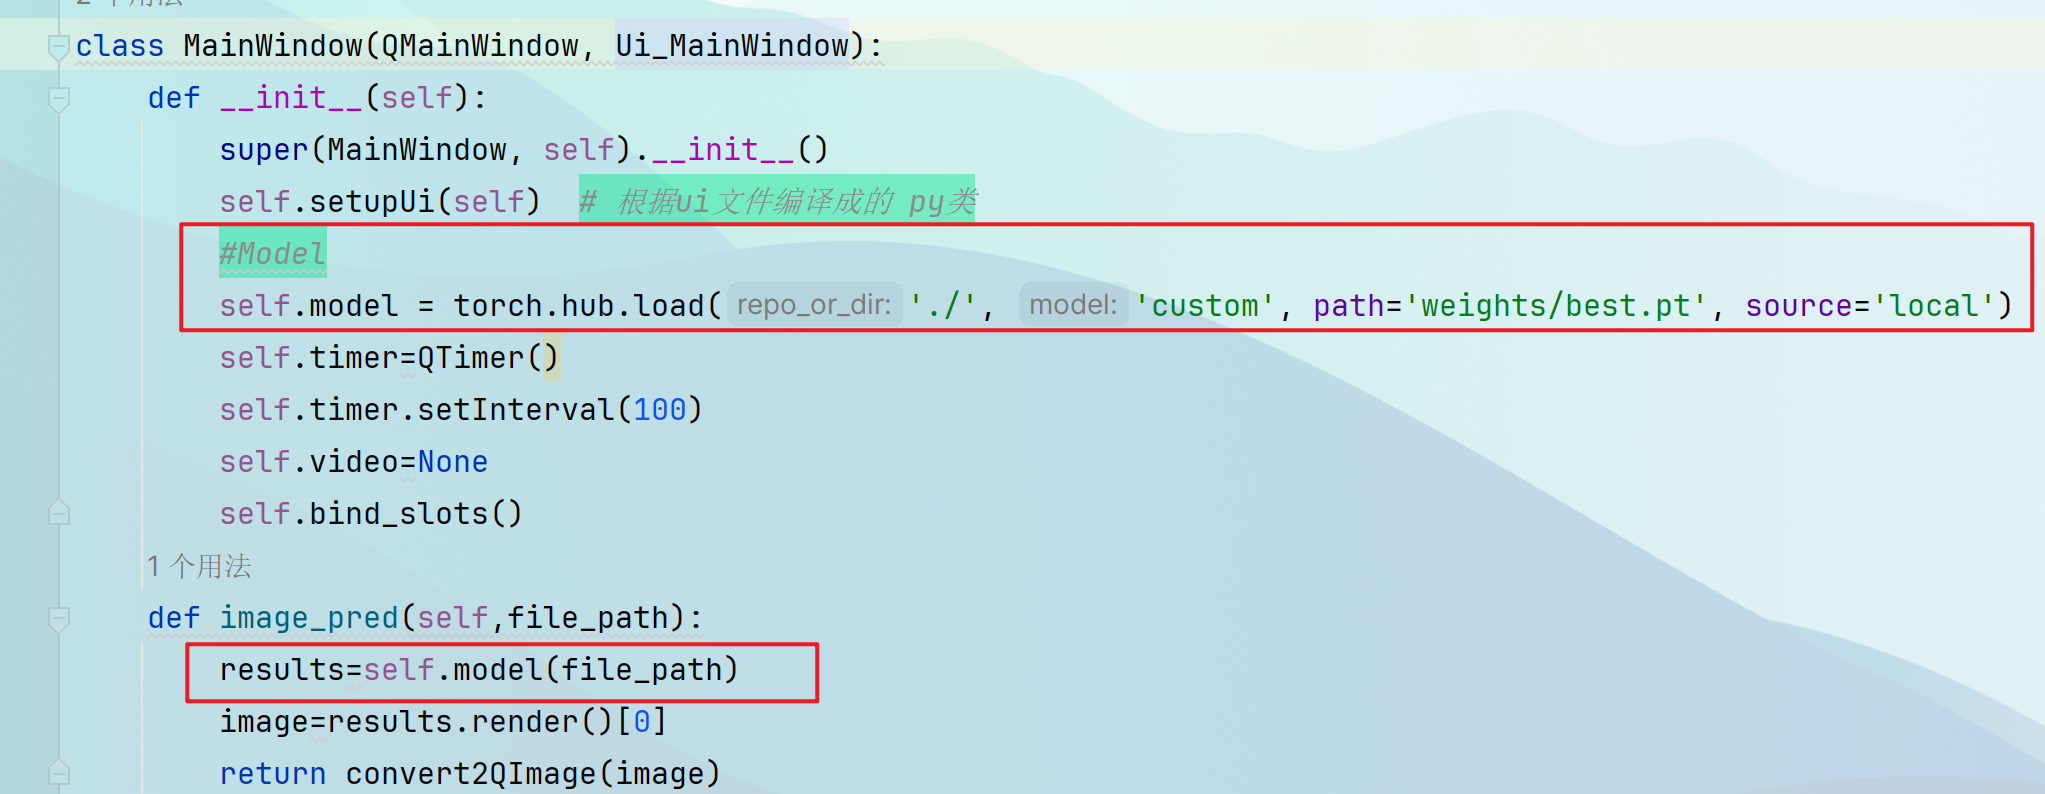
class MainWindow(QMainWindow, Ui_MainWindow):
def __init__(self):
super(MainWindow, self).__init__()
self.setupUi(self) # 根据ui文件编译成的 py类
#Model
self.model = torch.hub.load('./', 'custom', path='weights/best.pt', source='local')
self.timer=QTimer()
self.timer.setInterval(100)
self.video=None
self.bind_slots()
def image_pred(self,file_path):
results=self.model(file_path)
image=results.render()[0]
return convert2QImage(image)
def open_image(self):
print('点击了图片检测')
file_path, _ = QFileDialog.getOpenFileName(self, "Open Image File", "", "Images (*.png *.jpg *.bmp)")
if file_path: # 检查是否选择了文件
print(file_path)
qimage = self.image_pred(file_path)
self.input.setPixmap(QPixmap(file_path))
self.output.setPixmap(QPixmap.fromImage(qimage))
def video_pred(self):
ret, frame = self.video.read()
if not ret:
self.timer.stop()
else:
frame = cv2.cvtColor(frame, cv2.COLOR_BGR2RGB)
self.input.setPixmap(QPixmap.fromImage(convert2QImage(frame)))
results = self.model(frame)
image = results.render()[0]
self.output.setPixmap(QPixmap.fromImage(convert2QImage(image)))
def open_video(self):
print("点击了检测视频!")
file_path, _ = QFileDialog.getOpenFileName(self, "Open Image File", "", "Images *.mp4")
if file_path:
self.video = cv2.VideoCapture(file_path)
self.timer.start()
# 绑定UI控件的事件处理函数
    def bind_slots(self):
        self.det_image.clicked.connect(self.open_image)  # 将“检测图像”按钮的点击事件绑定到open_image函数
        self.det_video.clicked.connect(self.open_video)  # 将“检测视频”按钮的点击事件绑定到open_video函数
        self.timer.timeout.connect(self.video_pred)  # 将定时器的超时事件绑定到video_pred函数
if __name__ == '__main__':
app = QApplication(sys.argv)
window = MainWindow()
window.show()
app.exec_()6.yolov5视频处理流程总结:
视频上传---->视频帧读取---->将帧从BGR格式转换为RGB格式(QImage对象)---->渲染后的图像(QImage对象)显示在界面
注:YOLOv5使用OpenCV读取图像,OpenCV 默认使用BGR 格式,而Qt默认使用RGB格式
来源:此文章是来自观看的视频做的笔记,视频来源:【【手把手带你实战YOLOv5-入门篇】YOLOv5 Pyside6可视化界面】https://www.bilibili.com/video/BV1dP411f7kX?vd_source=255ff4cd07162bf3bc3a5995c03d476e


 6630
6630

 被折叠的 条评论
为什么被折叠?
被折叠的 条评论
为什么被折叠?
 到【灌水乐园】发言


