


文章目录

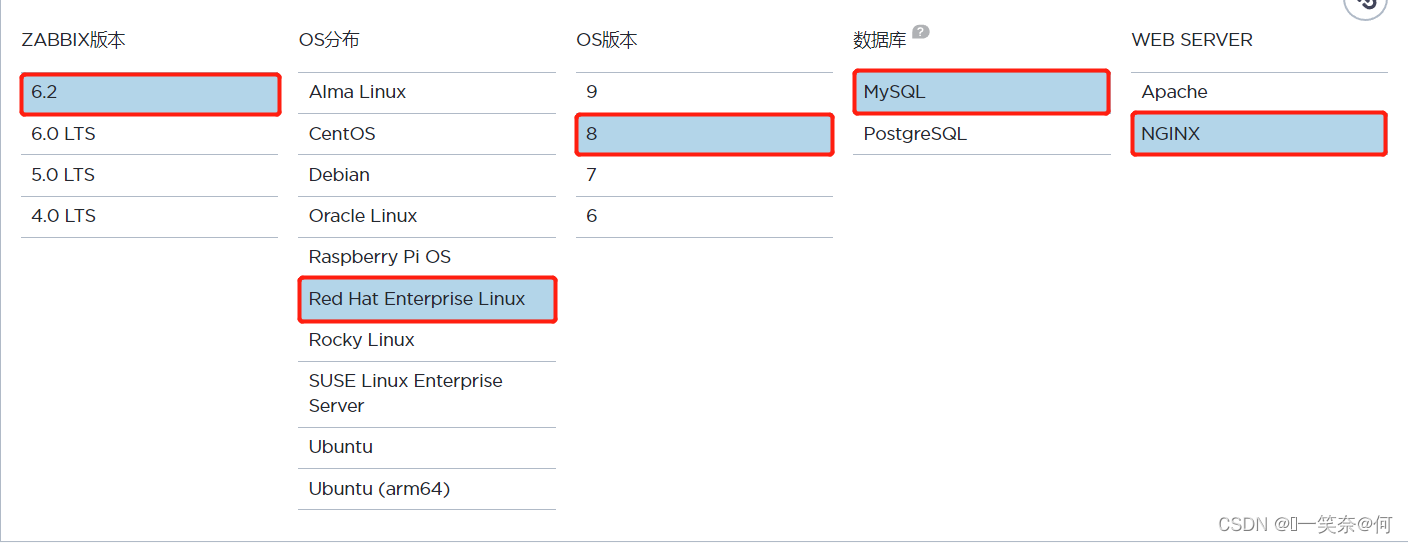
1.版本支持官方确认
2.服务器环境
# sys OS查看
[root@zabbix62 ~]# cat /etc/redhat-release
Red Hat Enterprise Linux release 8.0 (Ootpa)
[root@zabbix62 ~]# uname -n
zabbix62
[root@zabbix62 ~]# uname -a
Linux zabbix60 4.18.0-193.75.1.el8_2.x86_64 #1 SMP Tue Feb 8 09:21:43 EST 2022 x86_64 x86_64 x86_64 GNU/Linux
[root@zabbix62 ~]# uname -r
4.18.0-193.75.1.el8_2.x86_64
[root@zabbix62 ~]# uname -v
#1 SMP Tue Feb 8 09:21:43 EST 2022
[root@zabbix62 ~]# uname -o
GNU/Linux


#关闭防火前及selinux
[root@zabbix62 ~]# systemctl stop firewalld.service
[root@zabbix62 ~]# systemctl disable firewalld.service
Removed /etc/systemd/system/multi-user.target.wants/firewalld.service.
Removed /etc/systemd/system/dbus-org.fedoraproject.FirewallD1.service.
[root@zabbix62 ~]# setenforce 0
[root@zabbix62 ~]# getenforce
Permissive
[root@zabbix62 ~]# sestatus
SELinux status:                 disabled
时间同步:
RHEL8同步NTP时间
# 查看当前时区
timedatectl

# 设置系统时区为 Asia/Shanghai
timedatectl set-timezone Asia/Shanghai

# 再次查看当前时区
timedatectl


#开启ntp时间同步
timedatectl set-ntp yes
#停止ntp时间同步
timedatectl set-ntp no


#查看timedatectl状态
timedatectl status

#修改当前日期时间
timedatectl set-time "2022-8-15 12:20:00"


#查看硬件时间
hwclock --show

#将系统时间同步到硬件
hwclock --systohc
hwclock --systohc --localtime


#将硬件时间写入系统时间
hwclock --hctosys
3.zabbix6.2部署
#安装 Zabbix 存储库
[root@zabbix62 ~]# rpm -Uvh https://repo.zabbix.com/zabbix/6.2/rhel/8/x86_64/zabbix-release-6.2-1.el8.noarch.rpm
Retrieving https://repo.zabbix.com/zabbix/6.2/rhel/8/x86_64/zabbix-release-6.2-1.el8.noarch.rpm
warning: /var/tmp/rpm-tmp.E0ZxOn: Header V4 RSA/SHA512 Signature, key ID a14fe591: NOKEY
Verifying...                          ################################# [100%]
Preparing...                          ################################# [100%]
Updating / installing...
   1:zabbix-release-6.2-1.el8         ################################# [100%]
[root@zabbix62 ~]# dnf clean all
24 files removed


#用于PHP的交换DNF模块版本
zabbix6.2安装最低需要php7.4版本,php需切换
dnf module switch-to php:7.4


#安装Zabbix server,Web前端及agent
[root@zabbix62 ~]# dnf install zabbix-server-mysql zabbix-web-mysql zabbix-nginx-conf zabbix-sql-scripts zabbix-selinux-policy zabbix-agent
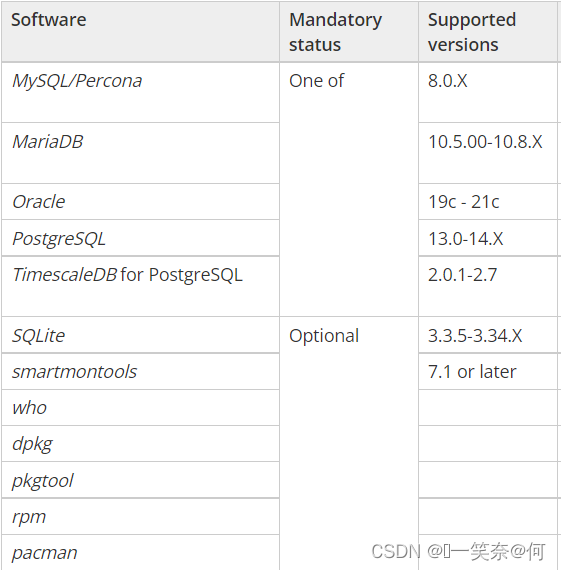
4.数据库选用
这里使用mysql数据库,但是zabbix6.2数据库版本要求最低为myql8.0之上,具体如下所示:
5.数据库安装及初始化
#mysql8.0下载安装
[root@zabbix62 ~]# wget https://repo.mysql.com//mysql80-community-release-el7-1.noarch.rpm


[root@zabbix62 ~]# rpm -ivh mysql80-community-release-el7-1.noarch.rpm


[root@zabbix62 ~]# dnf install mysql-server
#启动mysql服务,并加入开机自启
[root@zabbix62 ~]# systemctl start mysqld.service
[root@zabbix62 ~]# systemctl enable mysqld.service
Created symlink /etc/systemd/system/multi-user.target.wants/mysqld.service → /usr/lib/systemd/system/mysqld.service.


[root@zabbix62 ~]# systemctl status mysqld.service
● mysqld.service - MySQL 8.0 database server
   Loaded: loaded (/usr/lib/systemd/system/mysqld.service; enabled; vendor preset: disabled)
   Active: active (running) since Sat 2022-08-13 18:04:04 UTC; 34s ago
 Main PID: 32224 (mysqld)


[root@zabbix62 ~]# netstat -lntp |grep mysql
tcp6       0      0 :::33060                :::*                    LISTEN      32224/mysqld
tcp6       0      0 :::3306                 :::*                    LISTEN      32224/mysqld
数据库配置
进入数据库(mysql8.0初始化无密码,直接回车进入即可)
[root@zabbix62 ~]# mysql -uroot -p
或者
[root@zabbix62 ~]# mysql


mysql> select version();
+-----------+
| version() |
+-----------+
| 8.0.21    |
+-----------+
1 row in set (0.00 sec)


#创建用户及配置root密码,权限赋予
mysql> CREATE USER 'root'@'%' IDENTIFIED BY "zeny@2022";
Query OK, 0 rows affected (0.01 sec)

mysql> GRANT ALL ON *.* TO 'root'@'%' WITH GRANT OPTION;
Query OK, 0 rows affected (0.01 sec)

mysql> FLUSH  PRIVILEGES;
Query OK, 0 rows affected (0.01 sec)


#zabbix库创建及用户创建
mysql> create database zabbix character set utf8 collate utf8_bin;
Query OK, 1 row affected, 2 warnings (0.02 sec)

mysql> create user zabbix@localhost identified by 'zabbix@2022';
Query OK, 0 rows affected (0.01 sec)

mysql> grant all privileges on zabbix.* to zabbix@localhost;
Query OK, 0 rows affected (0.01 sec)

mysql> FLUSH  PRIVILEGES;
Query OK, 0 rows affected (0.00 sec)

mysql> SET GLOBAL log_bin_trust_function_creators = 1;
Query OK, 0 rows affected (0.00 sec)


#如下所示:
mysql> create database zabbix character set utf8mb4 collate utf8mb4_bin;
mysql> create user zabbix@localhost identified by 'password';
mysql> grant all privileges on zabbix.* to zabbix@localhost;
mysql> SET GLOBAL log_bin_trust_function_creators = 1;
mysql> quit;
zabbix初始架构和数据导入数据库
错误解析:
ERROR 1419 (HY000) at line 2119: You do not have the SUPER privilege and binary logging is enabled (you might want to use the less safe log_bin_trust_function_creators variable)
设置参数log_bin_trust_function_creators为1即可set global log_bin_trust_function_creators = 1;
6.zabbix系统架构数据导入
导入初始架构和数据,系统将提示您输入新创建的密码
**注:** 导入数据库架构后禁用log_bin_trust_function_creators选项。
#手动导入zabbix架构数据
[root@zabbix62 ~]# zcat /usr/share/doc/zabbix-sql-scripts/mysql/server.sql.gz | mysql -uzabbix -p zabbix
Enter password:


[root@zabbix62 ~]# mysql -uroot -p
password
mysql> SET GLOBAL log_bin_trust_function_creators = 0;
mysql> quit;
7.zabbix server配置DB
zabbix server关联数据库
#zabbix server配置
[root@zabbix62 ~]# egrep '^[^#]' /etc/zabbix/zabbix_server.conf
LogFile=/var/log/zabbix/zabbix_server.log
LogFileSize=0
PidFile=/run/zabbix/zabbix_server.pid
SocketDir=/run/zabbix
DBName=zabbix
DBUser=zabbix
#添加数据库登录密码,其他默认即可
DBPassword=zabbix@2022
SNMPTrapperFile=/var/log/snmptrap/snmptrap.log
#配置缓存
CacheSize=1024M
Timeout=4
LogSlowQueries=3000
StatsAllowedIP=127.0.0.1
8.Zabbix前端web配置及PHP
在nginx配置中,取消注释并设置“listen”和“server_name”指令即可
#取消注释;listen与server_name
[root@zabbix62 ~]# egrep '^[^#]' /etc/nginx/conf.d/zabbix.conf
server {
        listen          888;
        server_name     _;
        root    /usr/share/zabbix;
        index   index.php;
        location = /favicon.ico {
                log_not_found   off;
        }
        location / {
                try_files       $uri $uri/ =404;
        }
        location /assets {
                access_log      off;
                expires         10d;
        }
        location ~ /\.ht {
                deny            all;
        }
        location ~ /(api\/|conf[^\.]|include|locale) {
                deny            all;
                return          404;
        }
        location /vendor {
                deny            all;
                return          404;
        }
        location ~ [^/]\.php(/|$) {
                fastcgi_pass    unix:/run/php-fpm/zabbix.sock;
                fastcgi_split_path_info ^(.+\.php)(/.+)$;
                fastcgi_index   index.php;
                fastcgi_param   DOCUMENT_ROOT   /usr/share/zabbix;
                fastcgi_param   SCRIPT_FILENAME /usr/share/zabbix$fastcgi_script_name;
                fastcgi_param   PATH_TRANSLATED /usr/share/zabbix$fastcgi_script_name;
                include fastcgi_params;
                fastcgi_param   QUERY_STRING    $query_string;
                fastcgi_param   REQUEST_METHOD  $request_method;
                fastcgi_param   CONTENT_TYPE    $content_type;
                fastcgi_param   CONTENT_LENGTH  $content_length;
                fastcgi_intercept_errors        on;
                fastcgi_ignore_client_abort     off;
                fastcgi_connect_timeout         60;
                fastcgi_send_timeout            180;
                fastcgi_read_timeout            180;
                fastcgi_buffer_size             128k;
                fastcgi_buffers                 4 256k;
                fastcgi_busy_buffers_size       256k;
                fastcgi_temp_file_write_size    256k;
        }
}
安装php版本:7.4
#下载epel源
yum install epel-release
rpm -ivh http://rpms.remirepo.net/enterprise/remi-release-8.rpm


#安装php7.4
dnf --enablerepo=remi install php74-php


#安装php7.4扩展模块
dnf --enablerepo=remi install php74-php php74-php-gd php74-php-xml php74-php-sockets php74-php-session php74-php-snmp php74-php-mysql


#安装路径查看
whereis php
#安装Remi存储库
dnf install dnf-utils http://rpms.remirepo.net/enterprise/remi-release-8.rpm


#默认的php模块配置
dnf module list php               #列出当前存储库中的php模块
dnf module reset php              #重置php模块
dnf module install php:remi-7.4   #模块安装
dnf module enable php:remi-7.4    #默认设置为php:remi-7.4版本


#常用模块安装(可选)
dnf -y install php php-mysqlnd php-gd php-xml php-mbstring php-ldap php-pear php-xmlrpc php-zip
#Fedora or Enterprise Linux 7:
yum-config-manager --enable remi-php74
yum update php\*
yum install php74
9.zabbix服务启用
#zabbix启动并加入开机自启
systemctl restart zabbix-server zabbix-agent nginx php-fpm
systemctl enable zabbix-server zabbix-agent nginx php-fpm


#端口状态查看
shell> netstat -lntp |grep zabbix
tcp        0      0 0.0.0.0:10050           0.0.0.0:*               LISTEN      28538/zabbix_agentd
tcp        0      0 0.0.0.0:10051           0.0.0.0:*               LISTEN      28573/zabbix_server
tcp6       0      0 :::10050                :::*                    LISTEN      28538/zabbix_agentd
tcp6       0      0 :::10051                :::*                    LISTEN      28573/zabbix_server


#服务版本确认
#zabbix-server
[root@redhat8 ~]# zabbix_server -V
zabbix_server (Zabbix) 6.2.2
Revision 35455866073 29 August 2022, compilation time: Aug 29 2022 10:40:58

Copyright (C) 2022 Zabbix SIA
License GPLv2+: GNU GPL version 2 or later <http://gnu.org/licenses/gpl.html>.
This is free software: you are free to change and redistribute it according to
the license. There is NO WARRANTY, to the extent permitted by law.

This product includes software developed by the OpenSSL Project
for use in the OpenSSL Toolkit (http://www.openssl.org/).

Compiled with OpenSSL 1.1.1k  FIPS 25 Mar 2021
Running with OpenSSL 1.1.1 FIPS  11 Sep 2018

#zabbix-agent
[root@redhat8 ~]# zabbix_agentd -V
zabbix_agentd (daemon) (Zabbix) 6.2.2
Revision 35455866073 29 August 2022, compilation time: Aug 29 2022 10:40:58

Copyright (C) 2022 Zabbix SIA
License GPLv2+: GNU GPL version 2 or later <http://gnu.org/licenses/gpl.html>.
This is free software: you are free to change and redistribute it according to
the license. There is NO WARRANTY, to the extent permitted by law.

This product includes software developed by the OpenSSL Project
for use in the OpenSSL Toolkit (http://www.openssl.org/).

Compiled with OpenSSL 1.1.1k  FIPS 25 Mar 2021
Running with OpenSSL 1.1.1 FIPS  11 Sep 2018

#php版本
[root@redhat8 ~]# php-fpm -v
PHP 7.4.19 (fpm-fcgi) (built: May  4 2021 11:06:37)
Copyright (c) The PHP Group
Zend Engine v3.4.0, Copyright (c) Zend Technologies

#nginx版本
[root@redhat8 ~]# nginx -v
nginx version: nginx/1.14.1


#mysql版本
[root@redhat8 ~]# mysql  -V
mysql  Ver 8.0.26 for Linux on x86_64 (Source distribution)
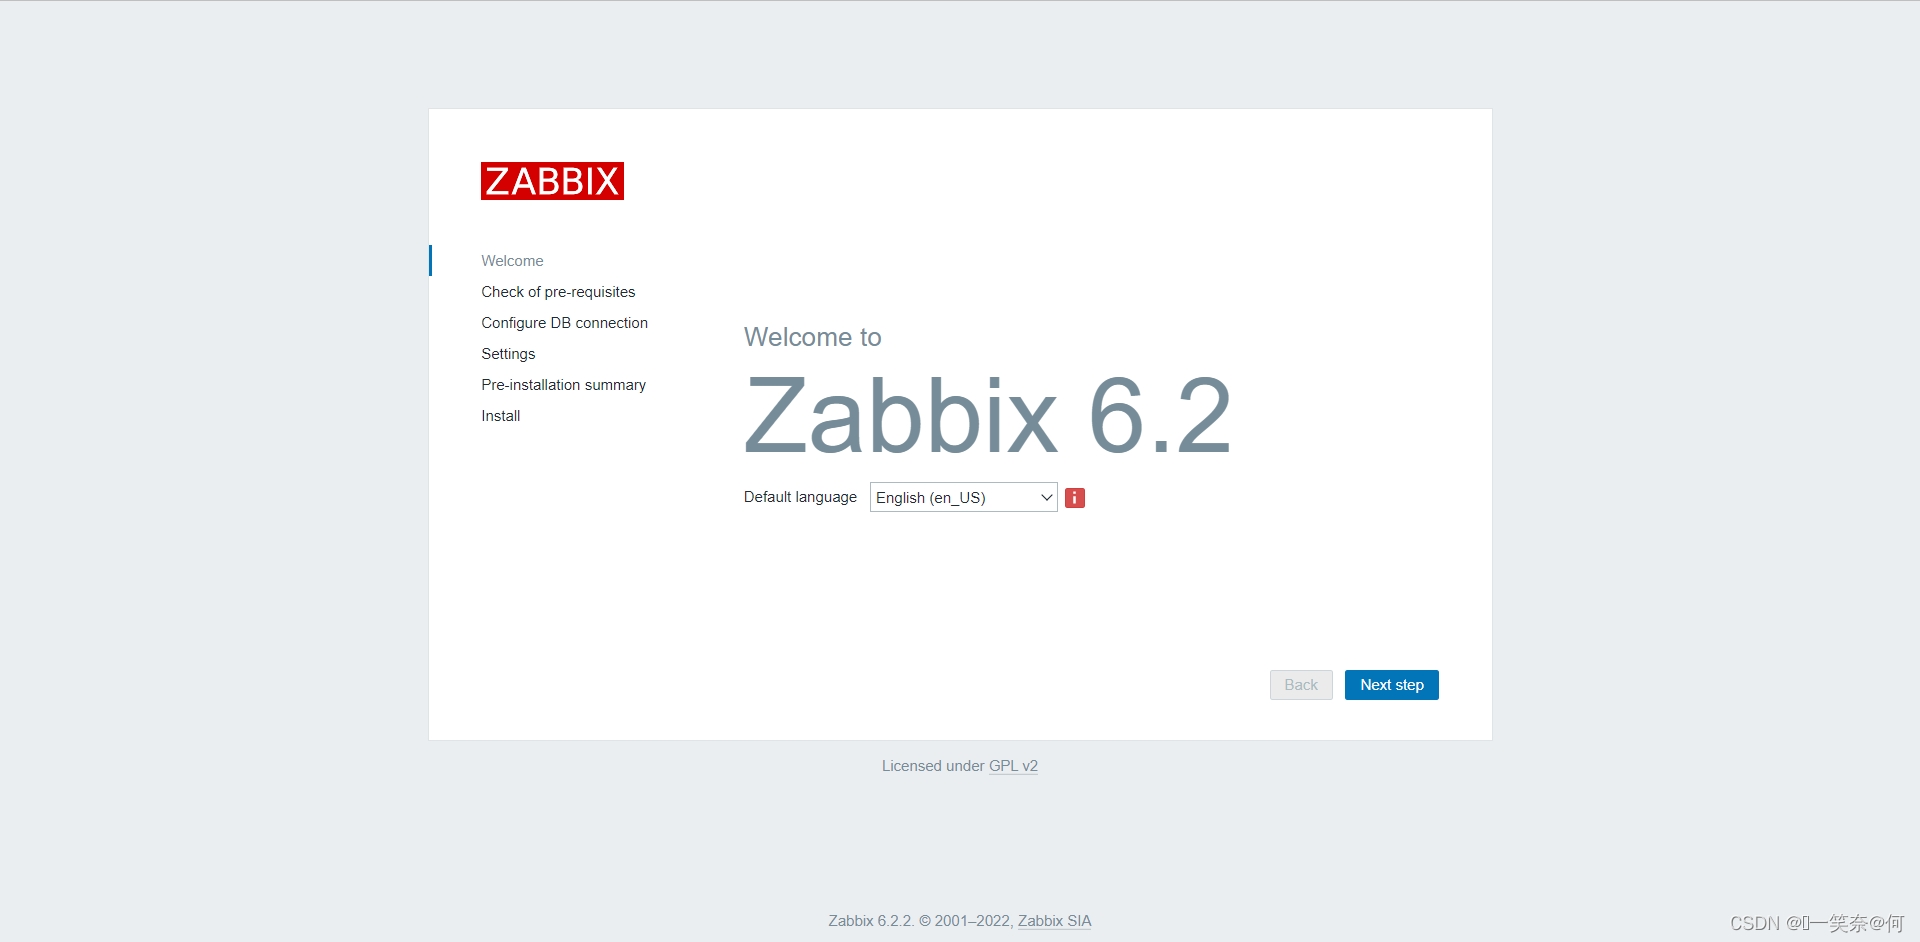
10.zabbix WEB配置
开启web之旅:
服务器上测试:(确认数据是否可以 正常获取)
shell> curl http://server_ip:888/setup.php
默认语言开始只有英文,但是,不着急,等 安装ok,我们再来解决 语言问题😎
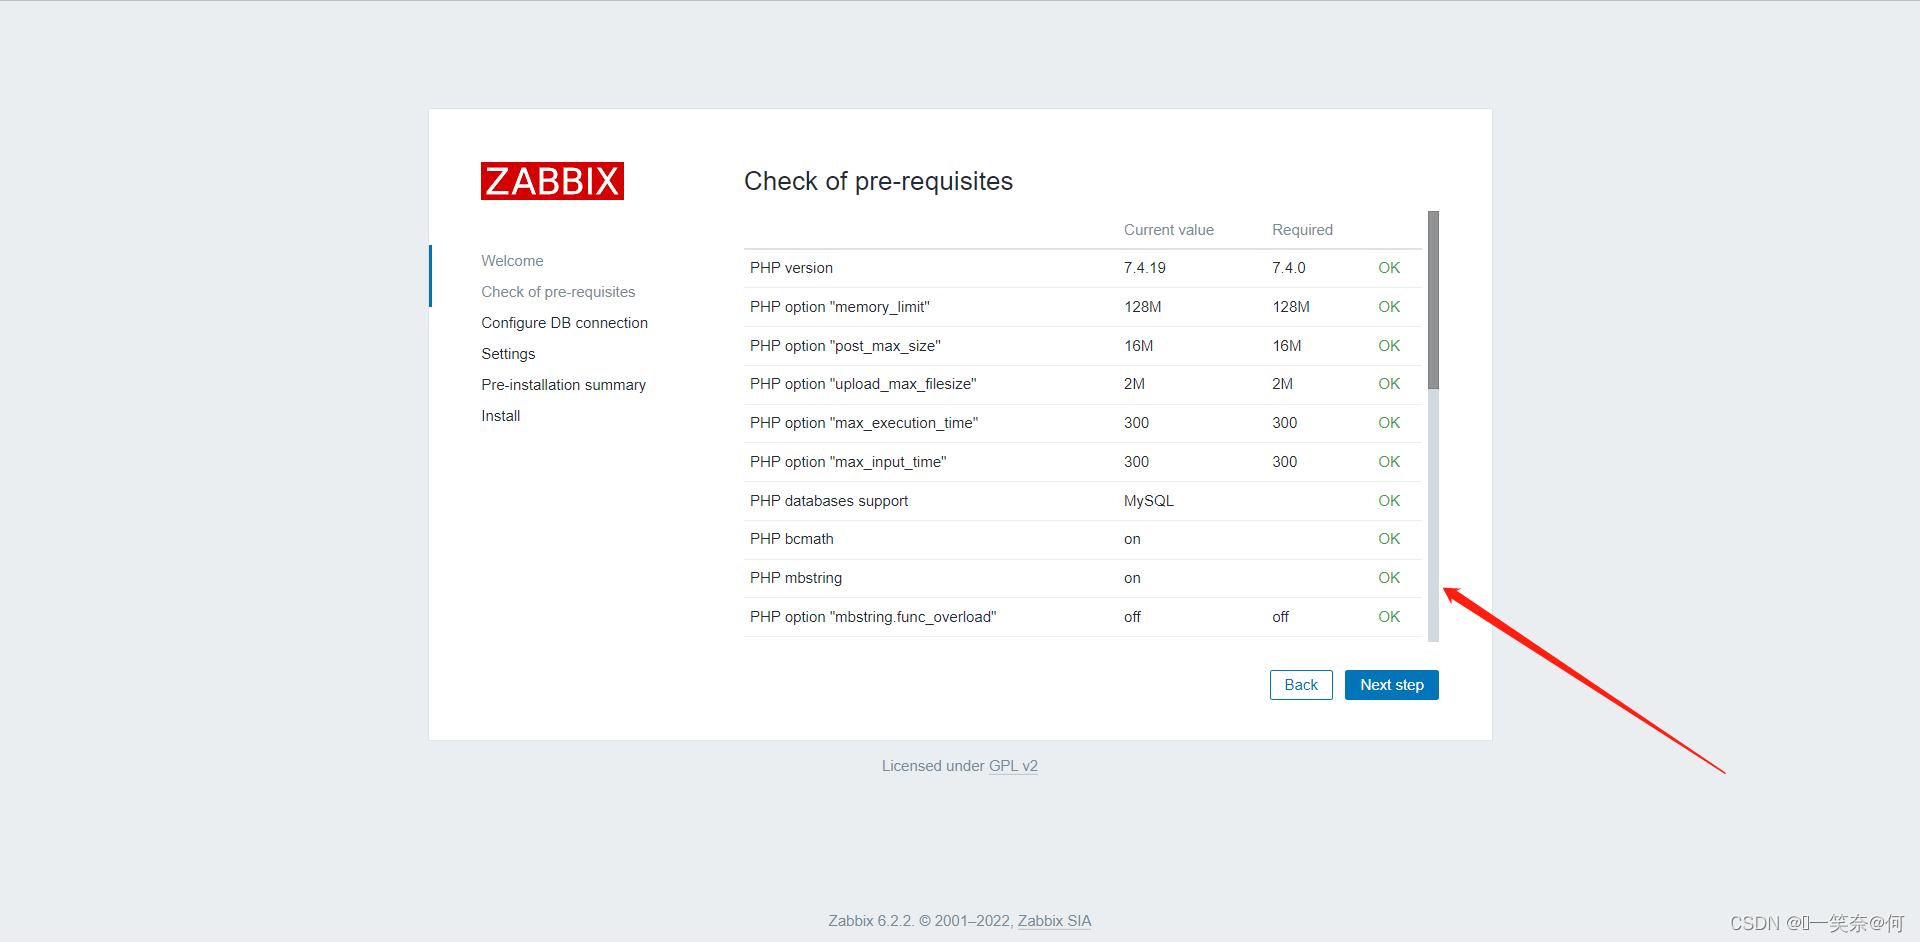
php状态确认,检查是否符合zabbix预期配置,确认全部ok可进行下一步
zabbix关联mysql数据库

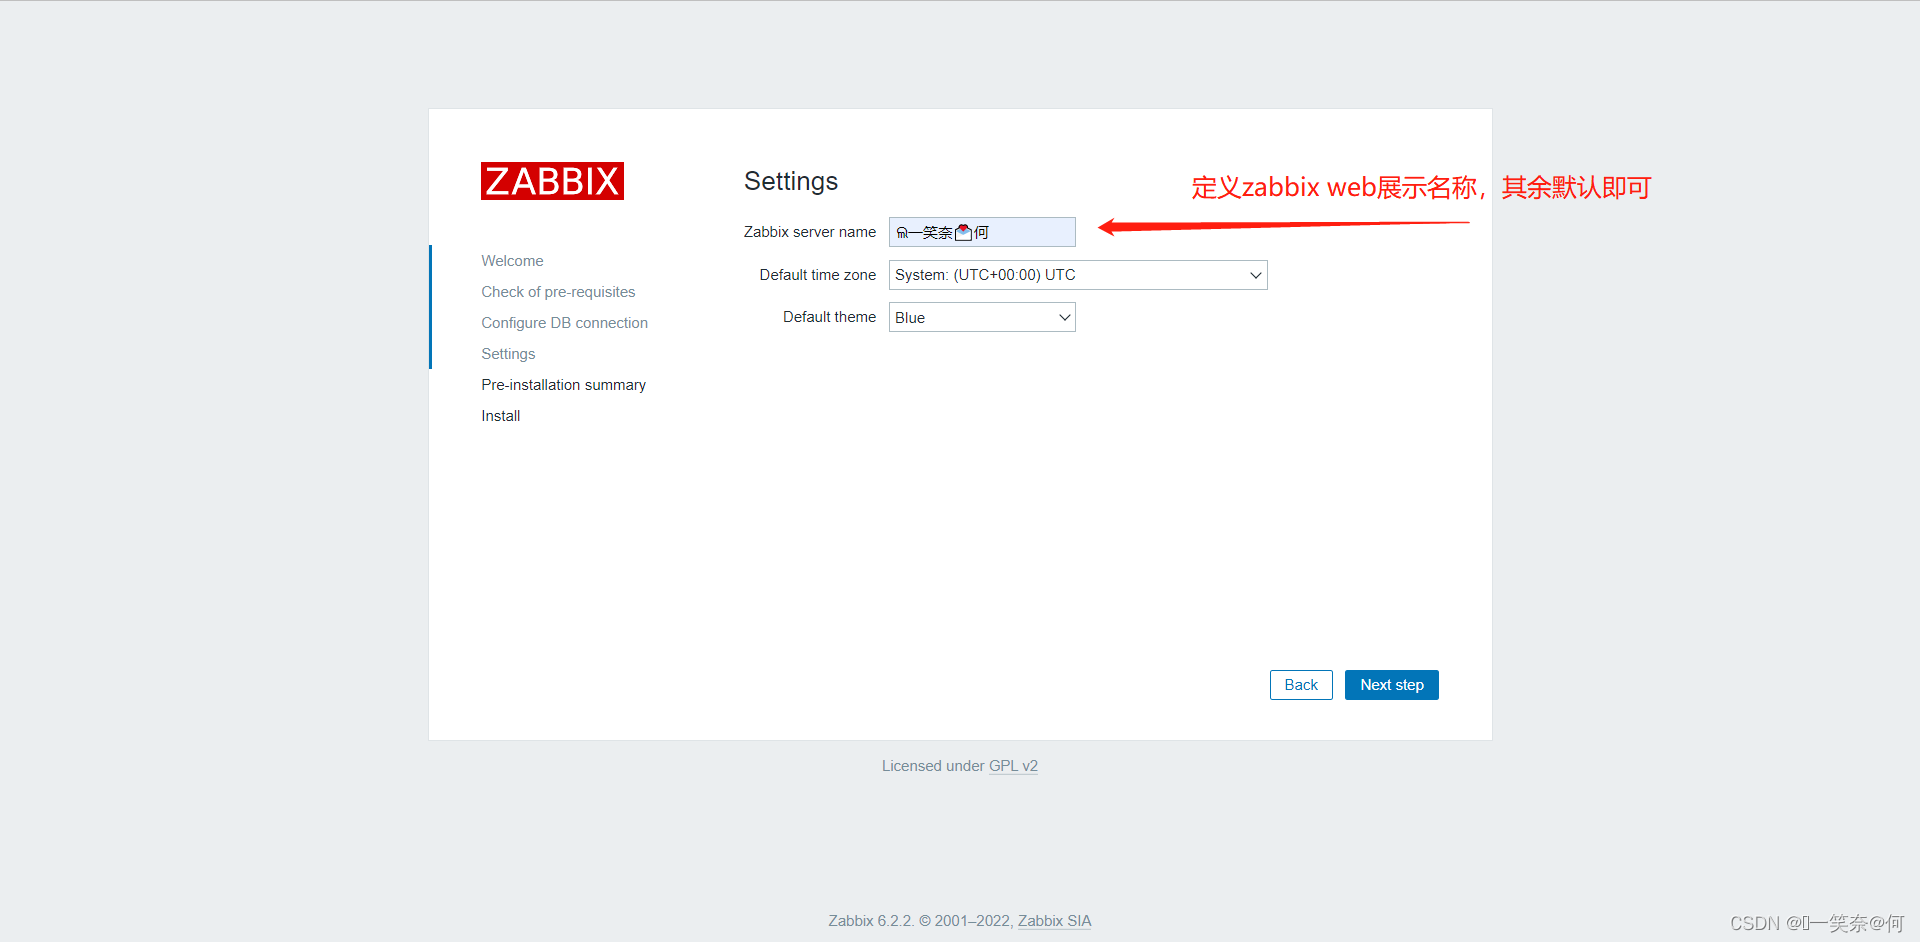
zabbix web名称及时区设定
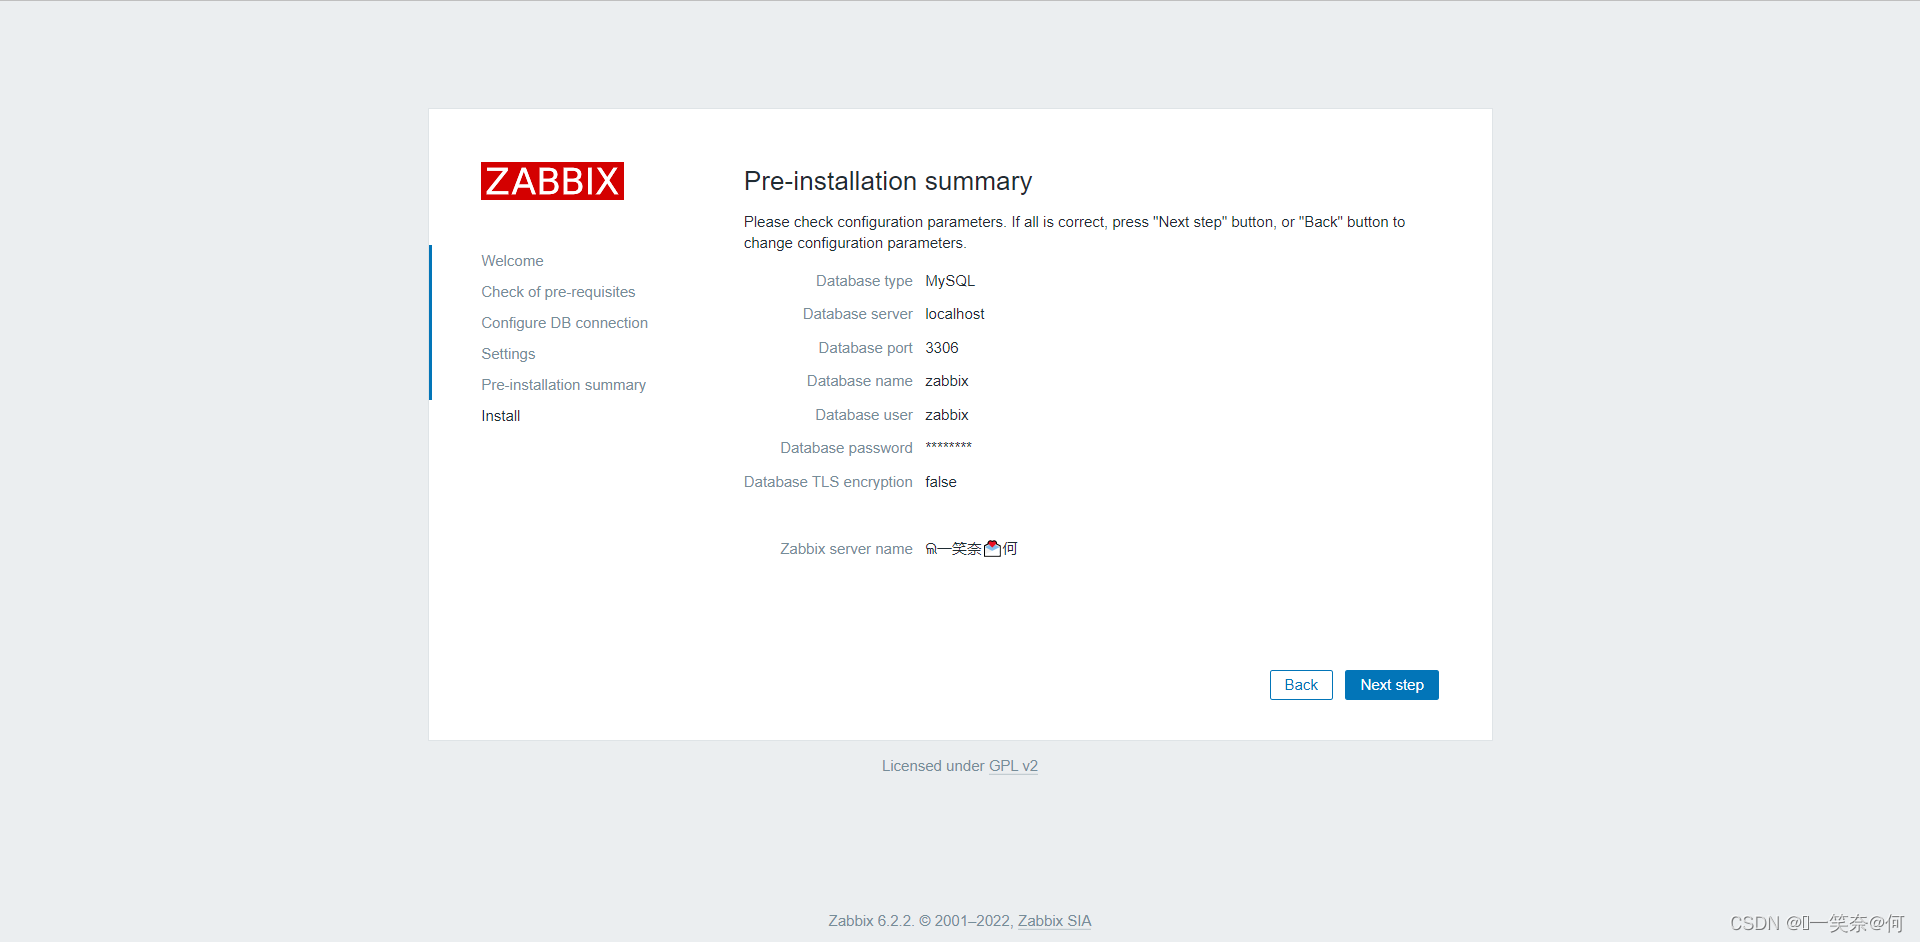
zabbix web信息确认及检查
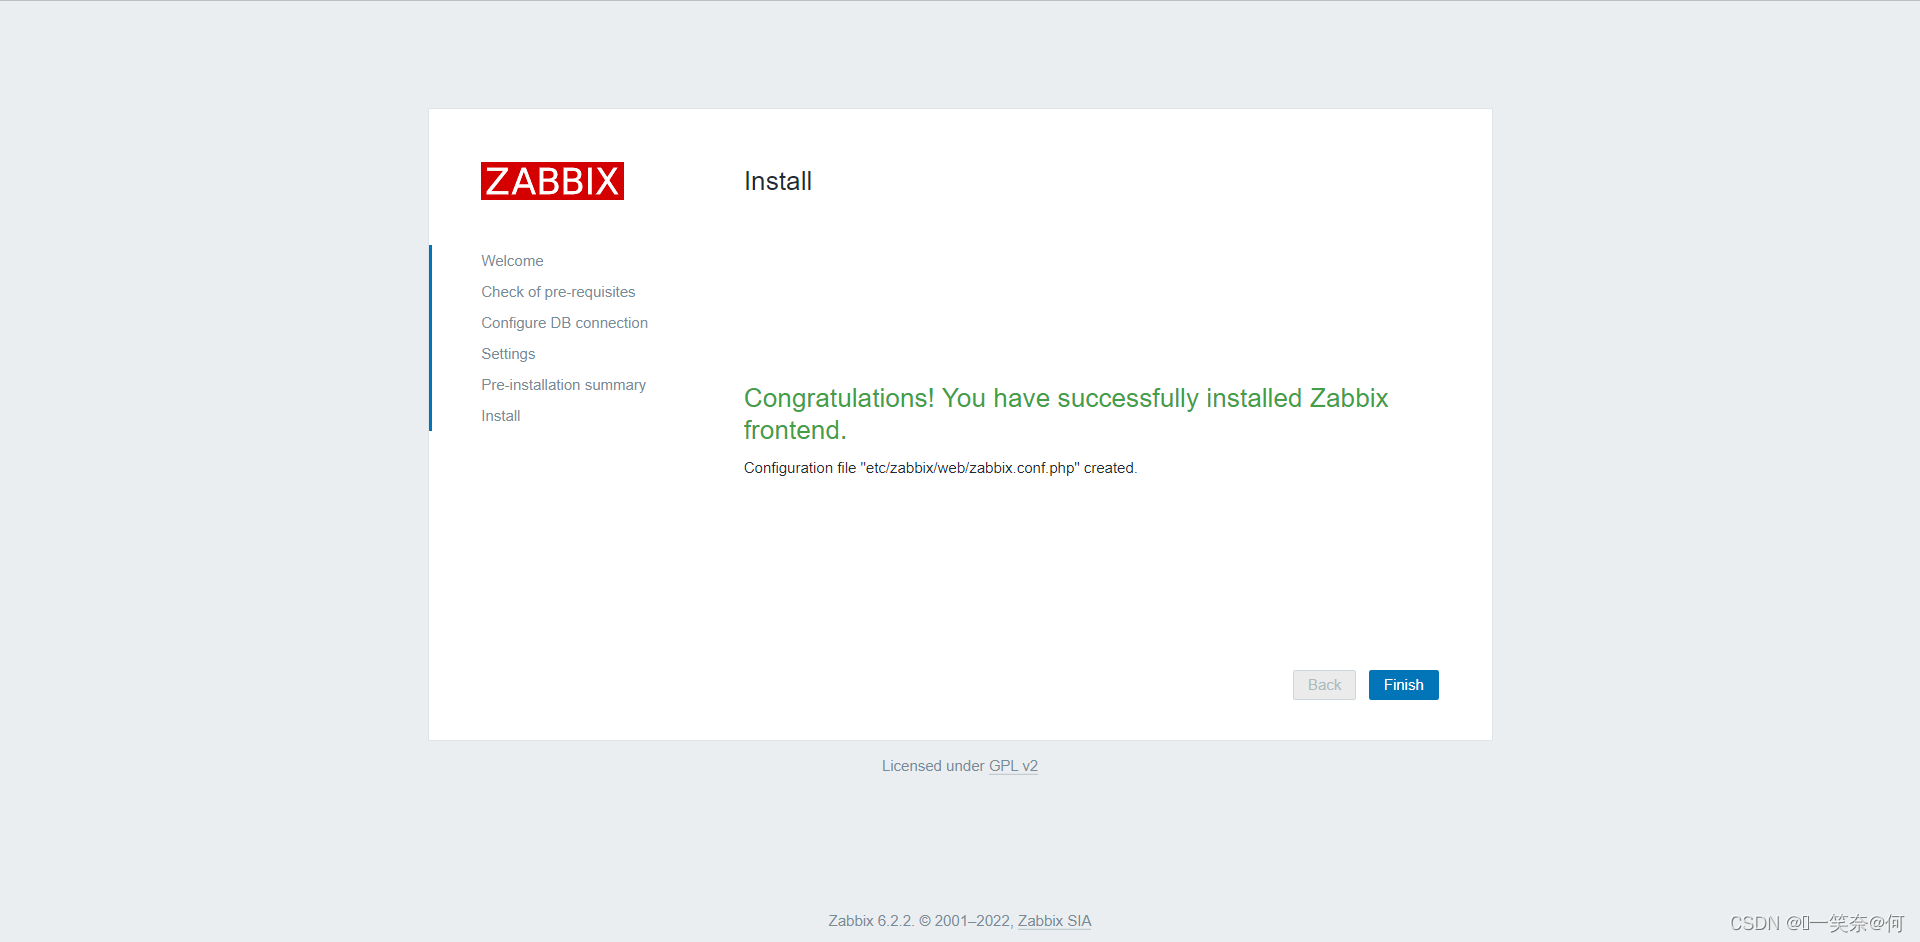
此时,zabbix web配置完成,我们可以进入内部看看有什么变化;📸📸📸
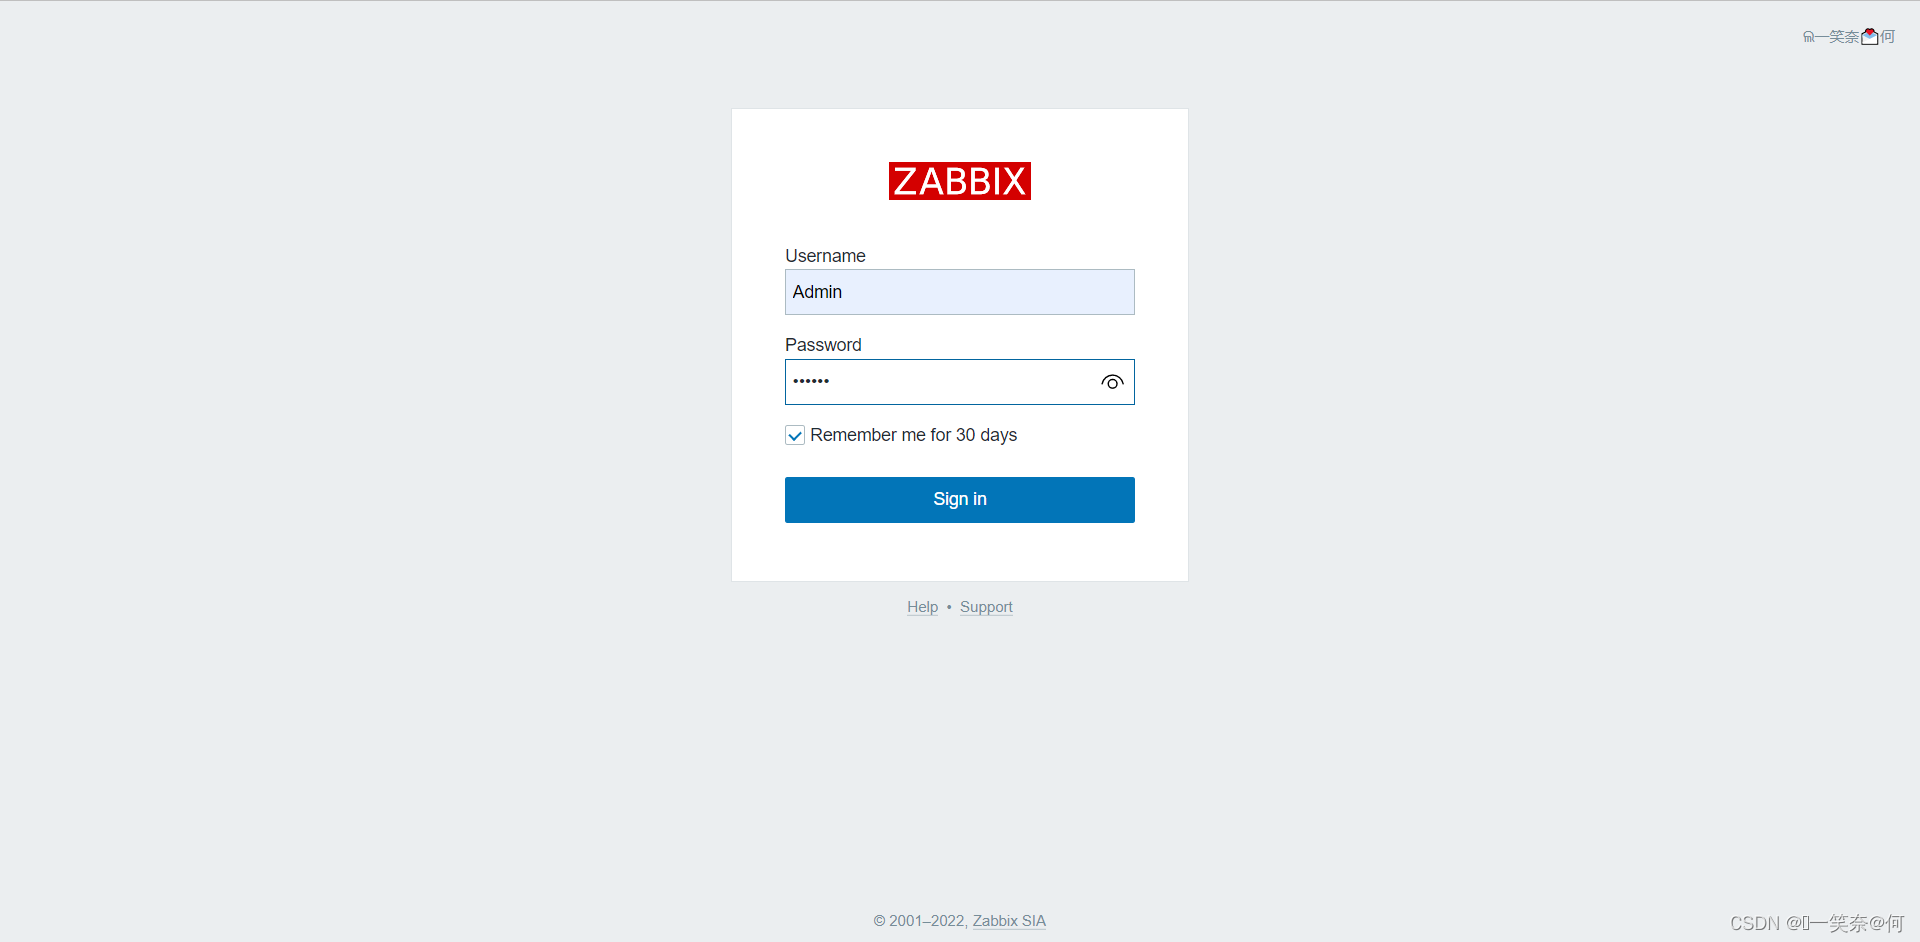
zabbix web登录: 使用默认账号及密码登录即可⚽⚽⚽
11.zabbix WEB使用
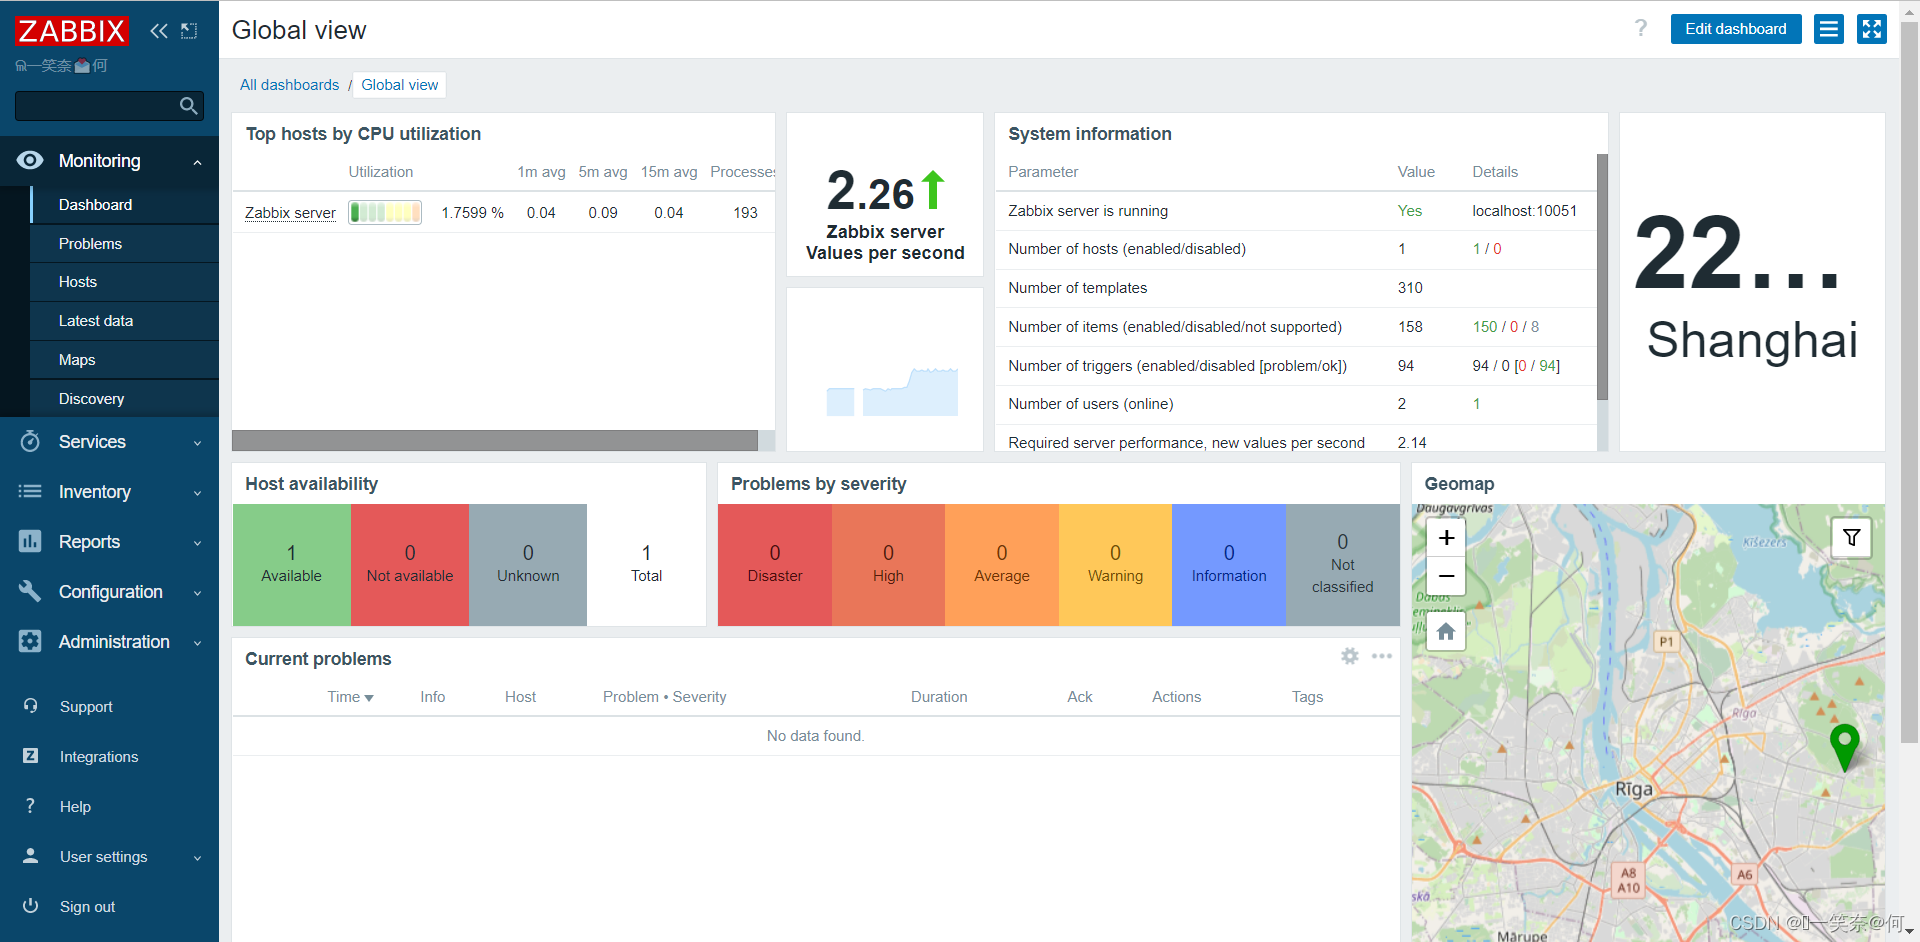
zabbix web主页:
进入主页,看到页面 变化还是蛮大 的,感觉有点花里胡哨,似乎和之前不太一样了😂😂😂
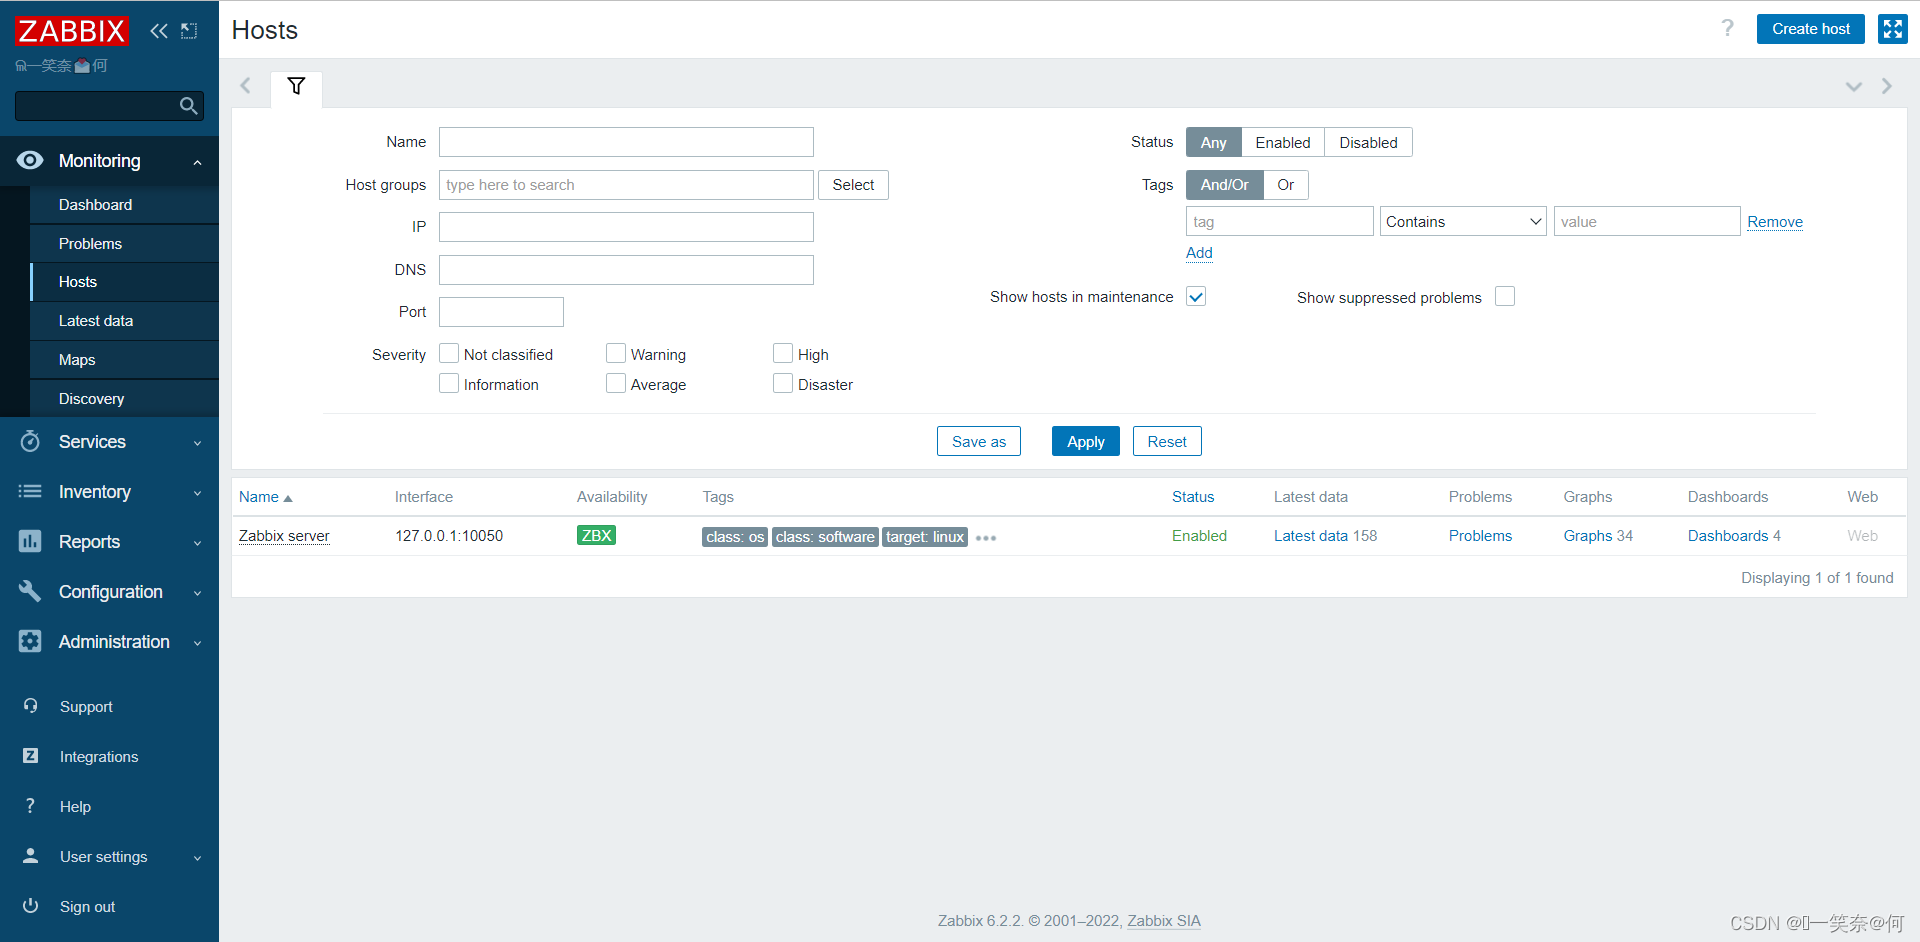
查看监控主机: 😎😎😎⚽
我们可以看到,默认监控主机只有zabbix server,这个是默认创建的,感觉还是挺人性化的,说是zabbix监控简单,但是正正玩起来,也没有那么简单吧,只能说熟能生巧吧
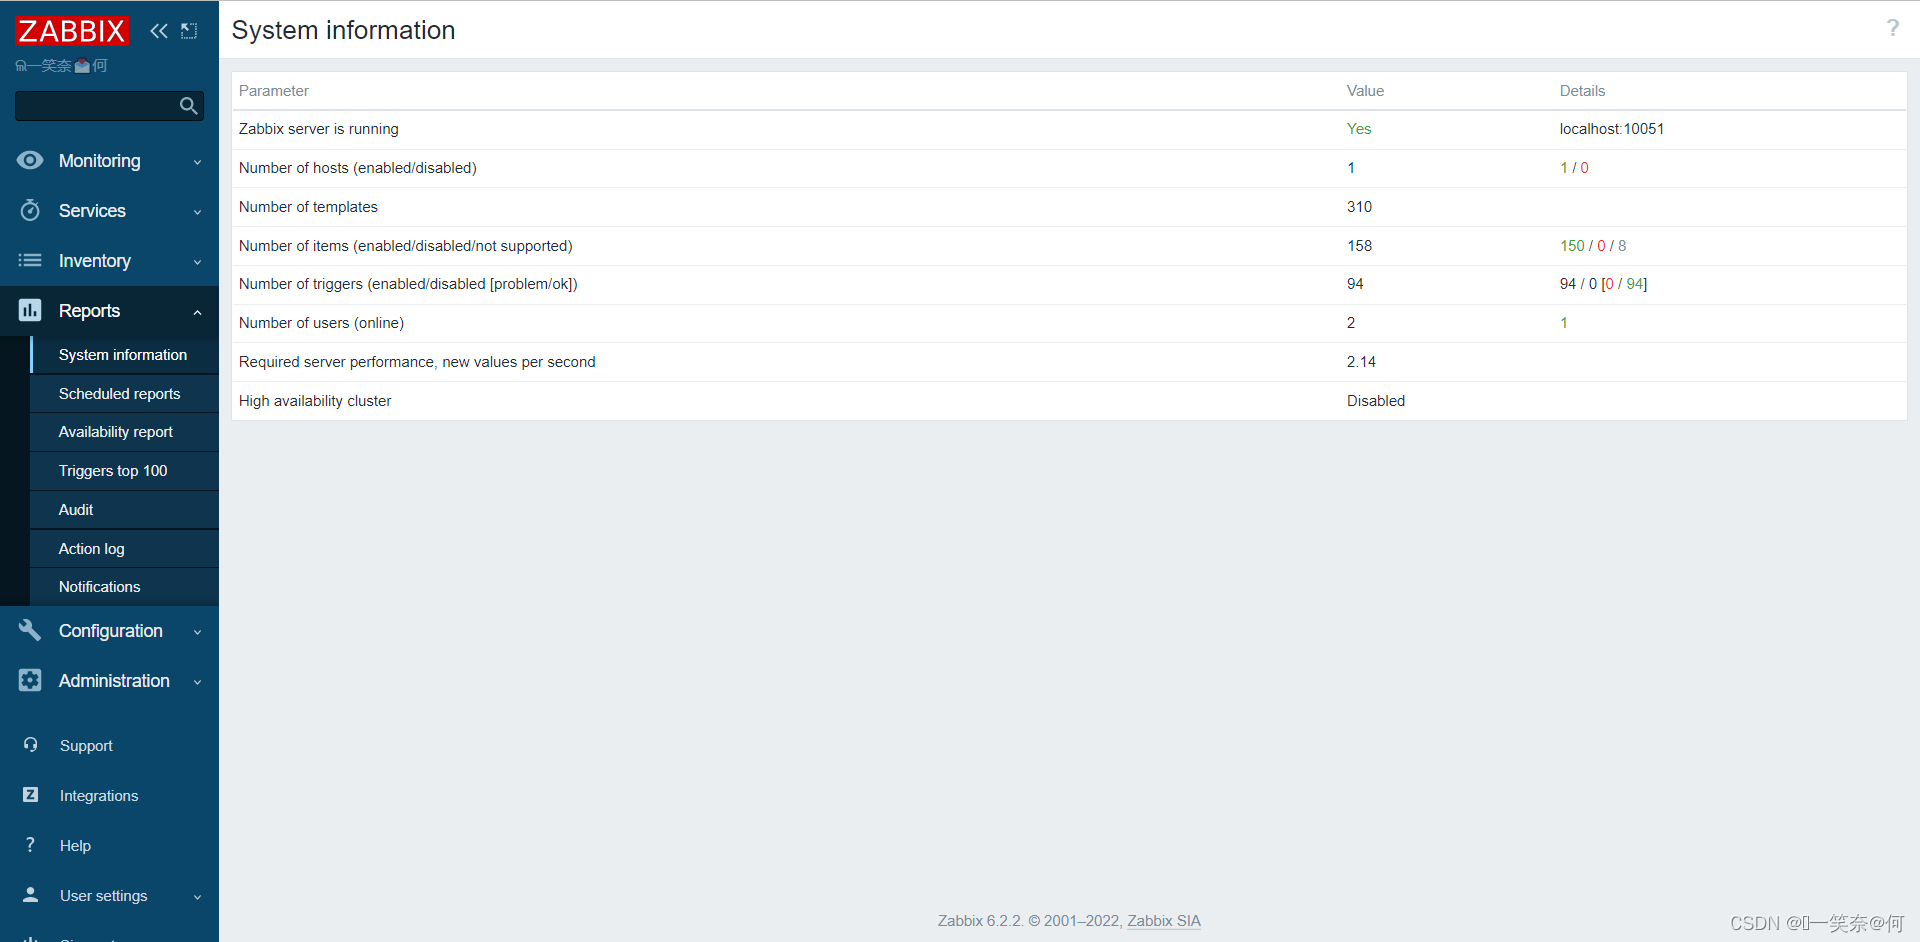
查看当前监控的系统信息及配置:
查看zabbix系统的一些主要信息,基本全部归纳到这里,这里可以看到监控的主机数量,监控项的数量以及触发器的数量,这个还是挺直观的🌏🌏🌏
还有一些服务运行的状态,集群的状态等等!🐱💻🐱💻🐱💻
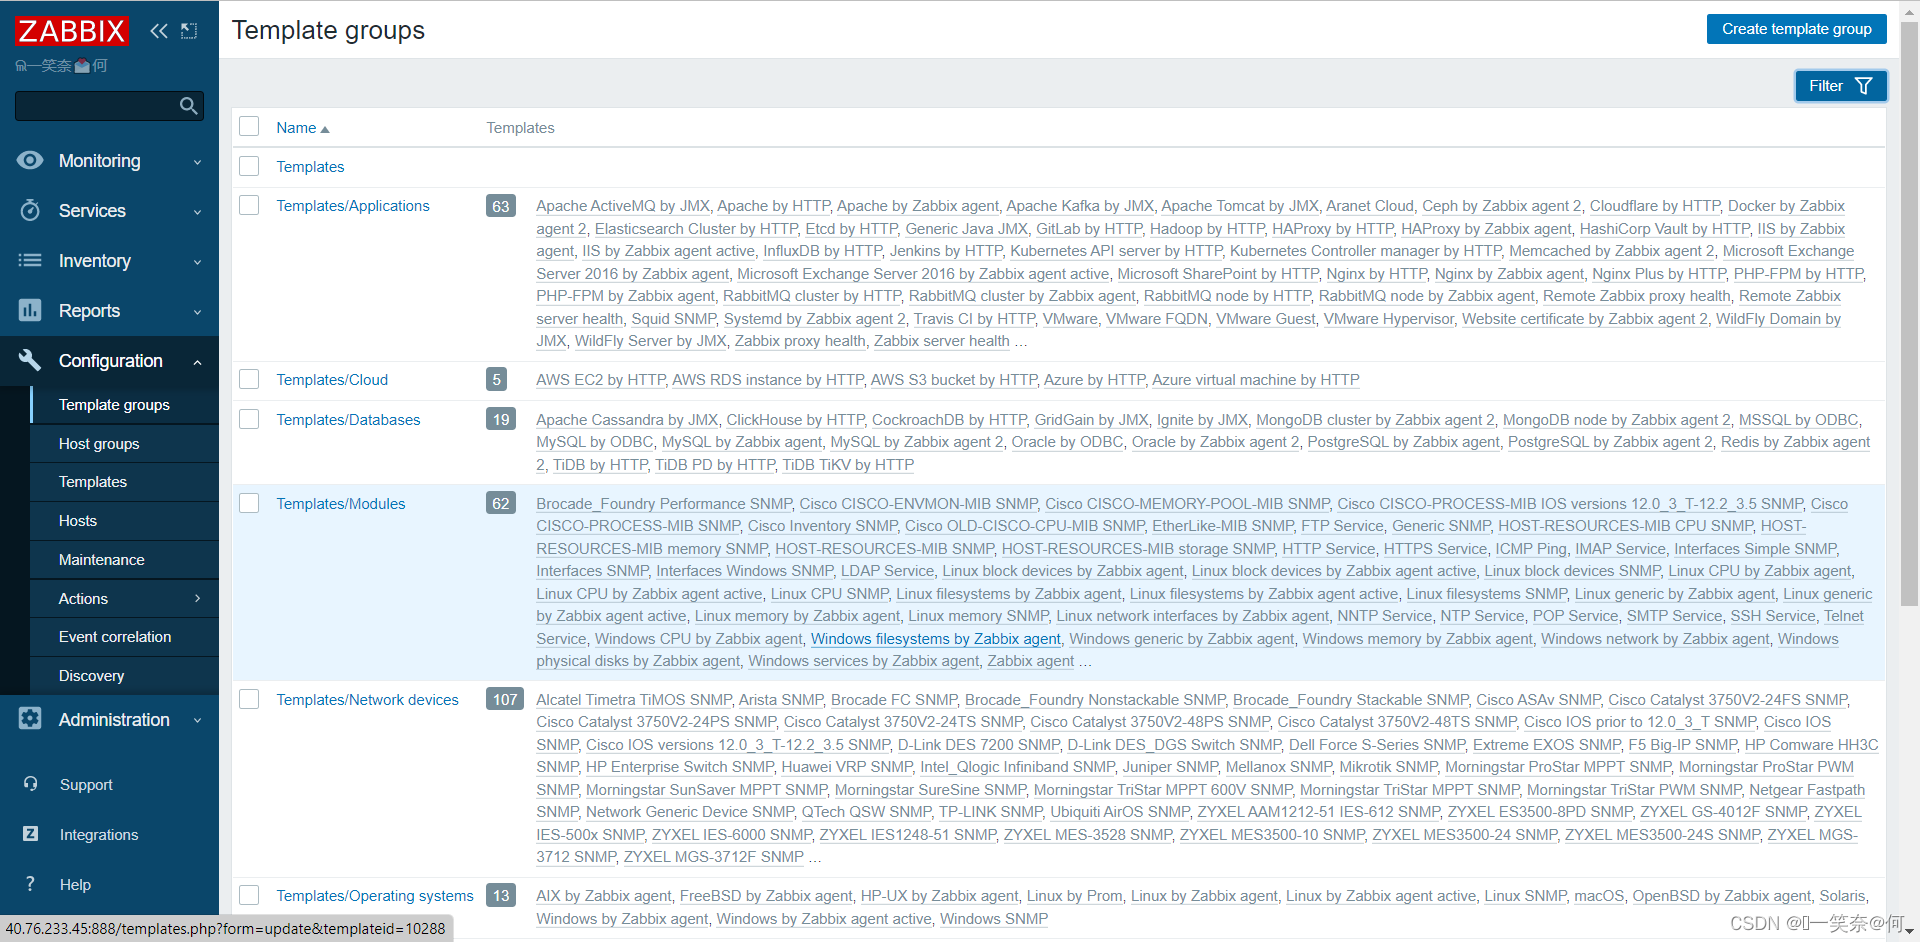
监控模板:
🎁目前zabbix日渐升级,模板也是变的越来越多了,对于我们初学者,更加的友好了,模板通过分组分类,看起来非常直观;在我们可以监控主机时候,直接找到同类型的设备的模板,直接关联即可,再也不用各处找模板或者手动配置创建,先比较之前的模板,模板内容更是进行多样化的优化,看起来更加美观,查找使用更加方便!👍👍👍
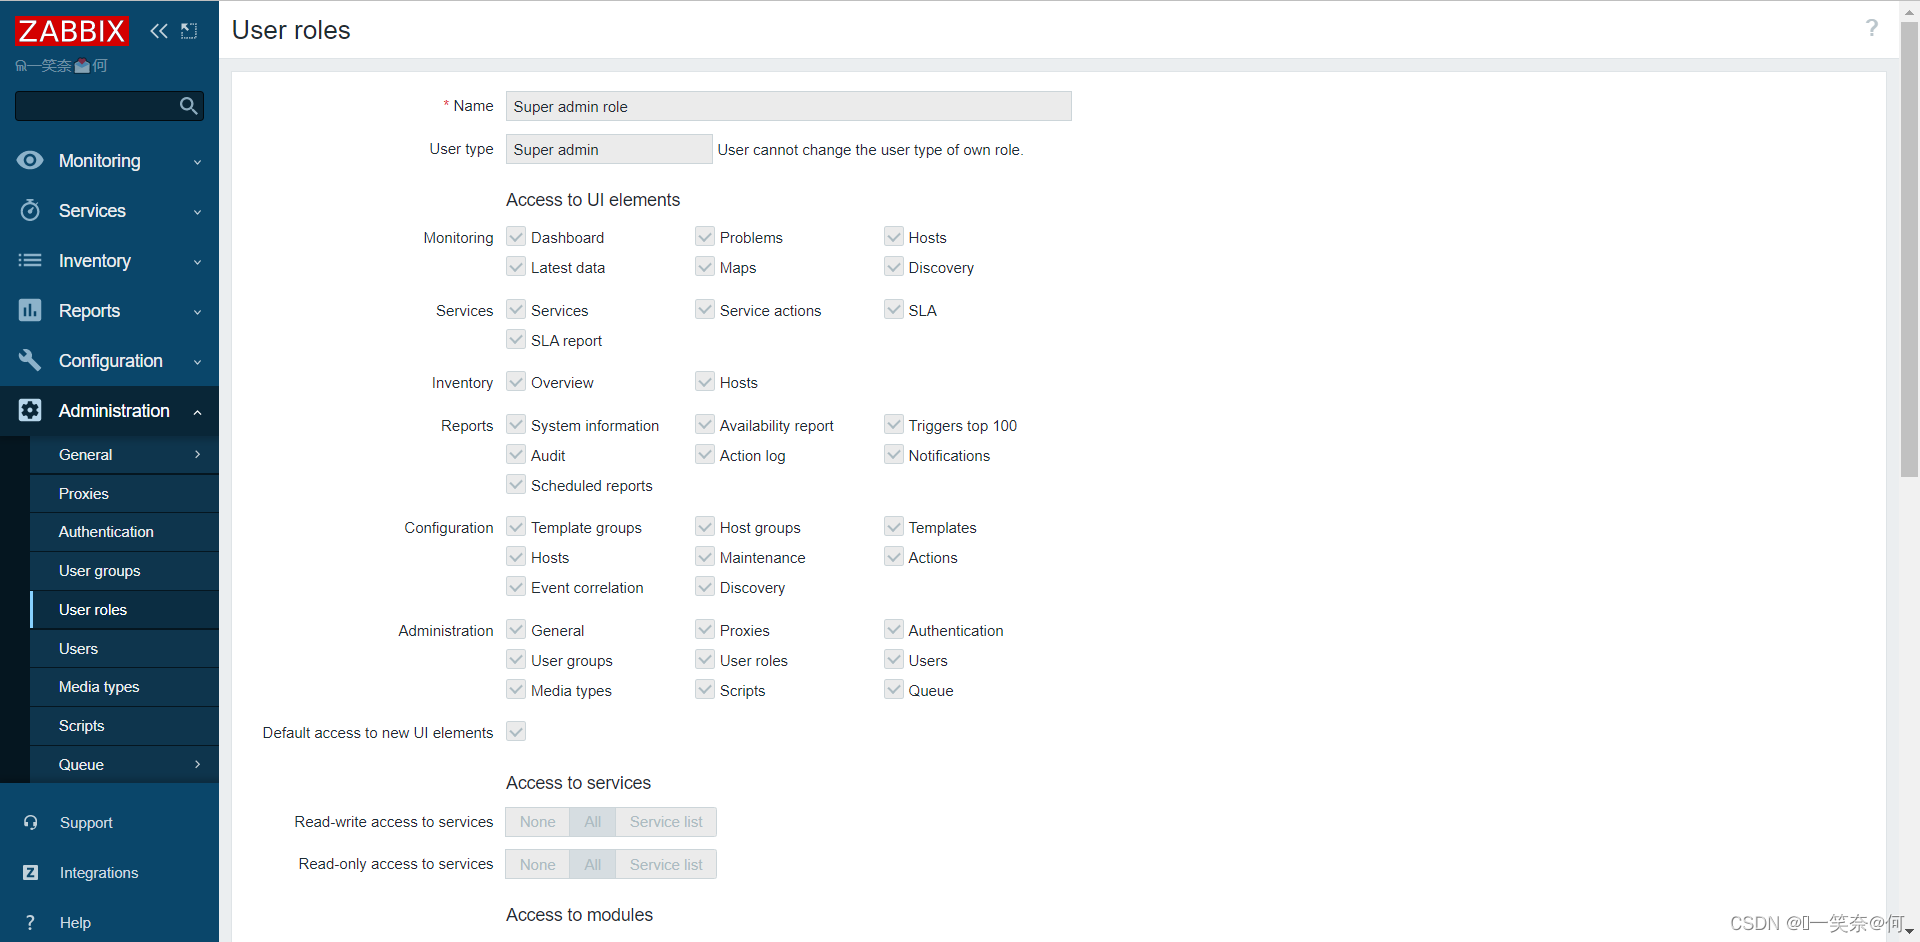
用户特权控制:
用户权限,对于监控工具,也是非常重要的,通过一系列的权限控制,对监控平台增加很好的管控能力,新版本的zabbix增加精细化的roles,可以更加全面的管控用户权限问题;
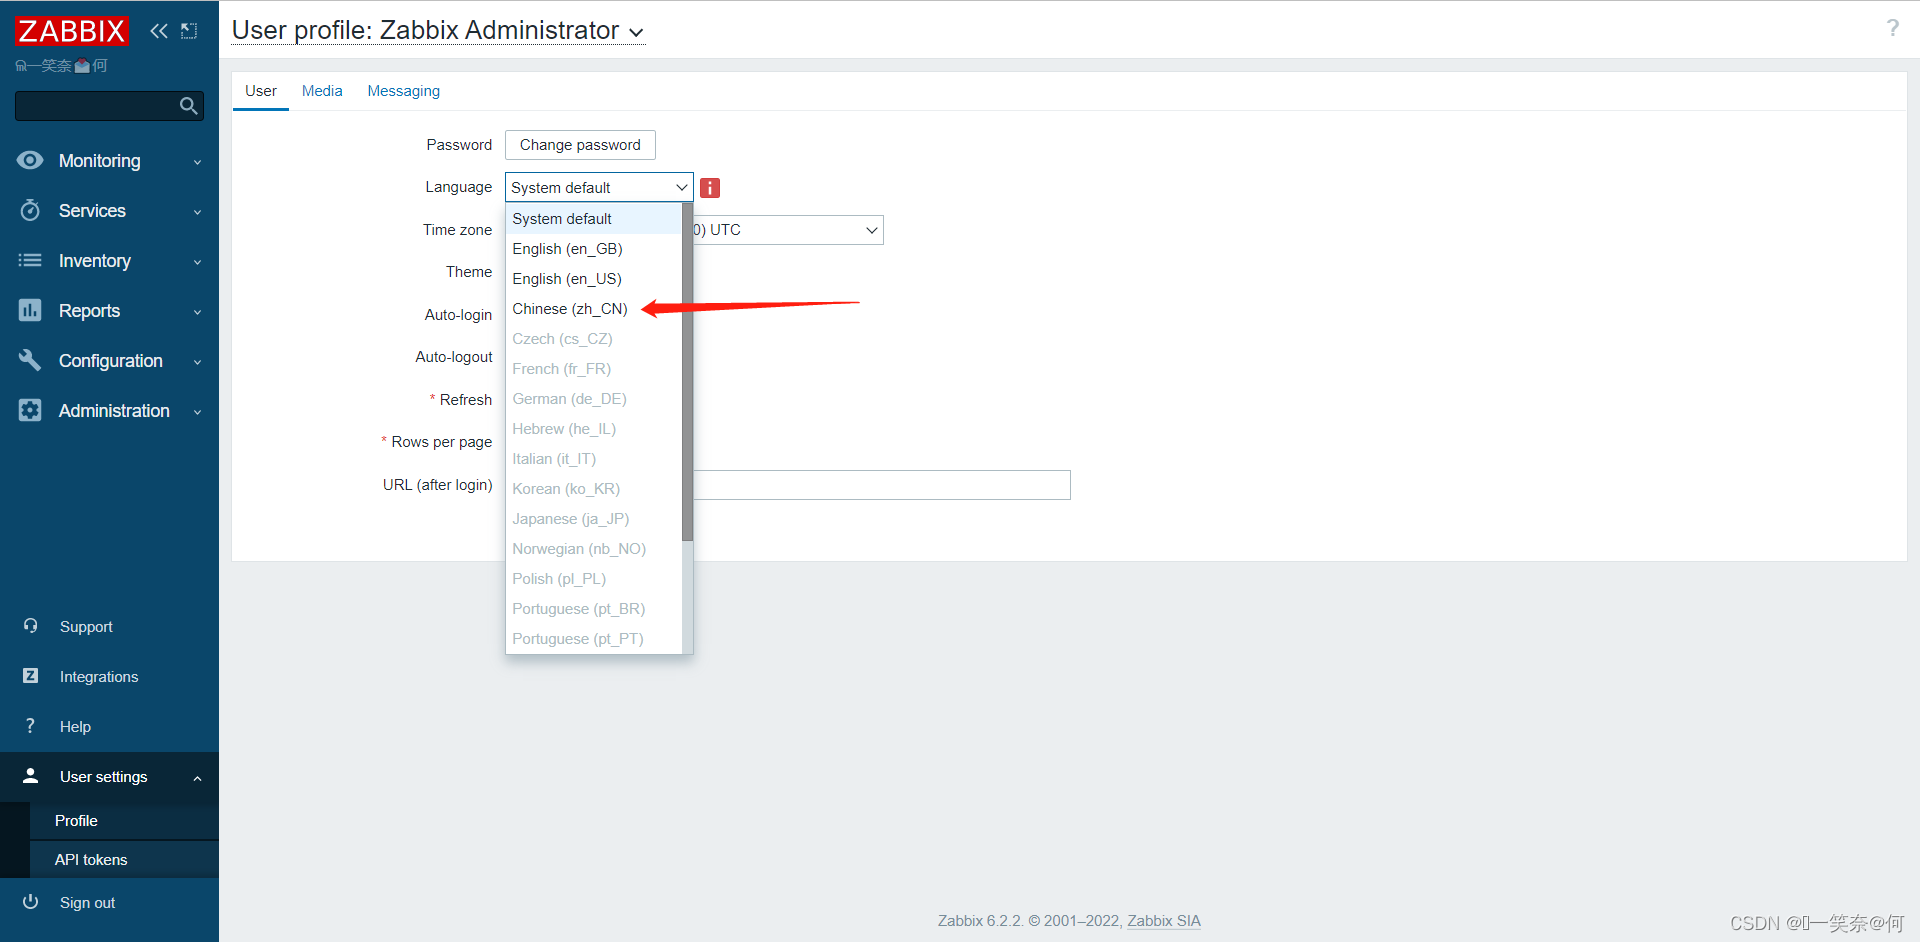
zabbix平台语言及主题切换:
主题切换:我们可以选择Theme项,选择不同样式的主题,按照自己喜好进行选择,默认包含五种类被主题供我们使用,但其实只有四种,但是我们使用也感觉挺实用的,已足够!🔊🔊🔊

#zabbix语言安装及配置(直接dnf安装一下软件包即可)
[root@redhat8 ~]# dnf install glibc-langpack-zh.x86_64


#查看新安装的所有中文语言包
[root@redhat8 ~]# localectl list-locales | grep zh
zh_CN
zh_CN.gb18030
zh_CN.gbk
zh_CN.utf8
zh_HK
zh_HK.utf8
zh_SG
zh_SG.gbk
zh_SG.utf8
zh_TW
zh_TW.euctw
zh_TW.utf8


#安装ok中文语言包,我们可以直接到zabbix web刷新,然后就可以进入到心心念念的zabbix中文模式😎😎😎
以下所示为中文zabbix WEB,看起来还不错,想要更加深入了解,需进一步了解zabbix架构详情!🌹🌹🌹

12.zabbix API对接Grafana展示
1)安装配置grafana
granfana下载安装:
#下载grafana
shell> wget https://mirrors.tuna.tsinghua.edu.cn/grafana/yum/rpm/grafana-9.1.2-1.x86_64.rpm


#安装grafana
shell> dnf install grafana-9.1.2-1.x86_64.rpm


#更改配置(默仁端口为3000,这里端口我更改为9999)
shell> vim /etc/grafana/grafana.ini
[server]
http_port = 9999   #配置默认端口


#启动grafana
shell> systemctl restart grafana-server.service


#检查服务状态
shell> netstat -lntp |grep grafana
tcp6       0      0 :::9999                 :::*                    LISTEN      32712/grafana-serve


#grafana版本
shell> grafana-server -v
Version 9.1.2 (commit: 3c13120cde, branch: HEAD)
2)zabbix对接grafana
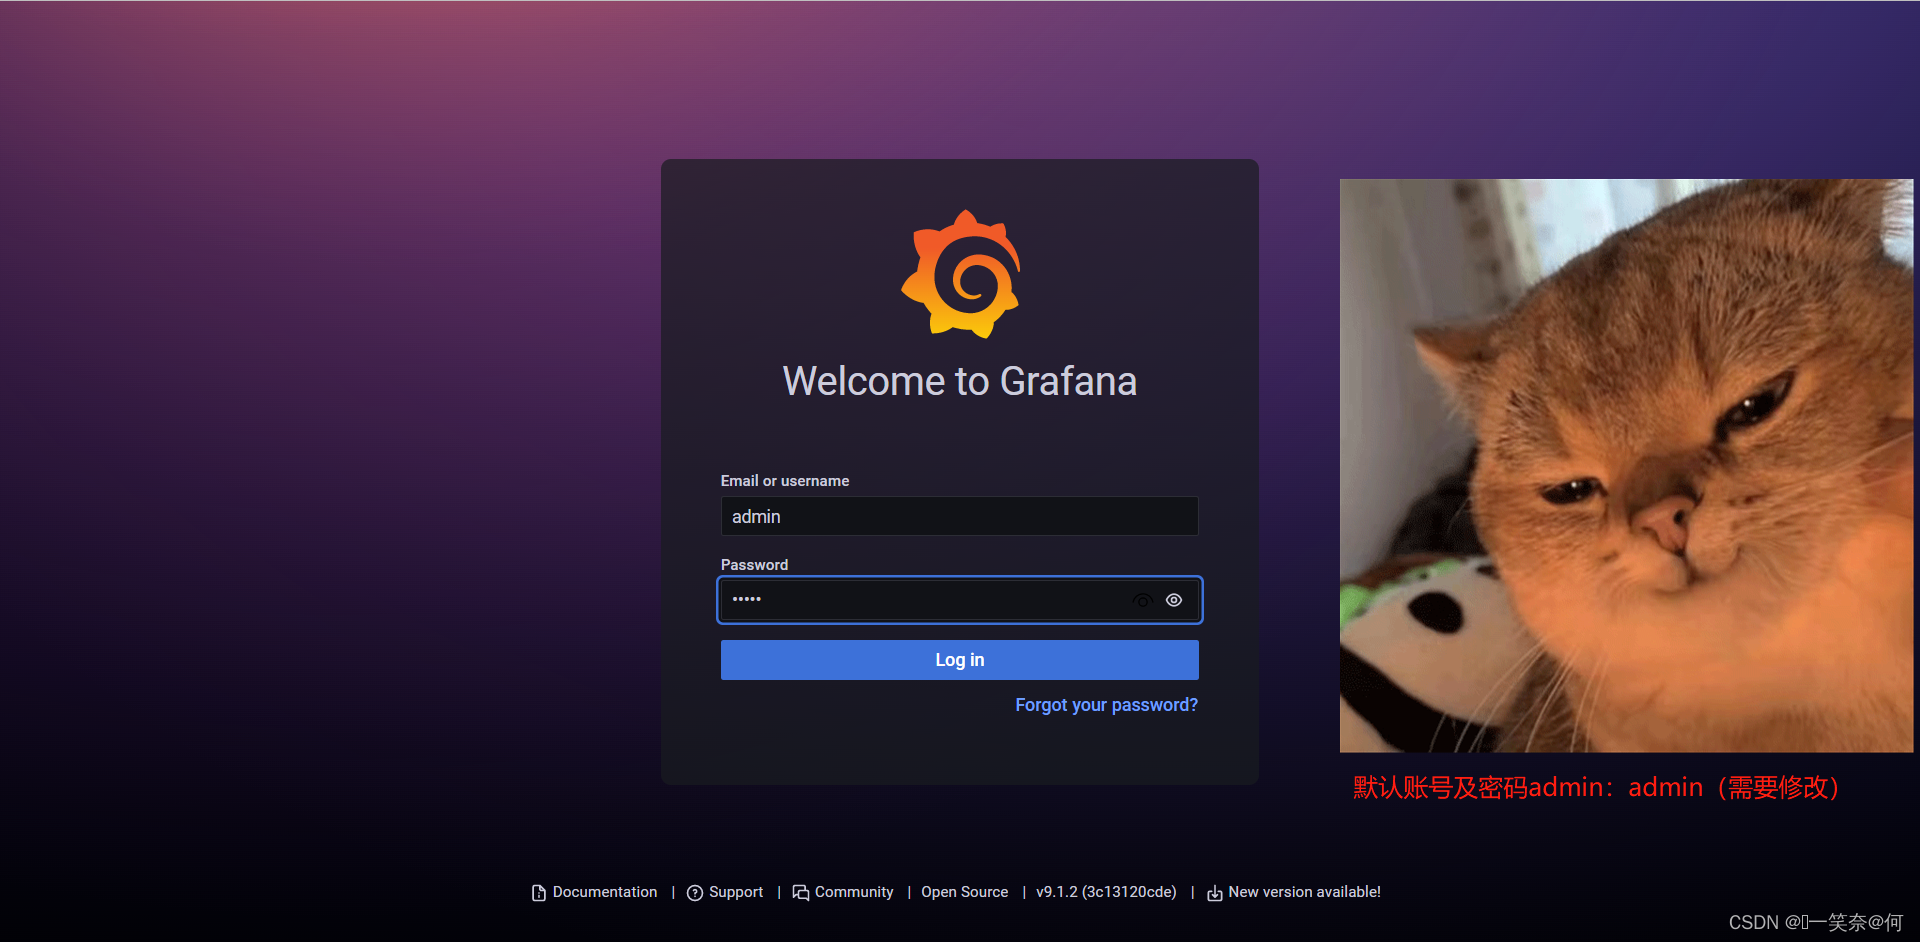
grafana web访问:
这时候已经安装ok了,我们就可以使用grafana了
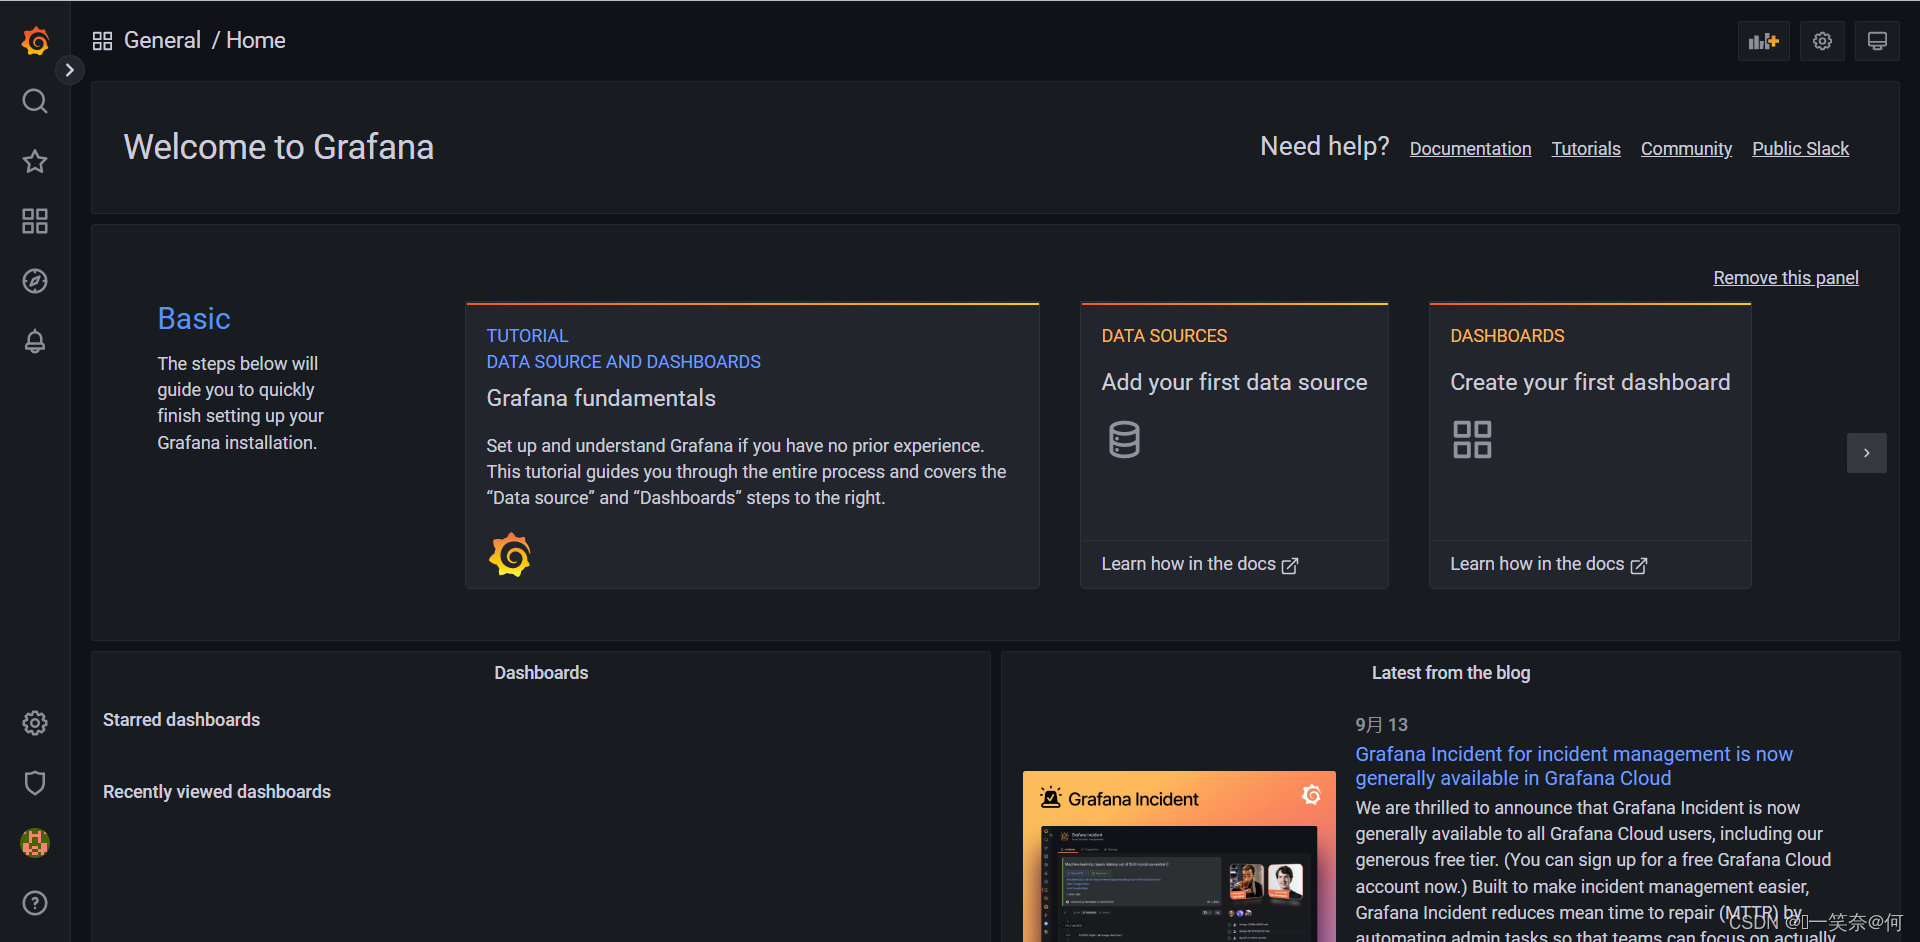
grafana主页面展示
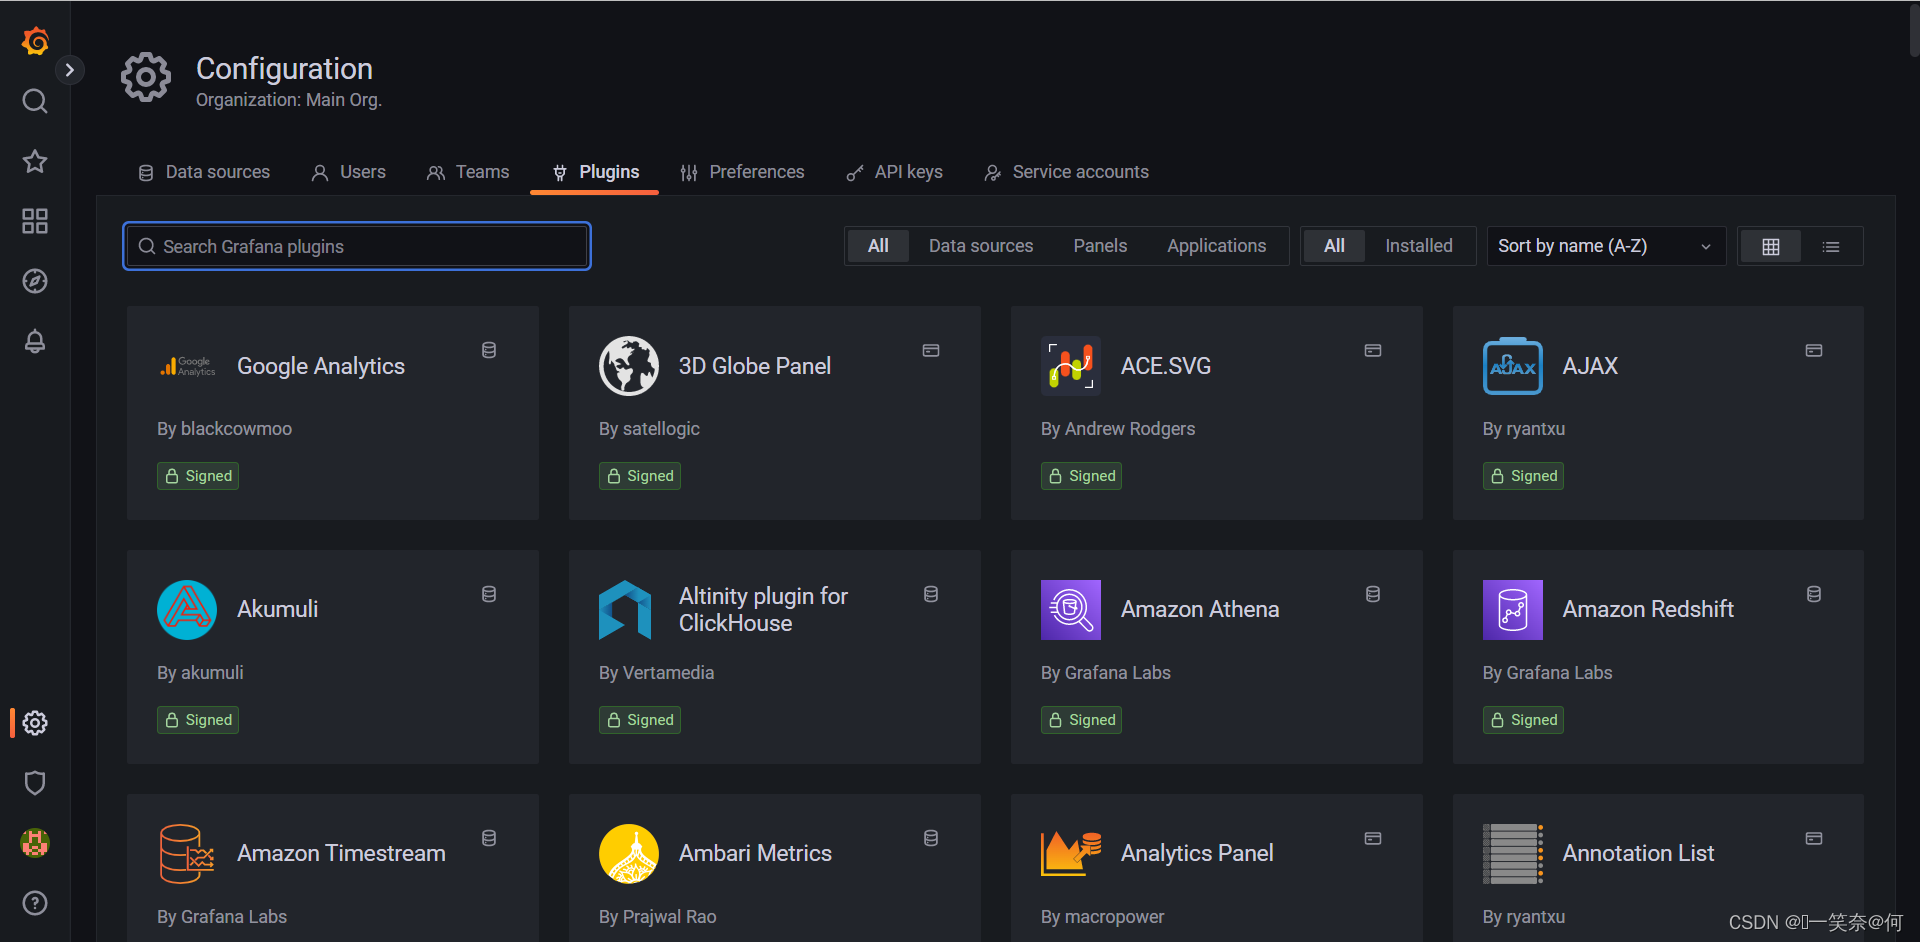
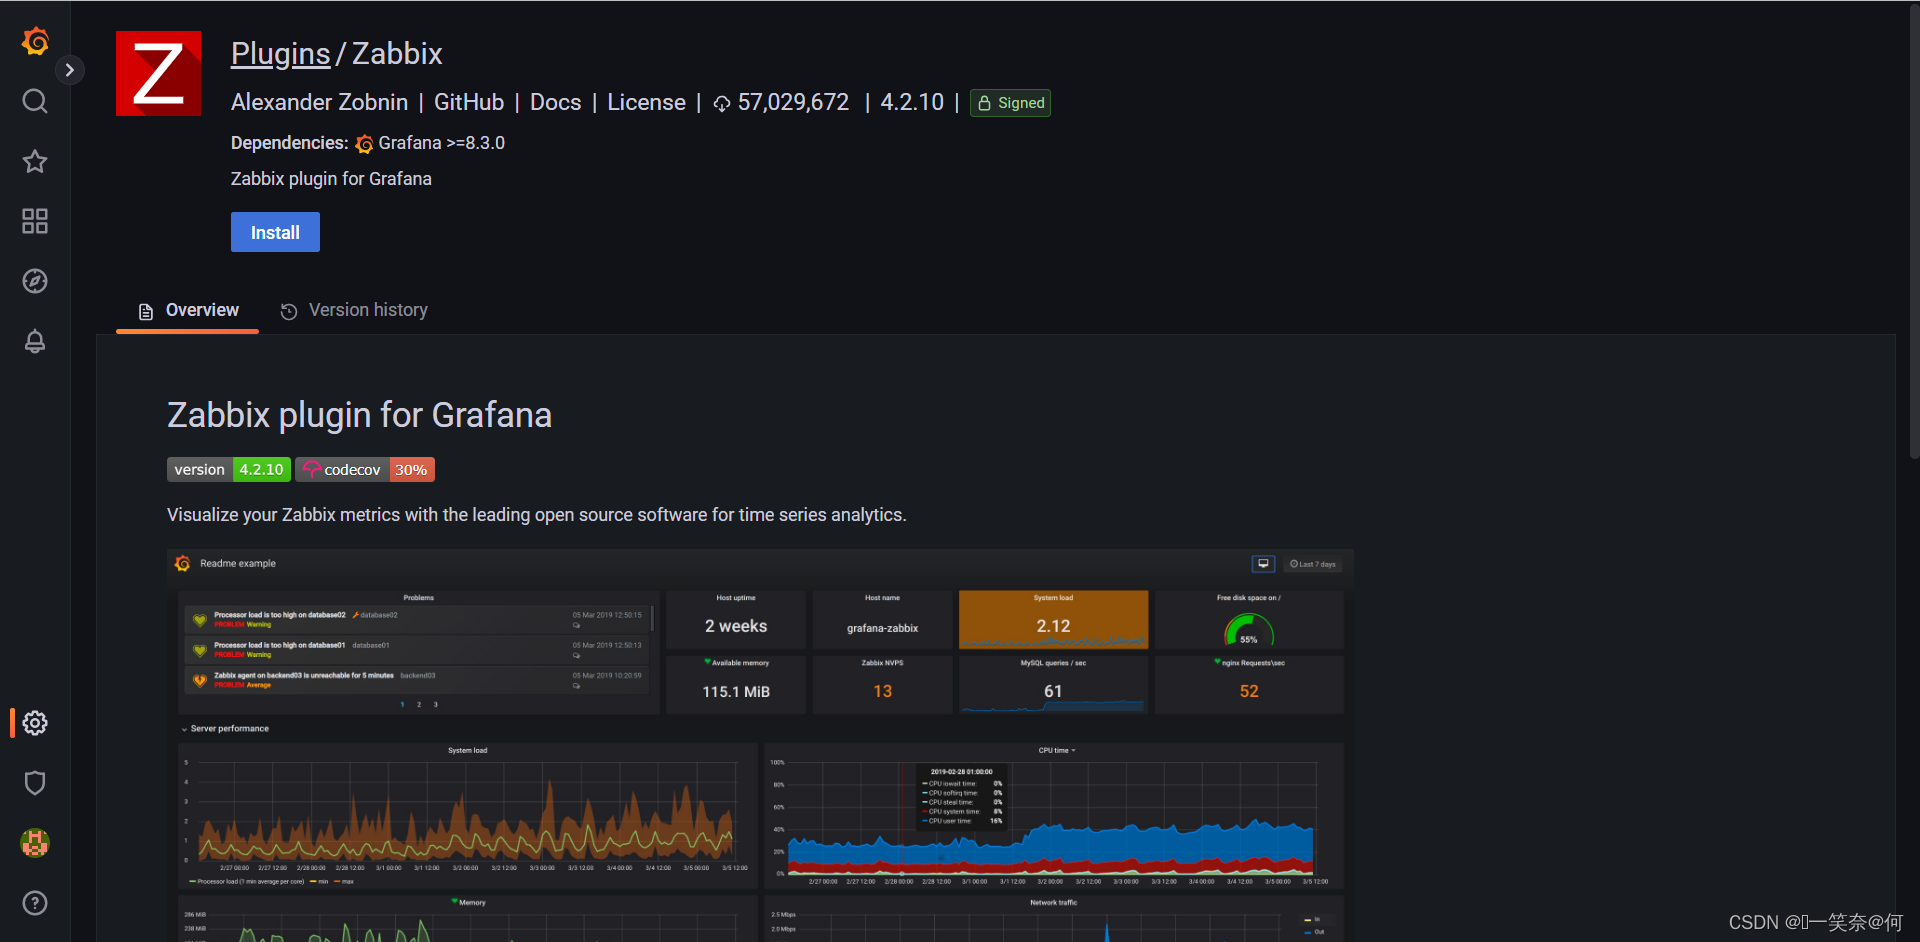
zabbix关联grafana
因为之前默认是没有zabbix插件的,需要我们下载安装一下就行,然后安装开启就可以了
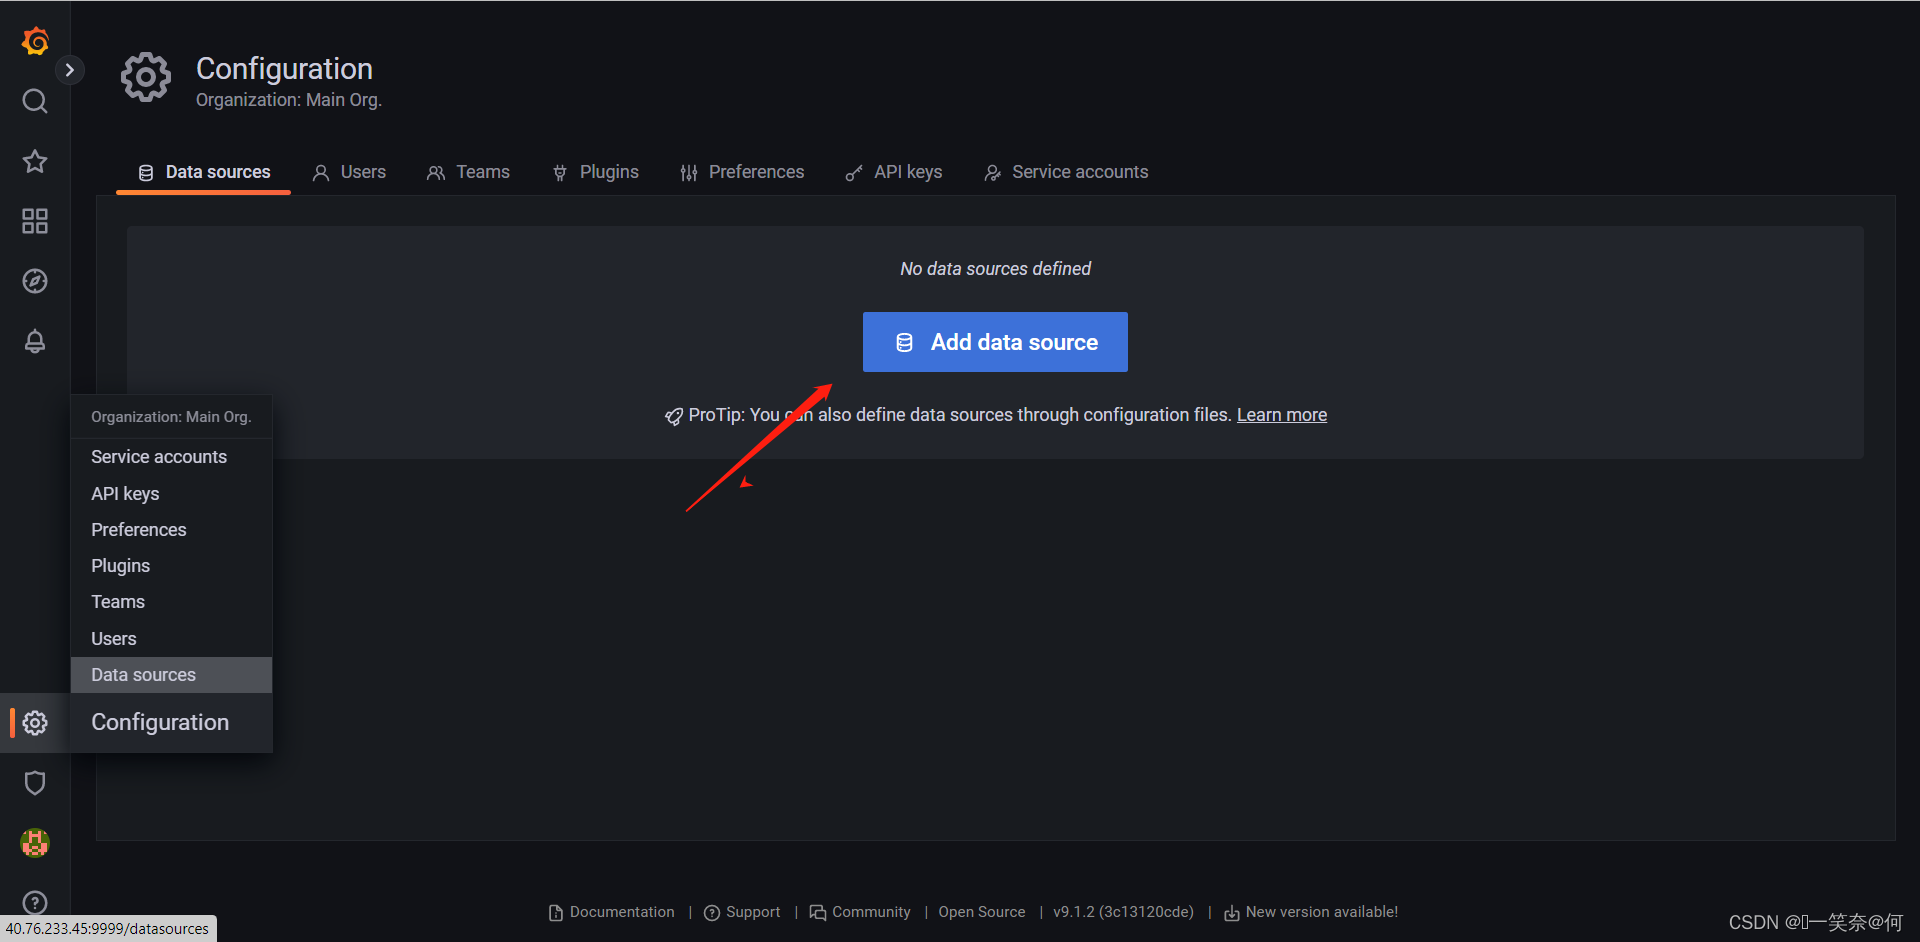
创建grafana展示的数据源,关联zabbix插件
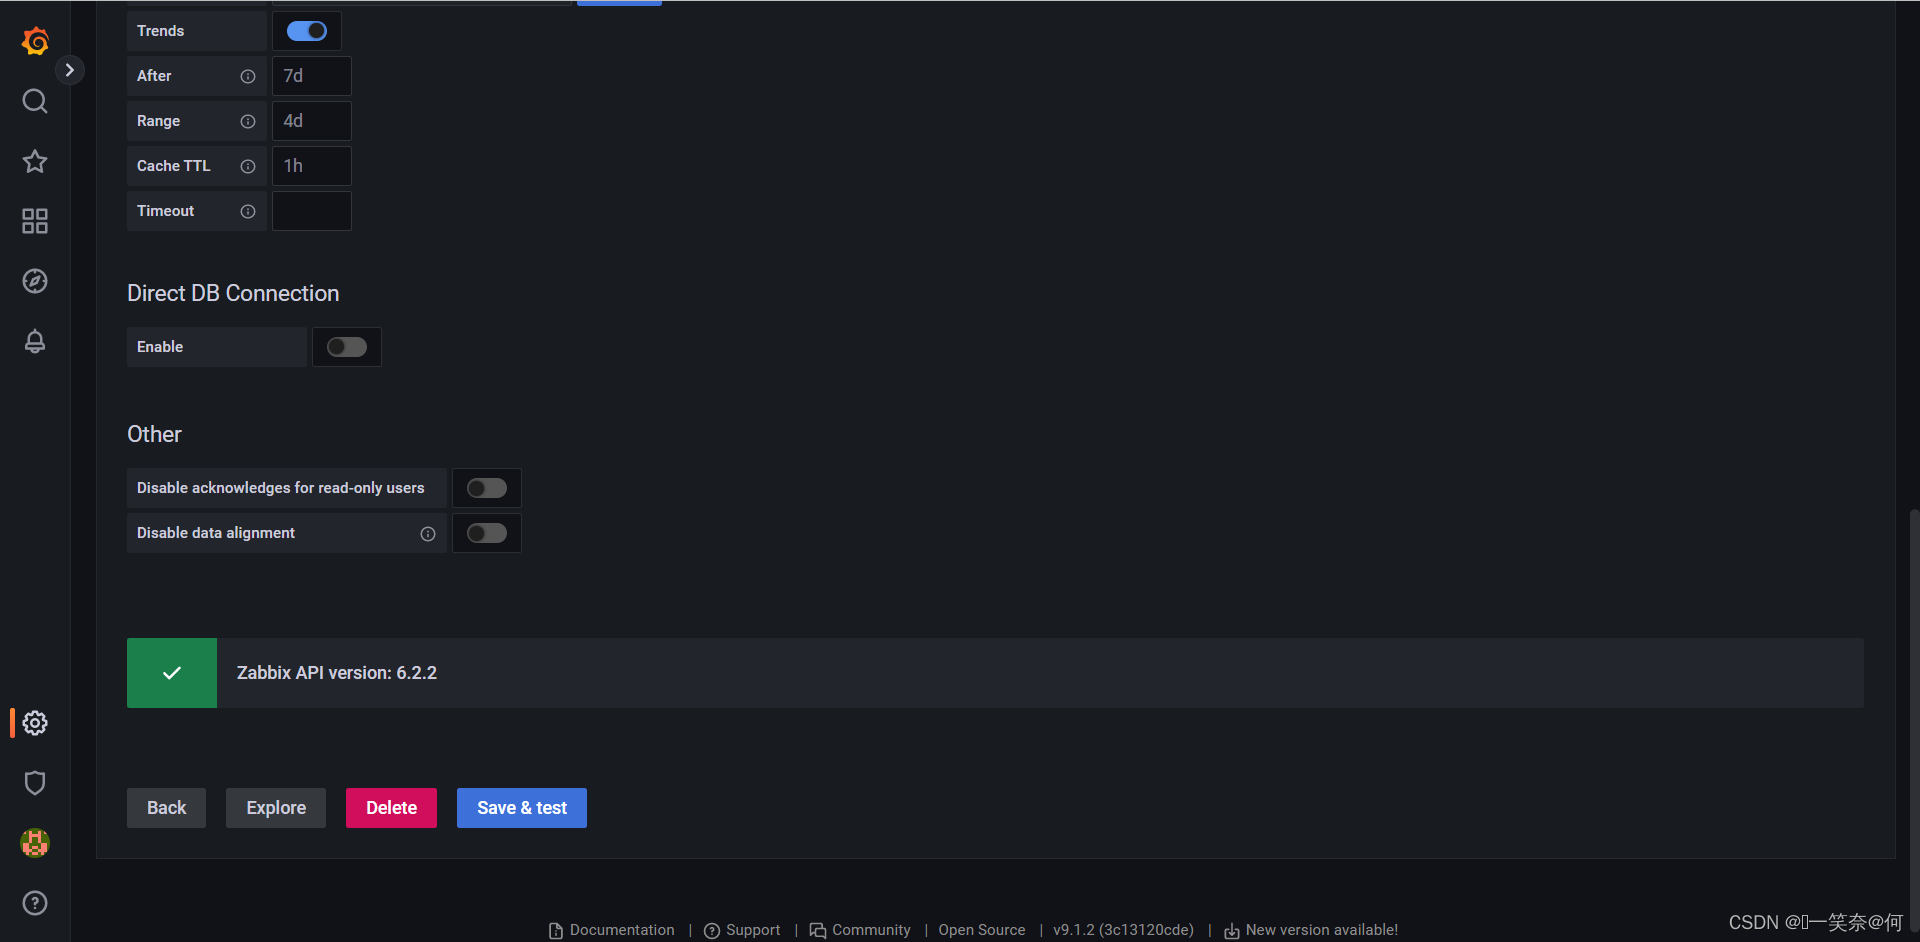
数据源关联测试 :如下状态ok

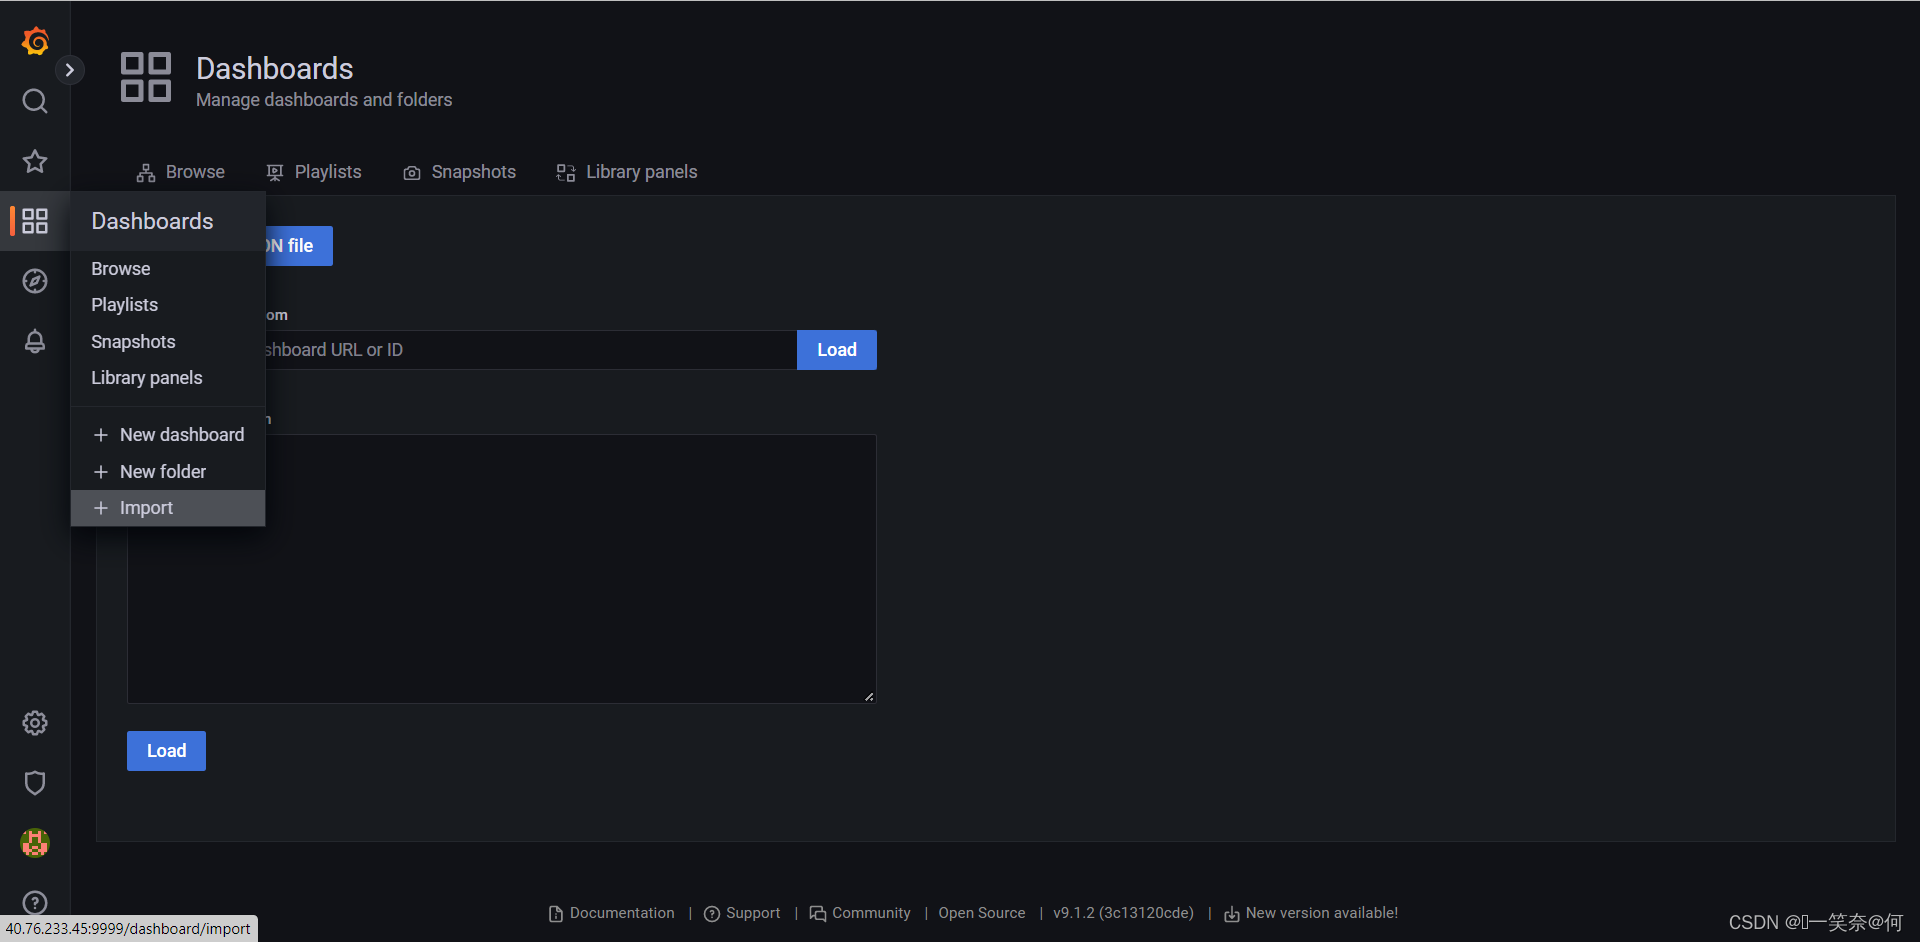
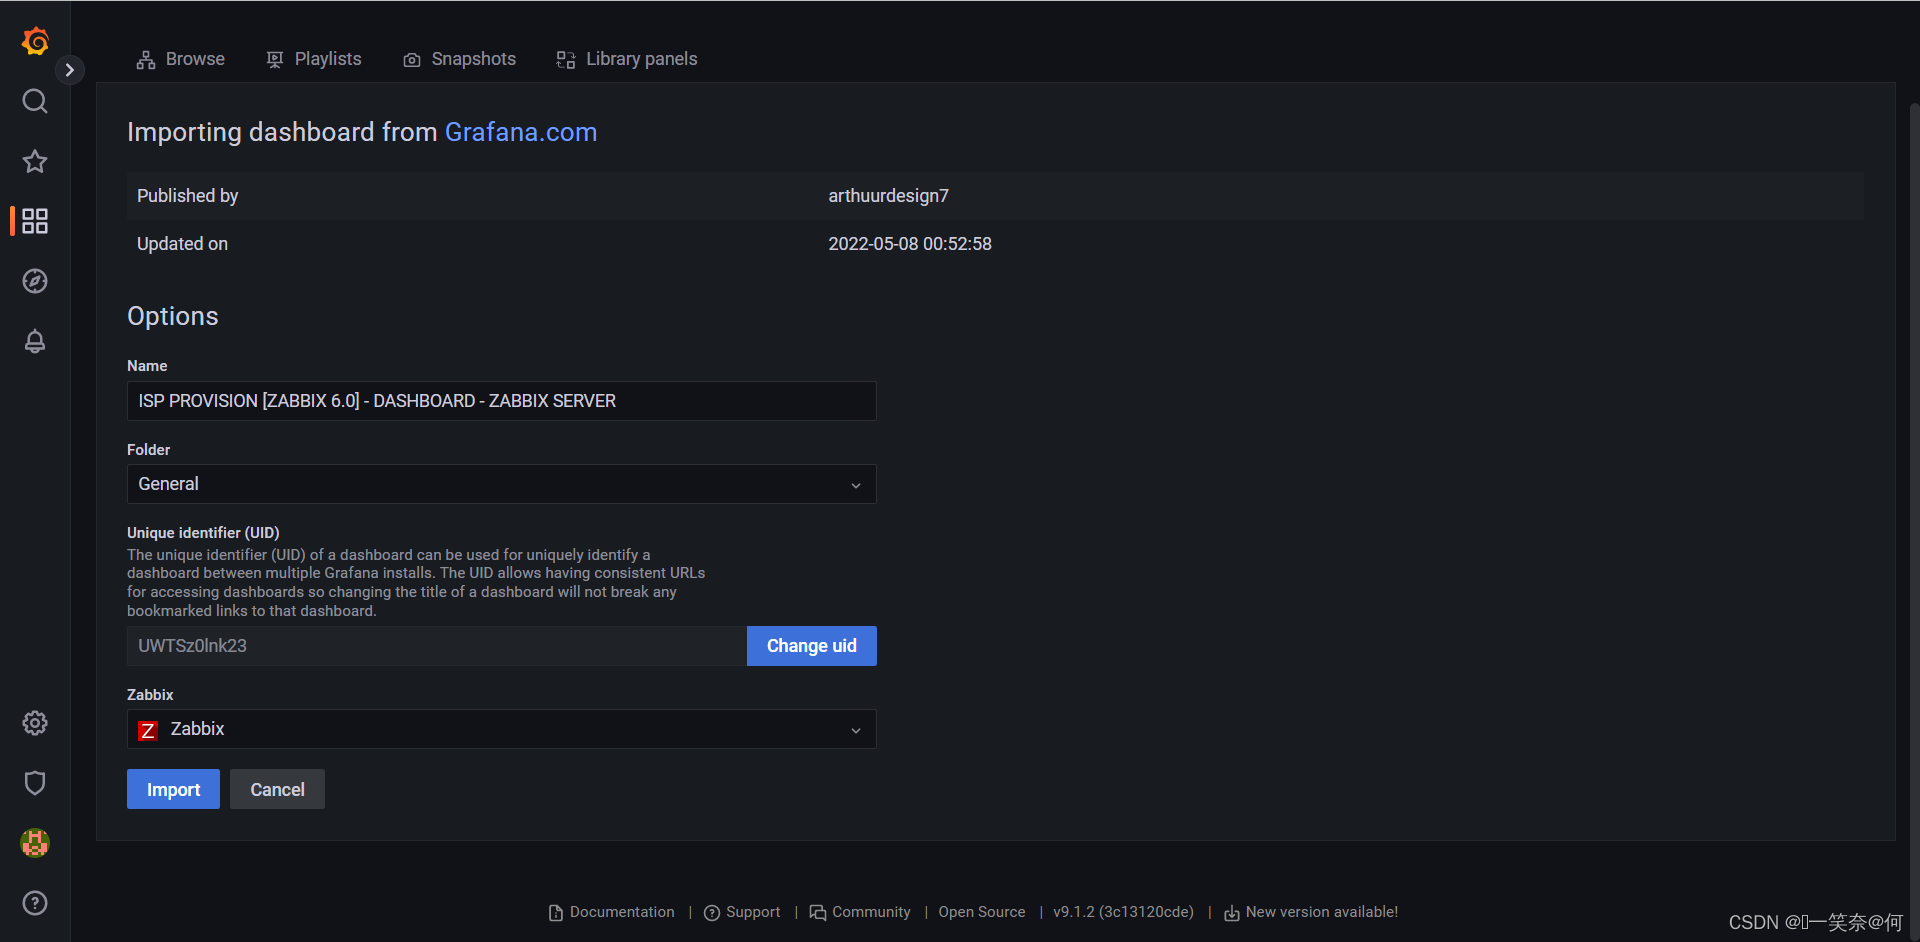
Dashboards导入
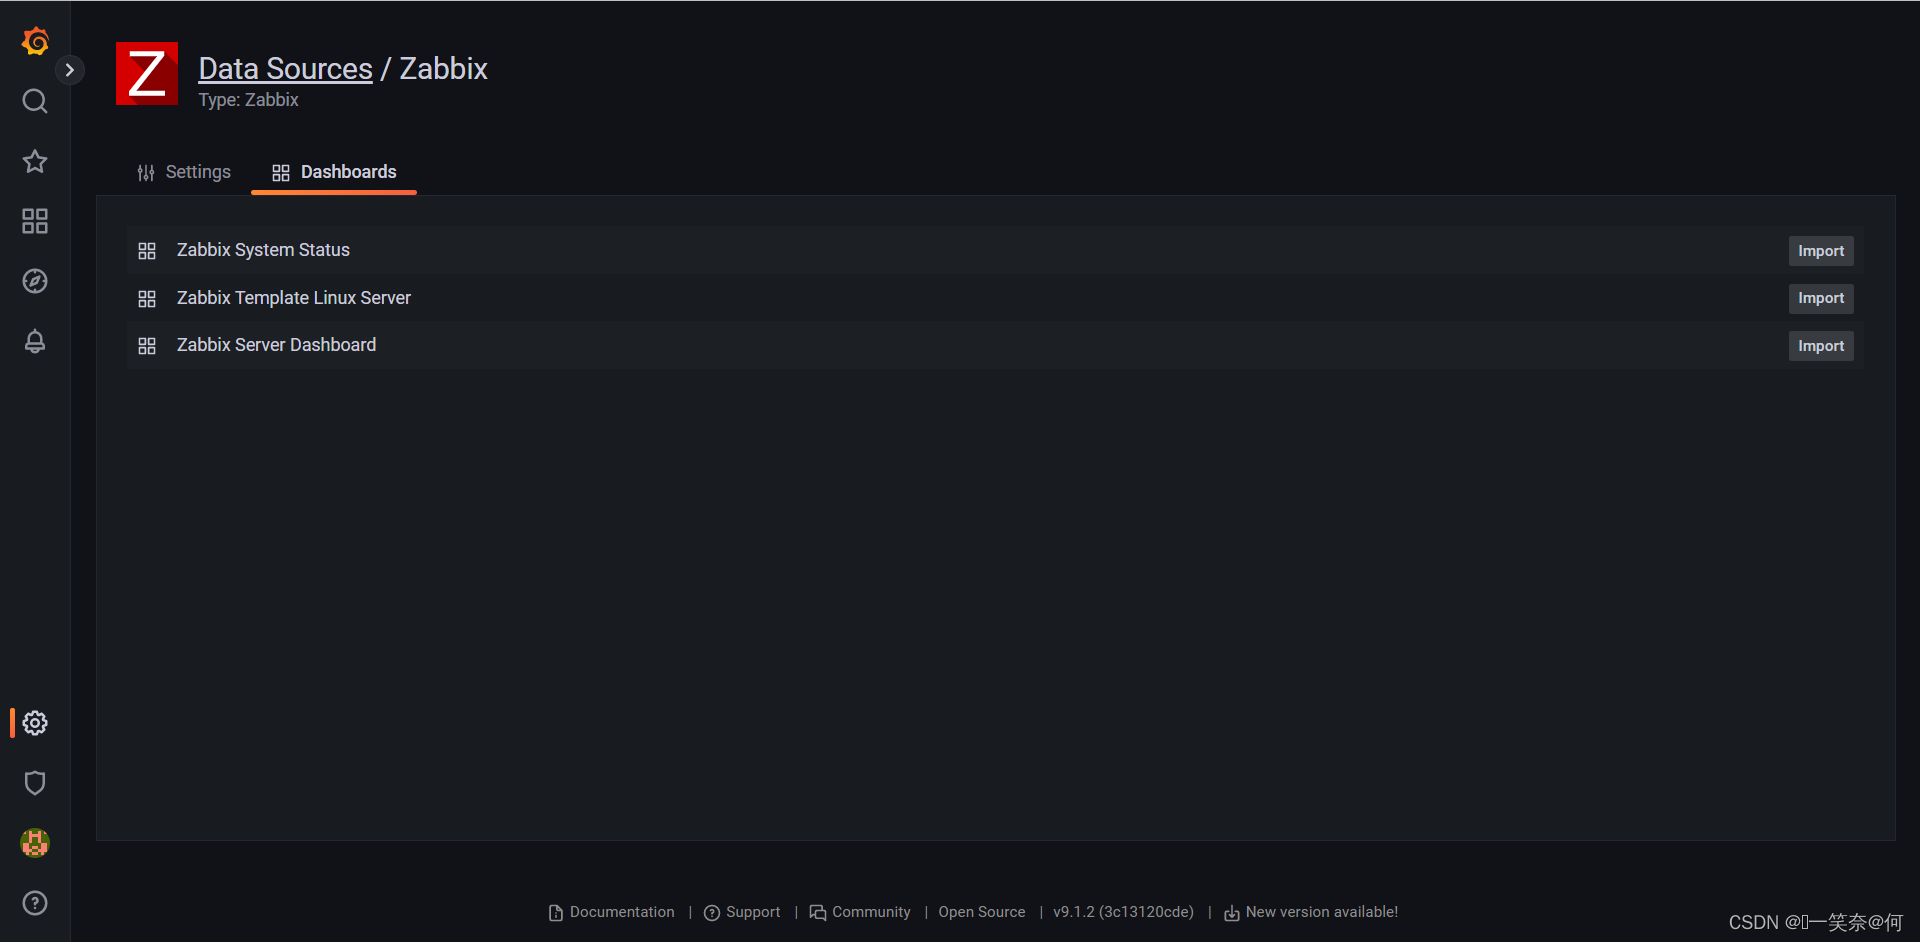

grafana官方自定义展示模板导入
【Grafana官方地址Dashboard】
这里我是用模板id为:16238
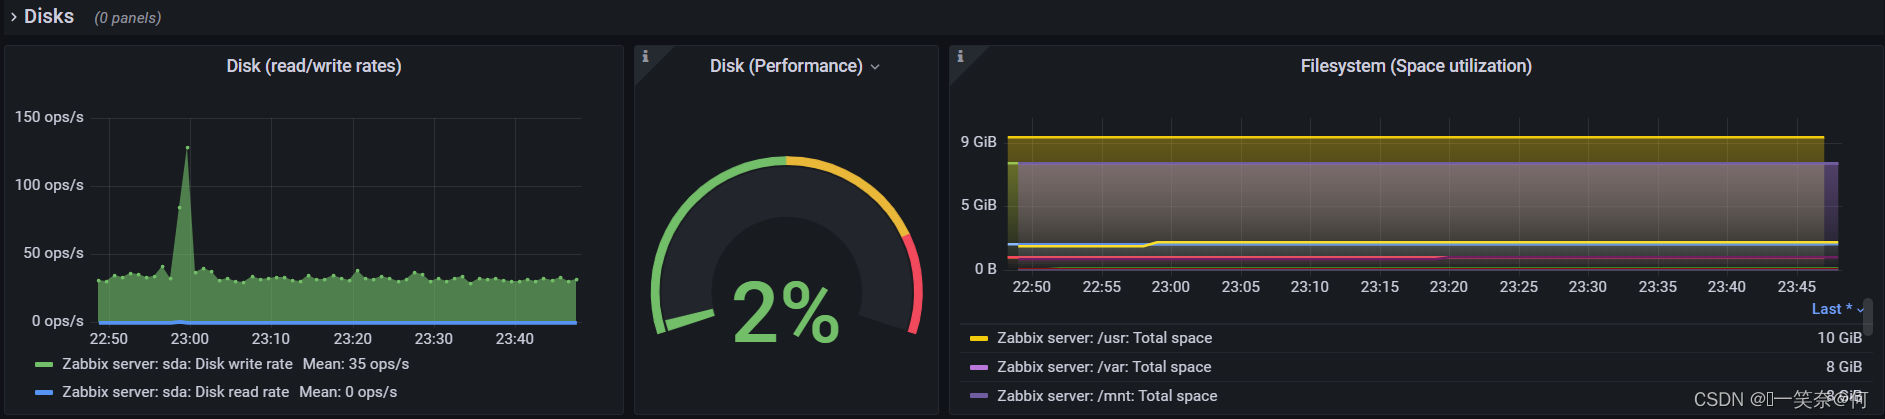
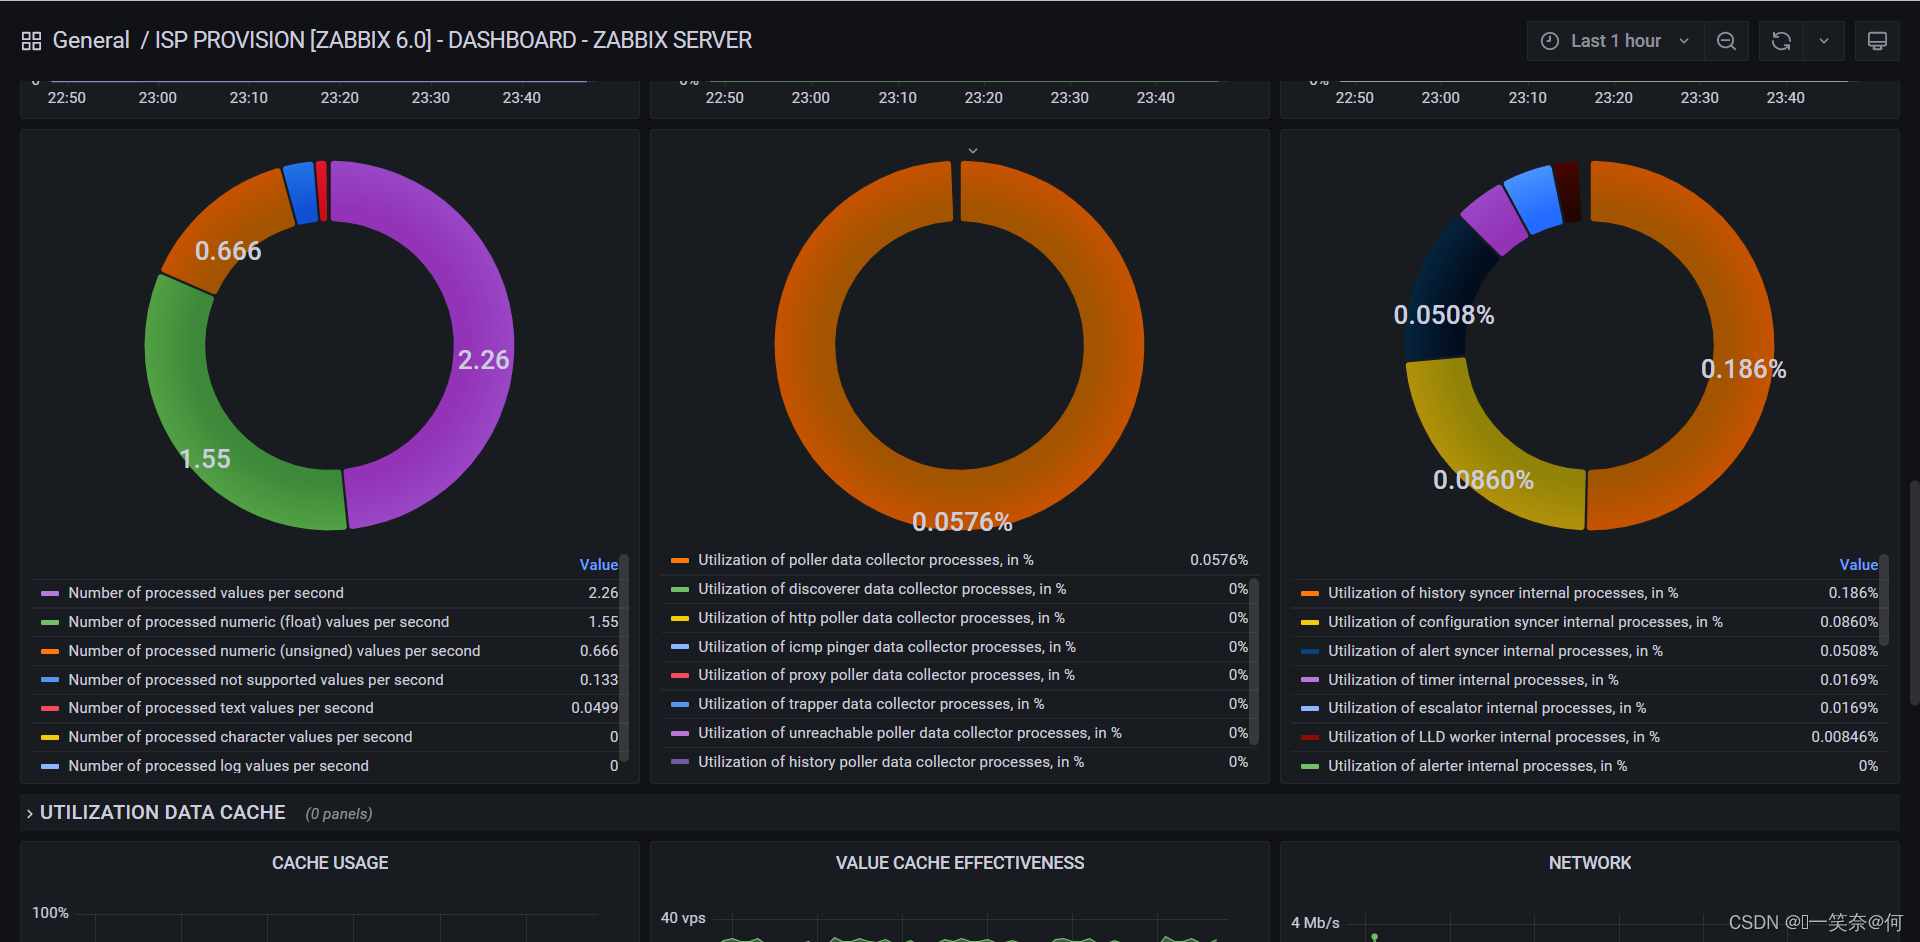
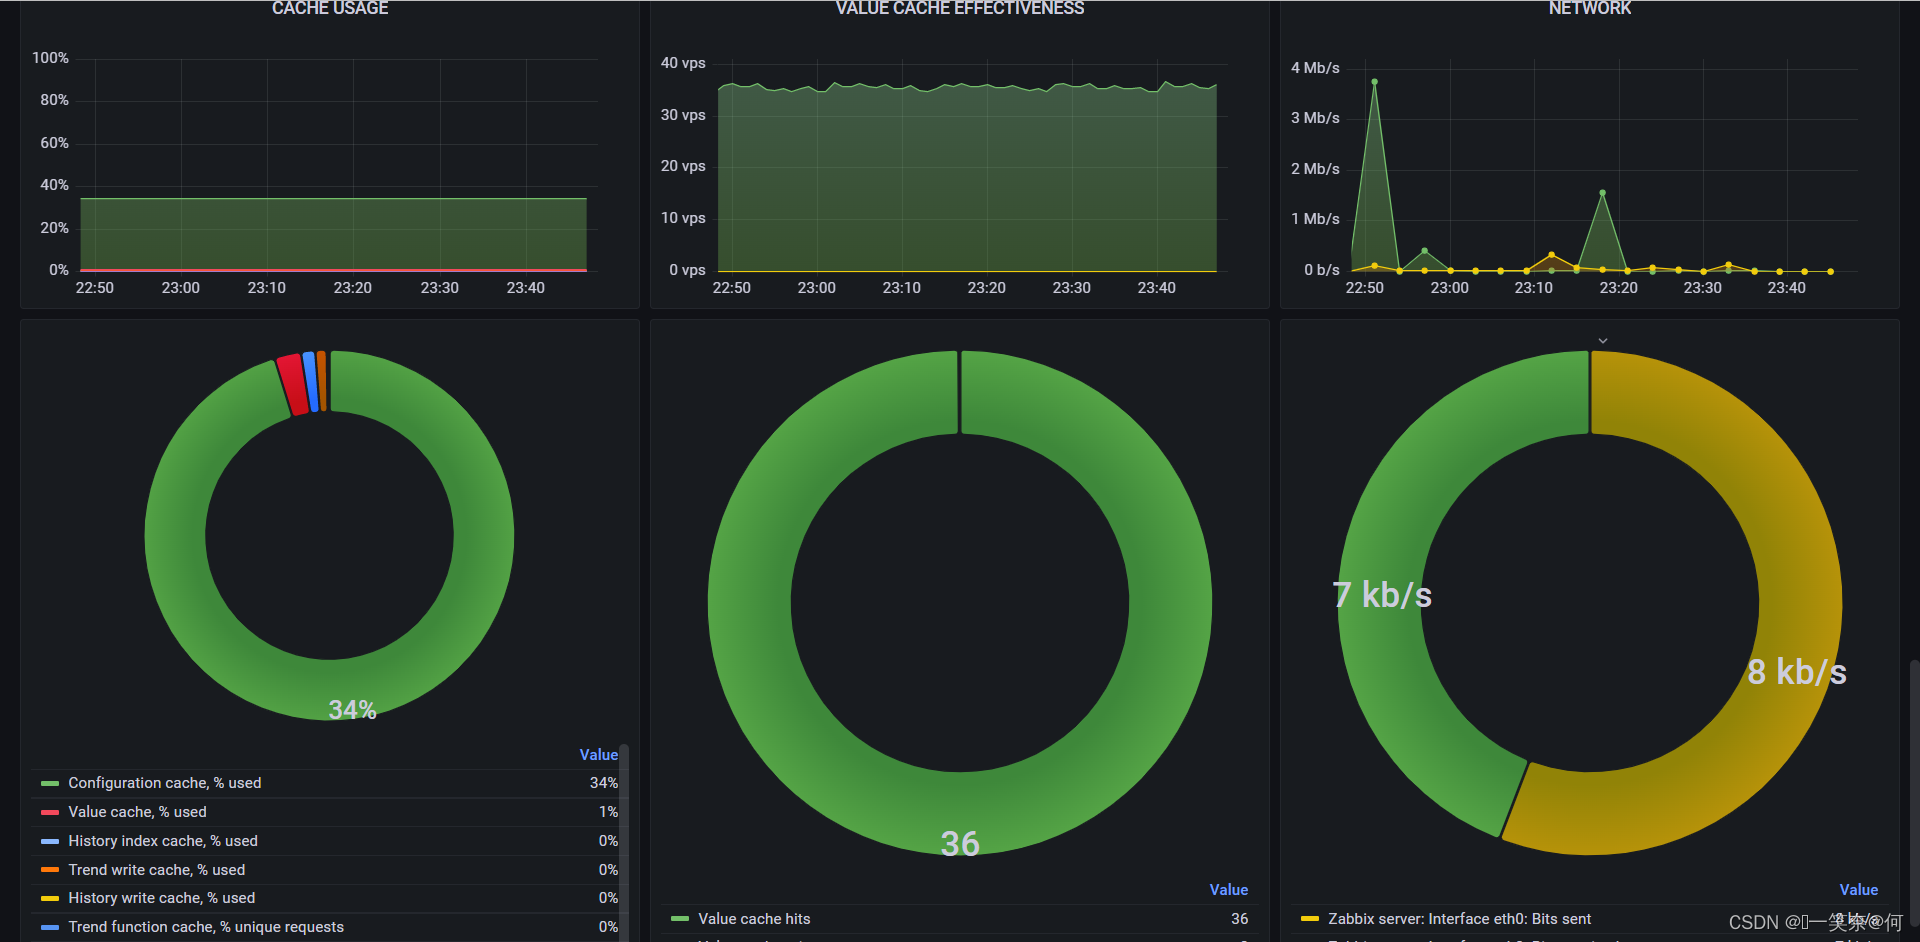
3)Dashboard展示
Dashboard效果图🎇🎇🎇🎇🎇


 被折叠的 条评论
为什么被折叠?
被折叠的 条评论
为什么被折叠?
 到【灌水乐园】发言


