


通过maven对多模块项目的不同环境切换以及指定环境打包(微服务项目同样适用)
一、首先在自己的resources目录下准备多个环境的配置文件(具体配置看个人需求,这里仅用个人的作为参考演示)

2.application.yml是主配置文件(yml文件注意缩进,严格对应,否则会带来一系列问题)
server:
  port: 9000

spring:
  application:
    name: gateway-api
  profiles:
    active: @runtime-profile@   #本质差别是主配置文件这里指定了环境,通过后续配置动态改变环境,如果手动控制这里可以直接设为dev,test或其他
management:
  endpoints:
    web:
      exposure:
        include: "*"
  metrics:
    tags:
      application: ${spring.application.name}
  endpoint:
    gateway:
      enabled: true
3.application-dev.yml
server:
  port: 9000

spring:
  application:
    name: gateway-api


management:
  endpoints:
    web:
      exposure:
        include: "*"
  metrics:
    tags:
      application: ${spring.application.name}
  endpoint:
    gateway:
      enabled: true
4.application-test.yml
server:
  port: 9001

spring:
  application:
    name: gateway-api


management:
  endpoints:
    web:
      exposure:
        include: "*"
  metrics:
    tags:
      application: ${spring.application.name}
  endpoint:
    gateway:
      enabled: true
5.application-prod.yml
server:
  port: 9002

spring:
  application:
    name: gateway-api


management:
  endpoints:
    web:
      exposure:
        include: "*"
  metrics:
    tags:
      application: ${spring.application.name}
  endpoint:
    gateway:
      enabled: true
可以看到区别仅是端口不同,方便查看环境是否切换成功
二、POM文件添加依赖
1.配置需要切换的环境
 <profiles>
        <!-- 配置需要切换的环境 -->
        <profile>
            <id>dev</id>
            <!-- properties下的每个子标签我们可以理解为一个配置 -->
            <properties>
                <!--  标签名为自定义,和我们平时写properties一样,对应主yml文件的@runtime-profile@-->
                <runtime-profile>dev</runtime-profile>
                <!-- 同时也可以根据需要配置其他变量 -->
            </properties>
        </profile>
        <profile>
            <id>prod</id>
            <properties>
                <runtime-profile>prod</runtime-profile>
            </properties>
        </profile>
        <profile>
            <id>test</id>
            <properties>
                <runtime-profile>test</runtime-profile>

            </properties>
        </profile>
    </profiles>
2.配置占位符生效
 <build>
        <!-- 配置所有的yml文件中占位符生效, 假如我们是手动来更新application.yml文件我们可以不配置,手动更新指的是我们在application.yml直接指定profile的值如dev、prod-->
        <resources>
            <resource>
                <directory>src/main/resources</directory>   <!--这里重点注意,找对自己的配置文件的目录进行修改,这里博主弄错了,导致兜了很大的圈-->
                <!-- 会生效-->
                <filtering>true</filtering>
                   <!--根据个人情况配置-->
                <excludes>
                    <!-- 排除 keystore.p12 文件不被过滤 -->
                    <exclude>keystore.p12</exclude>
                </excludes>
            </resource>
        </resources>
        <!--未添加以下部分可能会在运行jar包时报错找不到主清单属性-->
     <plugins>
        <plugin>
            <groupId>org.springframework.boot</groupId>
            <artifactId>spring-boot-maven-plugin</artifactId>
        </plugin>
      </plugins>
    </build>
若未配置占位符生效部分可能出现以下问题:
10:00:58.054 [main] ERROR org.springframework.boot.SpringApplication -- Application run failed
org.yaml.snakeyaml.scanner.ScannerException: while scanning for the next token
found character '@' that cannot start any token. (Do not use @ for indentation)
 in 'reader', line 14, column 13:
        active: @runtime-profile@
                ^
配置之后刷新maven
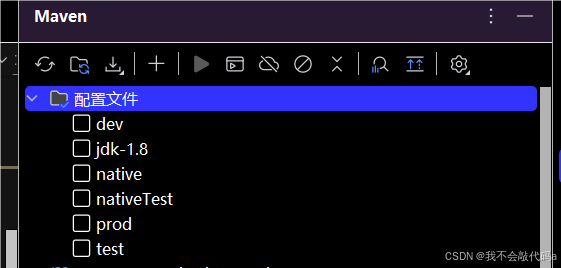
通过idea侧边栏可以看见生成了配置环境(为配置的不用管,是maven自动生成的):
三、运行测试
首先勾选测试环境点击运行(端口9001)
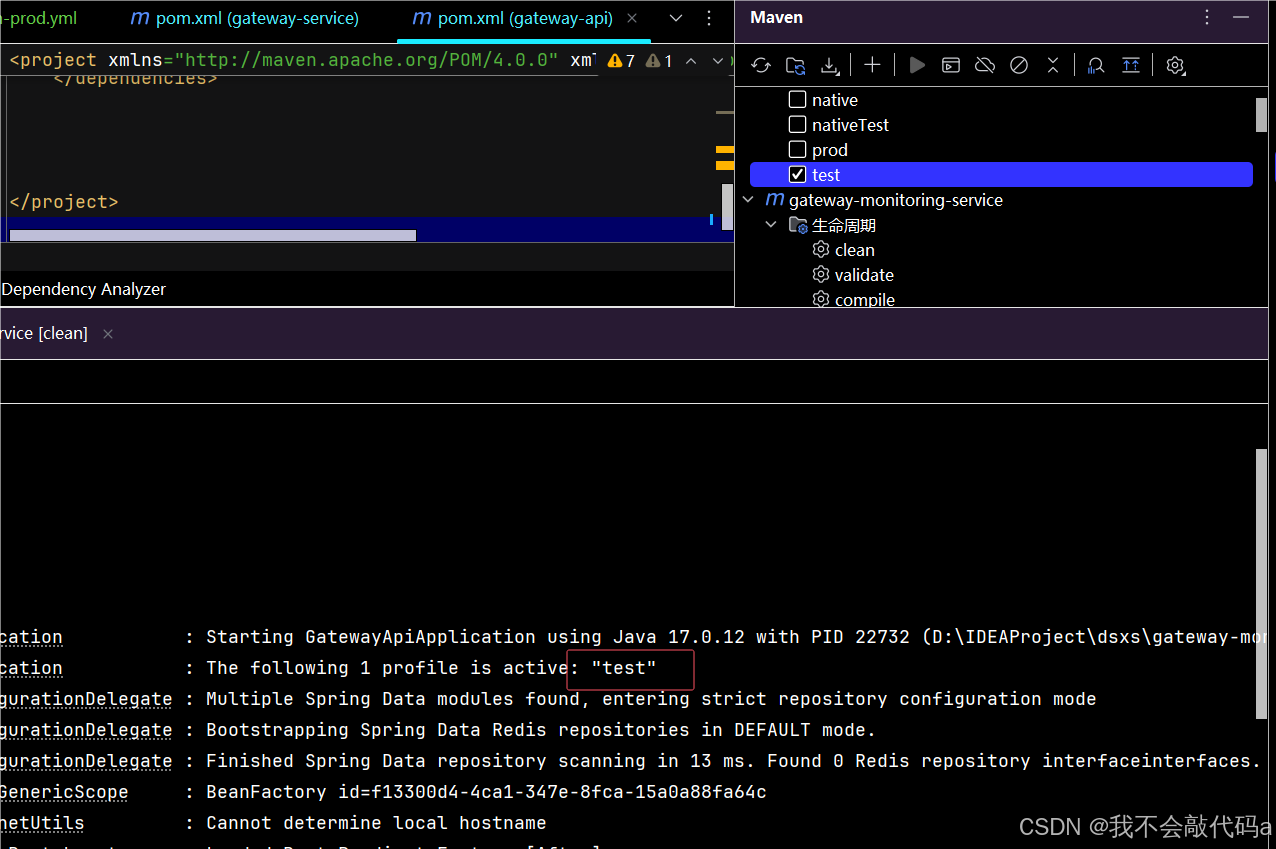

测试环境读取成功
2.开发环境测试(端口9000)
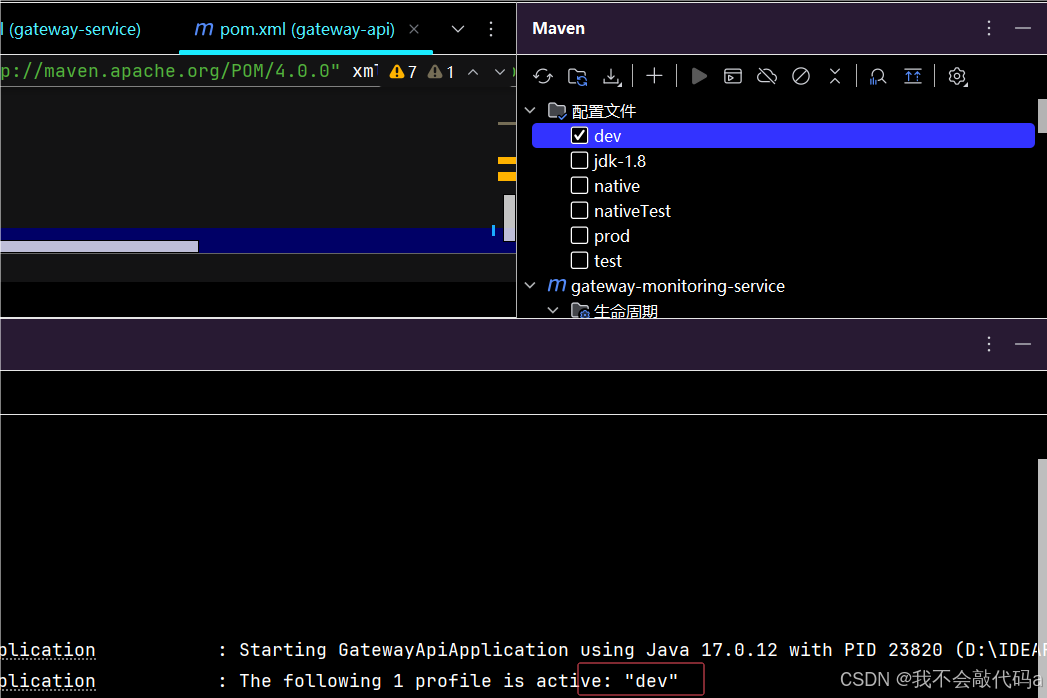

开发环境测试成功,生产环境类似,不继续再做赘述
3.指定环境打包测试:
在终端输入以下命令,在此之前确保你的maven已配置进了环境变量,类似Git环境配置。
mvn clean package -Pdev -P后指定你想要打包的环境
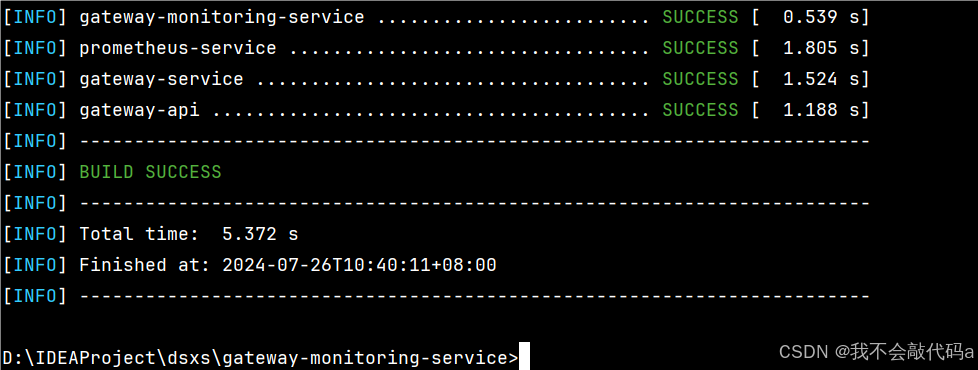
在主模块目录运行此命令就可将多模块同时打包
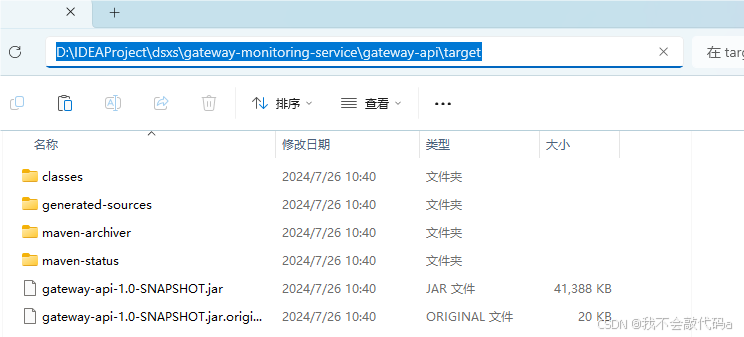
4.来到gateway-api模块target目录下,启用命令行测试
找到目录
键入cmd回车:
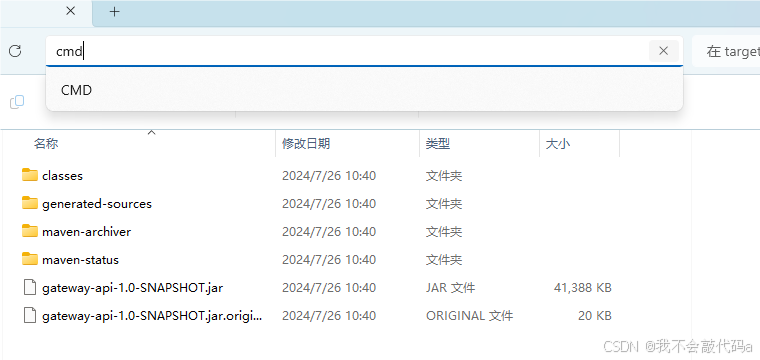
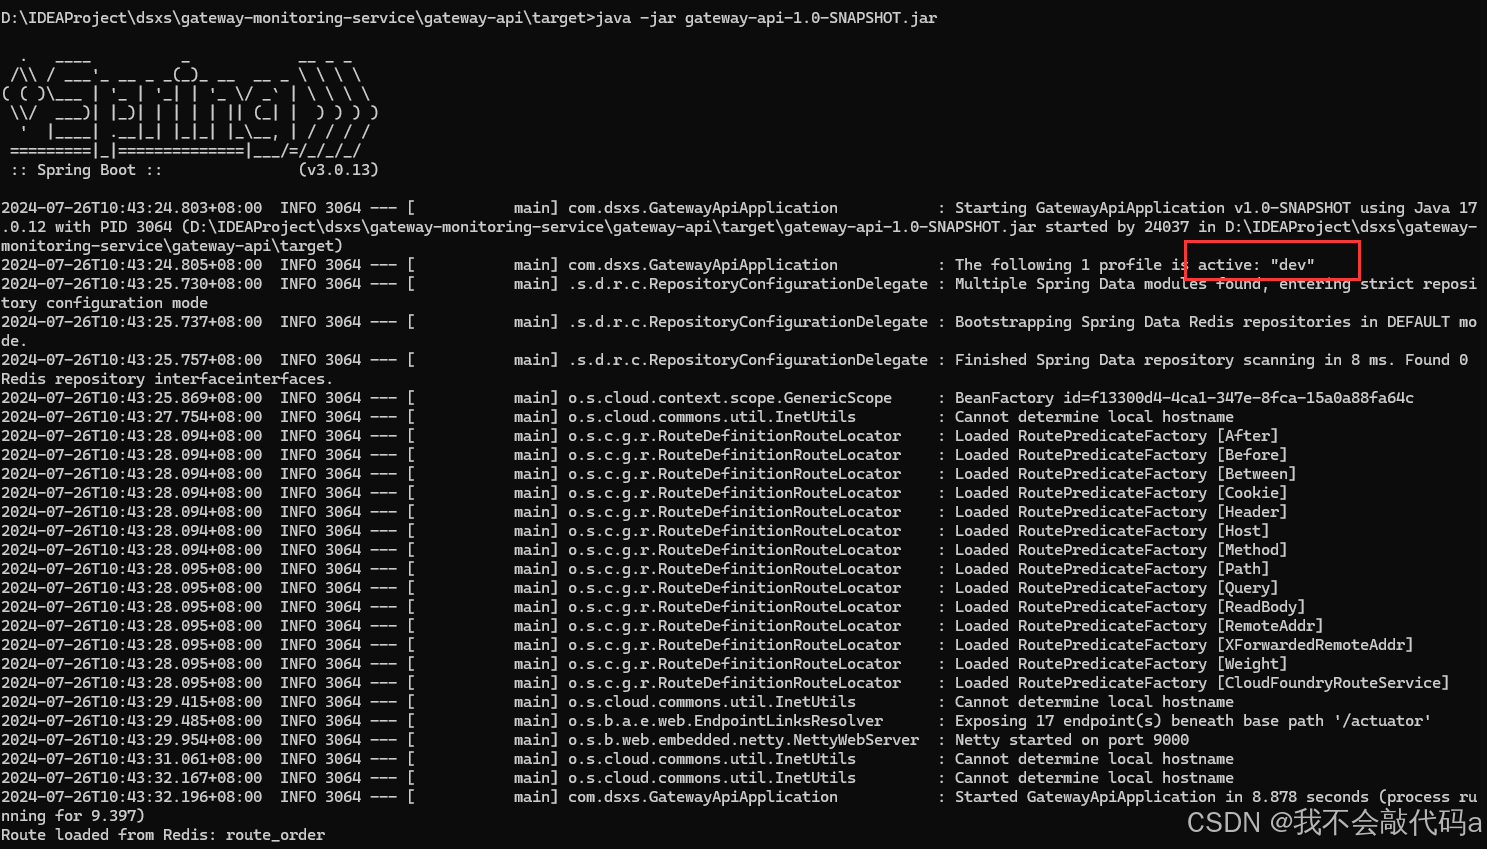
来到该目录下的命令行使用如下命令:
java -jar gateway-api-1.0-SNAPSHOT.jar #jar包名以自己的为准
成功以dev环境运行:
四、结束
到此多模块环境切换以及指定环境打包配置完成,欢迎大家阅览指正!
看完的小可爱们动动小手点点赞,你好我也好~
意犹未尽的可来公众号查看更多文章,共同进步


 1516
1516

 被折叠的 条评论
为什么被折叠?
被折叠的 条评论
为什么被折叠?
 到【灌水乐园】发言


