


工作实践 -------机器视觉应用开发工程师
安装TensoRT相关库
通过jtop检查tensorRT和jetpack版本号是否一致
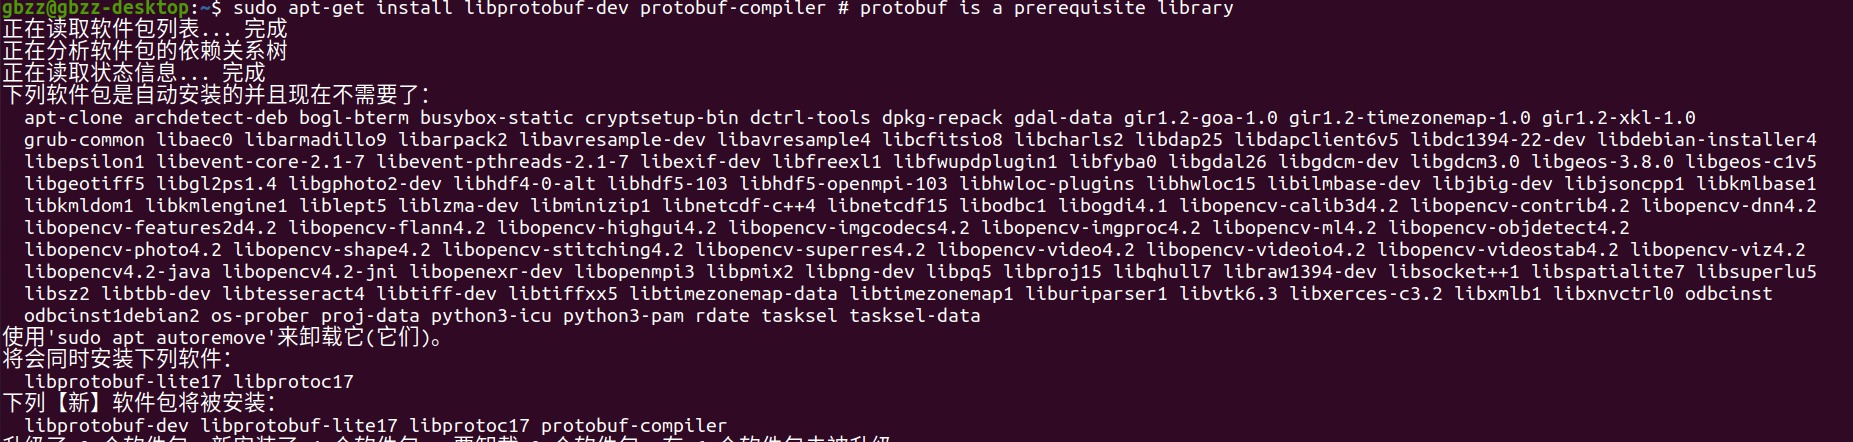
>>sudo apt-get install libprotobuf-dev protobuf-compiler # p
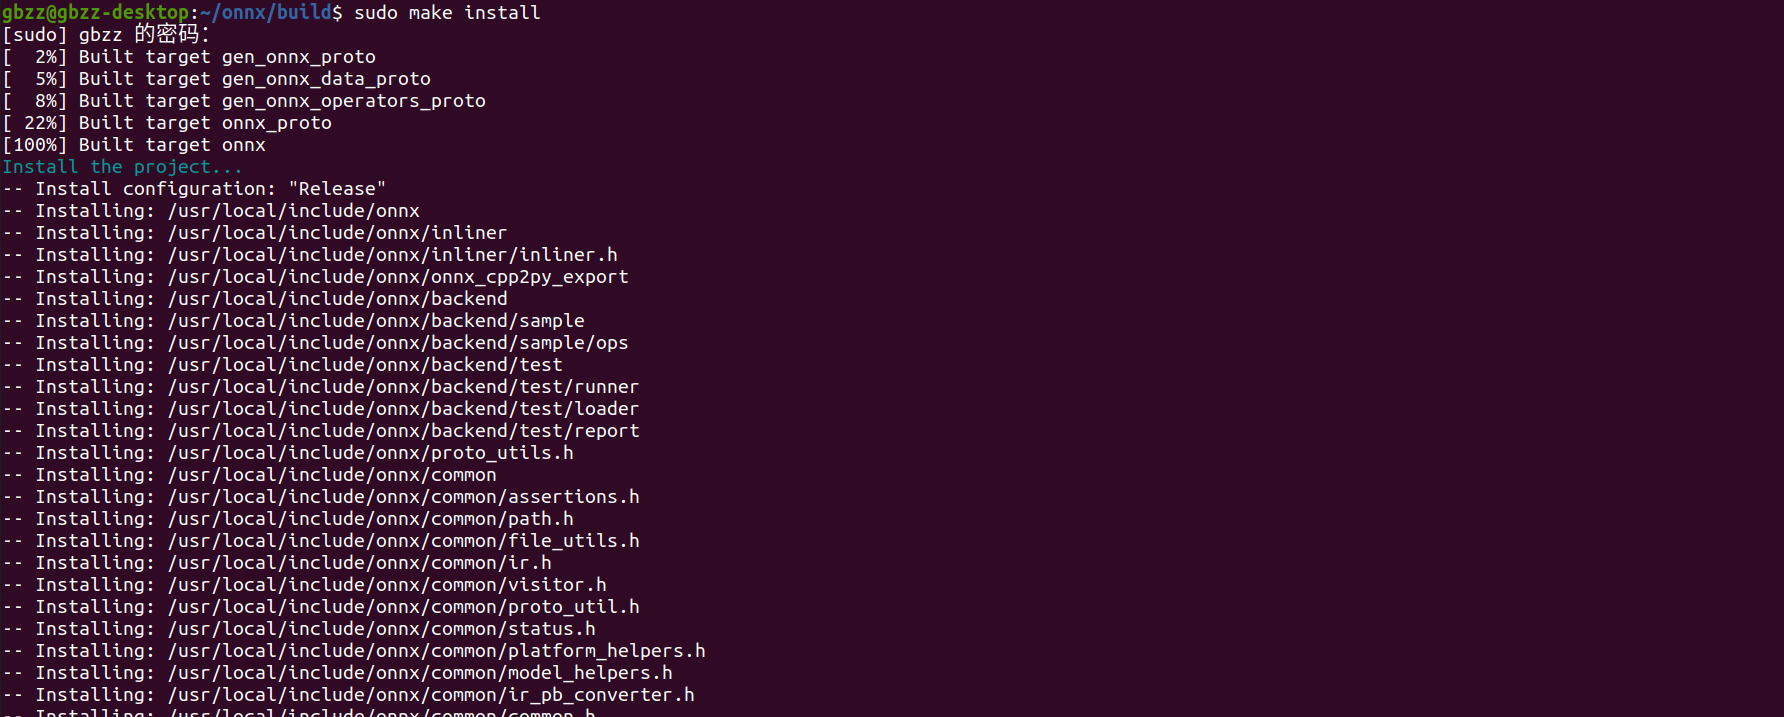
>> git clone --recursive https://github.com/onnx/onnx.git # Pull the ONNX repository from GitHub
>> cd onnx >> mkdir build && cd build
>> cmake .. # Compile and install ONNX
安装Cmake
需要检查和自己onnx相关的版本,我是wget cmake.git自己编译
wget https://github.com/Kitware/CMake/releases/download/v3.25.0/cmake-3.25.0.tar.gz解压:tar -zxvf cmake-3.25.0.tar.gz
编译:cd cmake-3.25.0
配置、编译和安装:
./bootstrap
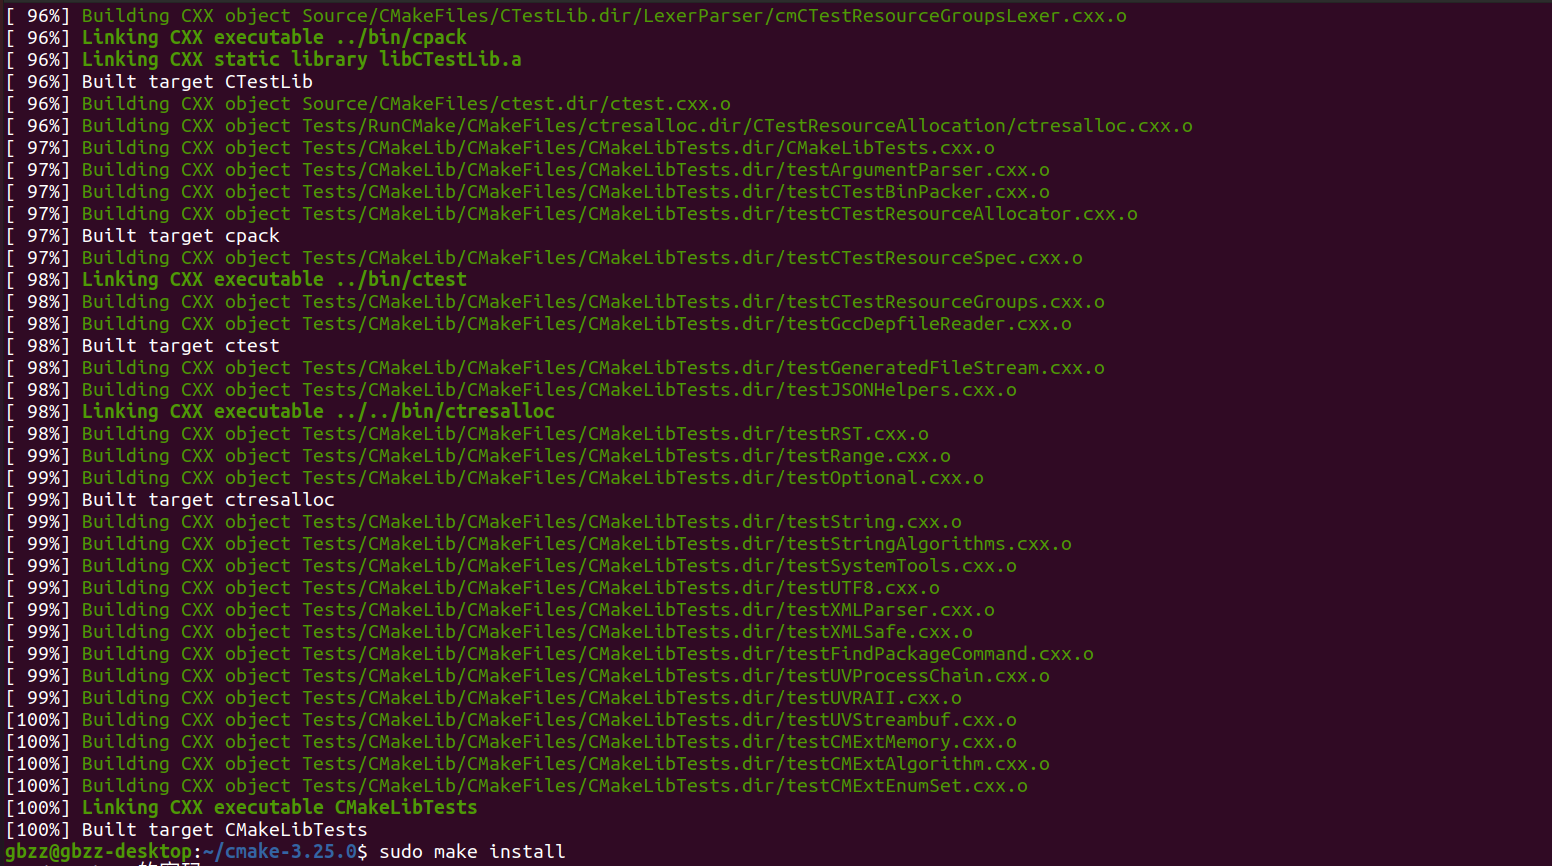
make -j$(nproc)
sudo make install
我出现的问题是编译出错,出现依赖库缺乏,执行下面 命令补全Openssl的错误
sudo apt update sudo apt install libssl-dev(记得清除之前的cmake文件)
重新执行之前的编译命令
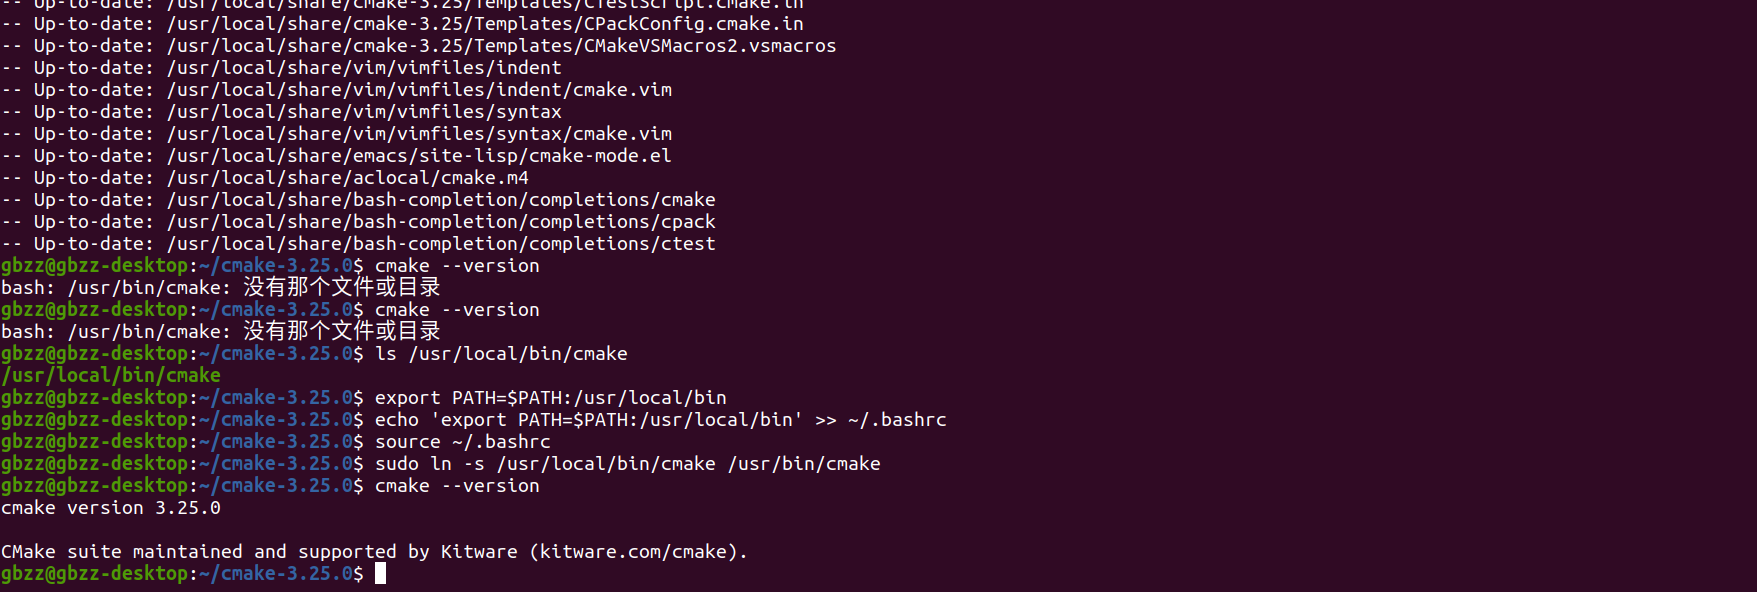
1. 检查 CMake 可执行文件位置
首先,确认 CMake 可执行文件是否存在于 /usr/local/bin 目录下:
ls /usr/local/bin/cmake
若输出显示了 cmake 文件,就说明 CMake 可执行文件已正确安装。
2. 更新 PATH 环境变量
要保证 PATH 环境变量包含 /usr/local/bin 目录。你可以通过以下命令临时添加该目录到 PATH 中:
export PATH=$PATH:/usr/local/bin
执行完上述命令后,再次尝试运行 cmake --version,查看是否能够正常输出 CMake 版本信息。
将该命令添加到 ~/.bashrc 或者 ~/.zshrc 文件中,让配置永久生效:
echo 'export PATH=$PATH:/usr/local/bin' >> ~/.bashrc
source ~/.bashrc
3. 创建软链接(可选)
cmake 可执行文件同时存在于 /usr/bin 目录下,也可以创建一个软链接:
sudo ln -s /usr/local/bin/cmake /usr/bin/cmake
通过以上步骤,你应该就能正常使用 cmake 命令了。

sudo make install
下载tensort编译示例
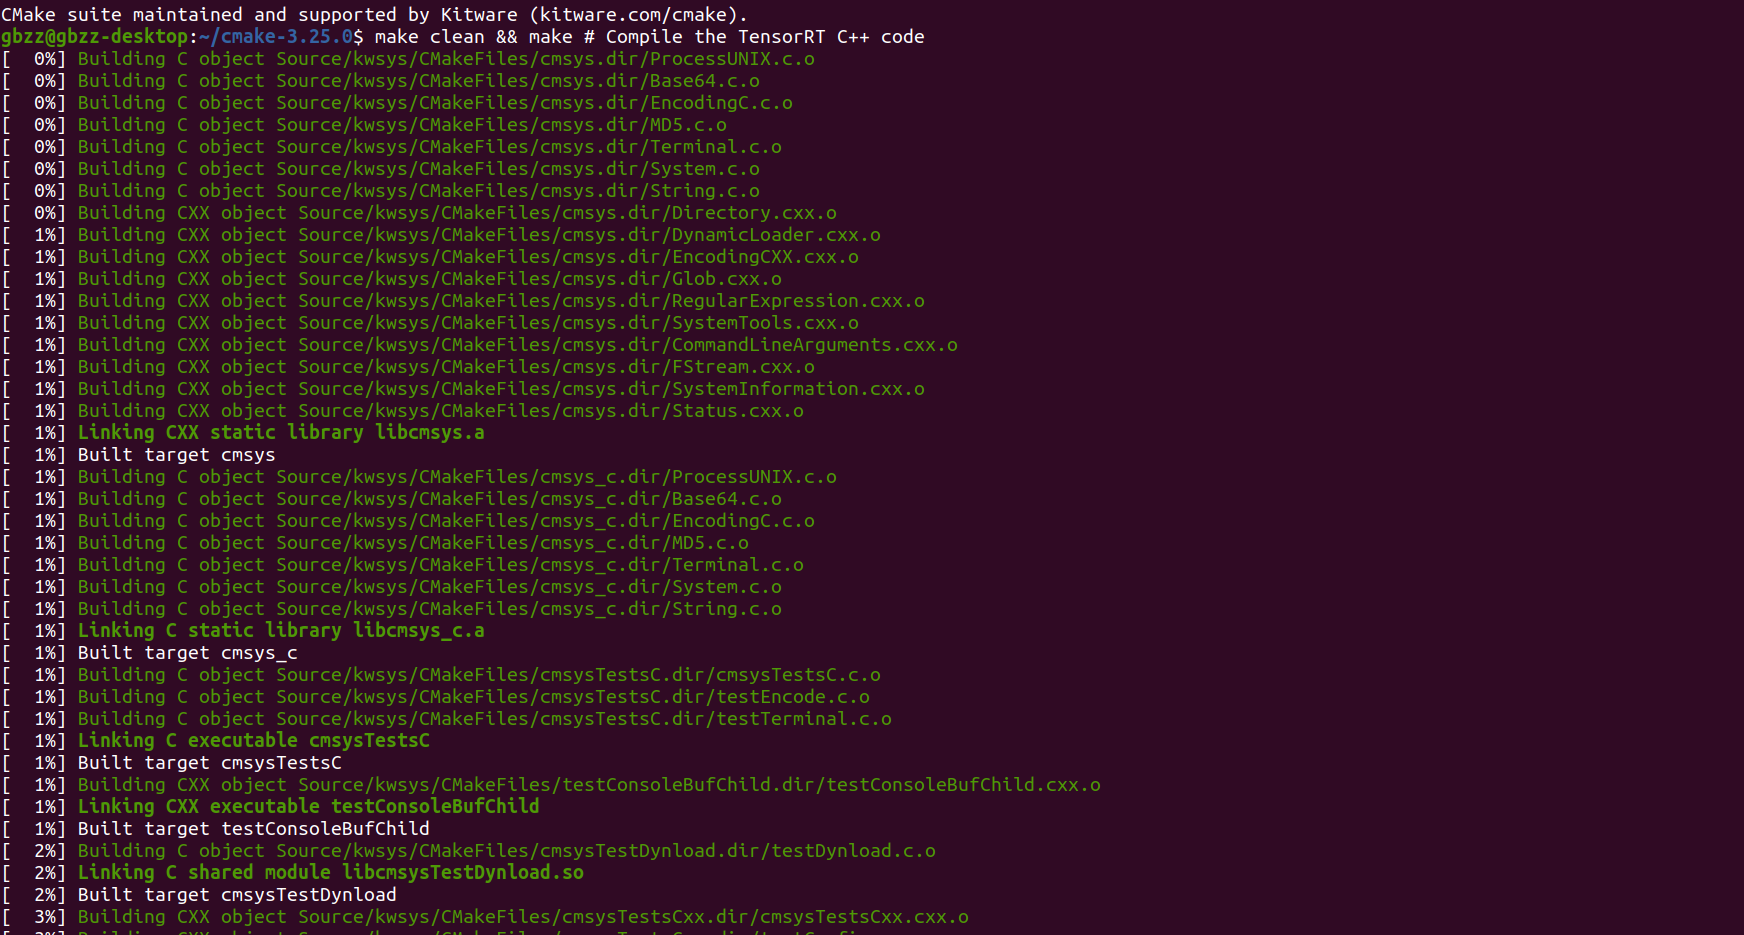
>> git clone https://github.com/parallel-forall/code-samples.git
>> cd code-samples/posts/TensorRT-introduction
Modify $TRT_INSTALL_DIR in the Makefile.
>> make clean && make # Compile the TensorRT C++ code
>> cd ..
pip install torch onnx
pip install onnxruntime
pip install polygraphy
测试NV官网的示例
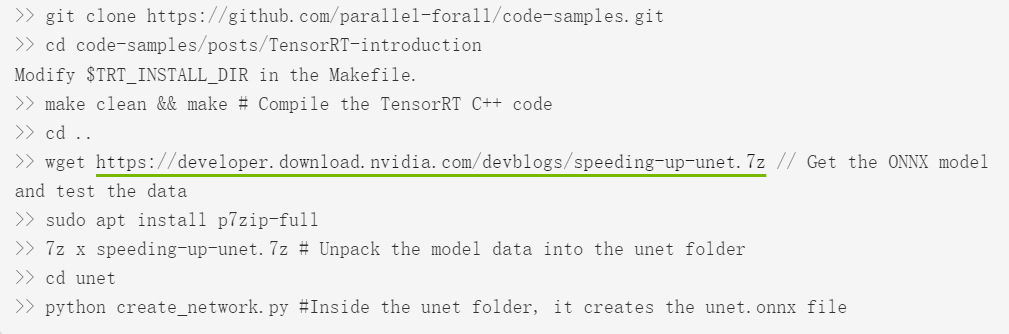
>> git clone https://github.com/parallel-forall/code-samples.git
>> cd code-samples/posts/TensorRT-introduction
Modify $TRT_INSTALL_DIR in the Makefile.
>> make clean && make # Compile the TensorRT C++ code
>> cd ..
>> wget https://developer.download.nvidia.com/devblogs/speeding-up-unet.7z // Get the ONNX model and test the data
>> sudo apt install p7zip-full
>> 7z x speeding-up-unet.7z # Unpack the model data into the unet folder
>> cd unet
>> python create_network.py #Inside the unet folder, it creates the unet.onnx file
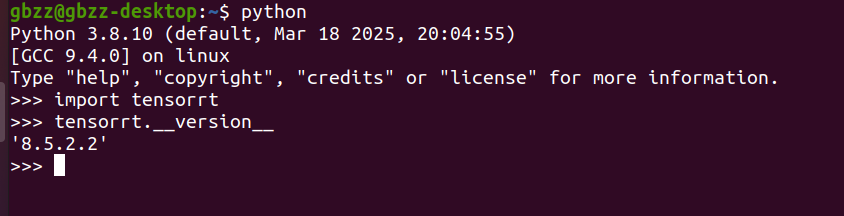
查看当前Python中tensorrt库是否存在
Yolov5 测试是否能加速
【究极缝合】Jeston Nano环境配置+部署yolov5(master)+Tensorrt加速+usb摄像头测试_jetson nano yolov5摄像头-优快云博客
把tensorRt的yolov5下面的gen_wts.py带入到外面的yolov5的文件
再用python gen_wts.py -w 'yolov5s.pt'
再安装pip install pycuda

执行python3 yolov5_det_trt.py 出现的错误有np.bool值已经不在使用
[03/29/2025-14:15:16] [TRT] [I] Loaded engine size: 15 MiB
[03/29/2025-14:15:17] [TRT] [I] [MemUsageChange] Init cuBLAS/cuBLASLt: CPU +534, GPU +647, now: CPU 839, GPU 5151 (MiB)
[03/29/2025-14:15:17] [TRT] [I] [MemUsageChange] Init cuDNN: CPU +82, GPU +136, now: CPU 921, GPU 5287 (MiB)
[03/29/2025-14:15:17] [TRT] [I] [MemUsageChange] TensorRT-managed allocation in engine deserialization: CPU +0, GPU +14, now: CPU 0, GPU 14 (MiB)
[03/29/2025-14:15:17] [TRT] [I] [MemUsageChange] Init cuBLAS/cuBLASLt: CPU +0, GPU +3, now: CPU 906, GPU 5276 (MiB)
[03/29/2025-14:15:17] [TRT] [I] [MemUsageChange] Init cuDNN: CPU +0, GPU +0, now: CPU 906, GPU 5276 (MiB)
[03/29/2025-14:15:17] [TRT] [I] [MemUsageChange] TensorRT-managed allocation in IExecutionContext creation: CPU +0, GPU +16, now: CPU 0, GPU 30 (MiB)
bingding: data (3, 640, 640)
yolov5_det_trt.py:97: DeprecationWarning: Use network created with NetworkDefinitionCreationFlag::EXPLICIT_BATCH flag instead.
size = trt.volume(engine.get_tensor_shape(binding)) * engine.max_batch_size
yolov5_det_trt.py:98: DeprecationWarning: Use get_tensor_dtype instead.
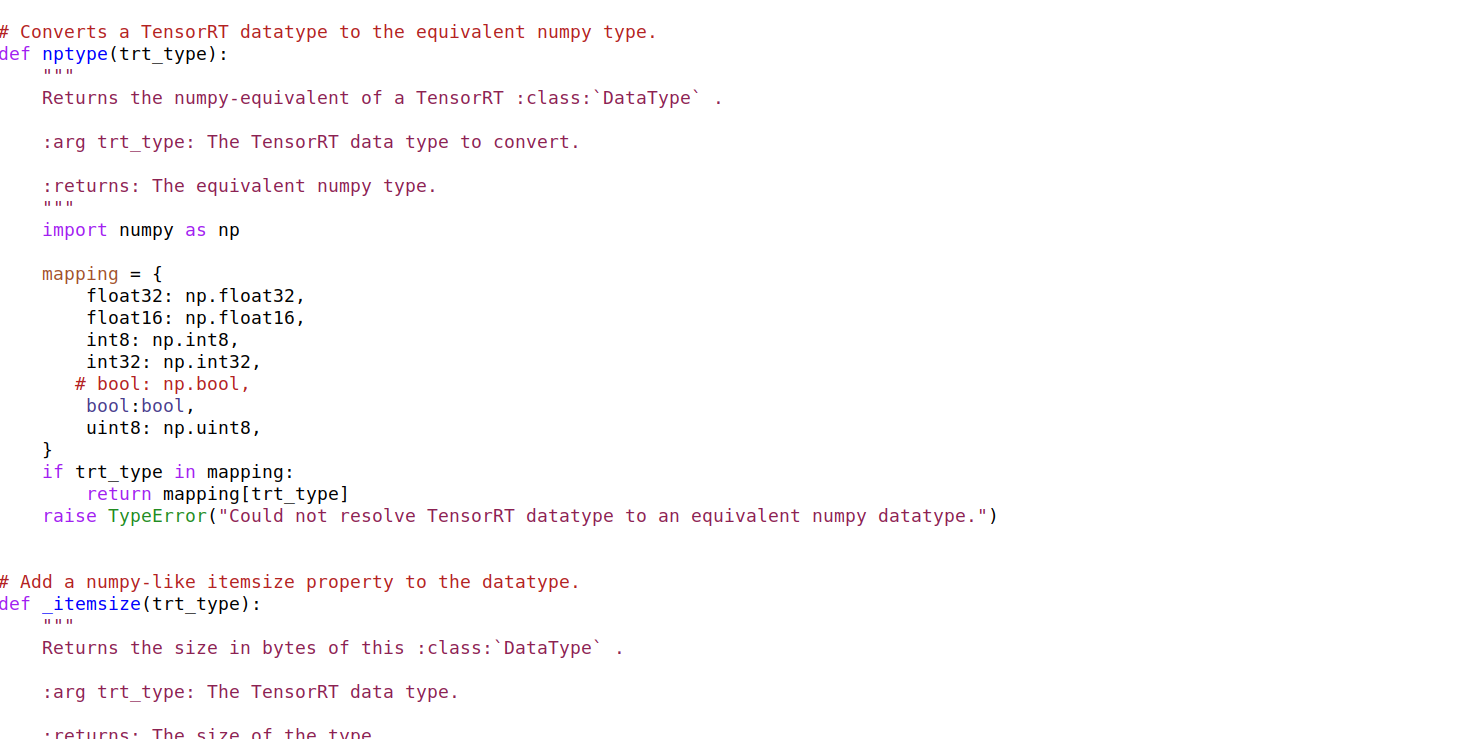
dtype = trt.nptype(engine.get_binding_dtype(binding))
/usr/lib/python3.8/dist-packages/tensorrt/__init__.py:166: FutureWarning: In the future `np.bool` will be defined as the corresponding NumPy scalar.
bool: np.bool,
Traceback (most recent call last):
File "yolov5_det_trt.py", line 433, in <module>
yolov5_wrapper = YoLov5TRT(engine_file_path)
File "yolov5_det_trt.py", line 98, in __init__
dtype = trt.nptype(engine.get_binding_dtype(binding))
File "/usr/lib/python3.8/dist-packages/tensorrt/__init__.py", line 166, in nptype
bool: np.bool,
File "/home/gbzz/.local/lib/python3.8/site-packages/numpy/__init__.py", line 305, in __getattr__
raise AttributeError(__former_attrs__[attr])
AttributeError: module 'numpy' has no attribute 'bool'.
`np.bool` was a deprecated alias for the builtin `bool`. To avoid this error in existing code, use `bool` by itself. Doing this will not modify any behavior and is safe. If you specifically wanted the numpy scalar type, use `np.bool_` here.
The aliases was originally deprecated in NumPy 1.20; for more details and guidance see the original release note at:
https://numpy.org/devdocs/release/1.20.0-notes.html#deprecations
[03/29/2025-14:15:18] [TRT] [E] 1: [defaultAllocator.cpp::deallocate::42] Error Code 1: Cuda Runtime (invalid argument)
[03/29/2025-14:15:18] [TRT] [E] 1: [defaultAllocator.cpp::deallocate::42] Error Code 1: Cuda Runtime (invalid argument)
段错误 (核心已转储)修改yolov5_det_trt.py的代码
更新 TensorRT API 调用:把 get_binding_shape 替换成 get_tensor_shape,把 get_binding_dtype 替换成 get_tensor_dtype。
转换模型
#1、把tensorrt/yolov5下的gen_wts.py复制到yolov5的文件夹下
#2、执行gen_wts.py生成.wts文件。
python gen_wts.py yolov5s.pt
错误原因是numpy的版本号和tensorRT的版本号不匹配,numpy的版本号过高。
降低后发现和自己的onnx版本号不匹配,又重新安装回去。
换修改tensorRT内的__init__.py的方法
将__init__.py的内容中np.bool修改为bool,
sudo nano /usr/lib/python3.8/dist-packages/tensorrt/__init__.py(我使用的是emacs编辑器)
再次执行python3 yolov5_det_trt.py
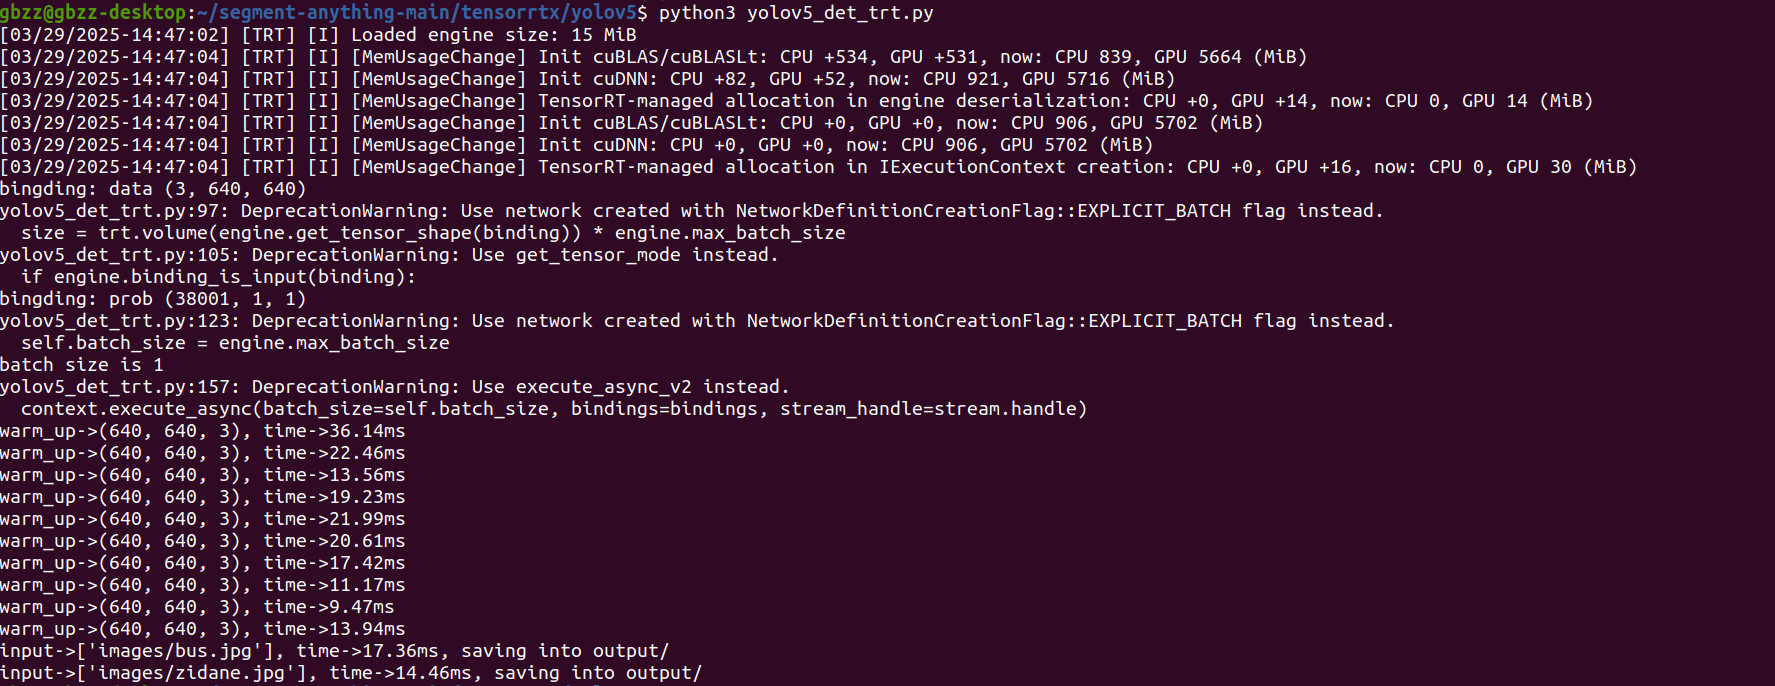
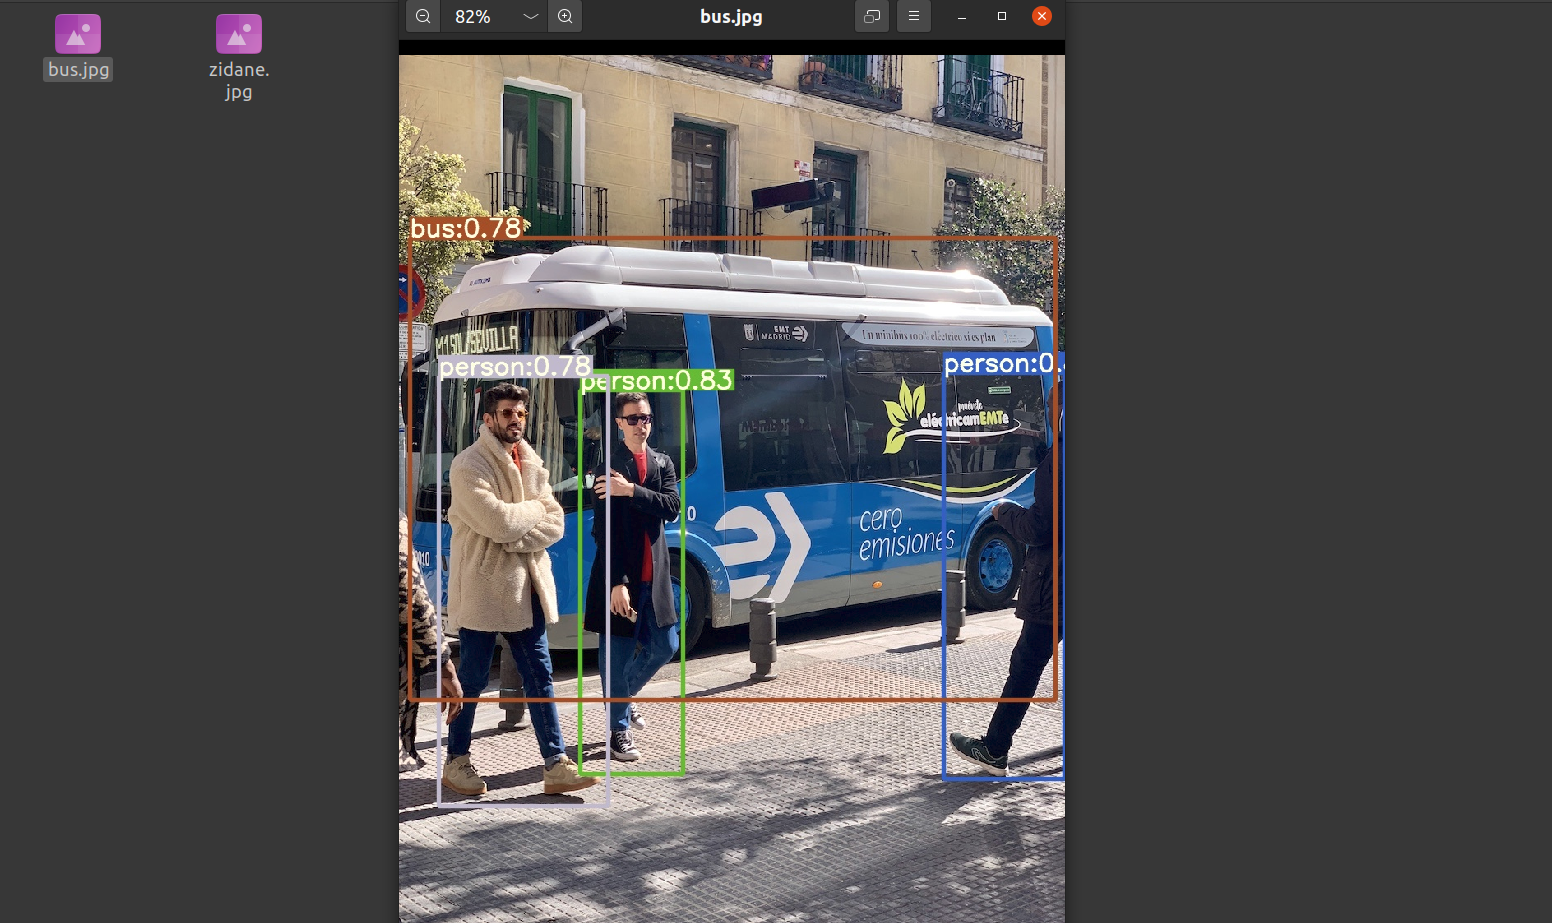
查看output
yolov8.pt转换yolov8.wts
出现ultralytics报错,Not module from ultralytics.nn Conv
解决方法:
pip uninstall ultralytics
git clone https://github.com/ultralytics/ultralytics.git
cd ultralytics
pip install -e .
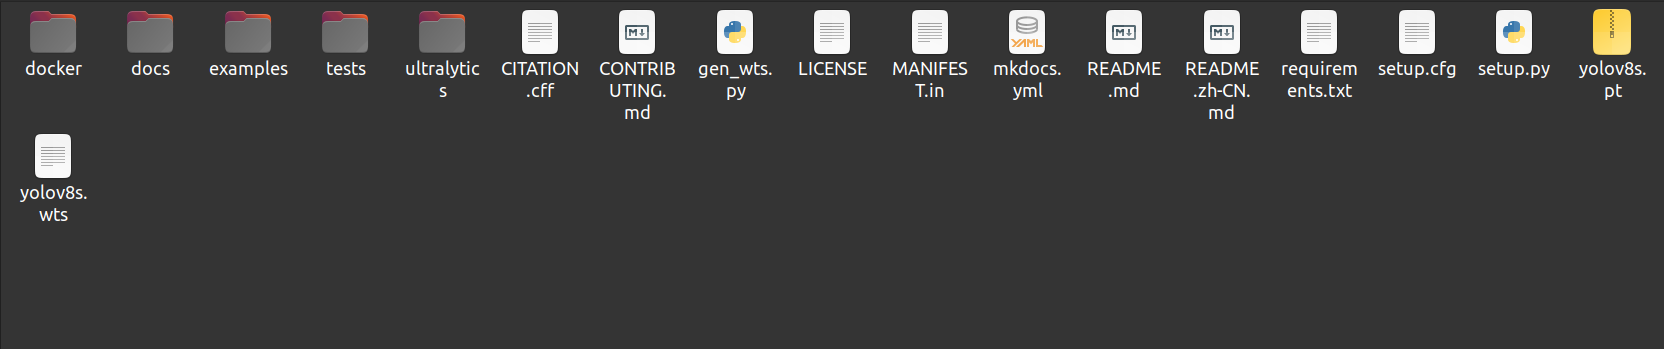
执行python3 gen_wts.py -w 'yolov8s.pt'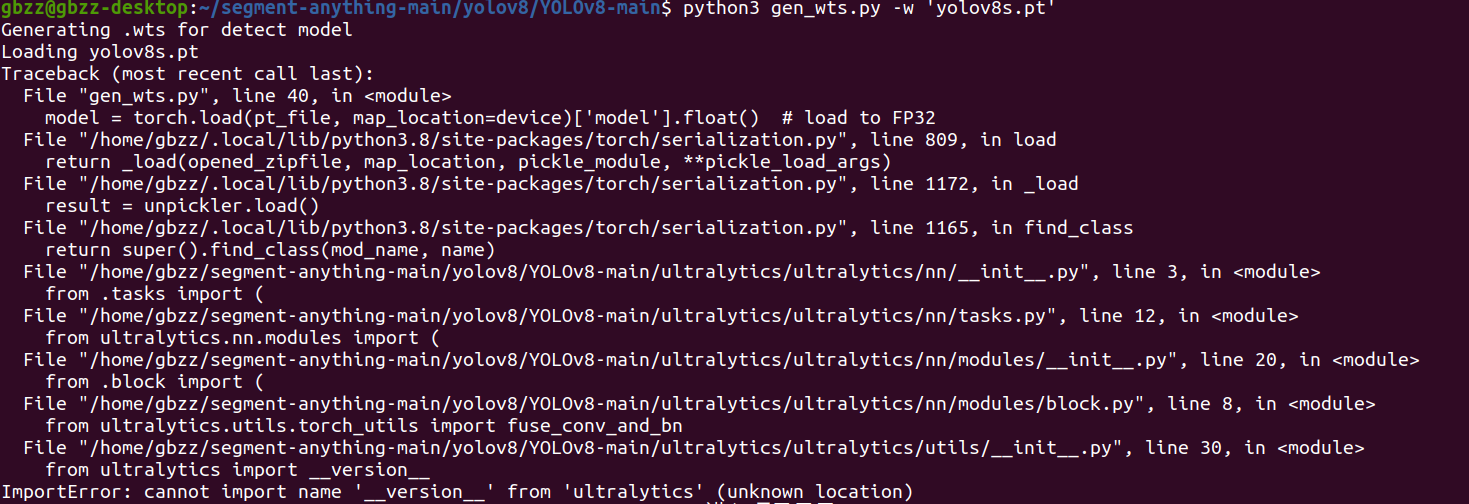
则需要修改gen_wts.py的内容加入
import sys
sys.path.append('./ultralytics')
import argparse
import os
import struct
import torch
import sys
print(sys.executable)
再次执行python3 gen_wts.py -w 'yolov8s.pt'

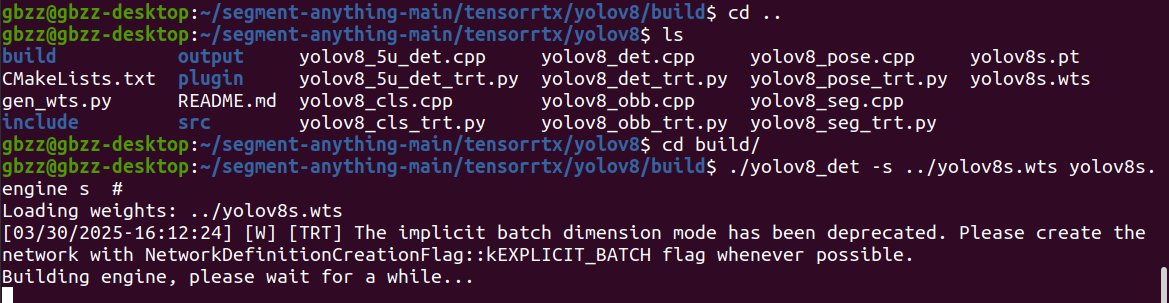
回到build目录下cd ..
python3 yolov8_det_trt.py build/yolov8s.engine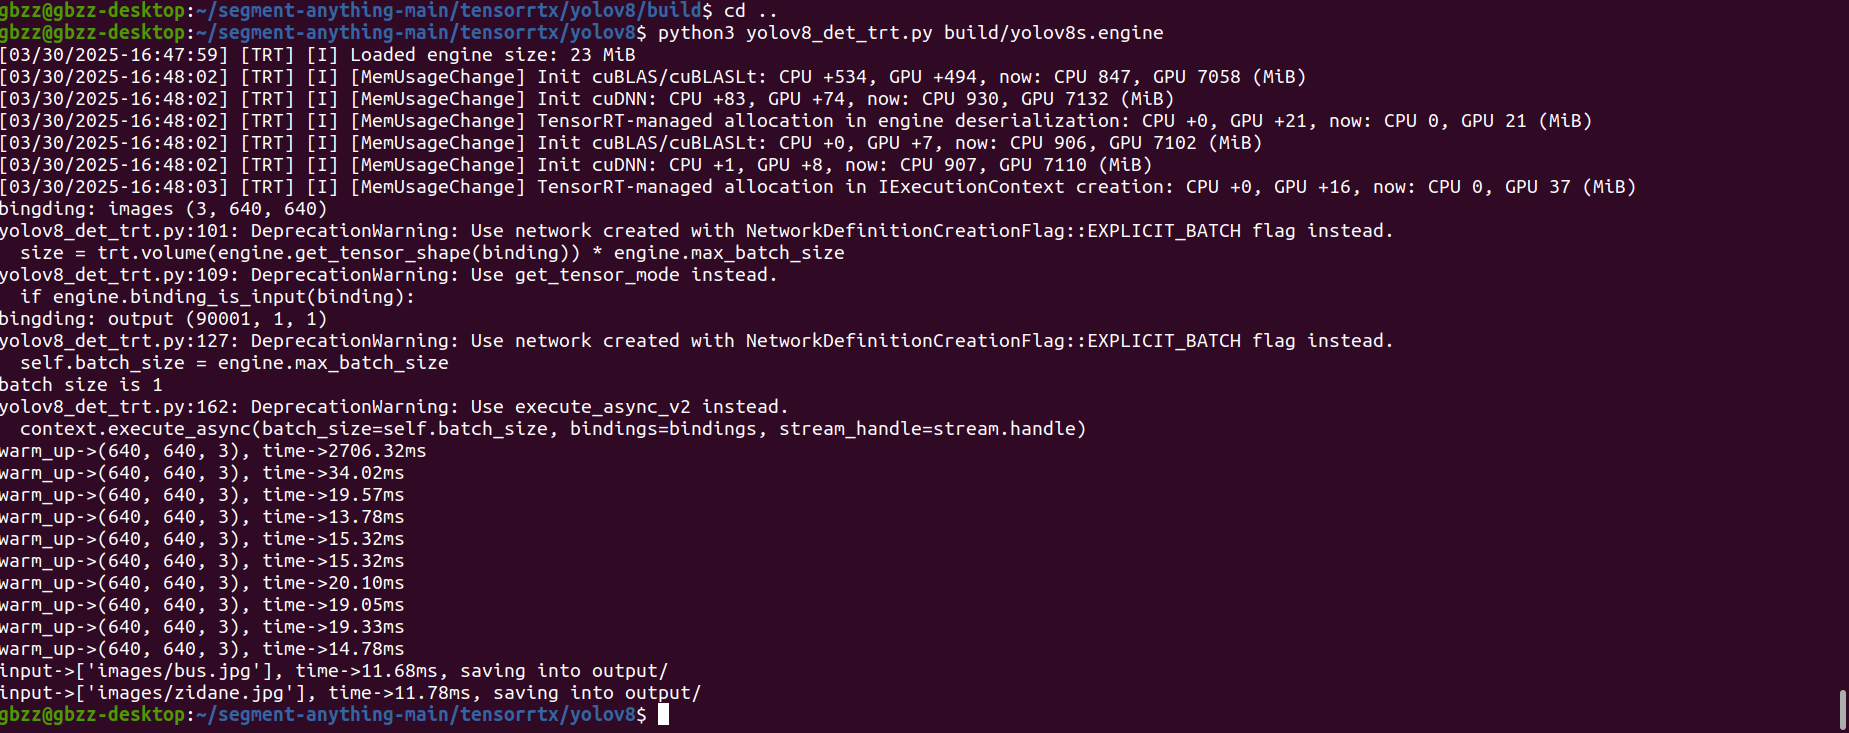


 被折叠的 条评论
为什么被折叠?
被折叠的 条评论
为什么被折叠?
 到【灌水乐园】发言


