


目录
6.第六种爷孙传值provide / inject(官方并不建议未总结)
1.父传子(props)
VUE3父传子
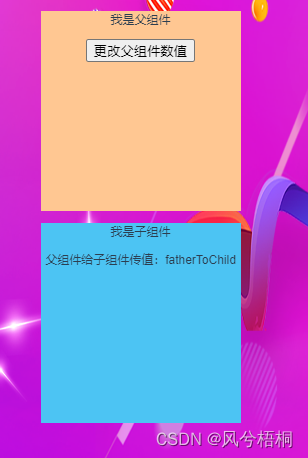
1.将fatherToChild的值传递到index子组件之中并且在父组件中操作按钮子组件数据会跟随变化
  <div class="bgc fed">
    <div class="father">
      <p>我是父组件</p>
      <p>
        <button @click="changeFather">更改父组件数值</button>
      </p>
    </div>

    <index :fatherToChild="fatherToChild" />
  </div>
2.引入vue的import
import { defineComponent, ref, reactive, toRefs } from "vue";
3.const 所要传递的数据并且写上父组件的按钮方法
    const state = reactive({
      fatherToChild: "fatherToChild",
    });
    const changeFather = () => {
      state.fatherToChild = "changeFather";
    };
    return {
      ...toRefs(state),
      changeFather,
    };
如图所示为一开始传递fatherToChild在点击按钮之后传递数值变为changeFather
4.在子组件之中接收所传递的props
export default {
  props: {
    fatherToChild: String,
  },
  setup(props) {
    return {
      props,
    };
  },
};
如果不确定传值为什么可cons一下传递的props在控制台观察
在子组件中引用为
<p>父组件给子组件传值:{{ props.fatherToChild }}</p>效果如图所示
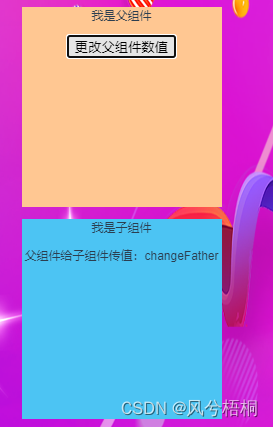
可以观察到点击父组件后子组件数值跟随变化
2.子传父组件方法和值(emit)
同VUE2一样子组件没有办法直接更改父组件方法,选用context.emit进行方法传递
1.子组件之中写方法触发context,emit
  setup(props, context) {
    const childChangeFather = () => {
      context.emit("childUseFather", "childUseFather");
    };
    return {
      props,
      childChangeFather,
    };
  },
context.emit(‘方法名’,数值)
2.父组件之中接收方法后调用更改数值
    const childUseFather = (val) => {
      state.fatherToChild = val;
    };
<index
:fatherToChild="fatherToChild"
@childUseFather="childUseFather" />
效果如图所示
点击前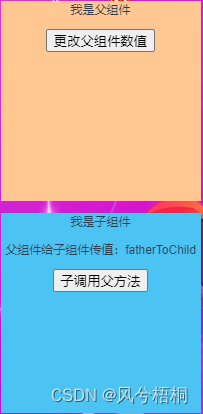 点击后
点击后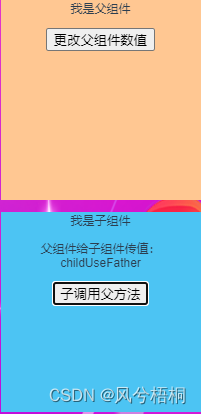
3.子传父(v-model)
如果子传父所更改的值恰好跟父组件相同可用v-model
1.父组件之中
<index v-model:fatherToChild="fatherToChild" />
不再需要使用@和:
2.子组件之中
    const modelChange = () => {
      context.emit("update:fatherToChild", "modelChangeFather");
    };
使用update方法,context.emit("update:方法名","传值")
效果如图所示
点击前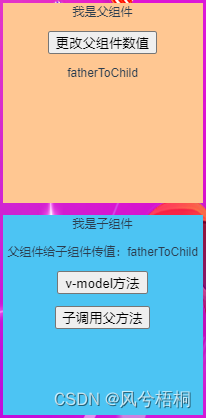 点击后
点击后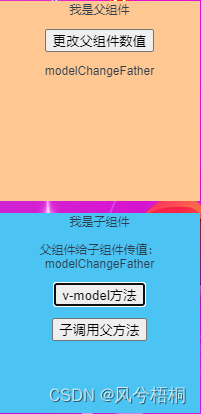
同时父组件更改数值子组件也会同样跟随变化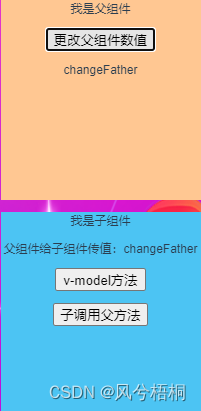
4.父组件调用子组件方法(ref)
就是使用 ref 来获取dom 然后操作里面的参数和方法。
父组件之中
    <p><button @click="fatherUse">ref父组件调用子组件方法</button></p>
    <index ref="child" />
const child = ref();
const fatherUse = () => {
child.value.fatherUseChild("fatherChangeChild");
};在组件上绑定ref,起名为child在调用时使用child.value.方法名(“传值”)
子组件之中
    const state = reactive({
      children: "children",
    });
    // 父组件调用子组件方法并且进行传值更改
    const fatherUseChild = (val) => {
      console.log("调用成功");
      state.children = val;
    };
接收到传值val,触发方法给children重新赋值
效果如图所示
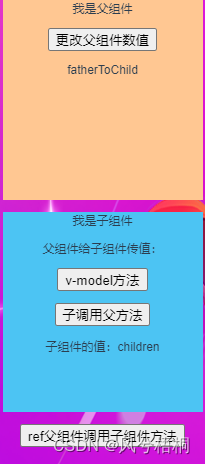 点击最后一个按钮父组件调用时
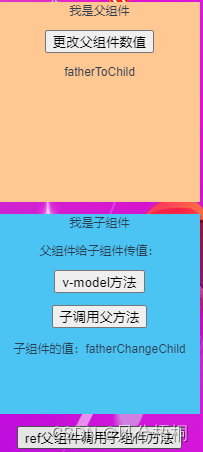
可以观察到子组件之中子组件的值变化为fatherChangeChild
5.VUEX
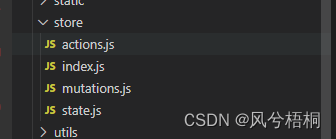
文件目录结构如图所示
index.js之中
import { createStore } from 'vuex'
import {state} from './state'
import {mutations} from './mutations'
import {actions} from './actions'
export default createStore({
  state,
  mutations,
  actions,
  modules: {
  }
})
注意如果引入的时候没写{}在后续会导致store.state.字段找不到,需要store.state.state.字段才能查到数据,只有好不好用就不知道了= =
首先在state之中声明一个count
const state = {
  count: 0,
}
export { state }
然后在页面之中进行引用时
<template>
  <div class="bgc fed">
    <div class="father">
      <p>我是父组件</p>
      <p>vuex中的数据:{{ store.state.count }}</p>
      <child />
    </div>
  </div>
</template>
<script>
import child from "@/views/loginComponents/child.vue";
import { defineComponent } from "vue";
import { useStore } from "vuex";
export default defineComponent({
  components: {
    child,
  },
  name: "index",
  setup() {
    const store = useStore();
    return {
      store,
    };
  },
});
</script>
<style scoped>
.father {
  height: 600px;
  width: 200px;
  background: rgb(255, 199, 146);
  margin: 0 auto;
}
</style>
可以通过console一下store来观察数据是什么
如果想要对数据进行更改需要在mutations文件中进行操作
const mutations = {
  addCount(state, payload) {
    state.count += payload
  },
  changeCount(state, payload) {
    state.count = payload
  }
}
export { mutations }
如图为递增和值替换两种方法
    const changeState = () => {
      store.commit("addCount", 1);
    };
使用的时候直接store.commit即可
效果如图所示
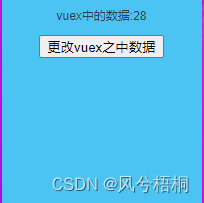
每次点击递增1
如果想要进行异步操作的话 在actions文件中调用mutations方法来实现
const actions = {
  asyncAddStoreCount(store, payload) { // 第一个参数是vuex固定的参数,不需要手动去传递
    store.commit("addCount", payload)
  },
}
export { actions }
使用的时候
    const asyncChangeStoreCount = () => {
      setTimeout(() => {
        // asyncAddStoreCount是mutations中的方法,2是传递过去的数据
        // 异步改变vuex用dispatch方法,这里用setTimeout模拟异步操作
        store.dispatch("asyncAddStoreCount", 2);
      }, 1000);
    };
用一个计时器模拟一下
效果图如图所示
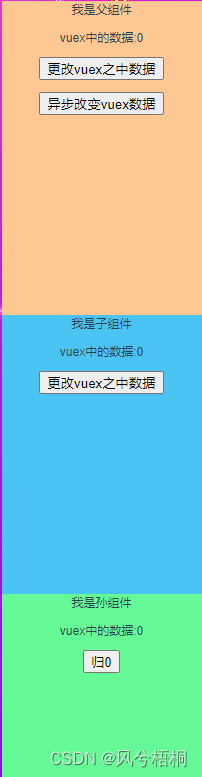 点击父
点击父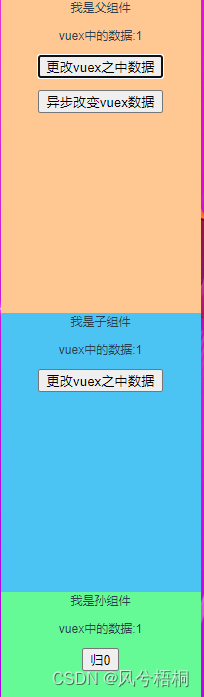 可以发现三个组件之中数据都跟着发生了变化,点击子孙组件同样。
在父组件之中点击异步后点击更改,可以发现数据先加了1两秒之后又加了2


 1525
1525

 被折叠的 条评论
为什么被折叠?
被折叠的 条评论
为什么被折叠?
 到【灌水乐园】发言


