


1.node.js的安装
安装地址:https://nodejs.org/en/download/
具体步骤参考:https://www.cnblogs.com/zhouyu2017/p/6485265.html
在node.js中安装淘宝镜像(二种方式)
1.1:在dos命令窗口中进入到node.js的安装目录,输入命令:
npm config set registry https://registry.npm.taobao.org
1.2:在node.js的安装目录下找到npmvc文件,然后右击编辑
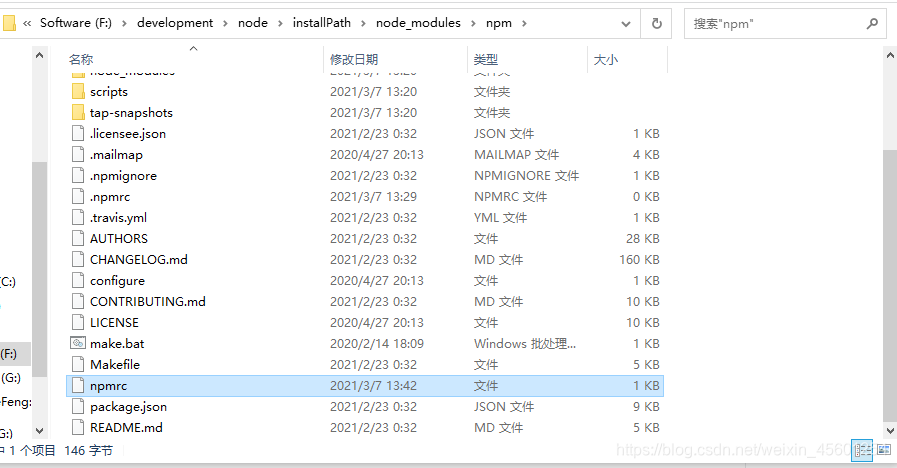
把下面内容输入npmrc文件中
registry=https://registry.npm.taobao.org
2.在npm中安装Vue
2.1 创建一个目录用来放vue项目(例如:D:\IDEA WorkSpace\vue-demo)
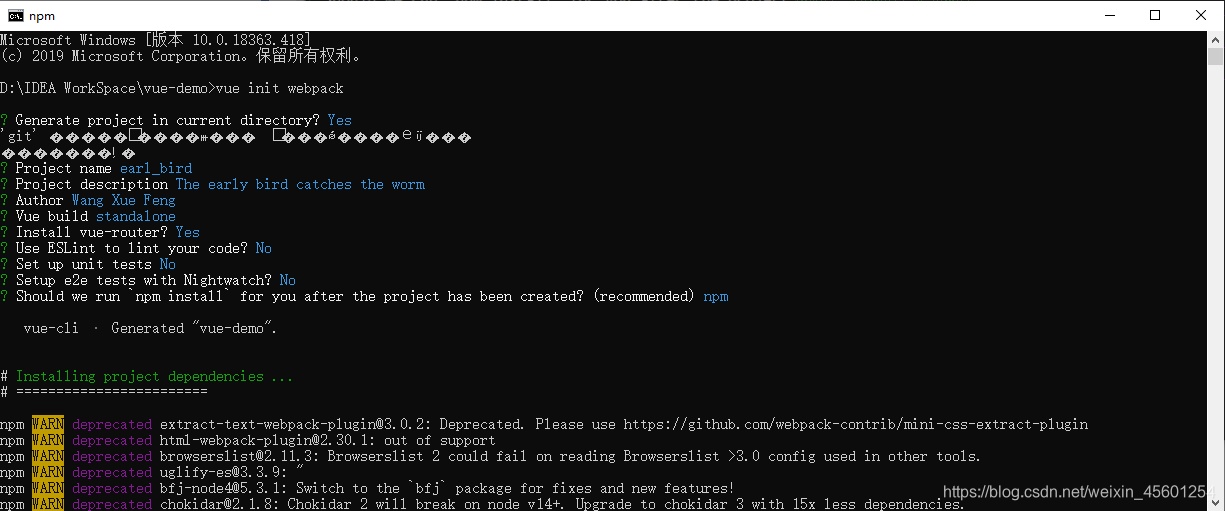
2.2 在dos命令窗口中,输入vue init webpack 安装Vue。
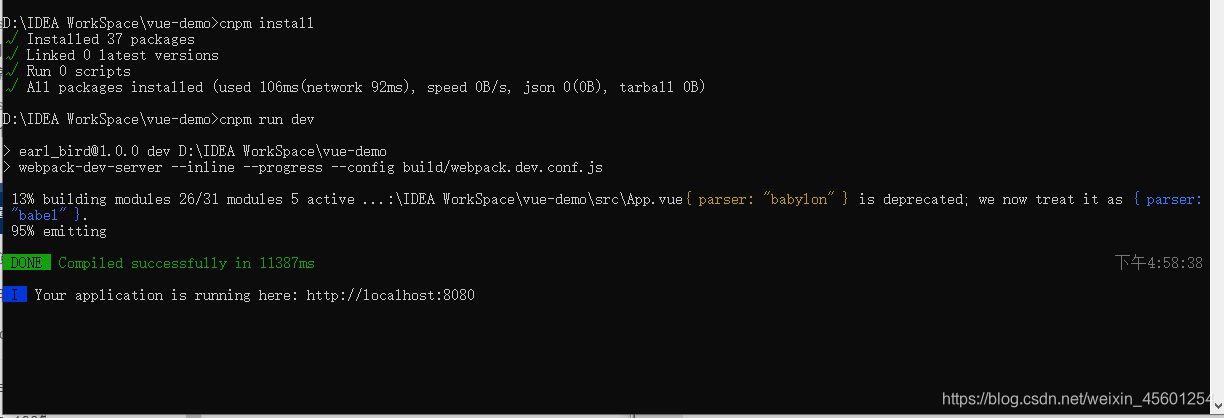
2.3 安装完成之后,在Vue的项目路径中输入 cnpm install 来安装npm依赖,然后再输入 cnpm run dev 运行
2.5如下图,可以去访问http://localhost:8080,出现下面的页面
访问成功!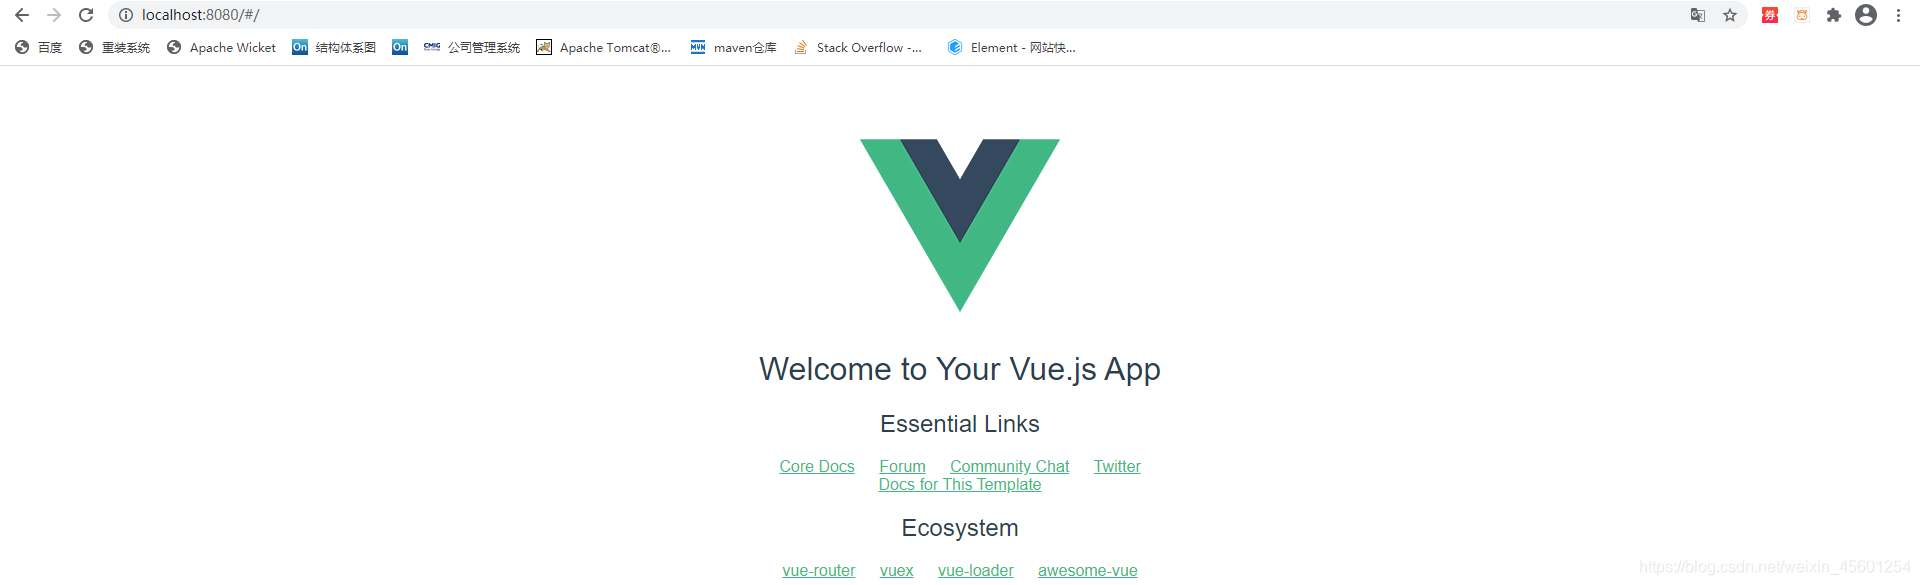
-
在vue中引入element-ui (使用npm的方式)
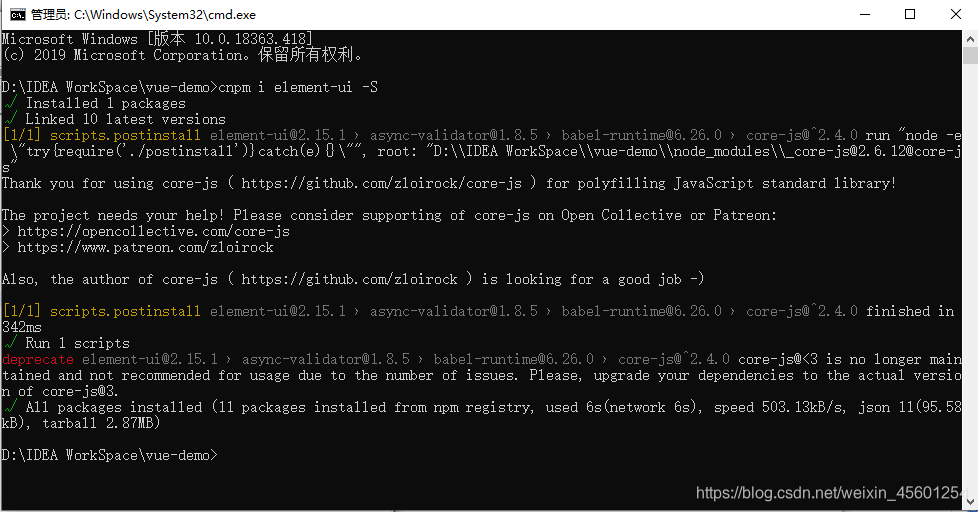
命令: npm i element-ui -S (我安装了淘宝镜像,用的这种:cnpm i element-ui -S)
3.1 测试element-ui 引入后的效果
3.1.1 把之前Vue的安装目录,放到idea中打开
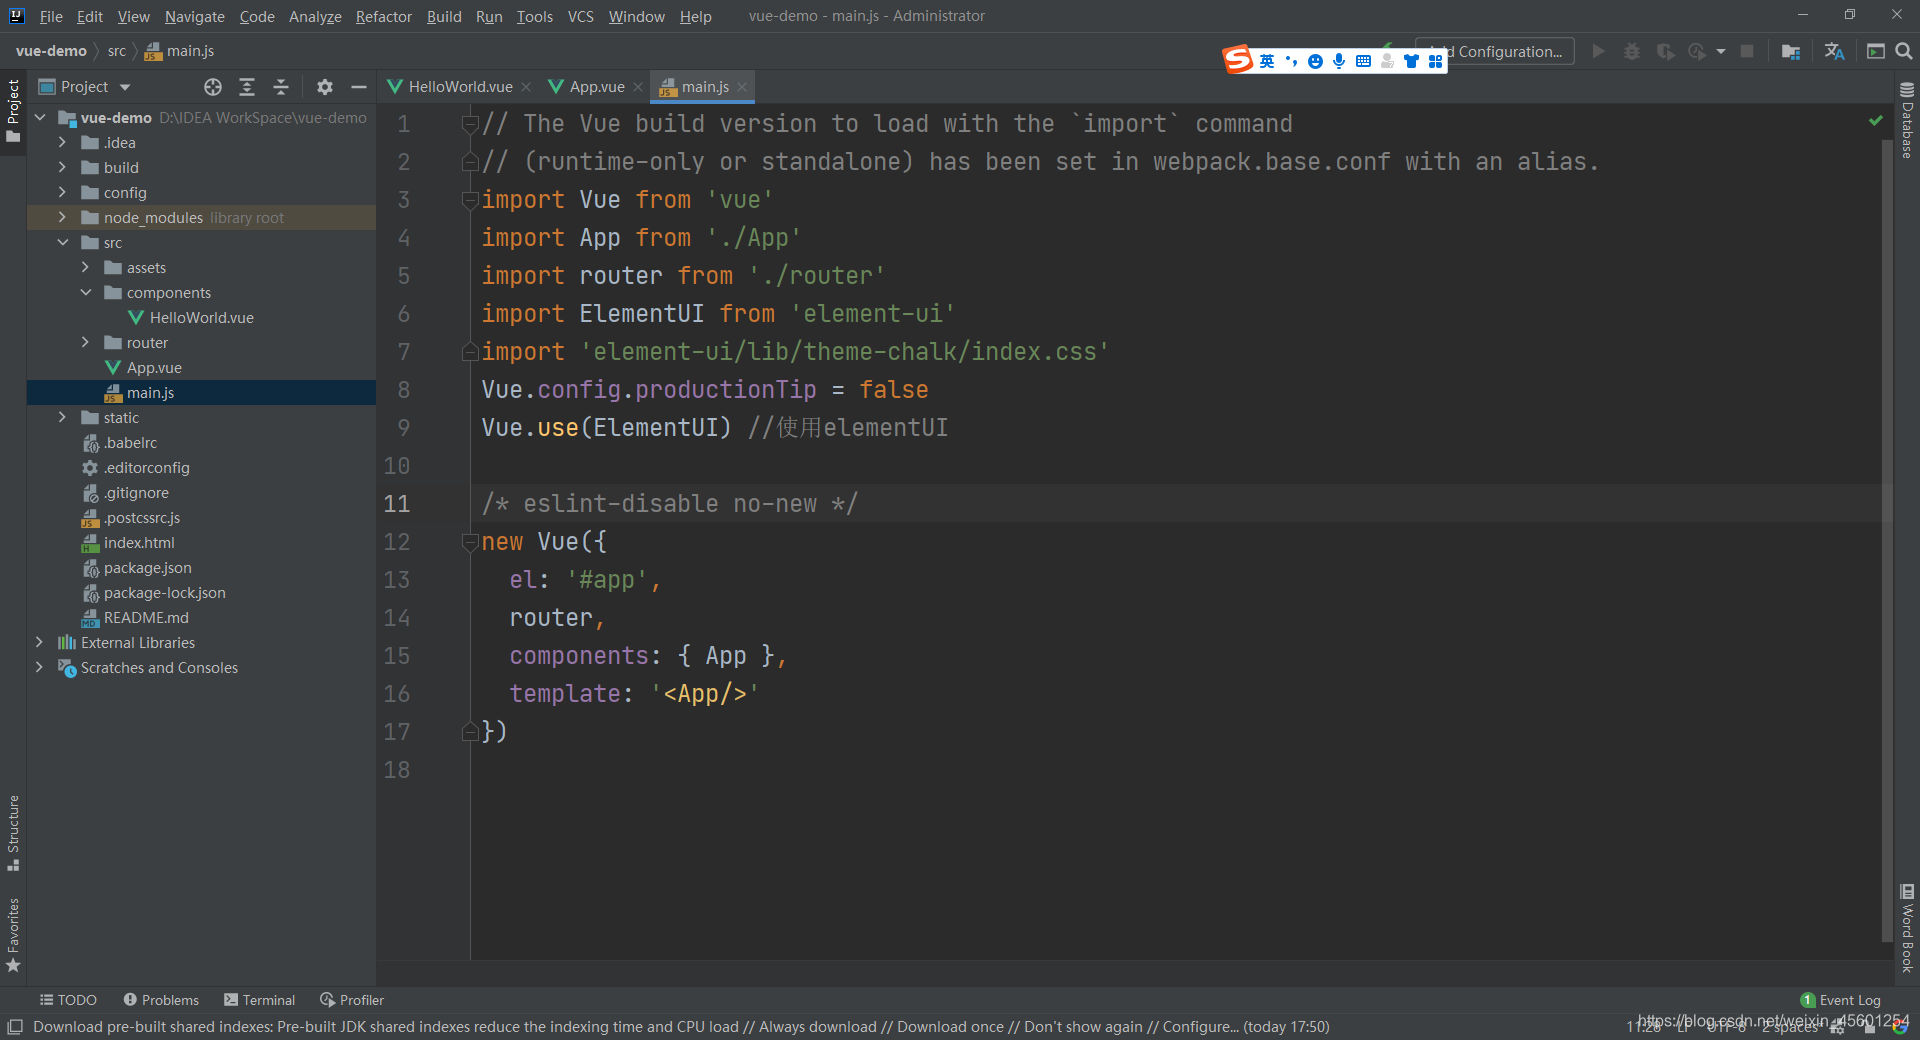
3.1.2 打开之后找到mian.js(如下图),然后把下面的内容复制进去import ElementUI from 'element-ui' import 'element-ui/lib/theme-chalk/index.css' Vue.config.productionTip = false Vue.use(ElementUI)
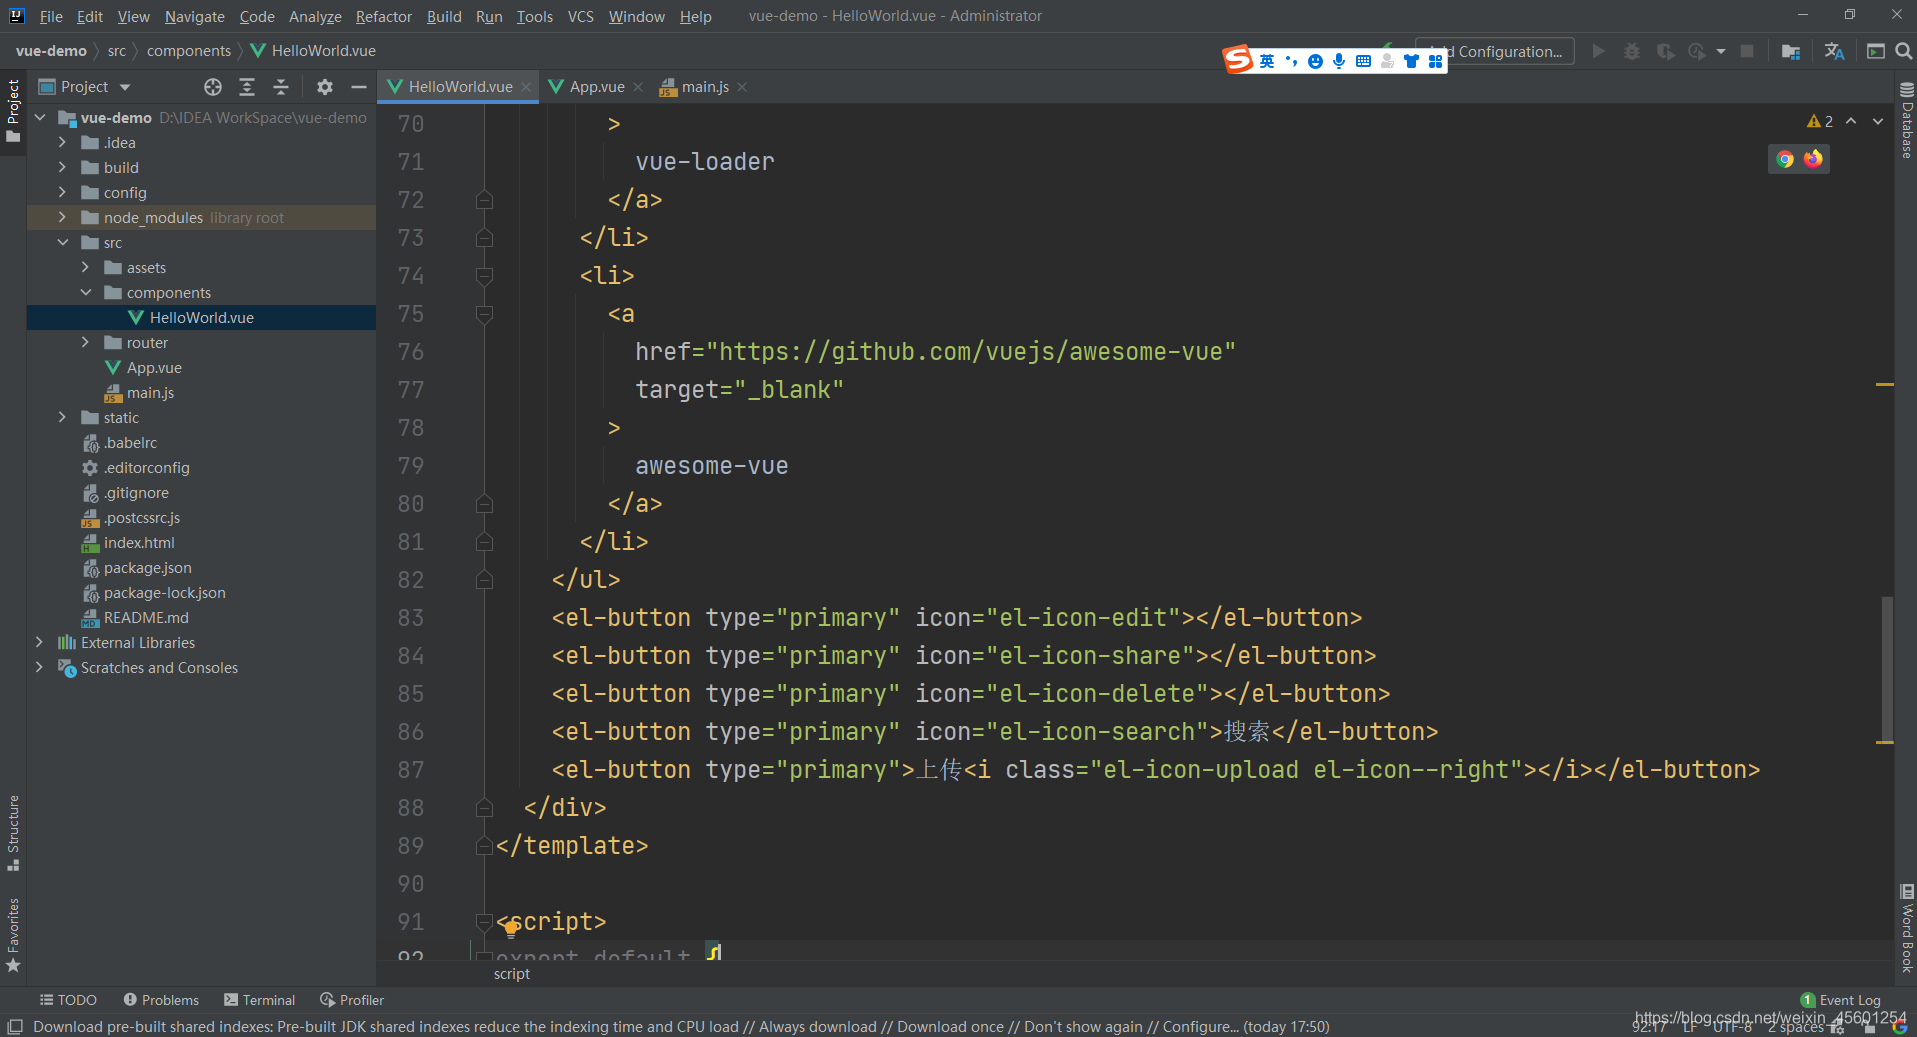
3.1.3 找到HelloWord.vue文件,在里面加入下面的内容
<el-button type="primary" icon="el-icon-edit"></el-button>
<el-button type="primary" icon="el-icon-share"></el-button>
<el-button type="primary" icon="el-icon-delete"></el-button>
<el-button type="primary" icon="el-icon-search">搜索</el-button>
<el-button type="primary">上传<i class="el-icon-upload el-icon--right"></i></el-button>
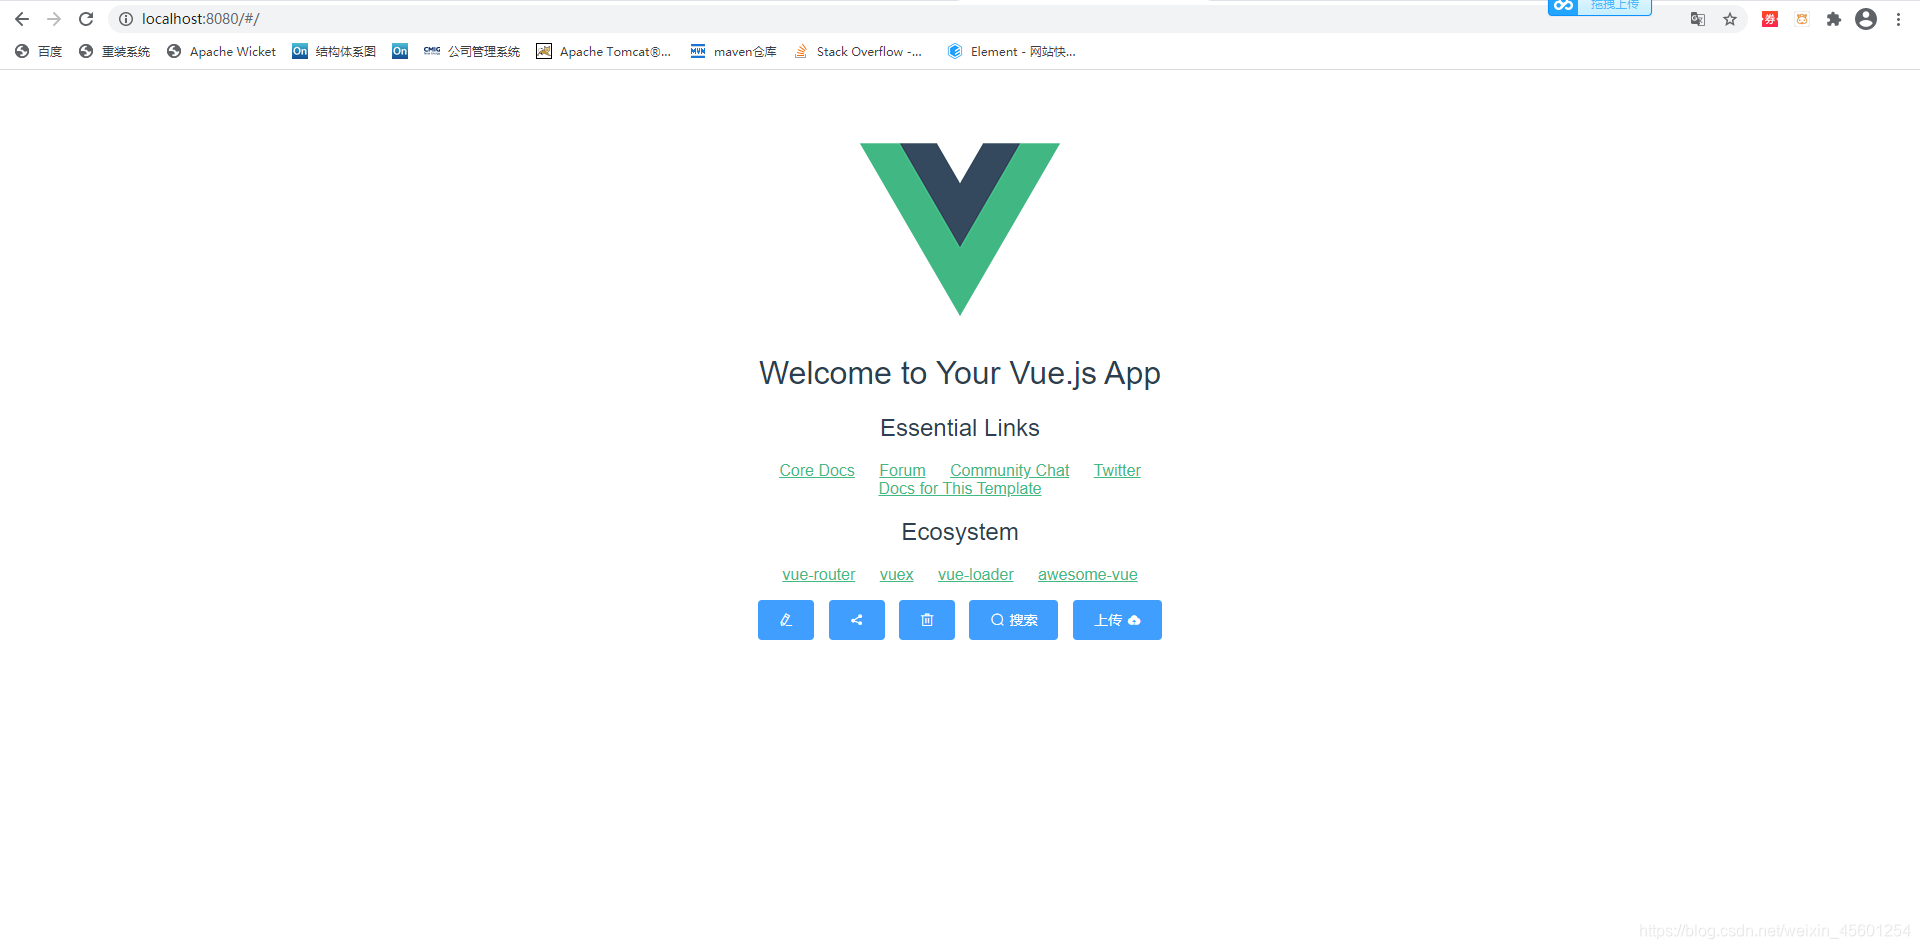
3.1.4 然后再去查看http://localhost:8080 页面(或者刷新一下8080页面),出现下图效果(比之前的页面中,多出了几个蓝色按钮),说明element-ui成功引入。


 393
393

 被折叠的 条评论
为什么被折叠?
被折叠的 条评论
为什么被折叠?
 到【灌水乐园】发言


