


 本文介绍了如何使用Node.js + Express搭建后端接口,结合Vue.js和ElementUI创建前端页面,实现扫码购物项目。详细步骤包括环境配置、项目创建、组件引入、跨域处理、接口数据渲染以及小米商城分离版项目的快速搭建。
一、简介
本次项目以Node.js + Express框架提供接口,后台使用分离模式,用ElementUI做后台模板,
前端使用微信小程序实现的一个扫码购物的项目。
二、项目搭建
后端接口项目搭建,请参考我的另外一篇文章:
https://itfun.tv/news/150
接下来,我们演示前端后台项目搭建。
1、在基于node环境的laragon集成环境中,终端任意目录执行命令
npm install -g cnpm --registry=https://registry.npm.taobao.org

cnpm install -g @vue/cli

vue ui
注意:如果你电脑是第一次创建vue项目,上面命令启动后,会自动从浏览器中打开新建项目页面。
如果你电脑之前已经安装过vue的项目,执行上面的命令后,浏览器会自动打开一个项目仪表盘的管理页面。
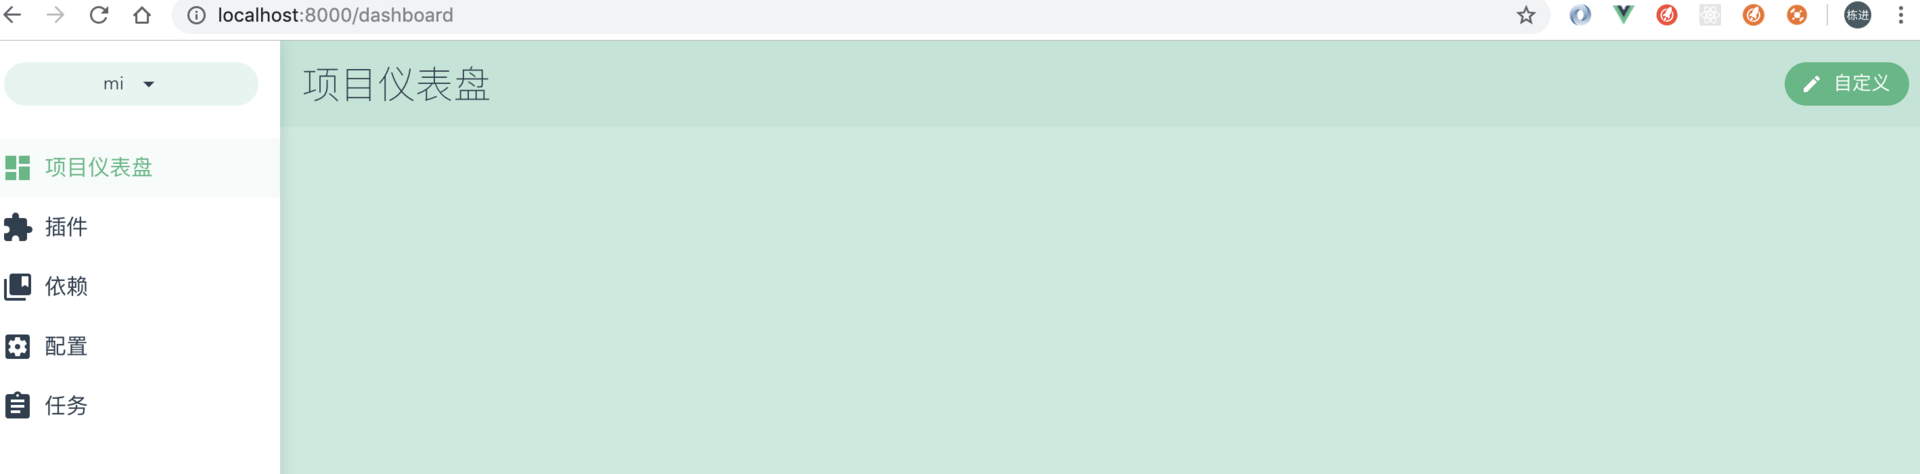
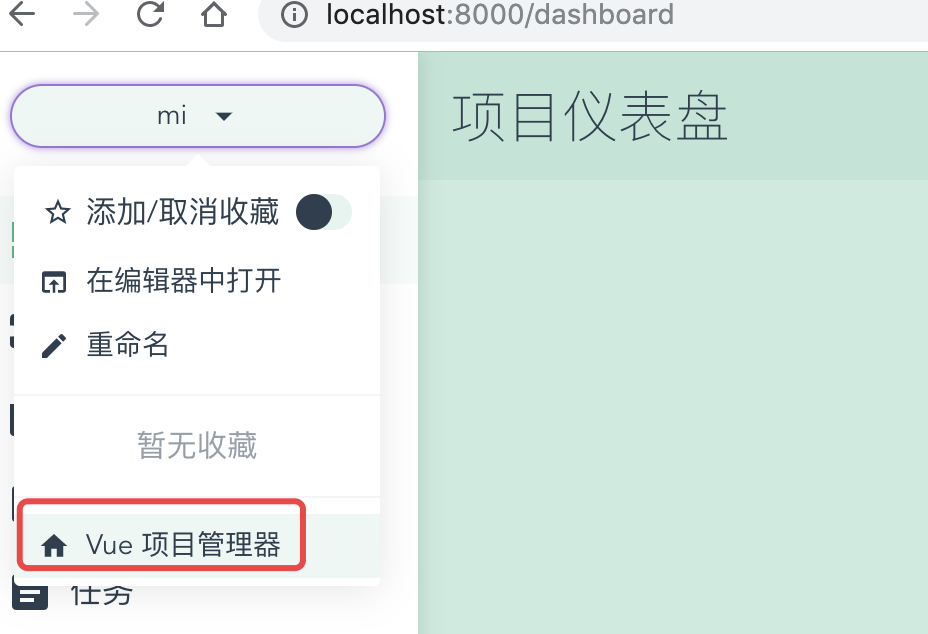
点击左上角的按钮,选择 Vue项目管理器
选择项目路径
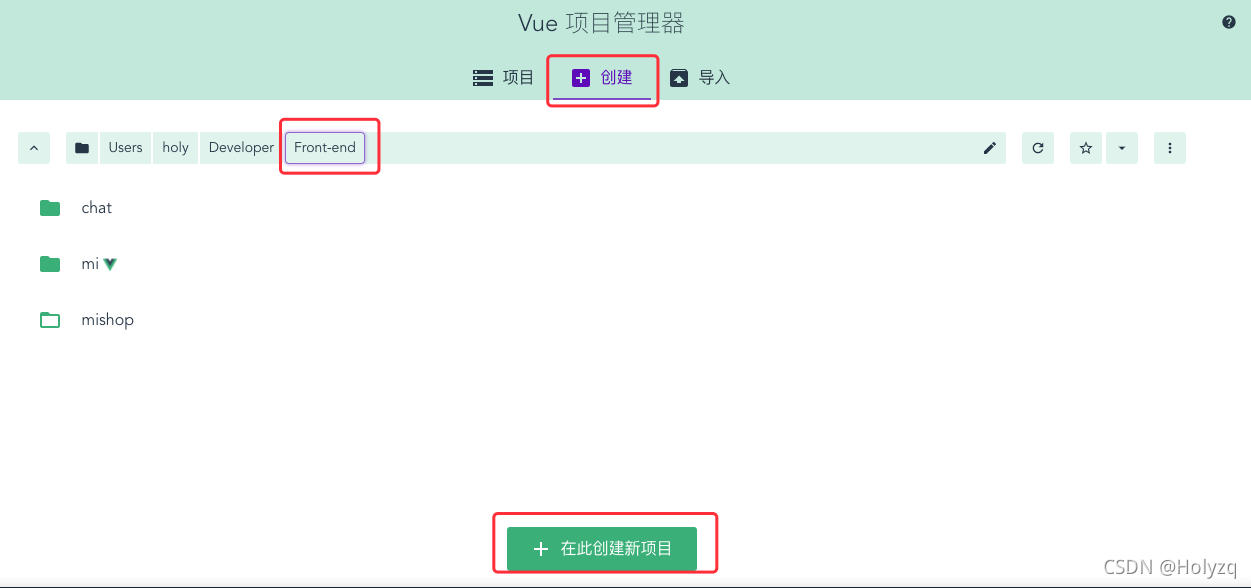
点击底下的创建项目,进入如下图片
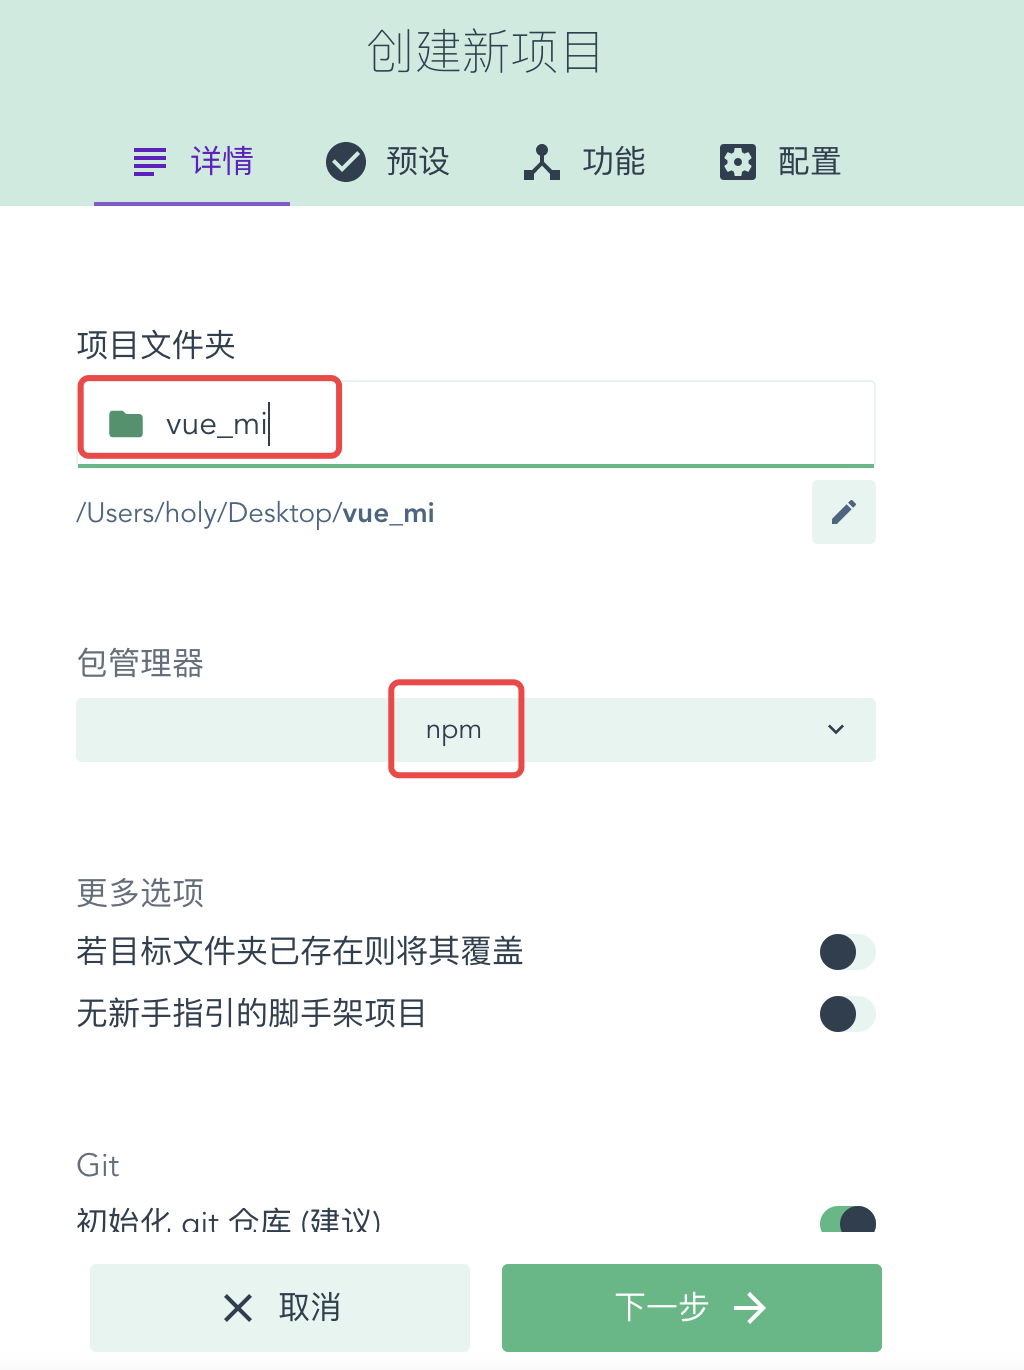
选择手动
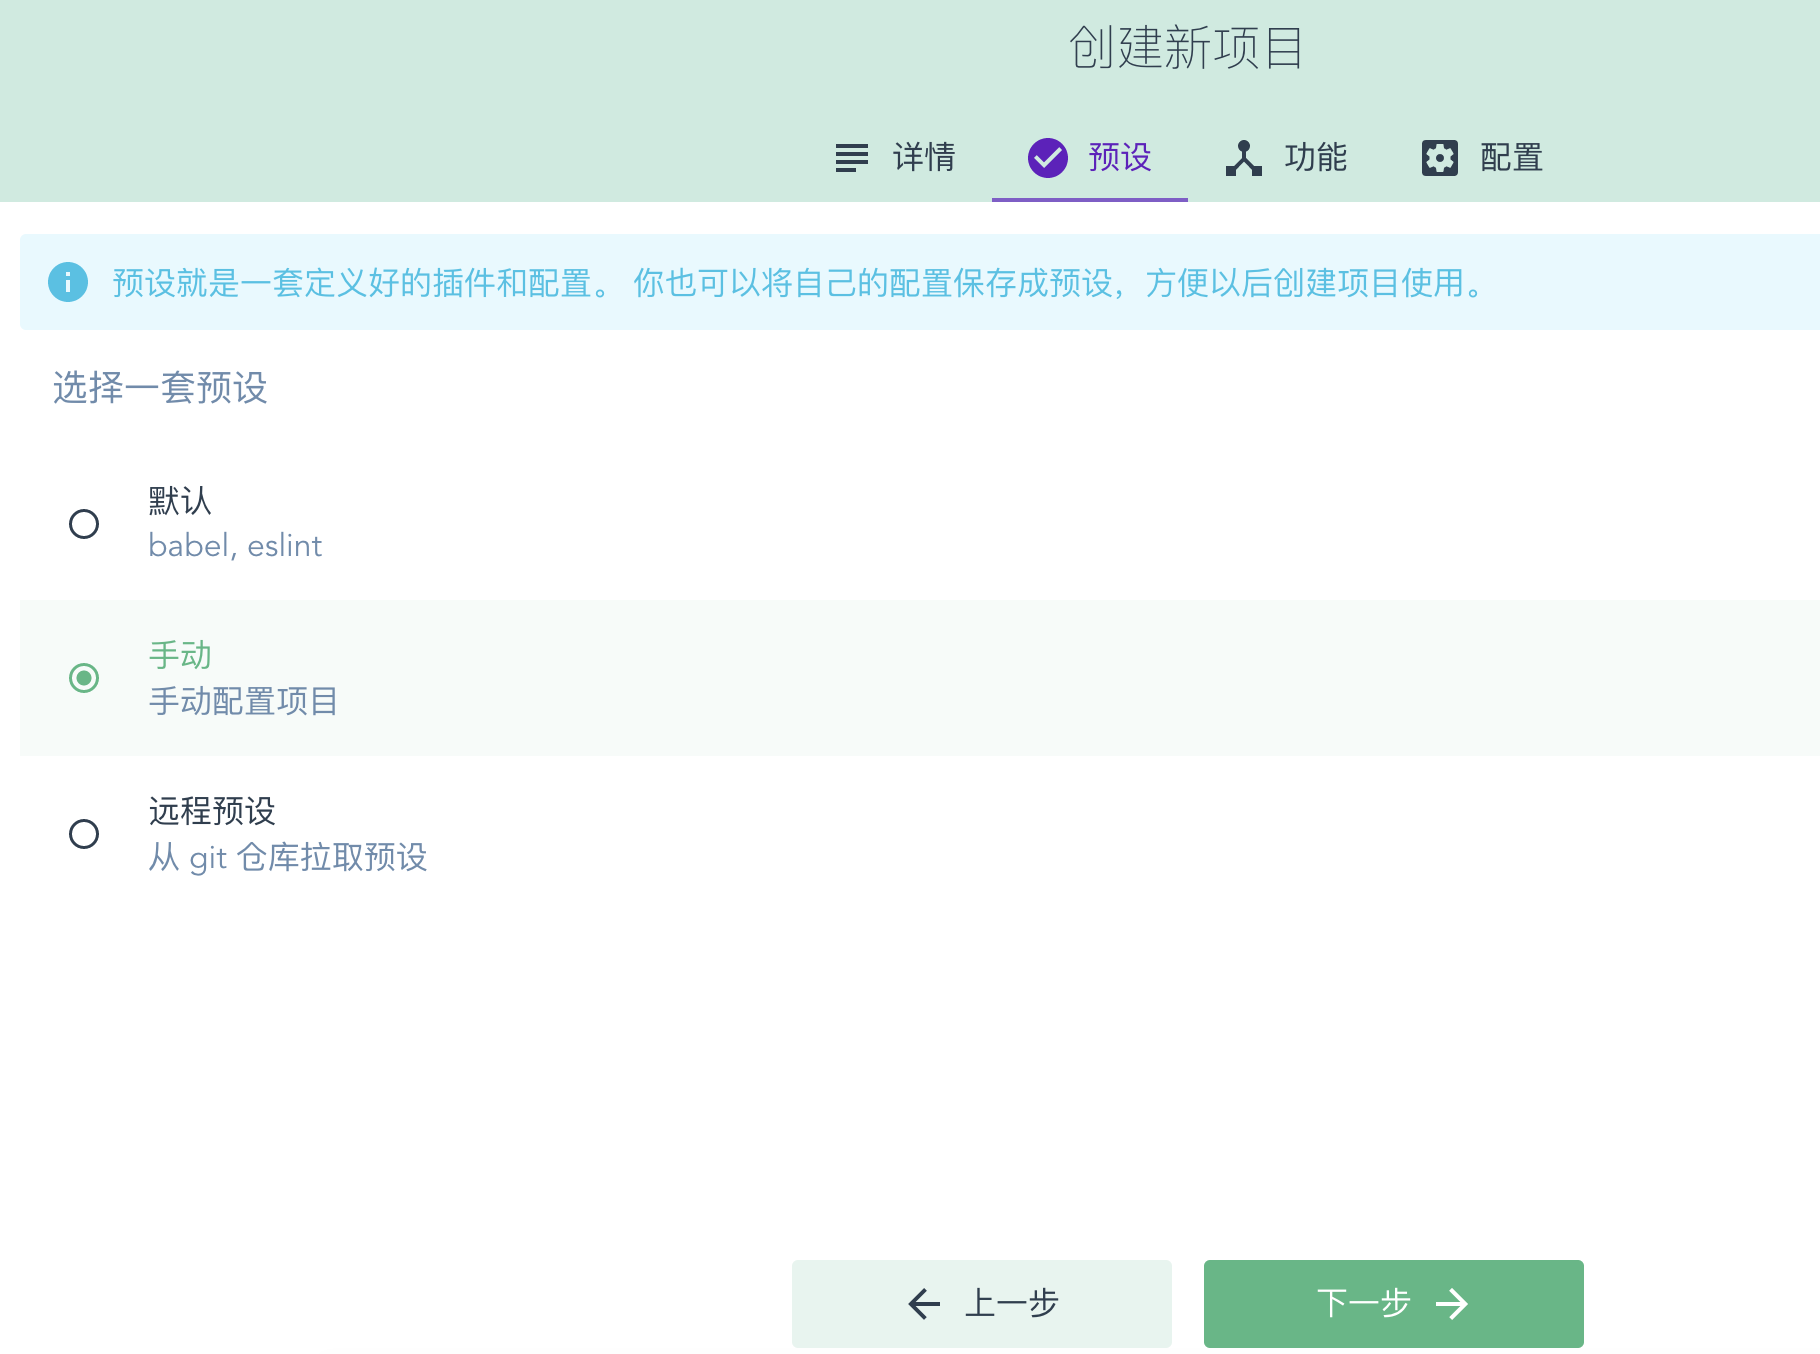
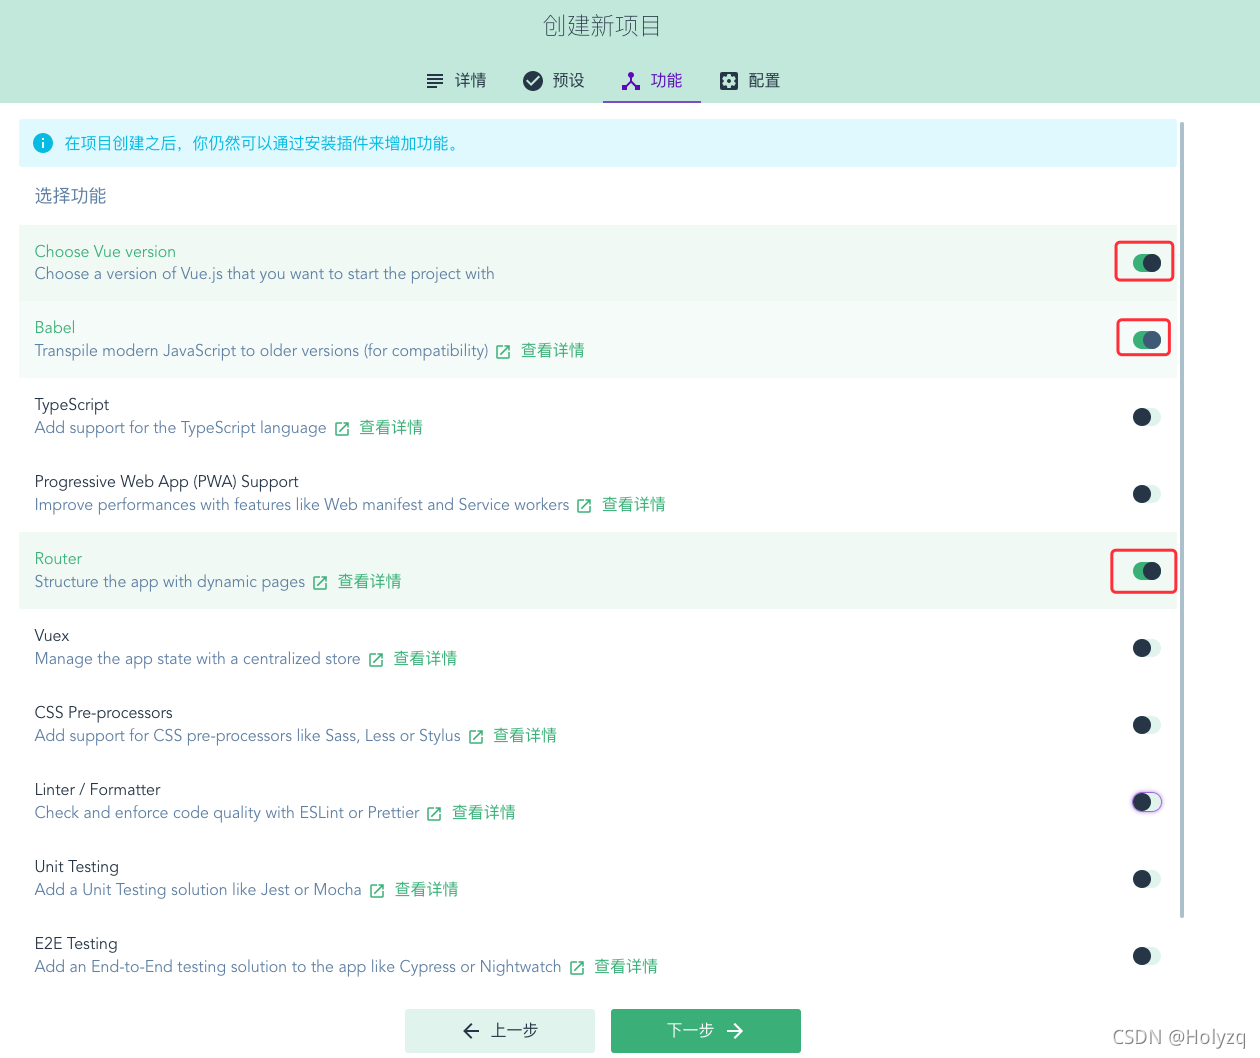
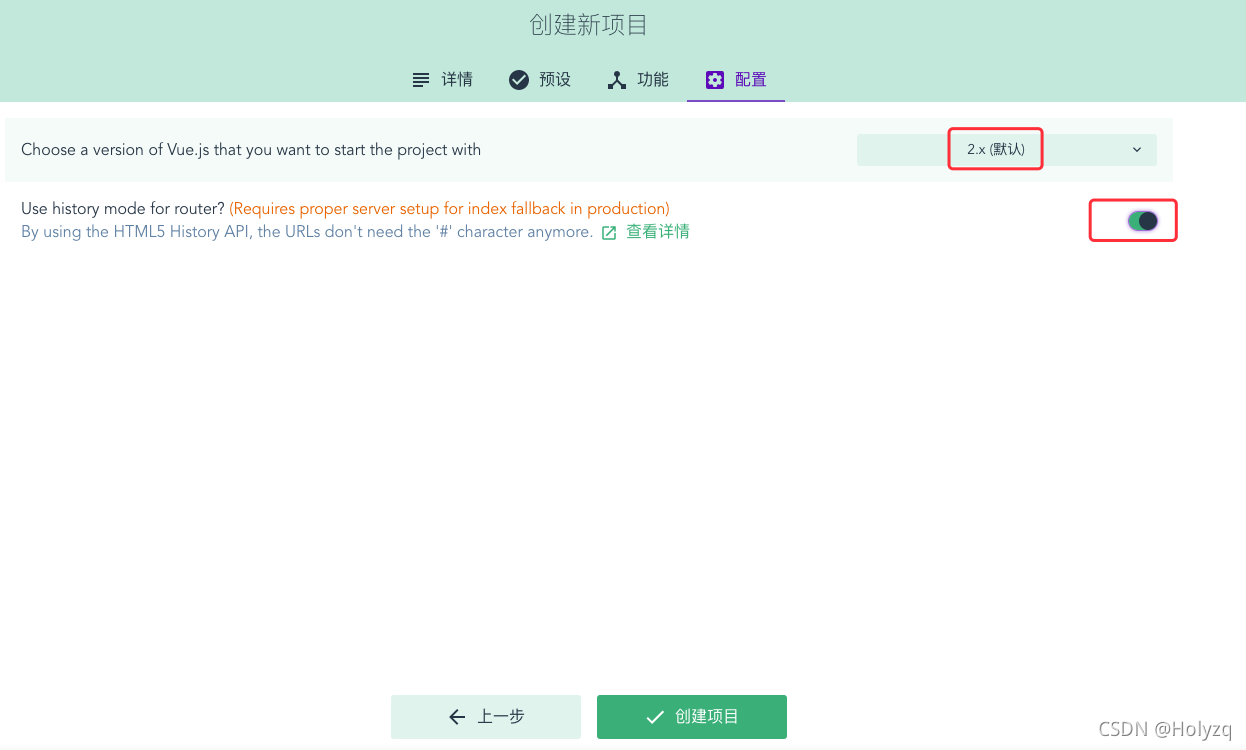
如图选择
2、引入elementUI,参考文档:https://element.eleme.cn/#/zh-CN/component/installation
npm i element-ui -S
在main.js中写入以下内容:
import ElementUI from 'element-ui';
import 'element-ui/lib/theme-chalk/index.css';

Vue.use(ElementUI);
修改路由
import Vue from 'vue'
import Router from 'vue-router'
import Home from './views/admin/Home.vue'

Vue.use(Router)

export default new Router({


  mode: 'history',
  base: process.env.BASE_URL,
  routes: [
    {


      path: '/admin',
      name: 'home',
      component: Home
    },
    {


      path: '/product',
      name: 'product',
      component: () => import('./views/admin/product/Home.vue')
    },
    {


      path: '/product/create',
      name: 'productCreate',
      component: () => import('./views/admin/product/Create.vue')
    }
  ]
})
在views文件夹中新建admin/Home.vue组件,引入element自带button样式,启动项目,刷新页面:http://localhost:8080/#/admin
你会发现样式已加载。
3、页面处理,为了节省做页面的时间,我这里直接贴上自己写好的模块代码,仅供参考。
修改views/admin/Home.vue代码如下:
<template>
  <div>
    <el-alert class="home_desc" title="Walsmart后台管理系统" type="success" :closable="false" description="这是一个基于Node.js + ElementUI使用接口开发模式开发的一套后台管理系统。主要业务用于扫码购物的各个模块,如:商品管理、分类管理、用户管理等。
          本次系统还在不断完善中,敬请期待...." show-icon>
    </el-alert>

    <el-alert title="辅助工具和资料" type="warning" description="1、phpstrom编辑器 2、mamp集成开发环境 3、api接口测试软件postman" :closable="false" show-icon></el-alert>

    <div class="hengxian"></div>
  </div>
&l
最低0.47元/天 解锁文章


 782
782

 被折叠的 条评论
为什么被折叠?
被折叠的 条评论
为什么被折叠?
 到【灌水乐园】发言


