


github镜像站
卸载dpkg安装的应用
dpkg -l | grep 应用名称
如果找不到,可以用这个命令查看所有的软件
dpkg --list
找到后删除:
sudo apt-get --remove --purge remove xxx
/·bashrc 不想敲…
sudo gedit ~/.bashrc
source ~/.bashrc
ROS相关命令
🍀 创建工作空间
mkdir -p ~/catkin_ws/src
cd ~/catkin_ws/src
catkin_init_workspace
🍀 编译工作空间
catkin_make
🍀 创建功能包
cd ~/catkin_ws/src
catkin_create_pkg your_pkg_name std_msgs rospy roscpp
make -j4?
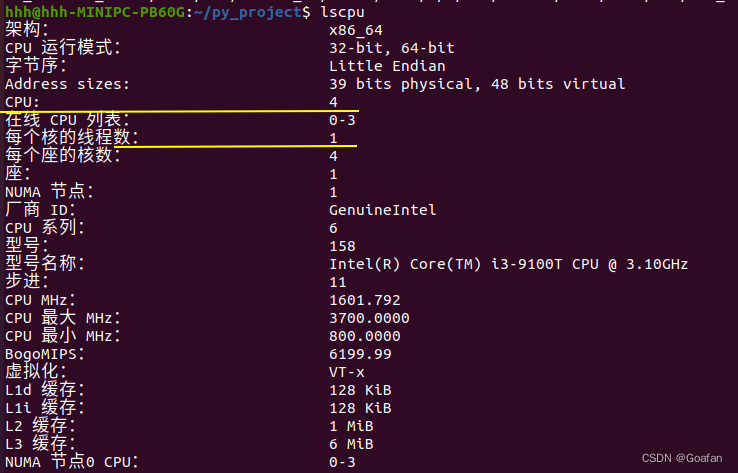
4指的是编译时用的线程数是4,这与CPU核心数相关,CPU核心数是4,最大可以开到2*核心数。
Ubuntu怎么查看核心数?
lscpu
终端持续打印Nvidia-smi
watch -n 1 nvidia-smi
-n 1 表示每过1秒刷新一次终端
禁止Ubuntu内核更新
查看正在使用的内核:
uname -a
禁止内核更新:
sudo apt-mark hold linux-image-4.4.0-21-generic
sudo apt-mark hold linux-image-extra-4.4.0-21-generic
重启内核更新:
sudo apt-mark unhold linux-image-4.4.0-21-generic
sudo apt-mark unhold linux-image-extra-4.4.0-21-generic
pip insall -i
清华
-i https://pypi.tuna.tsinghua.edu.cn/simple
阿里云
-i https://mirrors.aliyun.com/pypi/simple/
豆瓣
-i https://pypi.douban.com/simple/
华为云
-i https://mirrors.huaweicloud.com/repository/pypi/simple/
中科大
-i https://pypi.mirrors.ustc.edu.cn/simple/
💠 开启魔法
pip install git+https://github.com/facebookresearch/fvcore --proxy http://127.0.0.1:7890
ubuntu sources.list 替换为阿里云
https://developer.aliyun.com/mirror/ubuntu?spm=a2c6h.13651102.0.0.3e221b11caqLOP
sudo gedit /etc/apt/sources.list
# Ubuntu20.04
deb https://mirrors.aliyun.com/ubuntu/ focal main restricted universe multiverse
deb-src https://mirrors.aliyun.com/ubuntu/ focal main restricted universe multiverse

deb https://mirrors.aliyun.com/ubuntu/ focal-security main restricted universe multiverse
deb-src https://mirrors.aliyun.com/ubuntu/ focal-security main restricted universe multiverse

deb https://mirrors.aliyun.com/ubuntu/ focal-updates main restricted universe multiverse
deb-src https://mirrors.aliyun.com/ubuntu/ focal-updates main restricted universe multiverse

# deb https://mirrors.aliyun.com/ubuntu/ focal-proposed main restricted universe multiverse
# deb-src https://mirrors.aliyun.com/ubuntu/ focal-proposed main restricted universe multiverse

deb https://mirrors.aliyun.com/ubuntu/ focal-backports main restricted universe multiverse
deb-src https://mirrors.aliyun.com/ubuntu/ focal-backports main restricted universe multiverse
清华源:
鱼香ROS
wget http://fishros.com/install -O fishros && . fishros
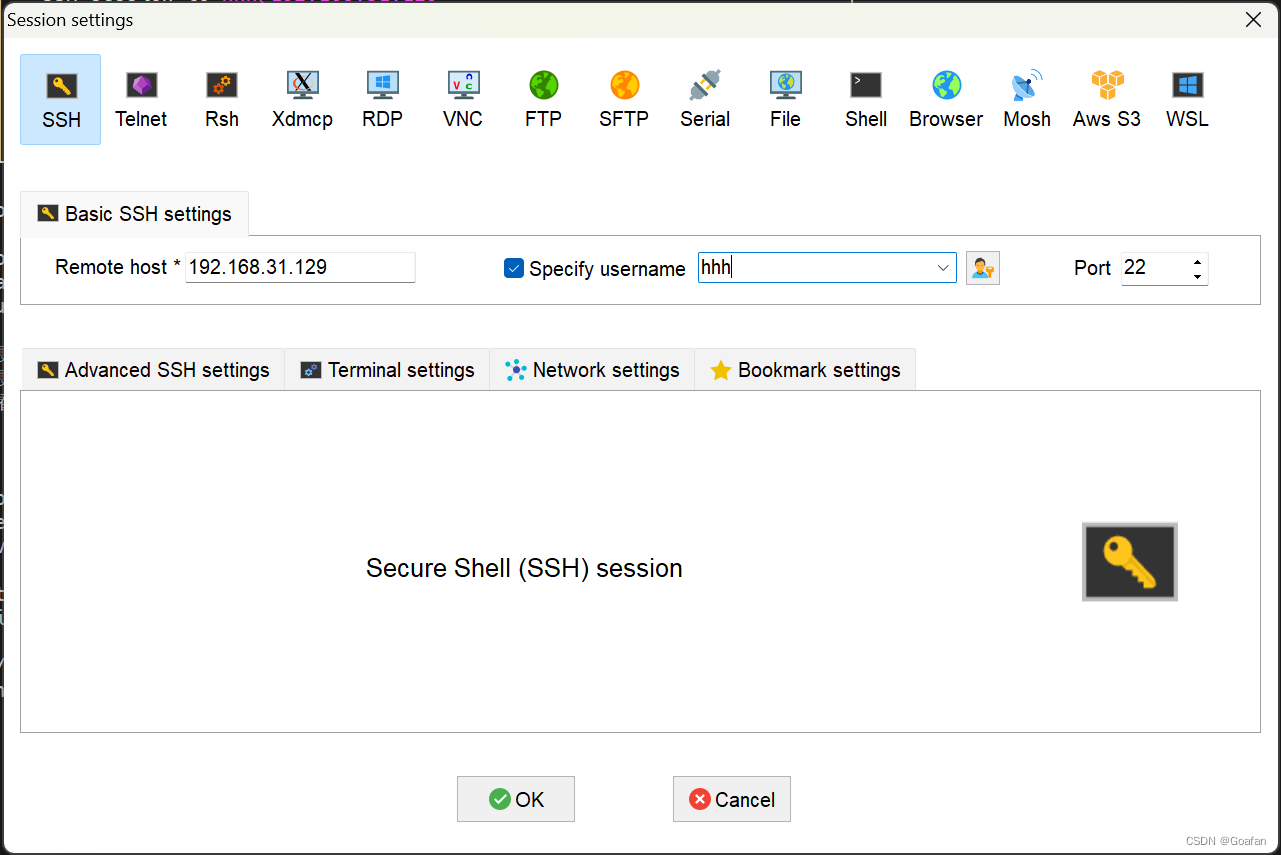
同一个局域网Win–Linux使用SSH传输文件
工具:MobaXterm
Linux操作:
sudo apt install openssh-server
sudo apt install openssh-client
ip address
第三个IP就是我们的远程工具要连接的IP地址,用户名就是@前面的即“hhh”,端口是默认的22

Ubuntu截屏快捷键
print screen 全屏截图
shift + print screen 选择区域截图
截图默认保存在图片目录
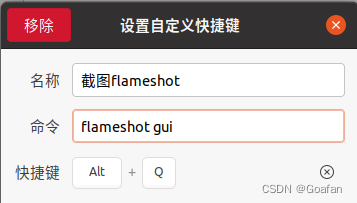
截图工具FlameShot
sudo apt install flameshot
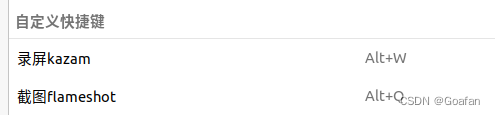
添加快捷键命令:
flameshot gui
录屏工具 kazam
sudo apt install kazam

打印树结构
sudo apt install tree
-d 只打印目录 -L 3 打印到 3 级目录
tree -d Yolov8_ros/ -L 3
打印树结构到txt文件中
tree -d Yolov8_ros/ -L 3 >~/tree_test.txt
打印所有文件
tree -l
Pytorch安装命令
CUDA 11.3
pip install torch==1.12.1+cu113 torchvision==0.13.1+cu113 torchaudio==0.12.1 --extra-index-url https://download.pytorch.org/whl/cu113
CUDA 11.1
pip install torch==1.10.1+cu111 torchvision==0.11.2+cu111 torchaudio==0.10.1 -f https://download.pytorch.org/whl/cu111/torch_stable.html
CUDA 10.1
pip install torch==1.8.1+cu101 torchvision==0.9.1+cu101 torchaudio==0.8.1 -f https://download.pytorch.org/whl/torch_stable.html
验证安装
python -c "import torch; print(torch.__version__); print(torch.cuda.is_available())"
Jupyter 加入内核
切换到指定的虚拟环境,以"tf" 为例
conda activate tf
conda install ipykernel
设置kernel,–user表示当前用户,tf_jupyter 为该虚拟环境在jupyter内核选择中显示的名字
ipython kernel install --user --name=tf_jupyter
Jupyter 看视频
# 查看视频
from IPython.display import HTML
from base64 import b64encode

video = 'demo/demo.mp4' # 视频路径

mp4 = open(video,'rb').read()
data_url = "data:video/mp4;base64," + b64encode(mp4).decode()
HTML("""
<video width=400 controls>
      <source src="%s" type="video/mp4">
</video>
""" % data_url)
Python2 Python3 版本切换共存
ubuntu20.04 安装python2:
sudo apt install python2
设置优先级:
sudo update-alternatives --install /usr/bin/python python /usr/bin/python2.7 1
sudo update-alternatives --install /usr/bin/python python /usr/bin/python3.8 2
查看python列表:
sudo update-alternatives --list python
手动切换默认的python版本:
sudo update-alternatives --config python
pip2 安装 👇 💐 👇:
sudo curl https://bootstrap.pypa.io/pip/2.7/get-pip.py --output get-pip.py
sudo python2 get-pip.py
Docker 相关命令
💐 导出镜像
docker save -o base.tar.gz base:1.0
💐 导入/加载镜像
docker load -i base.tar.gz
💐 查看容器日志
docker logs fsc_detect
💐 删除容器
docker rm fsc_detect
💐 删除镜像
docker rmi base:1.0
💐 pip下载包到文件夹中
pip download -d a/ charset-normalizer>=3.3.0 --no-deps
pip download -d a/ -r requirements.txt --no-deps
💐 创建镜像
sudo docker build -t detectmodel:1.0 .
💐 创建容器并运行
docker run -d --gpus=all --net=host --name fsc_detect detectmodel:1.0
💐 Dockerfile
FROM base:4.0

ENV YOLO_SCALE "S"
ENV RTSP_URL "rtsp://admin:abcd1234@192.168.2.111:554/cam/realmonitor?channel=1&subtype=0#rtsp://admin:abcd1234@192.168.2.222:554/cam/realmonitor?channel=1&subtype=0"

ADD DetectModel.tar.gz /
ADD packages.tar.gz /

RUN pip install --no-index  packages/pip-23.2.1-py3-none-any.whl
RUN pip install torch/*.whl
RUN pip install packages/*.whl --no-deps
RUN rm -rf /torch /packages torch.txt packages.txt

WORKDIR /DetectModel/weights

CMD python fsc_detect.py
目录结构:

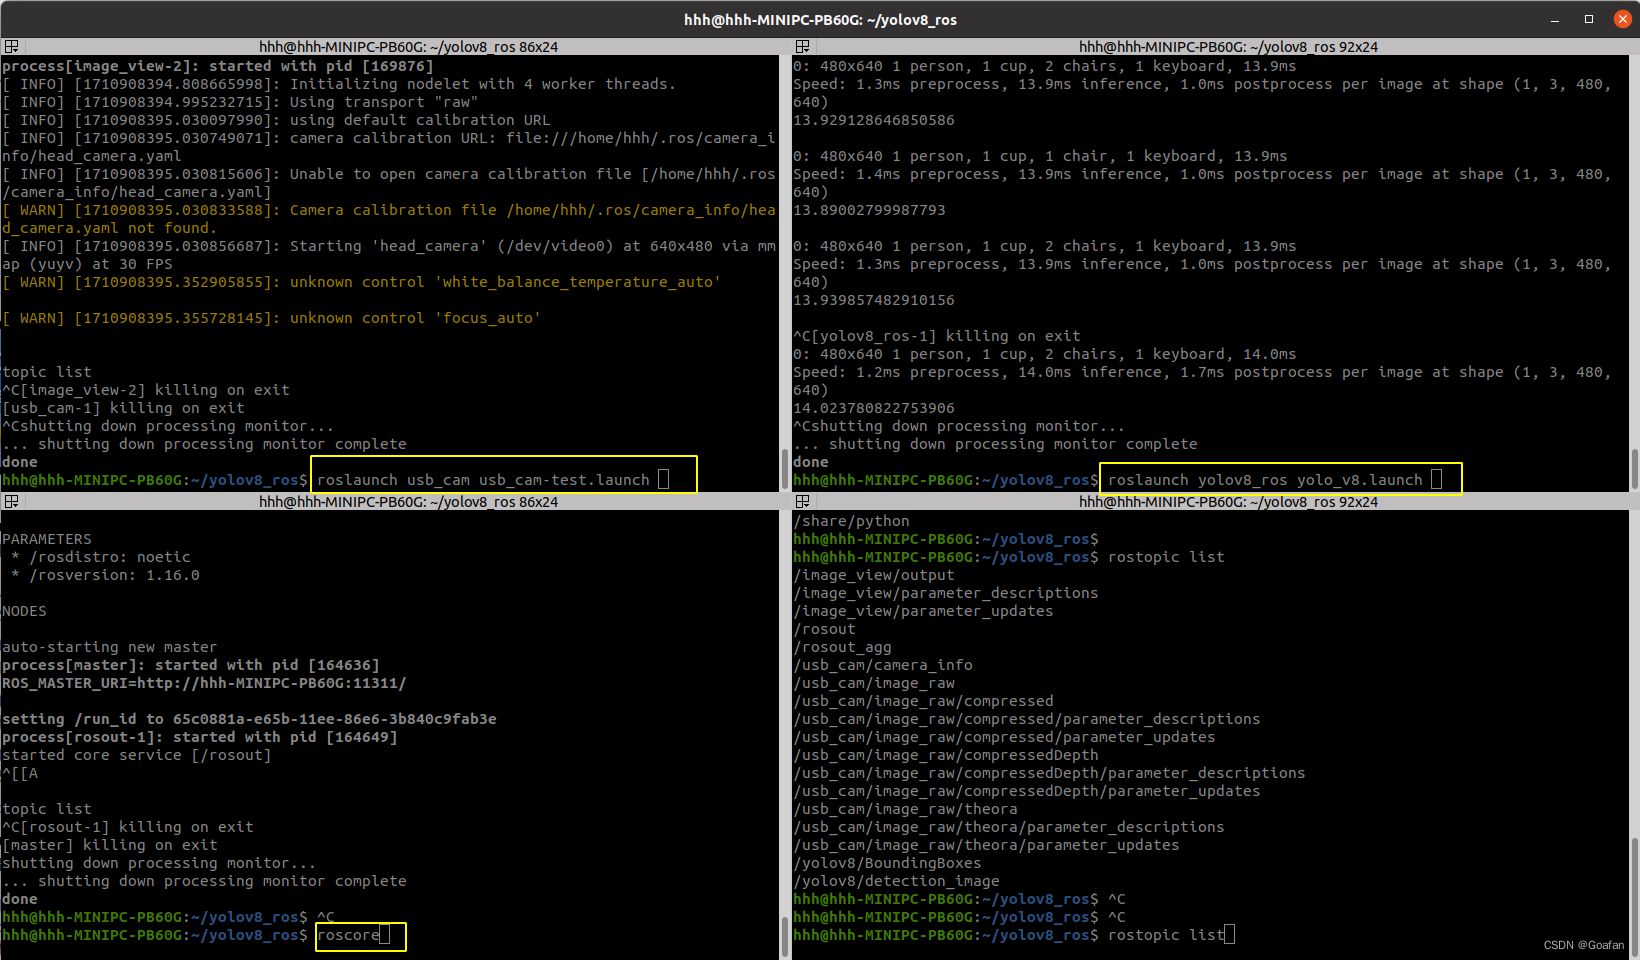
终端终结者 terminator
sudo apt-get install terminator
安装完成直接 ctrl + alt + t 新建终端就可以看到,右键可以分屏。
Alt + a 全选终端,可以同时出现上次运行的ros指令,不用一个一个去运行了
Alt + o 退出终端全选
复制命令到终端中运行
右键粘贴到终端有点麻烦?
Ctrl + Shift + V
如果想复制终端里面的内容
Ctrl + Shift + C
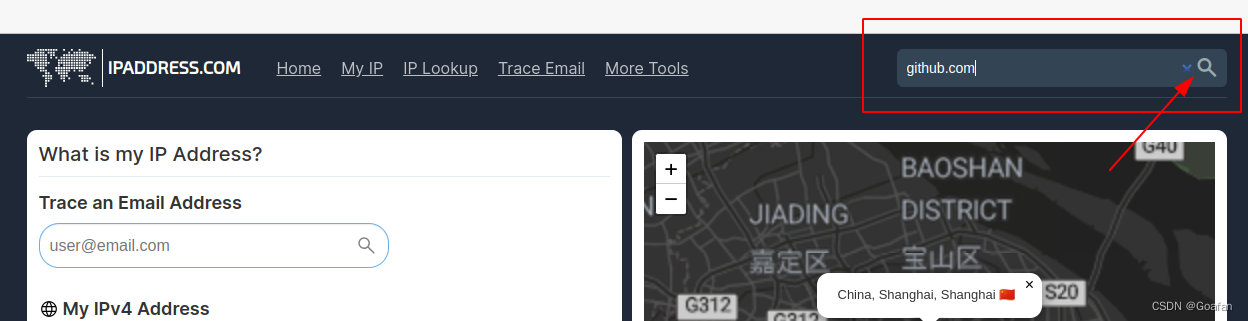
国内访问Github
🍀 进入这个网站https://www.ipaddress.com/
分别查找下面三个网址的IP地址:
github.global.ssl.fastly.net
assets-cdn.github.com
github.com
以github.com为例:
下拉,找到DNS Resource Records中的A Records,复制DNS
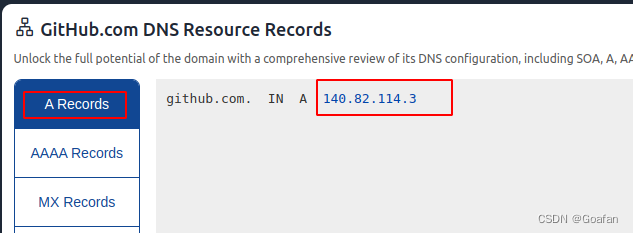
🍀 修改hosts文件,将这个IP地址以及对应的网站添加进去:
sudo gedit /etc/hosts
如果有多个IP可以都添加进去👇
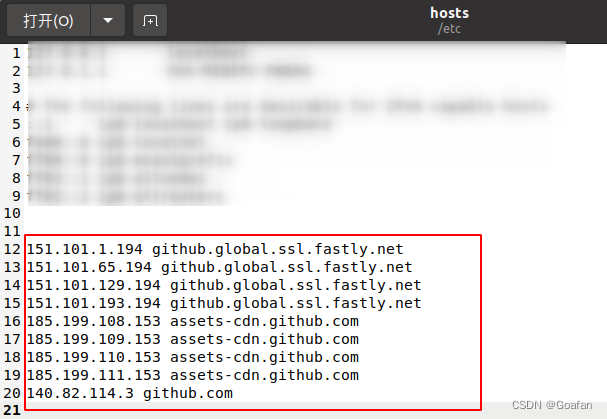
注意!!IP地址是会变的,所以每隔一段时间需要重新搜索IP并更新到hosts文件中🤪
🍀 重启nscd服务
sudo /etc/init.d/nscd restart
torch_geometric安装
从网站中下载下面几个包离线安装,https://data.pyg.org/whl/
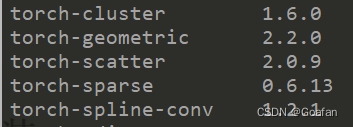
然后执行命令:
pip install torch-geometric -i https://pypi.tuna.tsinghua.edu.cn/simple/ --trusted-host pypi.tuna.tsinghua.edu.cn
Anaconda常用命令
💐 重命名环境
conda create -n XXX --clone rcnn
conda remove -n rcnn --all
💐 导出环境
conda env export > environment.yml
💐 在新机器上重现环境
conda env create -f environment.yml
pip 导出requirements.txt
带版本号的:
pip list --format=freeze >requirements.txt
不带版本号的:自己删除
Pycharm添加快捷方式
🌶 进入pycharm解压目录下的bin文件夹,执行命令启动pycharm
./pycharm.sh
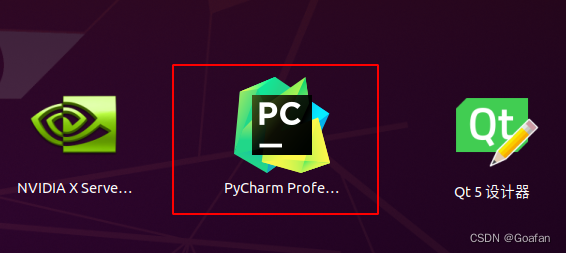
🌶 在pycharm的Tools菜单栏找到添加快捷方式
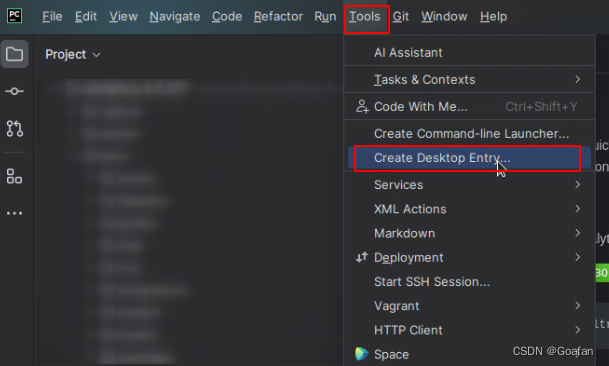
然后就可以在全部应用中找到了,可以添加到收藏夹
windows–pycocotools安装
🍀 推荐轮子安装
https://pypi.tuna.tsinghua.edu.cn/simple/pycocotools-windows/
💐 更多方式
https://blog.youkuaiyun.com/weixin_43387852/article/details/126241075
7Zip 安装与使用
sudo apt install p7zip-full
解压
7z x abc.7z
压缩
7z a text.7z -r /home/text
CMake命令
创建两个文件夹和cmakelists.txt
mkdir src release && touch CMakeLists.txt
直接创建所有配置文件
mkdir .vscode && touch .vscode/launch.json .vscode/tasks.json
第一步:配置,-S 指定源码目录,-B 指定构建目录
cmake -S . -B build
第二步:生成,–build 指定构建目录
cmake --build build
运行
./build/first_cmake
删除build文件夹
rm -r build/
💐 launch.json
用于调试代码
{
    // 使用 IntelliSense 了解相关属性。
    // 悬停以查看现有属性的描述。
    // 欲了解更多信息,请访问: https://go.microsoft.com/fwlink/?linkid=830387
    "version": "0.2.0",
    "configurations": [
        {
            "name": "C++调试 (gdb) 启动",
            "type": "cppdbg", // C++调试
            "request": "launch",
            "program": "${workspaceFolder}/release/${fileBasenameNoExtension}",  // 文件所在的文件夹路径/release/当前文件的文件名,不带后缀
            "args": [],
            "stopAtEntry": false,
            "cwd": "${fileDirname}", // 文件所在的文件夹路径
            "environment": [],
            "externalConsole": false,
            "MIMode": "gdb",
            "setupCommands": [
                {
                    "description": "为 gdb 启用整齐打印",
                    "text": "-enable-pretty-printing",
                    "ignoreFailures": true
                },
                {
                    "description":  "将反汇编风格设置为 Intel",
                    "text": "-gdb-set disassembly-flavor intel",
                    "ignoreFailures": true
                }
            ],
            "preLaunchTask": "C/C++: g++ 生成活动文件" // tasks.json的label
        },
        {
            "name": "Python: Current File",
            "type": "debugpy",
            "request": "launch",
            "program": "${file}", // 当前文件
            // "program": "demo.py", // 指定文件
            "console": "integratedTerminal",
            "justMyCode": true // false表示可以进入第三方库(如Pytorch)里进行调试
        }
    ]
}
💐 task.json
用于生成可执行文件
{
	"version": "2.0.0",
	"tasks": [
	  {
		"type": "cppbuild",
		"label": "C/C++: g++ 生成活动文件",
		"command": "/usr/bin/g++", // g++的路径,通过which g++ 查看
		"args": [
		  "-fdiagnostics-color=always", // 颜色
		  "-g",  // 调试信息
		  "-Wall", // 开启所有警告
		  "-std=c++14", // c++14标准
		  "${file}", // 文件本身,仅适用于C++基础知识教学,无法同时编译所有文件
		  // "${fileDirname}/*.cpp", // 文件所在的文件夹路径下所有cpp文件
		  "-o", // 输出
		  "${workspaceFolder}/release/${fileBasenameNoExtension}" // 文件所在的文件夹路径/release/当前文件的文件名,不带后缀
		],
		"options": {
		  "cwd": "${fileDirname}" // 文件所在的文件夹路径
		},
		"problemMatcher": [
		  "$gcc"
		],
		"group": {
		  "kind": "build",
		  "isDefault": true
		},
		"detail": "编译器: /usr/bin/g++"
	  }
	]
  }
Ubuntu20.04安装微信
wget http://archive.ubuntukylin.com/software/pool/partner/ukylin-wine_70.6.3.25_amd64.deb
wget http://archive.ubuntukylin.com/software/pool/partner/ukylin-wechat_3.0.0_amd64.deb
sudo apt-get install -f -y ./ukylin-wine_70.6.3.25_amd64.deb
sudo apt-get install -f -y ./ukylin-wechat_3.0.0_amd64.deb
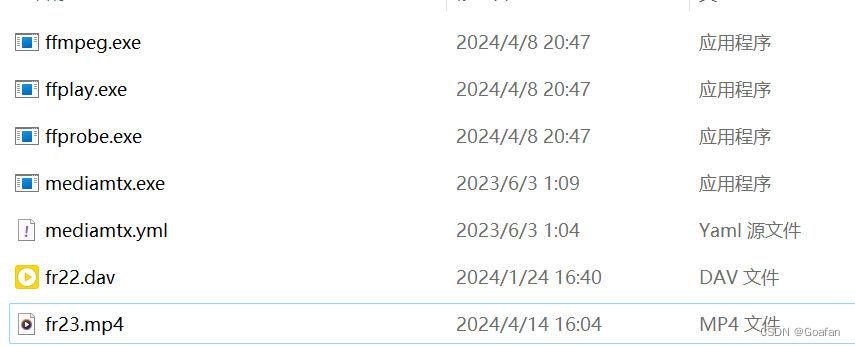
ffmpeg dav视频转MP4
打开cmd进入ffmpeg.exe目录,把dav视频放进来,运行命令:
ffmpeg.exe -i "fr22.dav" -c:v copy -c:a aac -b:a 128k "fr23.mp4"

加载预训练权重问题
1.查看预训练权重的关键字
pretrained_weights_path = "xxx.pth"
state_dict = torch.load(pretrained_weights_path)
# 获取与训练权重的关键字
pretrained_keys = state_dict.keys()
print("预训练权重的关键字:")
for key in pretrained_keys:
	print(key)
2.查看网络模型的关键字
net = model()
model_keys = net.states_dict().keys()
print("\n模型权重的关键字是:")
for key in model_keys:
	print(key)
3.找出模型中缺失的权重
missing_keys = model_keys - pretrained_keys
print("\n模型中缺失的关键字是:)
for key in missing_keys:
	print(key)
4.找出预训练权重中多余的权重
unexpected_keys = pretrained_keys - model_keys
print("\n预训练权重中多余的关键字是:)
for key in unexpected_keys:
	print(key)
5 . 解决方案
model_weight_path = "xxx.pth"
ckpt = torch.load(model_weight_path) # 加载预训练权重
net = model()
model_dict = net.state_dict() # 得到我们的模型参数
# 判断预训练模型中网络的模块是否修改后的网络中也存在,并且shape相同,如果相同则取出
pretrained_dict = {k: v for k, v in ckpt.items() if k in model_dict and (v.shape == model_dict[k].shape)}
# 更新修改之后的 model dict
model_dict.update(pretrained_dict)
# 加载我们真正需要的 state_dict
net.load_state_dict(model_dict, strict=True)


 被折叠的 条评论
为什么被折叠?
被折叠的 条评论
为什么被折叠?
 到【灌水乐园】发言


