


文章目录
Sass 准备
- 安装 sass
https://www.sass.hk/install/ 2.6以上
https://www.imooc.com/video/7743 - sass 教程
https://www.bilibili.com/video/BV17W411w7nL?p=2&spm_id_from=pageDriver - 升级ruby
https://jingyan.baidu.com/article/948f5924f0fd43d80ff5f9b7.html
把 Sass 编译成 CSS
编译文件
sass sass/style.scss:css/style.css
冒号前是待编译的文件,冒号后是编译为的文件
自动编译 Sass
使用 watch 选项,会自动把 sass 编译成 css
sass --watch sass:css
冒号前后是监视编译前和编译后的文件夹
修改编译输出的 CSS 格式
使用下面指令:
sass sass:css --watch --style expanded
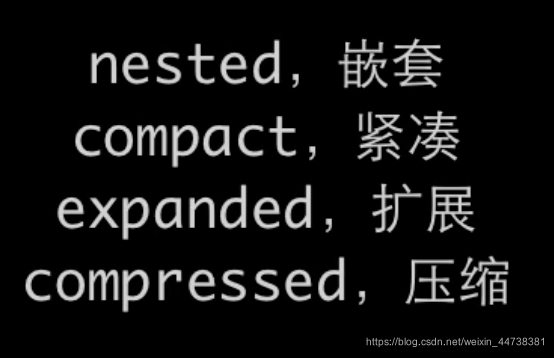
有四种格式
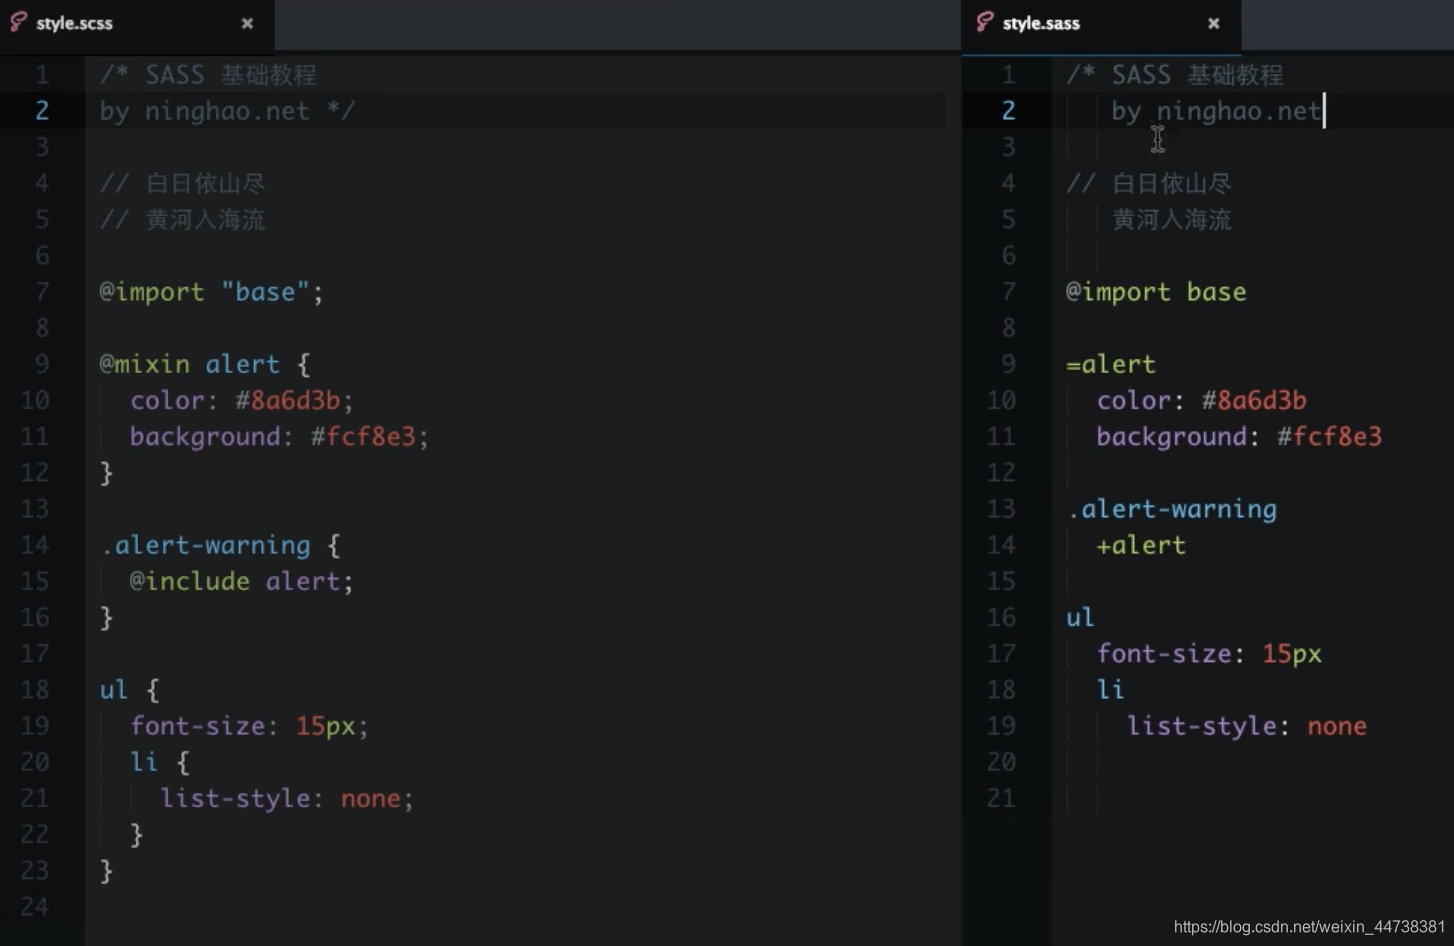
.sass与.scss的区别
Sass 有两种语法
- 最开始是缩进式的语法,扩展名就是 .sass
- Sass 3.0以后的版本介绍了一种新的语法:Sassy CSS,更接近现在的写法,扩展名是 .scss
区别:
- 扩展名不同
- 注释不同,多行注释单行注释均不同
- 还有等等
变量-Variables
在 sass 文件中定义一个变量
// 使用 $ 来定义变量
$primary-color: #1269b5;

div.box{
    background-color: $primary-color;
}
转换为CSS
div.box { background-color: #1269b5; }
也可以嵌套使用
// 使用 $ 来定义变量
$primary-color: #1269b5;
$primary-border: 1px solid $primary-color;

div.box{
    background-color: $primary-color;
}

h1 .page-header{
    border: $primary-border;
}
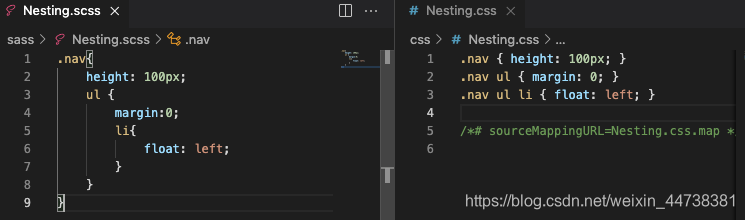
嵌套-Nesting
嵌套时调用父选择器
比如要调用 hover
记得加一个 & 不然就会被认为是子代

其实这个 & 就是引用父选择器

嵌套属性
比如书写以下属性,特点是:开头是重复的
body {
    font-family: 'Courier New', Courier, monospace;
    font-size: 15px;
    font-weight: normal;
}
// 改为:
body {
  font: {
    family: 'Courier New', Courier, monospace;
    size: 15px;
    weight: normal;
  }
}

.nav {
    border: 1px solid #000;
    border-left: 0;
    break-after: 0;
}
// 改为:
.nav {
    border: 1px solid #000{
      left: 0;
      right: 0;
    }
}
混合-Mixins
可以理解为 一块定义好的样式,可以在任何地方重复的使用
// @mixin 名字(参数1,参数2...){
// ...
// }
定义:@mixin
使用:@include
@mixin alert {
    color: #000;
    background-color: #fff;
    a {
        color: #ccc;
    }
}

.alert-warning {
    @include alert;
}
Mixin 里的参数
可以类似函数一样传递参数
调用时有两种调用方式
// 定义方法
@mixin alert($text-color, $background) {
    color: $text-color;
    background-color: $background;
    a {
        // darken 可以加深指定的颜色
        color: darken($text-color,10%);
    }
}
// 调用方式1:
.alert-warning {
    @include alert(#8a6d3b,#ccc);
}
// 调用方式2:
.alert-info {
    @include alert($background:#d9edf7,
    $text-color:#31708f )
}
继承/扩展-inheritance
使用 @extend 去继承一下别的样式
.alert {
    padding: 15px;
}

.alert a {
    font-weight: bold;
}

.alert-info {
    // 使用 @extend 去继承一下别的样式
    @extend .alert;
    // 然后再添加一些自己的样式
    background-color: #fff;
}
编译为CSS
.alert, .alert-info {
  padding: 15px;
}

.alert a, .alert-info a {
  font-weight: bold;
}

.alert-info {
  background-color: #fff;
}
Partials与@import
sass 扩展了 @import的功能,可以让我们在一个 .sass 文件里面去把其他 .sass 文件包含进来,然后 sass 引擎会把他们编译成一个 css 文件,这样就可以把一个项目需要的样式分割成不同的小的部分,然后用这种导入的方式就把这些 包含 导入到一个 sass 文件里面
这些小的部分在 sass 里面叫 partials,每一个 partials 都是一个 sass 文件,需要用一个下划线开头,这样就不会单独的把下划线开头的文件单独编译成 css
partials 就可以让我们的文件模块化,更具有条理
因此,定义 partials 只需要输入(下划线) _加文件名

在引入文件时
// 不需要输入前置下划线,也不需要输入后缀
@import "base";
这样在文件中就可以看到 _base.scss 的内容了
注释 comment
/*
多行注释会出现在编译后的css文件中
*/
// 单行注释不会出现
// 如果是 compressed 模式则不会编译出任何注释
/* ! 用感叹号表示强制输出注释,即使是 compressed 模式也会输出该行注释 */
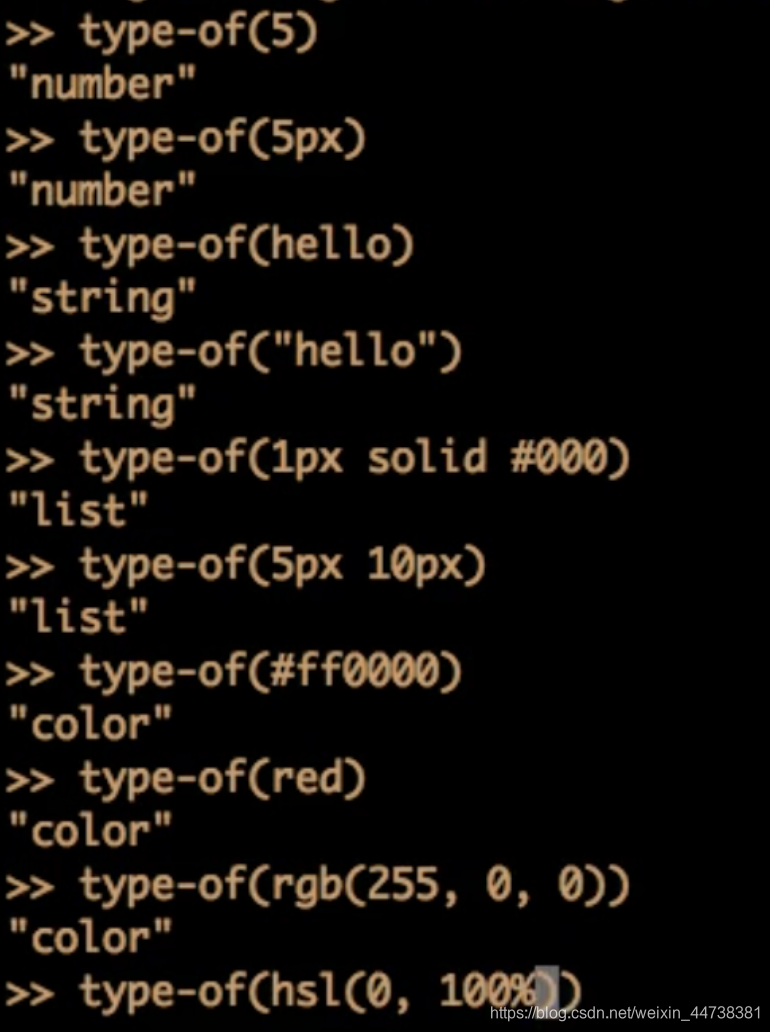
数据类型 - data type
在 terminal 中输入 sass -i
sass -i
可以进入即时编译器
type-of 判断类型
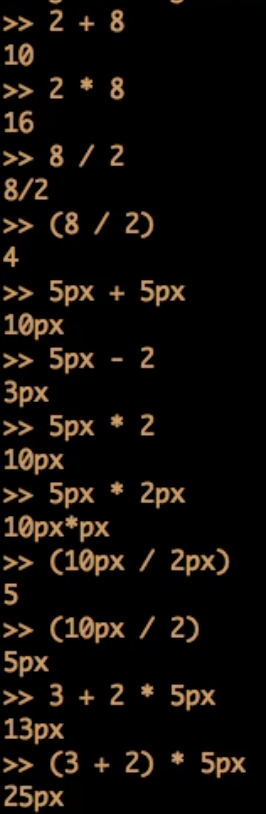
number
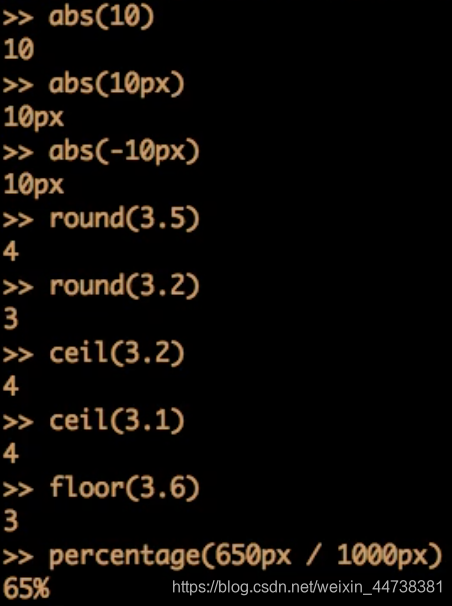
数字函数
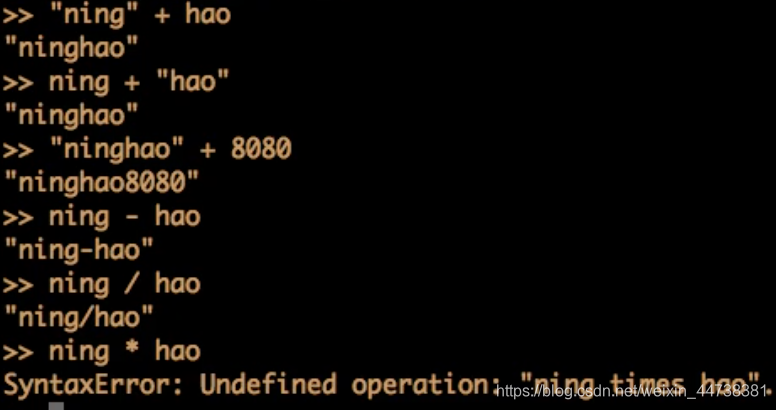
字符串
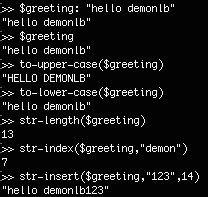
字符串函数
Interpolation(插值)
插值:类似JavaScript中的 ES6 的语法:模板字符串
$version: "0.0.1";
/* 项目当前的版本是 #{$version} */
$name: "info";
$attr: "border";

.alert-#{$name} {
    #{$attr}-color:#ccc;
}
插值转换为css为:
@charset "UTF-8";
/* 项目当前的版本是 0.0.1 */
.alert-info {
  border-color: #ccc;
}
控制指令-Control Directives
@if
// @if
$use-prefixes: true;
.rounded {
    @if $use-prefixes {
        -webkit-border-radius: 5px;
    }
    border-radius: 5px;
}

$theme : dark;
body {
    @if $theme == dark {
        background-color: black;
    } @else if $theme == light {
        background-color: white;
    } @else {
        background-color: grey;
    }
}
编译为CSS后:
.rounded {
  -webkit-border-radius: 5px;
  border-radius: 5px;
}

body {
  background-color: black;
}
@for


区别在于边界是否会输出
// @for
$columns:4;
$line:4;
@for $i from 1 to $columns {
    .col-#{$i} {
        width: 100%/$columns*$i;
    }
}

@for $i from 1 through $line {
    .line-#{$i} {
        width: 100%/$line*$i;
    }
}
编译为CSS后
.col-1 {
  width: 25%;
}

.col-2 {
  width: 50%;
}

.col-3 {
  width: 75%;
}

.line-1 {
  width: 25%;
}

.line-2 {
  width: 50%;
}

.line-3 {
  width: 75%;
}

.line-4 {
  width: 100%;
}
@each
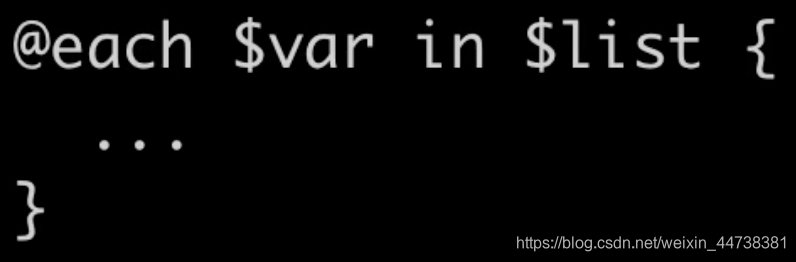
也是循环输出
// @each
$icons: success error warning;

@each $icon in $icons {
    .icon-#{$icon}{
        background-image: url(../images/icons/#{$icon}.png);
    }
}
编译成 CSS 后
.icon-success {
  background-image: url(../images/icons/success.png);
}

.icon-error {
  background-image: url(../images/icons/error.png);
}

.icon-warning {
  background-image: url(../images/icons/warning.png);
}
@while
// @while
$i: 6;

@while $i > 0 {
    .item-#{$i} {
        width: 5px * $i;
    }
    $i: $i - 2;
}
编译为:
.item-6 {
  width: 30px;
}

.item-4 {
  width: 20px;
}

.item-2 {
  width: 10px;
}
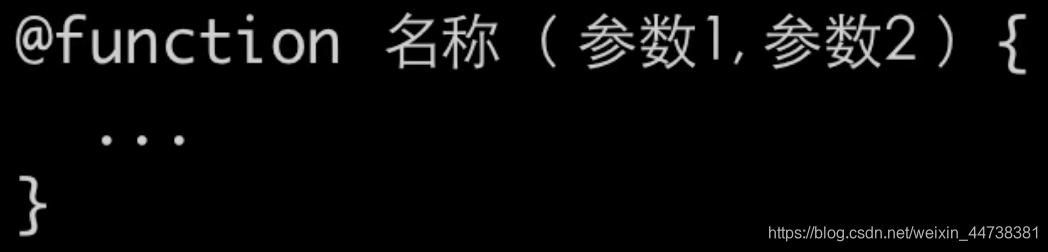
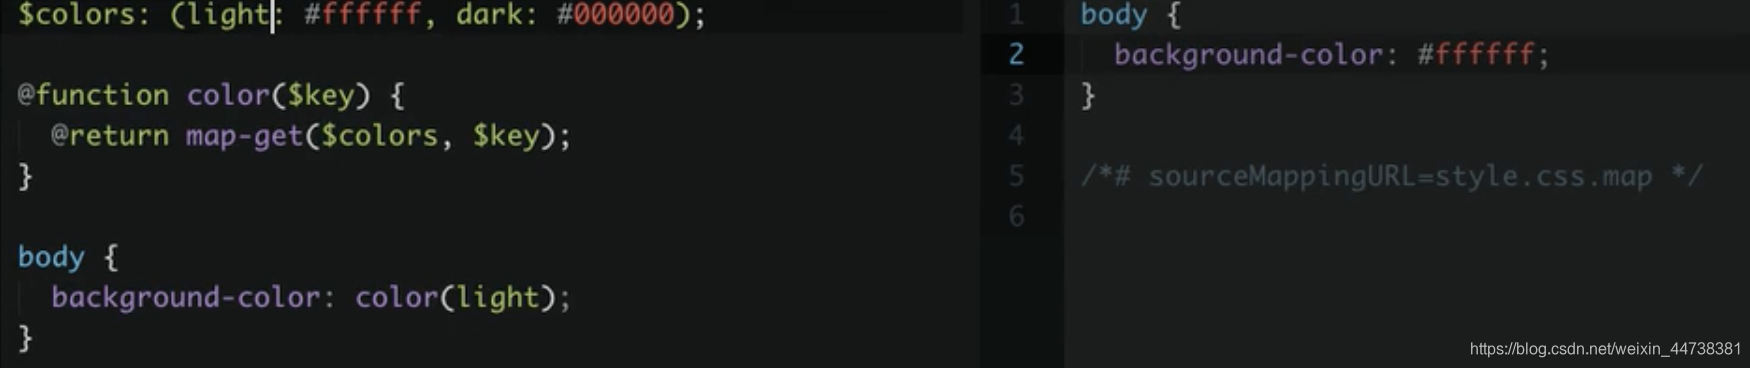
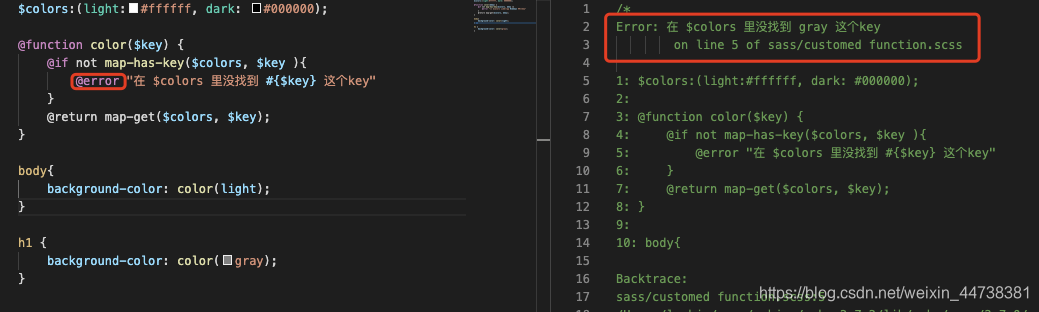
用户自定义函数
错误与警告
设置警告:
@warn
警告提示,在控制台里

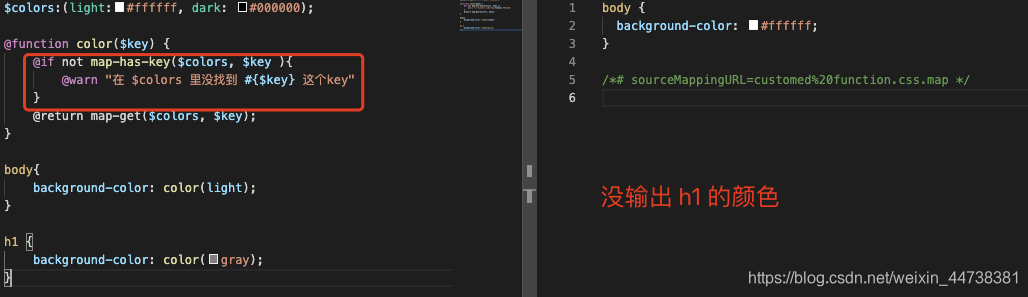
@error 就可以在 css 输出文件中写出


 被折叠的 条评论
为什么被折叠?
被折叠的 条评论
为什么被折叠?
 到【灌水乐园】发言


