


《OpenShift / RHEL / DevSecOps 汇总目录》
本系列在 OpenShift 4.17 + Dev Spaces 3.17.0 验证
文章目录
身份认证
访问 Workspace 的身份认证
OpenShift Dev Spaces 是依赖 OpenShift 的 OpenID Connect 进行身份认证。可以为 OpenShift 配置不同的 IDP 以实现不同的身份认证源。这部分说明可参考 OpenShift 的文档。
访问 Git 的身份认证
如果 Workspace 使用的 Git Repo 是受私有保护的,那么只有在通过 Git 的身份验证后才能克隆远程私有 Git Repo 或推送代码到到远程私有 Git Repo。
从 Workspace 到受保护 Git Repo 的用户身份验证可以由 Dev Spaces 的管理员统一配置,但也可以由每个一般用户自己配置:
- 一般用户可以使用 GitHub、GitLab、Bitbucket 或 Microsoft Azure Repos 提供的 Personal Access Token - PAT 进行身份认证。
- 管理员可在 GitHub、GitLab、Bitbucket 或 Microsoft Azure Repos 上为 Dev Spaces 实例设置 OAuth 身份认证。
以下分别说明如何使用 Github 的 PAT 和 OAuth 分别实现对私有 Git Repo(https://github.com/liuxiaoyu-git/hello-world-quarkus)访问的身份认证。
使用 Personal Access Token - PAT 进行身份认证
以下以 Github 为例,说明如何通过 PAT 实现从 Workspace 访问 Github 的身份认证。
- 登录 https://github.com/liuxiaoyu-git/ 后跳转到 https://github.com/settings/tokens。然后点击 Generate new token 按钮,并选择 Generate new token (classic)。
- 在 New personal access token (classic) 页面填写 Note(例如 liuxiaoyu-git-pat),然后选择 Select scopes 中的选项,可以全部选中,最后点击 Generate token 按钮。
- 此时可以看到生成的 Token 字符串,复制并保存好生成的 Token 字符串。该 Token 可以分发给 Dev Spaces 的一般用户,以在访问 https://github.com/liuxiaoyu-git/hello-world-quarkus 时用作身份认证。
- 使用一般用户进入的 Dev Spaces 仪表盘,并进入 User Preferences 页面。
- 切换到 Personal Access Tokens,点击 Add Token。
- 在 Add Personal Access Token 窗口中提供 Token Name(例如 liuxiaoyu-git-pat)和 Token(是在 3 步保存的字符串),然后点击 Add。
- 可以查看到基于 Token 生成的 Secret。
$ oc get secret personal-access-token-liuxiaoyu-git-pat -n user1-devspaces
NAME                                      TYPE     DATA   AGE
personal-access-token-liuxiaoyu-git-pat   Opaque   1      55m
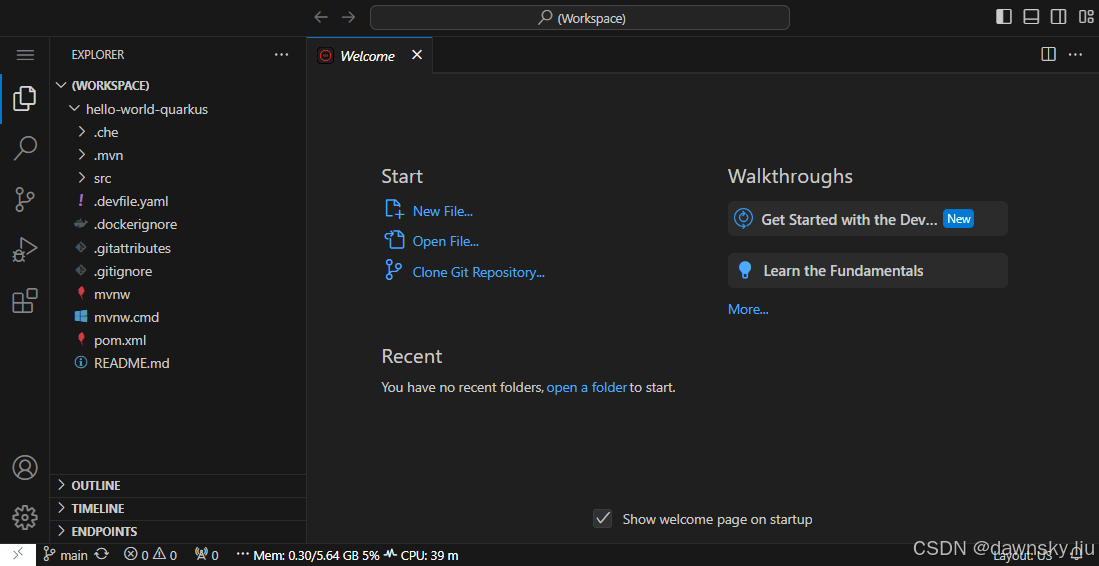
- 根据私有的 Git Repo(https://github.com/liuxiaoyu-git/hello-world-quarkus)新建一个 Workspace,完成后可以在 Workspace IDE 中看到 /projects/hello-world-quarkus 的 Github Repo 代码。
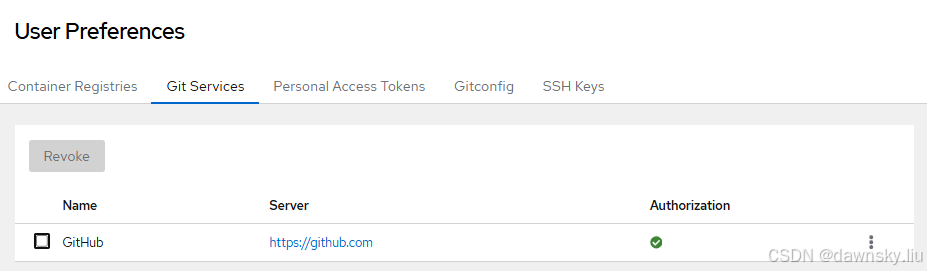
- 进入 Dev Spaces 仪表盘中的 User Preferences 页面,然后切换到 Git Services,可以看到 GitHub 的 Authoaization 已经变为绿色。
- 在 Workspace IDE 中的 Terminal 中设置用户自己的 Github 信息。
$ git config --global user.email <your-user-email>
$ git config --global user.name <your-user-name>
- 然后可修改 hello-world-quarkus 中的代码,再将修改的内容 commit 后再 push 到 https://github.com/liuxiaoyu-git/hello-world-quarkus。
使用 OAuth App 进行身份认证
以下以 Github 为例,说明如何通过 OAuth 实现从 Workspace 访问 Github 的身份认证。
- 登录 https://github.com/liuxiaoyu-git/ 后访问 https://github.com/settings/applications/new,在 Register a new OAuth app 页面中填写以下必要信息,然后点击 Registry application 按钮。
Application name: devspaces-auth
Homepage URL: https://<openshift_dev_spaces_url>/
Authorization callback URLL: https://<openshift_dev_spaces_url>/api/oauth/callback - 在 devspaces-auth 的配置页面中点击下图的 “Generate a new client secret”。
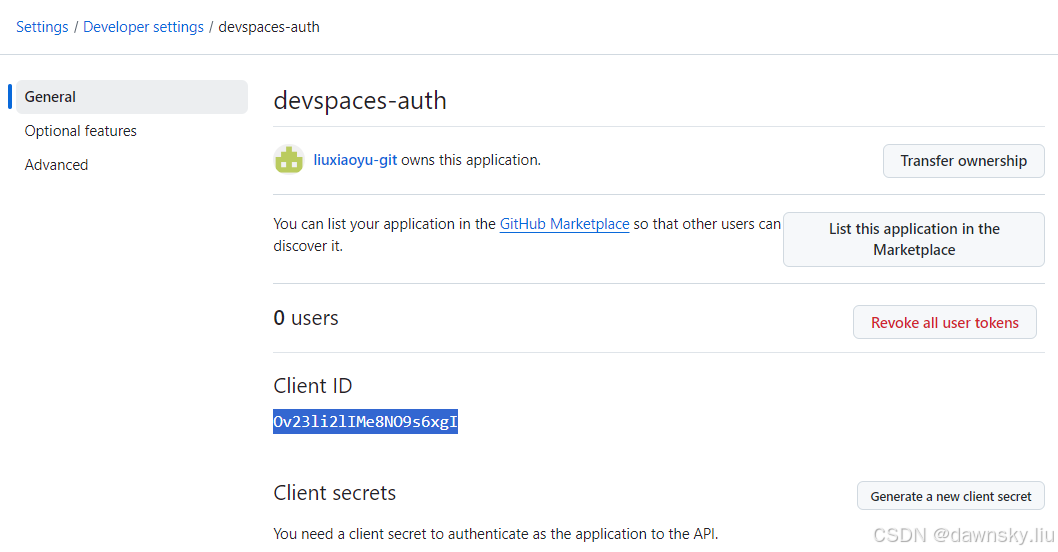
- 记录下上图页面中的 Client ID 和 Client Secret,然后据此创建一个 Secret。
$ CLIENT_ID=<your-client-id>
$ CLIENT_SECRET=<your-client-secret>

$ oc apply -f - << EOF
kind: Secret
apiVersion: v1
metadata:
  name: github-oauth-config
  namespace: devspaces
  labels:
    app.kubernetes.io/part-of: che.eclipse.org
    app.kubernetes.io/component: oauth-scm-configuration
  annotations:
    che.eclipse.org/oauth-scm-server: github
    che.eclipse.org/scm-server-endpoint: https://github.com
    che.eclipse.org/scm-github-disable-subdomain-isolation: 'false'
type: Opaque
stringData:
  id: $CLIENT_ID
  secret: $CLIENT_SECRET
EOF
- 查看运行 Dev Spaces 的 pod 完成更新。
$ oc get pod -n devspaces -l component=devspaces -w
- 根据一个私有的 Git Repo,例如 https://github.com/liuxiaoyu-git/hello-world-quarkus,新建一个 Workspace。
- 在打开的 Workspace IDE 的时候,如果没登录 Github,则先转到下图的 Github 登录界面。登录后提示授权访问(下下图)。
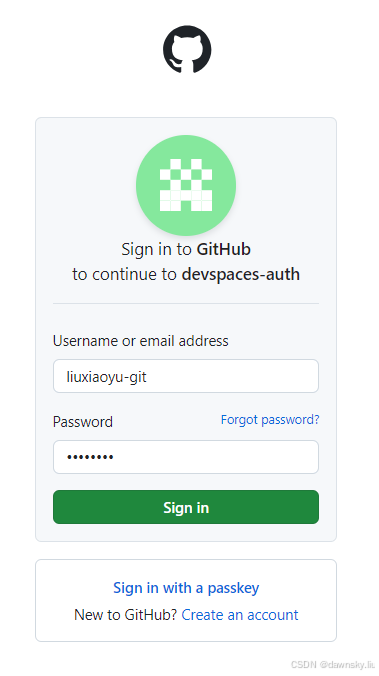

- 授权后可进入 Workspace IDE 界面,此时可以看到已将私有的 Git Repo 代码克隆到本地了。
- 可以确认在用户的 Workspace 项目中已经多了以下 Secret 对象。
$ oc get secret -n user1-devspaces -l 'app.kubernetes.io/component in (workspace-secret,scm-personal-access-token)'
NAME                           TYPE     DATA   AGE
git-credentials-secret-idg7u   Opaque   1      23m
personal-access-token-naefo    Opaque   1      24m
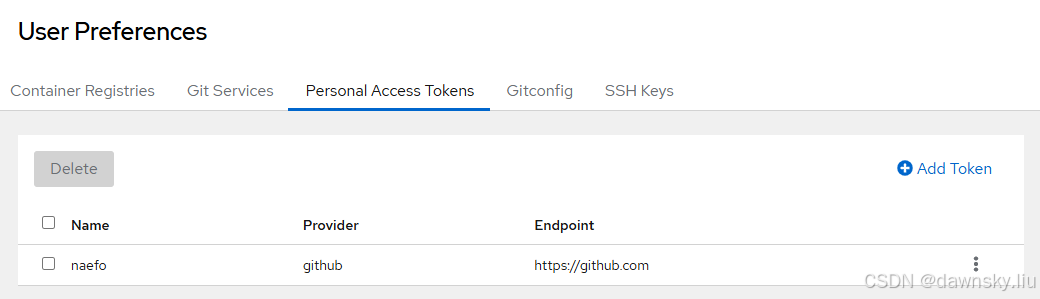
- 在用户的 Dev Spaces 仪表盘中进入 User Preferences,在 Personal Access Tokens 中可以找到和上一步 personal-access-token-naefo 对应配置。
- 在 Workspace IDE 中的 Terminal 中设置用户自己的 Github 信息。
$ git config --global user.email <your-user-email>
$ git config --global user.name <your-user-name>
- 然后可修改 hello-world-quarkus 中的代码,再将修改的内容 commit 后再 push 到 https://github.com/liuxiaoyu-git/hello-world-quarkus。
注意:缺省情况下此方法只能是私有 Github Repo 的拥有者(例如 liuxiaoyu-git)使用。其他用户(例如 dawnsky-sina)即便使用,在身份认证后也没有权限访问其他用户的私有 Github Repo。如果其他用户也想使用此方法,拥有者还需将该私有 Github Repo 授权给其他用户访问使用。
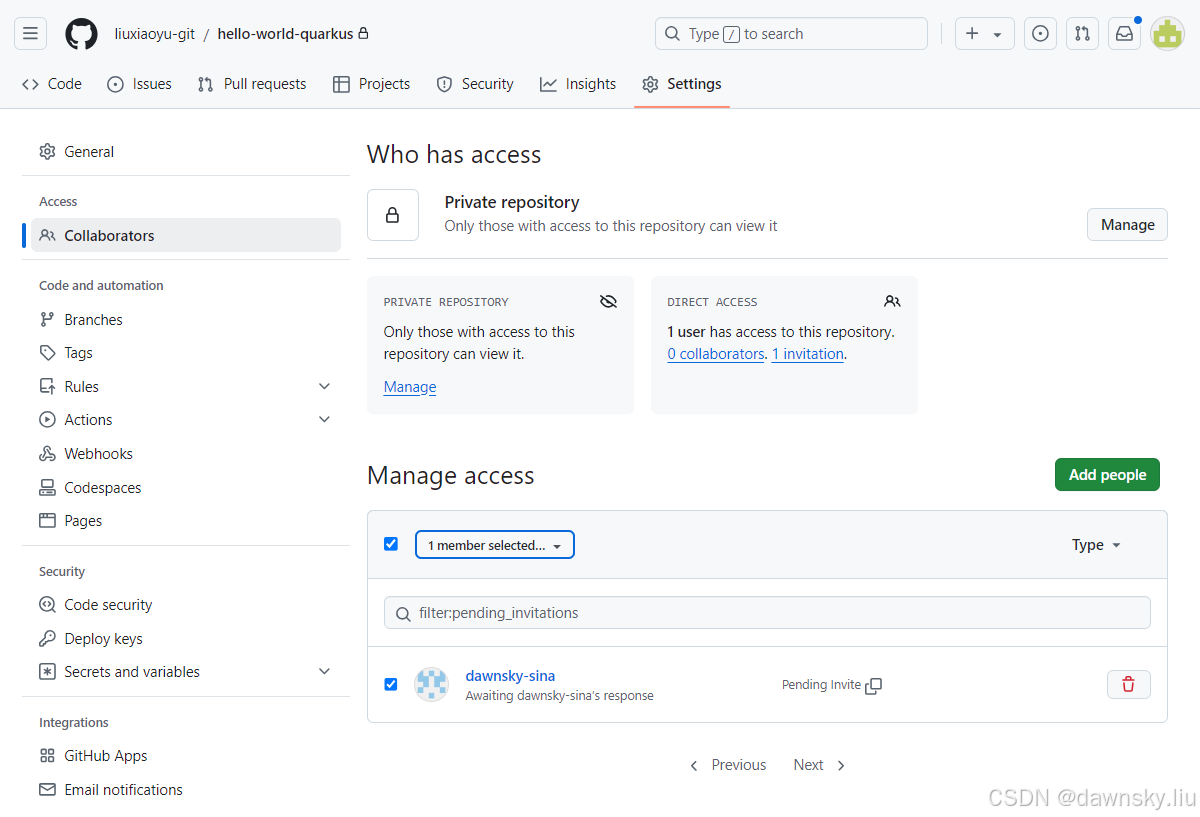
- 先进入私有 Github Repo 的 Settings,然后再进入 Collaborators。
- 点击 Add people 按钮,在弹出窗口中找到被授权访问的 Github 用户,然后点击 Add to repository。
- 此时被授权用户显示的是 pending invite 状态。
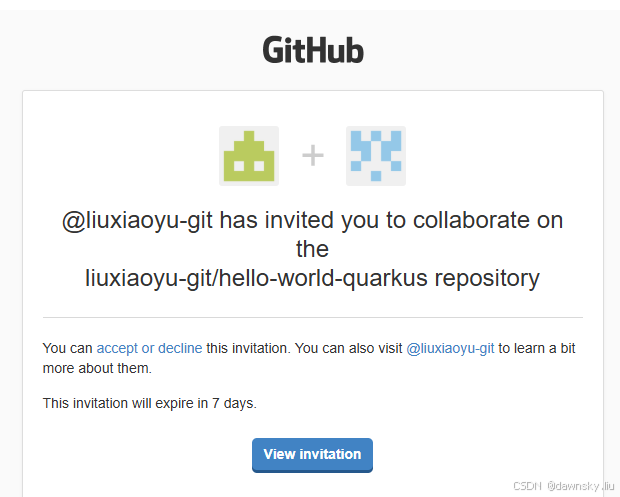
- 被授权用户会收到一封邀请邮件,点击邮件中的 View invition,然后接受邀请。
- 在被授权用户接受邀请后,在私有 Github Repo 中已显示该用户为 Collaborator,这样他就可以访问此此私有 Github Repo 了。
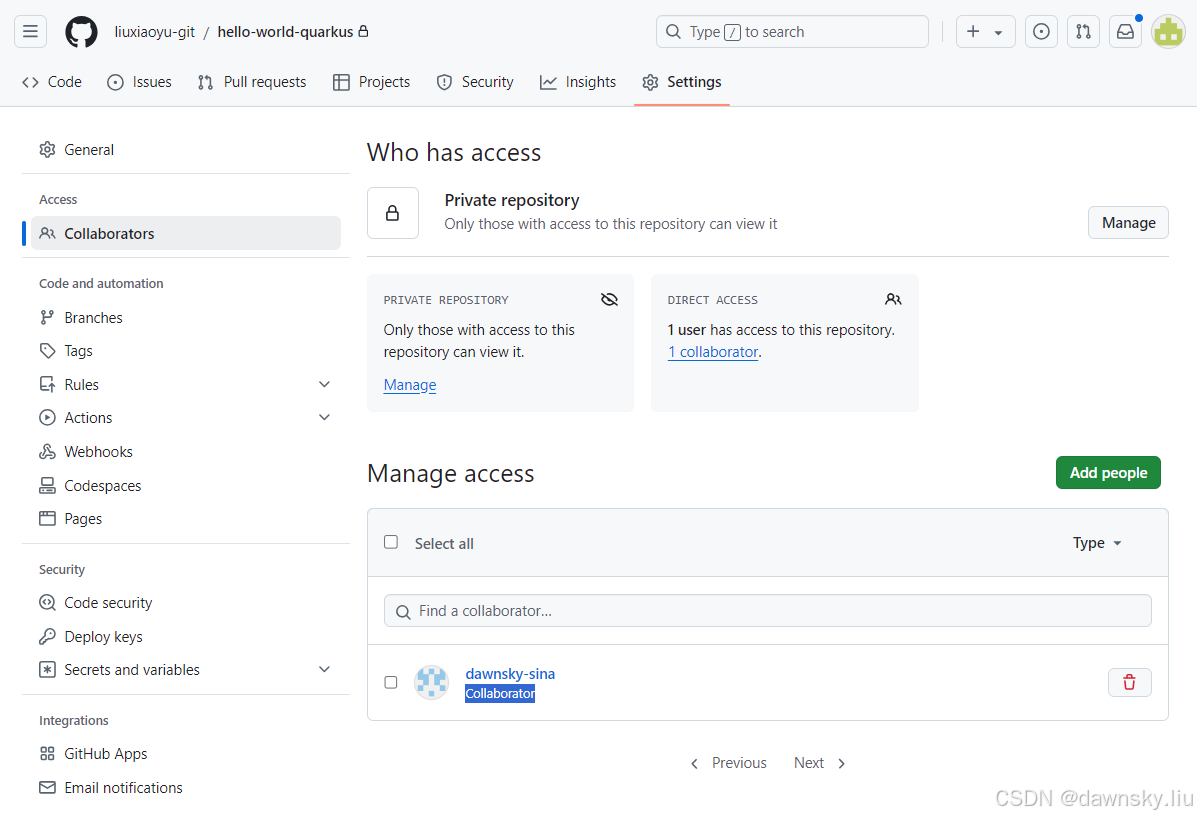
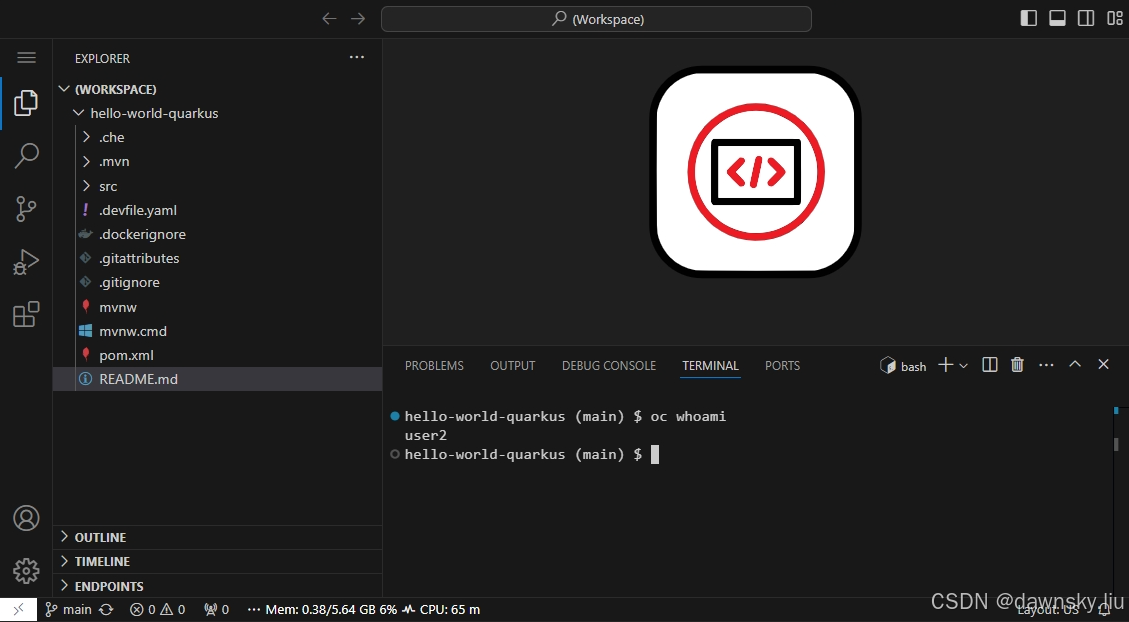
- 最后,与被授权的 Github 用户(dawnsky-sina)对应的 Dev Spaces 用户(user2)就可使用受保护的 https://github.com/liuxiaoyu-git/hello-world-quarkus 创建 Workspace 了。
Dev Spaces 访问授权
在企业中可能会有来自不同组团队的开发人员访问 Dev Spaces,需要对允许访问 Dev Spaces 的人员进行更精细的控制。OpenShift Dev Spaces 支持基于用户和组的访问授权,可以在组级别控制对 Dev Spaces 的访问,也可以单独允许或拒绝用户访问。
在 CheCluster CRD 对象的 networking 中可以设置以下配置允许或拒绝特定用户或组访问 Dev Spaces:
- allowGroups:允许访问的组
- allowUsers:允许访问的用户
- denyGroups:不允许访问的组
- denyUsers:不允许访问的用户
- 在 OpenShift 中创建 dev-team 分组,并把 user1 加入 dev-team 分组。
$ oc adm groups new dev-team
$ oc adm groups add-users dev-team user1
- 修改 CheCluster CRD,设置 dev-team 分组允许访问 Dev Spaces。
$ oc edit checluster/devspaces -n devspaces
......
spec:
  networking:
    auth:
      advancedAuthorization:
        allowGroups:
          - dev-team
......
- 查看运行 Dev Spaces 的 pod 完成更新。
$ oc get pod -n devspaces -l component=devspaces -w
- 使用非 user1 用户登录 Dev Spaces,确认会提示错误。
取消自动为用户供应 Workspace 项目
当一个新用户首次登录 Dev Spaces 仪表盘后,默认 Dev Spaces 会为用户创建一个项目来运行 Workspace。Dev Spaces 的管理员可以关闭此功能,并通过手动方式为用户创建该项目。
- 查看当前 autoProvision 状态,默认是 true。
$ oc get checluster/devspaces -n devspaces -o jsonpath='{.spec.devEnvironments.defaultNamespace.autoProvision}'
true
- 执行命令将 autoProvision 设为 false。
$ oc patch checluster/devspaces -n devspaces --type='merge' -p  \
  '{"spec":{"devEnvironments":{"defaultNamespace": {"autoProvision": false}}}}'
- 查看运行 Dev Spaces 的 pod 完成更新。
$ oc get pod -n devspaces -l component=devspaces -w
- 用新用户登录 Dev Spaces,可以看到以下错误提示。

- 执行以下命令,可手工为 user5 用户创建与其 Workspace 关联的项目。
$ oc create namespace user5-devspaces

$ oc label namespace user5-devspaces \
  app.kubernetes.io/part-of=che.eclipse.org \
  app.kubernetes.io/component=workspaces-namespace

$ oc annotate namespace user5-devspaces che.eclipse.org/username=user5
参考
https://eclipse.dev/che/docs/stable/end-user-guide/authenticating-to-a-git-server-from-a-workspace/
https://redhatquickcourses.github.io/devspaces-security/devspaces-security/3/auth.html
https://eclipse.dev/che/docs/stable/administration-guide/configuring-oauth-2-for-github/
https://developers.redhat.com/articles/2024/02/01/how-configure-granular-access-openshift-dev-spaces
https://developers.redhat.com/articles/2024/02/19/red-hat-openshift-dev-spaces-security-best-practices
https://che.eclipseprojects.io/2024/01/29/@ilya.buziuk-advanced-authorization.html
https://eclipse.dev/che/docs/stable/end-user-guide/using-a-git-provider-access-token/


 3672
3672

 被折叠的 条评论
为什么被折叠?
被折叠的 条评论
为什么被折叠?
 到【灌水乐园】发言


