


复制即用
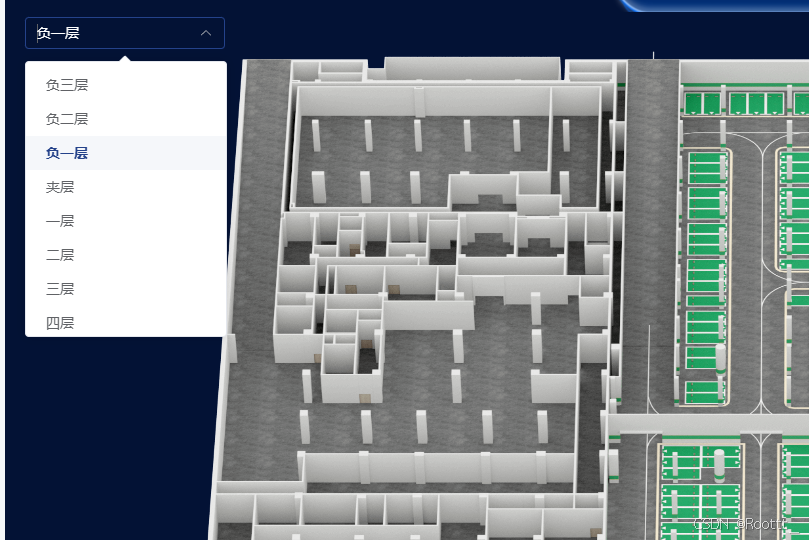
konva 根据选择不同的区域切换背景图
公共文件方法
绑定的点位由于不同屏幕大小会有偏移,在开发时固定了canvas大小来获取坐标点,保证后续计算
需要把图片切换的方法单独拎出,否则会有多个图重叠的问题
交互以插入的设备图片为例,也可以是其他图形,监听事件即可
import Konva from 'konva'
import { getImgUrl } from '@/utils'

export class konvaManager {
  public stage: any
  public layer: any
  public bgImg: any
  private width: number = 0
  private height: number = 0
  private scaleW: number = 1
  private scaleH: number = 1

  // 初始化KONVA 以默认1680 * 749大小的cavans 绑定点位
  init(canvas: any, style) {
    this.width = style.width
    this.height = style.height
    this.scaleW = Math.floor(style.width / 16.8) / 100
    this.scaleH = Math.floor(style.height / 7.49) / 100
    console.log('style', style, this.scaleW, this.scaleH, window)
    const stage = new Konva.Stage({
      container: canvas,
      // draggable: true, //移动
      width: style.width,
      height: style.height
    })
    const layer = new Konva.Layer()
    stage.add(layer)
    this.stage = stage
    this.layer = layer
  }
  // 初始化地图
  initBgImg() {
    this.bgImg = new Image()
    this.bgImg.onload = () => {
      const kImage = new Konva.Image({
        image: this.bgImg,
        x: 0,
        y: 0,
        width: this.width,
        height: this.height
      })
      this.layer.add(kImage)
	  this.layer.draw()
      kImage.on('dblclick ', (e) => {
        console.log('============,dblclick记录坐标 ', e.evt.offsetX, e.evt.offsetY)
      })
    }
  }
  changeBgImage(url: string) {
    this.bgImg.src = url
  }
  // 绑定设备点位
  initDevice(device: any, img: string = '') {
    const pointImg = new Image()
    pointImg.src = img || getImgUrl('info/icon/access.png')
    if (!device.x && device.y) return
    // 坐标缩放、图标移位偏移量 图片大小的一半
    const x = (device.x - 10) * this.scaleW
    const y = (device.y - 10) * this.scaleH
    // 设备图标
    pointImg.onload = () => {
      const kImage = new Konva.Image({
        image: pointImg,
        x: x,
        y: y,
        width: 20 // pointImg.width,
        height: 20 // pointImg.height
      })
      kImage.on('click ', (e) => {
        console.log('===,click 弹出', e)
        device.fn(device)
      })
      kImage.on('mouseenter', () => {
        this.stage.container().style.cursor = 'pointer'
      })
      kImage.on('mouseleave', () => {
        this.stage.container().style.cursor = 'default'
      })
      // 底部显示设备名称
      const nameText = new Konva.Text({
        x: x - device.deviceName.length * 2,
        y: y - 20,
        text: device.deviceName,
        fontSize: 14,
        fontFamily: 'Calibri',
        fill: '#FFF'
      })
      this.layer.add(nameText)
      this.layer.add(kImage)
    }
  }
}
vue3引入
<div class="cavans" id="assetsCavans" ref="assetsRef"></div>
声明一个方法传入,任意位置,能调用就行,最好是初始化阶段
或者传入ref,也可行
eg
import { konvaManager } from './konva'
/** 初始化 */
onMounted(() => {
  let style = unref(assetsRef)?.getBoundingClientRect()
  konvaCanvas.init('assetsCavans', style)
  konvaCanvas.initBgImg()
  ...
  changeSpace ()
})

const changeSpace = async (item) => {
  konvaCanvas.changeBgImage(item.photoUrl)
  let list = [
    { x: 551, y: 282, deviceName: '测试点1' },
    { x: 913, y: 384, deviceName: '测试点2' }
  ]
  setTimeout(() => {
    list.map((item: any) => {
      konvaCanvas.initDevice({ ...item, fn: openDialog })
    })
  })
}
const openDialog  = (val) => {
	console.log(val)
	//打开弹窗操作
}


 1444
1444

 被折叠的 条评论
为什么被折叠?
被折叠的 条评论
为什么被折叠?
 到【灌水乐园】发言


