


 本文介绍SpringBoot框架,一种基于Spring的快速开发工具,简化了应用搭建过程,无需web.xml等配置,支持REST架构,个性化配置简单。文章详细讲解了从创建Maven项目到实现RESTful API的全过程。
Spring Boot
Spring Boot 是一个快速开发框架,可以迅速搭建出一套基于 Spring 框架体系的应用,是 SpringCloud 的基础。
Spring Boot 开启了各种自动装配,从而简化代码的开发,不需要编写各种配置文件,只需要引用相关依赖就可以迅速搭建一个应用。
特点
1、不需要 web.xml
2、不需要 springmvc.xml
3、不需要 tomcat,Spring Boot 内嵌了 tomcat,端口号等配置在yml文件中写入
4、不需要配置 JSON 解析,支持持 REST 架构
5、个性化配置非常简单
如何使用
- 创建Mavn工程,导入相关依赖
<!-- 继承⽗包 -->
<parent>
 <groupId>org.springframework.boot</groupId>
 <artifactId>spring-boot-starter-parent</artifactId>
 <version>2.0.7.RELEASE</version>
</parent>
<dependencies>
 <!-- web启动jar -->
 <dependency>
 <groupId>org.springframework.boot</groupId>
 <artifactId>spring-boot-starter-web</artifactId>
 </dependency>
 <dependency>
 <groupId>org.projectlombok</groupId>
 <artifactId>lombok</artifactId>
 <version>1.18.6</version>
 <scope>provided</scope>
 </dependency>
</dependencies>
2.创建 Student 实体类
package com.ztb.entity;

import lombok.AllArgsConstructor;
import lombok.Data;
import lombok.NoArgsConstructor;

@Data
@NoArgsConstructor
@AllArgsConstructor
//@NoArgsConstructor  无参构造方法
//@AllArgsConstructor有参构造方法

public class Student {
        private long id;
        private String name;
        private int age;
3.repository持久层接口编写
package com.ztb.repository;

import com.ztb.entity.Student;

import java.util.Collection;


public interface StudentRepository {

        public Collection<Student> findAll();
        public Student findById(long id);
        public void saveOrUpdate(Student student);
        public void deleteById(long id);

}
4.repositoryImpl持久层实现
package com.ztb.repository.impl;

import com.ztb.entity.Student;
import com.ztb.repository.StudentRepository;
import org.springframework.stereotype.Repository;

import java.util.Collection;
import java.util.HashMap;
import java.util.Map;
@Repository
public class StudentRepositoryImpl implements StudentRepository {


    private static Map<Long,Student> studentMap;

    static {

        studentMap = new HashMap<>();
        studentMap.put(1L, new Student(1L, "张三", 22));
        studentMap.put(2L, new Student(2L, "李四", 23));
        studentMap.put(3L, new Student(3L, "王五", 24));
    }
    //还未整合数据库  先写入静态代码块  填充数据


    @Override
    public Collection<Student> findAll() {
        return studentMap.values();

    }

    @Override
    public Student findById(long id) {
        return studentMap.get(id);
    }

    @Override
    public void saveOrUpdate(Student student) {

        studentMap.put(student.getId(),student);

    }

    @Override
    public void deleteById(long id) {

        studentMap.remove(id);

    }
}
5.studentHandler cotroller 层代码实现
package com.ztb.controller;

import com.ztb.entity.Student;
import com.ztb.repository.StudentRepository;
import org.springframework.beans.factory.annotation.Autowired;
import org.springframework.web.bind.annotation.*;

import java.util.Collection;

@RestController
@RequestMapping("/student")
public class StudentHandler {
    @Autowired
    private StudentRepository studentRepository;
    @GetMapping("/findAll")//查找所有student对象
    public Collection<Student> findAll(){
        return studentRepository.findAll();
    }
    @GetMapping("/findById/{id}")//通过id查找对象
    public Student findById(@PathVariable("id") long id){
        return studentRepository.findById(id);

    }
    @PostMapping("/save")
    public void save(@RequestBody Student student){
        studentRepository.saveOrUpdate(student);
    }
    @PutMapping("/update")//传入student  java对象
    public void update(@RequestBody Student student){
        studentRepository.saveOrUpdate(student);
    }
    @DeleteMapping("/deleteById/{id}")//通过id删除数据
    public void deleteById(@PathVariable("id") long id){
        studentRepository.deleteById(id);
    }
}
6.在resource 文件夹下新建appplication.yml文件
配置端口号,视图解析器等相关配置
server:
  port: 9090
7.在项目全局目录下创建springboot启动类 ,
package com.ztb;


import org.springframework.boot.SpringApplication;
import org.springframework.boot.autoconfigure.SpringBootApplication;

@SpringBootApplication
public class Application {
    public static void main(String[] args) {
        SpringApplication.run(Application.class,args);
    }
}
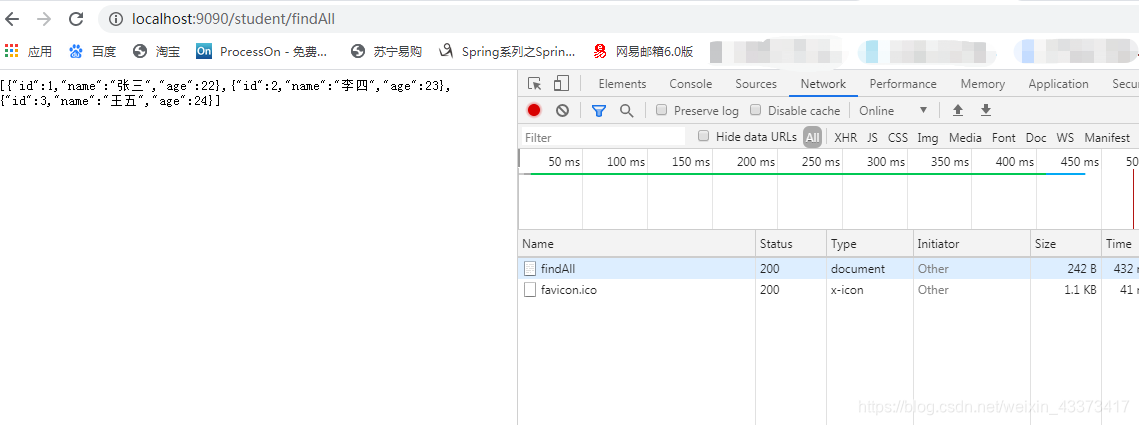
在输入框键入rest风格地址
运行结果显示:
到此为止 一个简易的springboot就搭建完成


 被折叠的 条评论
为什么被折叠?
被折叠的 条评论
为什么被折叠?
 到【灌水乐园】发言


