


 本文详细介绍了RESTful API的概念、特点及其实现方法,包括资源、表现层和状态转换的基本原理。同时,深入探讨了SpringMVC框架下文件上传和下载的具体实现过程,从依赖添加到代码实现,再到运行结果展示。
REST概述
REST:Representational State Transfer,资源表现层状态转换,是当前比较主流的一种互联网软件架构,它结构清晰、标准规范、易于理解、便于扩展。
- 资源(Resource):
网络上的一个实体,或者说网络中存在的一个具体信息,一段文本、一张图片、一首歌曲、一段视频等等,总之就是一个具体的存在。可以用一个 URI(统一资源定位符)指向它,每个资源都有对应的一个
特定的 URI,要获取该资源时,只需要访问对应的 URI 即可。 - 表现层(Representation):
资源具体呈现出来的形式,例如文本可以用 txt 格式表示,也可以⽤用HTML、XML、JSON等格式来表示。 - 状态转换(State Transfer):
- 客户端如果希望操作服务器中的某个资源,就需要通过某种方式让服务端发生状态转换,这种转换是
建立在表现层之上的,所有叫做"表现层状态转换"。
特点
- URL 更加简洁。
- 有利于不同系统之间的资源共享,只需要遵守⼀定的规范,不需要进行其他配置即可实现资源共享。
- 如何使用
REST 具体操作就是 HTTP 协议中四个表示操作⽅式的动词分别对应 CRUD 基本操作。
GET 用来表示获取资源。
POST 用来表示新建资源。
PUT 用来表示修改资源。
DELETE 用来表示删除资源。
handler层代码:
package com.ztb.controller;

import com.ztb.entity.Student;
import com.ztb.repository.StudentRepository;
import org.springframework.beans.factory.annotation.Autowired;
import org.springframework.stereotype.Repository;
import org.springframework.web.bind.annotation.*;

import javax.servlet.http.HttpServletResponse;

import java.util.Collection;

@RestController
@RequestMapping("/rest")
public class RestHandler {
    @Autowired//自动装配
    private StudentRepository studentRepository;

    @GetMapping("/findAll")
    public Collection<Student> findAll(HttpServletResponse response) {
        response.setContentType("text/json;charset=UTF-8");
        return studentRepository.findAll();
    }
    @GetMapping("/findById/{id}")
    public Student findById(@PathVariable("id") long id){
        return studentRepository.findById(id);
    }
    @PostMapping("/save")
    public void save(@RequestBody Student student){
        studentRepository.saveOrUpdate(student);
    }
    @PutMapping("/update")
    public void update(@RequestBody Student student){
        studentRepository.saveOrUpdate(student);
    }
    @DeleteMapping("/deleteById/{id}")
    public void deleteById(@PathVariable("id") long id){
        studentRepository.deleteById(id);
    }
}
repository持久层接口实现:
package com.ztb.repository;

import com.ztb.entity.Student;

import java.util.Collection;

public interface StudentRepository {

    public Collection<Student> findAll();
    public Student findById(long id );
    public  void saveOrUpdate(Student student);
    public void deleteById(long id);


}
RepositoryImpl实现层:
import com.ztb.entity.Student;
import com.ztb.repository.StudentRepository;
import org.springframework.stereotype.Repository;

import java.util.Collection;
import java.util.HashMap;
import java.util.Map;

@Repository
public class StudentRepositoryImpl implements StudentRepository {
   private static Map<Long, Student> studentMap;
   static{
       studentMap=new HashMap<>();
       studentMap.put(1L,new Student(1L,"张三",22));
       studentMap.put(2L,new Student(2L,"曾植树",25));
       studentMap.put(3L,new Student(3L,"王五",28));
   }


    @Override
    public Collection<Student> findAll() {
        return studentMap.values();
    }

    @Override
    public Student findById(long id) {
        return studentMap.get(id);
    }

    @Override
    public void saveOrUpdate(Student student) {
       studentMap.put(student.getId(),student);


    }

    @Override
    public void deleteById(long id) {
       studentMap.remove(id);

    }
}
注意: @GetMapping("/findAll")相当于@RequestMapping(value="/findAll",method= RequestMethod.GET ),相对更加简便
SpringMVC 文件的上传和下载
单文件上传
底层是使用 Apache fileupload 组件完成上传,Spring MVC 对这种方式进行了封装。
具体实现步骤:
- pom.xml中添加commons-fileupload依赖
<dependency>
 <groupId>commons-io</groupId>
 <artifactId>commons-io</artifactId>
 <version>2.5</version>
</dependency>
<dependency>
 <groupId>commons-fileupload</groupId>
 <artifactId>commons-fileupload</artifactId>
 <version>1.3.3</version>
</dependency>
- JSP页面提交表单
<%--
  Created by IntelliJ IDEA.
  User: Administrator
  Date: 2020/05/09
  Time: 07:38 PM
  To change this template use File | Settings | File Templates.
--%>
<%@ page contentType="text/html;charset=UTF-8" language="java" %>
<%@ page isELIgnored="false" %>
<html>
<head>
    <title>Title</title>
</head>
<body>
<body>
<form action="/file/upload" method="post" enctype="multipart/form-data">
    <input type="file" name="img"/>
    <input type="submit" value="上传"/>
</form>
<img src="${path}">
</body>

</body>
</html>
- nput 的 type 设置为 file。
- form 的 method 设置为 post(get 请求只能将⽂件名传给服务器)
- from 的 enctype 设置为 multipart-form-data(如果不设置只能将⽂件名传给服务器)
3.Handler界面代码:
package com.ztb.controller;

import org.springframework.stereotype.Controller;
import org.springframework.web.bind.annotation.PostMapping;
import org.springframework.web.bind.annotation.RequestMapping;
import org.springframework.web.multipart.MultipartFile;

import javax.servlet.http.HttpServletRequest;
import java.io.File;
import java.io.IOException;

public class ViewHandler {


    @Controller
    @RequestMapping("/file")
    public class FileHandler {
        @PostMapping("/upload")
        //客户端通过二进制流上传文件,上传组件解析器再封装成一个MF对象
        public String upload(MultipartFile img, HttpServletRequest request){//传request 是为了下面获得上传文件的file路径,在服务器端的绝对路径
            if(img.getSize()>0){//做个判断
                //获取保存上传⽂件的file路径
                String path = request.getServletContext().getRealPath("file");
                //获取上传的⽂件名
                String name = img.getOriginalFilename();
                //获取一个空的文件夹  传入上传的文件路径和文件名
                File file = new File(path,name);
                try {
                    img.transferTo(file);
                    //保存上传之后的⽂件路径
                    request.setAttribute("path","/file/"+name);
                } catch (IOException e) {
                    e.printStackTrace();
                }
            }
            return "upload";
        }
    }

}
4.springMVC.xml中添加上传组件解析器
            <!-- 配置上传组件 -->
            <bean id="multipartResolver"
                  class="org.springframework.web.multipart.commons.CommonsMultipartResolver">
            </bean>
5.web.xml 添加如下配置,否则客户端无法访问 png格式图片,设置为不让前端控制器拦截
<servlet-mapping>
 <servlet-name>default</servlet-name>
 <url-pattern>*.png</url-pattern>
</servlet-mapping>
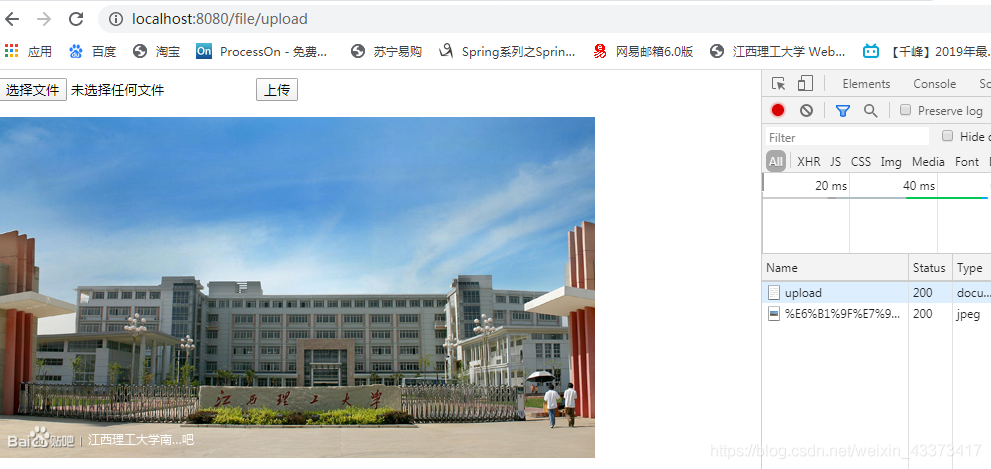
运行结果
多文件上传
流程与单文件大致相同 多文件用list数组存储 再遍历出来
handler页面代码
    @PostMapping("/uploads")
    public String uploads(MultipartFile[] imgs, HttpServletRequest request) {
        List<String> files = new ArrayList<>();
        for (MultipartFile img : imgs) {
            if (img.getSize() > 0) {
                //获取保存上传⽂件的file路径
                String path = request.getServletContext().getRealPath("file");
                //获取上传的⽂件名
                String name = img.getOriginalFilename();
                File file = new File(path, name);
                try {
                    img.transferTo(file);
                    //保存上传之后的⽂件路径
                    files.add("/file/" + name);
                } catch (IOException e) {
                    e.printStackTrace();
                }
            }
        }
        request.setAttribute("files", files);
        return "uploads";
    }


}
jsp界面代码:
<%@ page contentType="text/html;charset=UTF-8" language="java" %>
<%@ page isELIgnored="false" %>
<%@ taglib prefix="c" uri="http://java.sun.com/jsp/jstl/core" %>
<html>
<head>
    <title>Title</title>
</head>
<body>
<form action="/file/uploads" method="post" enctype="multipart/form-data">
    file1:<input type="file" name="imgs"/><br/>
    file2:<input type="file" name="imgs"/><br/>
    file3:<input type="file" name="imgs"><br/>
    <input type="submit" value="上传"/>
</form>
<c:forEach items="${files}" var="file" >
    <img src="${file}" width="300px">
</c:forEach>
</body>
</html>
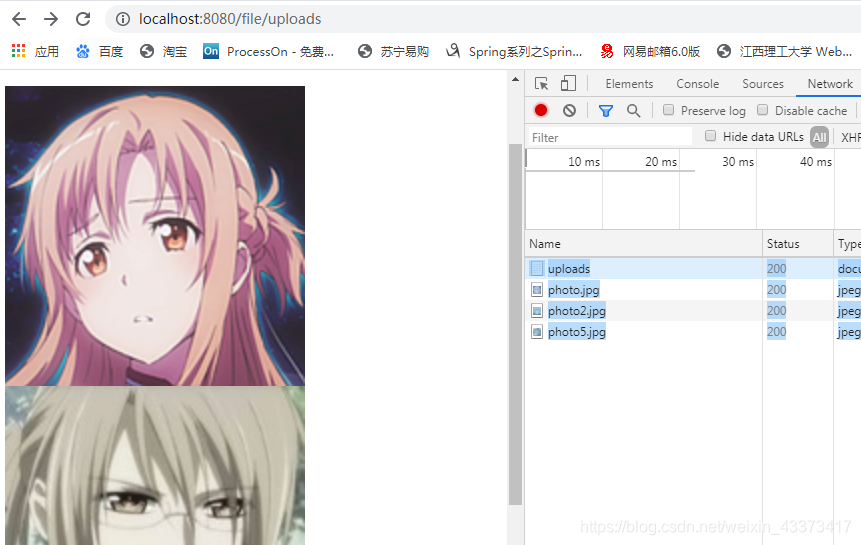
运行结果:

文件的下载
1.jsp页面
<%--
  Created by IntelliJ IDEA.
  User: Administrator
  Date: 2020/05/09
  Time: 09:08 PM
  To change this template use File | Settings | File Templates.
--%>
<%@ page contentType="text/html;charset=UTF-8" language="java" %>
<html>
<head>
    <title>文件下载</title>
</head>
<body>
<a href="/file/download/1">1.jpg</a>
<a href="/file/download/2">2.jpg</a>
<a href="/file/download/3">3.jpg</a>

</body>
</html>
2.handler代码
@GetMapping("/download/{name}")
    //通过response对象读入  不用设置返回值  选用@GetMapping因为超链接是get请求
    //不加@PathVariable注解无法映射,传统方式是实体属性名等于形参名不用加  这里是rest  要映射
    public void download(@PathVariable("name") String name, HttpServletRequest
            request, HttpServletResponse response){
        if(name != null){name += ".jsp";

            String path = request.getServletContext().getRealPath("file");
            File file = new File(path,name);
            OutputStream outputStream = null;
            if(file.exists()){
                response.setContentType("application/forc-download");
                response.setHeader("ContentDisposition","attachment;filename="+name);
                //指定下载后的文件名

                try {
                    outputStream = response.getOutputStream();
                    outputStream.write(FileUtils.readFileToByteArray(file));//FileUtils工具直接把文件转成比优特数组

                    outputStream.flush();
                } catch (IOException e) {
                    e.printStackTrace();
                } finally {
                    if(outputStream != null){
                        try {
                            outputStream.close();
                        } catch (IOException e) {
                            e.printStackTrace();
                        }
                    }
                }
            }
        }
    }

}
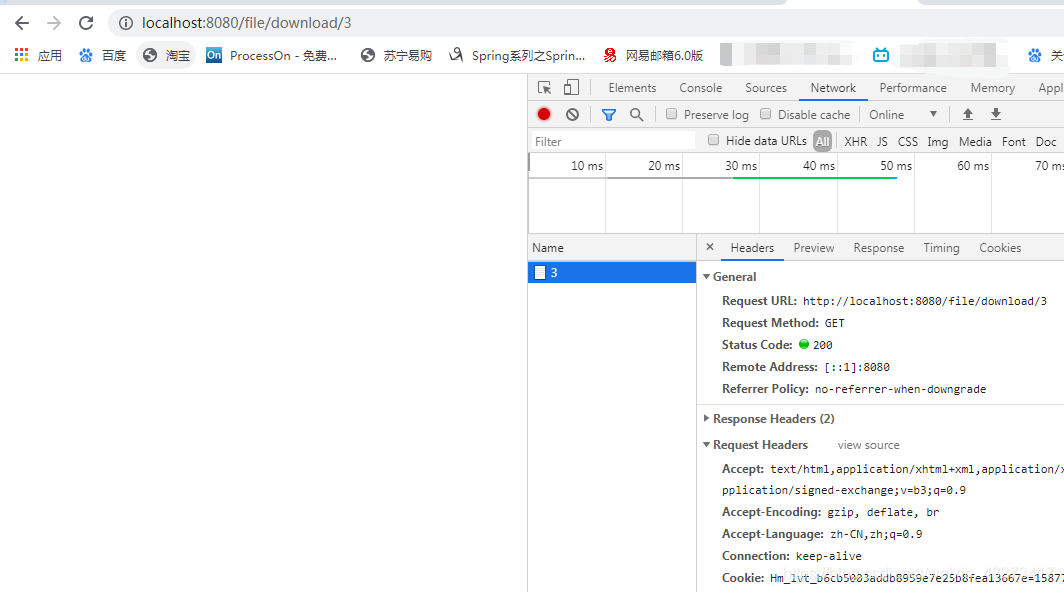
结果如图:


 323
323

 被折叠的 条评论
为什么被折叠?
被折叠的 条评论
为什么被折叠?
 到【灌水乐园】发言


