


下面的程序实现了一个卷积层的前向传播过程,使用的输入数据是矩阵,滤波器是矩阵filter_weight,卷积的过程使用了全0填充并且步长为1。
import tensorflow as tf
import numpy as np

#使用numpy工具初始化一个名为M的数组,形状为2x3,数据类型为float32
#并使用numpy的reshape()函数调整输入的格式
#注意,M不会被TensorFlow识别为张量
M = np.array([[[2],[1],[2],[-1]],[[0],[-1],[3],[0]],
              [[2],[1],[-1],[4]],[[-2],[0],[-3],[4]]],dtype="float32").reshape(1, 4, 4, 1)

#通过get_variable()函数创建过滤器的权重变量,上面介绍了卷积层
#这里声明的参数变量是一个四维矩阵,前面两个维度代表了过滤器的尺寸,
#第三个维度表示当前层的深度,第四个维度表示过滤器的深度。
filter_weight = tf.get_variable("weights",[2, 2, 1, 1],
    initializer = tf.constant_initializer([[-1, 4],[2, 1]]))

#通过get_variable()函数创建过滤器的偏置项,代码中[1]表示过滤器的深度。
#等于神经网络下一层的深度。
biases = tf.get_variable("biase", [1], initializer = tf.constant_initializer(1))


x = tf.placeholder('float32', [1,None, None,1])

#conv2d()函数实现了卷积层前向传播的算法。
#这个函数的第一个参数为当前层的输入矩阵,注意这个矩阵应该是一个四维矩阵,
#代表第一个维度的参数对应一个输入batch。如果在输入层,input[0, , , ]表示第一张图片,
#input[1, , , ]表示第二张图片,等等。函数第二个参数是卷积层的权重,第三个参数为
#不同维度上的步长。虽然第三个参数提供的是一个长度为4 的数组,
#但是第一个和最后一个数字要求一定是1,这是因为卷积层的步长只对矩阵的长和宽有效。
#最后一个参数是填充(padding的方法,有SAME或VALID 两种选择,
#其中SAME 表示添加全0填充,VALID表示不添加。
#函数原型conv2d(input,filter,strids,padding,us_cudnn_on_gpu_,data_format,name)
conv = tf.nn.conv2d(x, filter_weight, strides=[1, 1, 1, 1], padding="SAME")

#bias_add()函数具有给每一个节点加上偏置项点功能。这里不能直接使用加法的原因是
#矩阵上不同位置上的节点都需要加上同样的偏置项。因为过滤器深度为1,
#故偏置项只有一个数,结果为3x4的矩阵中每一个值都要加上这个偏置项。
#原型bias_add(value,bias,data_format,name)
add_bias = tf.nn.bias_add(conv, biases)

init_op=tf.global_variables_initializer()
with tf.Session() as sess:
    init_op.run()
    M_conv=sess.run(add_bias, feed_dict={x: M})

    #输出结果并不是一个张量,而是数组
    print("M after convolution: \n", M_conv)
加入池化层的代码实现
import tensorflow as tf
import numpy as np

M = np.array([[[-2],[2],[0],[3]],
              [[1],[2],[-1],[2]],
              [[0],[-1],[1],[0]]],dtype="float32").reshape(1, 3, 4, 1)
filter_weight = tf.get_variable("weights",[2, 2, 1, 1],
    initializer = tf.constant_initializer([[2, 0],[-1, 1]]))
biases = tf.get_variable('biases', [1], initializer = tf.constant_initializer(1))
x = tf.placeholder('float32', [1, None, None, 1])
conv = tf.nn.conv2d(x, filter_weight, strides=[1, 1, 1, 1], padding="SAME")
add_bias = tf.nn.bias_add(conv, biases)

#max_pool()函数实现了最大池化层的前向传播过程
#原型为max_pool(value,strides,padding,data_format,name)
#参数value为输入数据,strides为提供了步长信息,padding提供了是否使用全0填充。
pool = tf.nn.max_pool(add_bias, ksize=[1, 2, 2, 1], strides=[1, 2, 2, 1], padding="SAME")

with tf.Session() as sess:
    tf.global_variables_initializer().run()
    M_conv = sess.run(add_bias, feed_dict={x: M})
    M_pool = sess.run(pool, feed_dict={x: M})
    print(" after average pooled: \n", M_pool)
    '''输出内容
    after average pooled:
    [[[[7.]
       [5.]]
      [[1.]
       [3.]]]]
    '''
用简单卷积神经网络实现Cifar-10数据集分类。整个工程包含两个文件:Cifar10_data.py文件和CNN_Cifar-10.py文件。其中Cifar10_data.py文件负责读取Cifar-10数据变并对其进行数据增强,而CNN_Cifar-10.py文件负责构造循环神经网络的整体架构,并运行训练和测试(评估)的过程。
Cifar10_data.py
# 导入os库是因为需要拼接路径
import os
import tensorflow as tf

num_classes = 10

# 设定用于训练和评估的样本总数
num_examples_pre_epoch_for_train = 50000
num_examples_pre_epoch_for_eval = 10000


# 定义一个空类,用于返回读取的Cifar-10数据
class CIFAR10Record(object):
    pass


# 定义读取Cifar-10数据的函数
def read_cifar10(file_queue):
    result = CIFAR10Record()

    label_bytes = 1  # 如果是Cifar-100数据集,则此处为2
    result.height = 32
    result.width = 32
    result.depth = 3  # 因为是RGB三通道,所以深度为3

    image_bytes = result.height * result.width * result.depth  # =3072

    # 每个样本都包含一个label数据和image数据,结果为record_bytes=3073
    record_bytes = label_bytes + image_bytes

    # 创建一个文件读取类,并调用该类的read()函数从文件队列中读取文件
    # FixedLengthRecordReader类用于读取固定长度字节数信息(针对bin文件而言,使用
    # FixedLengthRecordReader读取比较合适),在11.1节介绍文件读取的时候会介绍与之
    # 相似的TFRecordReader类,如果想了解更多信息,可以快速翻阅第十一章
    # 构造函数原型__init__(self,record_bytes,header_bytes,footer_bytes,name)
    reader = tf.FixedLengthRecordReader(record_bytes=record_bytes)
    result.key, value = reader.read(file_queue)

    # 得到的value就是record_bytes长度的包含一个label数据和image数据字符串
    # decode_raw()函数可以将字符串解析成图像对应的像素数组
    record_bytes = tf.decode_raw(value, tf.uint8)

    # 将得到的record_bytes数组中的第一个元素类型转换为int32类型
    # strided_slice()函数用于对input截取从[begin, end)区间的数据
    # 函数原型strided_slice(input,begin,end,strides,begin_mask,end_mask,
    #                            ellipsis_mask,new_axis_mask,shrink_axis_mask,name)
    result.label = tf.cast(tf.strided_slice(record_bytes,[0],[label_bytes]),tf.int32)

    # 剪切label之后剩下的就是图片数据,我们将这些数据的格式从[depth * height * width]
    # 转为[depth, height, width]
    depth_major = tf.reshape(
        tf.strided_slice(record_bytes, [label_bytes], [label_bytes + image_bytes]),
        [result.depth, result.height, result.width])

    # 将[depth, height, width]的格式转变为[height, width, depth]的格式
    # transpose()函数用于原型为     transpose(x,perm,name)
    result.uint8image = tf.transpose(depth_major, [1, 2, 0])
    return result


# inputs()函数调用了read_cifar10()函数,可以选择是否对读入的数据进行数据增强处理
def inputs(data_dir, batch_size, distorted):
    # 使用os的join()函数拼接路径
    filenames = [os.path.join(data_dir,"data_batch_%d.bin" % i) for i in range(1, 6)]

    # 创建一个文件队列,并调用read_cifar10()函数读取队列中的文件
    # 关于队列的内容可快速翻阅第十一章
    file_queue = tf.train.string_input_producer(filenames)
    read_input = read_cifar10(file_queue)

    # 使用cast()函数将图片数据转为float32格式,原型cast(x,DstT,name)
    reshaped_image = tf.cast(read_input.uint8image, tf.float32)
    num_examples_per_epoch = num_examples_pre_epoch_for_train

    # 对图像数据进行数据增强处理
    if distorted != None:
        # 将[32,32,3]大小的图片随机裁剪成[24,24,3]大小
        cropped_image = tf.random_crop(reshaped_image, [24, 24, 3])

        # 随机左右翻转图片
        flipped_image = tf.image.random_flip_left_right(cropped_image)

        # 使用random_brightness()函数调整亮度
        # 函数原型random_brightness(image,max_delta,seed)
        adjusted_brightness = tf.image.random_brightness(flipped_image,
                                                         max_delta=0.8)

        # 调整对比度
        adjusted_contrast = tf.image.random_contrast(adjusted_brightness,
                                                     lower=0.2, upper=1.8)

        # 标准化图片,注意不是归一化
        #per_image_standardization()是对每一个像素减去平均值并处以像素方差
        #函数原型per_image_standardization(image)
        float_image = tf.image.per_image_standardization(adjusted_contrast)

        # 设置图片数据及label的形状
        float_image.set_shape([24, 24, 3])
        read_input.label.set_shape([1])

        min_queue_examples = int(num_examples_pre_epoch_for_eval * 0.4)
        print('Filling queue with %d CIFAR images before starting to train. '
                             'This will take a few minutes.' % min_queue_examples)

        #使用shuffle_batch()函数随机产生一个batch的image和label
        #函数原型shuffle_batch(tensor_list, batch_size, capacity, min_after_dequeue,
        #      num_threads=1, seed=None, enqueue_many=False, shapes=None, name=None)
        images_train, labels_train = tf.train.shuffle_batch(
                                            [float_image, read_input.label],
                                          batch_size=batch_size, num_threads=16,
                                        capacity=min_queue_examples + 3 * batch_size,
                                                min_after_dequeue=min_queue_examples)
        return images_train, tf.reshape(labels_train, [batch_size])

    # 不对图像数据进行数据增强处理
    else:
        resized_image = tf.image.resize_image_with_crop_or_pad(reshaped_image, 24, 24)

        #没有图像的其他处理过程,直接标准化
        float_image = tf.image.per_image_standardization(resized_image)

        #设置图片数据及label的形状
        float_image.set_shape([24, 24, 3])
        read_input.label.set_shape([1])

        min_queue_examples = int(num_examples_per_epoch *0.4)

        # 使用batch()函数创建样例的batch,这个过程使用最多的是shuffle_batch()函数
        # 但是这里使用batch()函数代替了shuffle_batch()函数
        #batch()函数原型batch(tensor_list, batch_size, num_threads=1, capacity=32,
        #                              enqueue_many=False, shapes=None, name=None)
        images_test, labels_test = tf.train.batch([float_image, read_input.label],
                                     batch_size=batch_size,num_threads=16,
                                     capacity=min_queue_examples + 3 * batch_size)
        return images_test, tf.reshape(labels_test, [batch_size])
CNN_Cifar-10.py
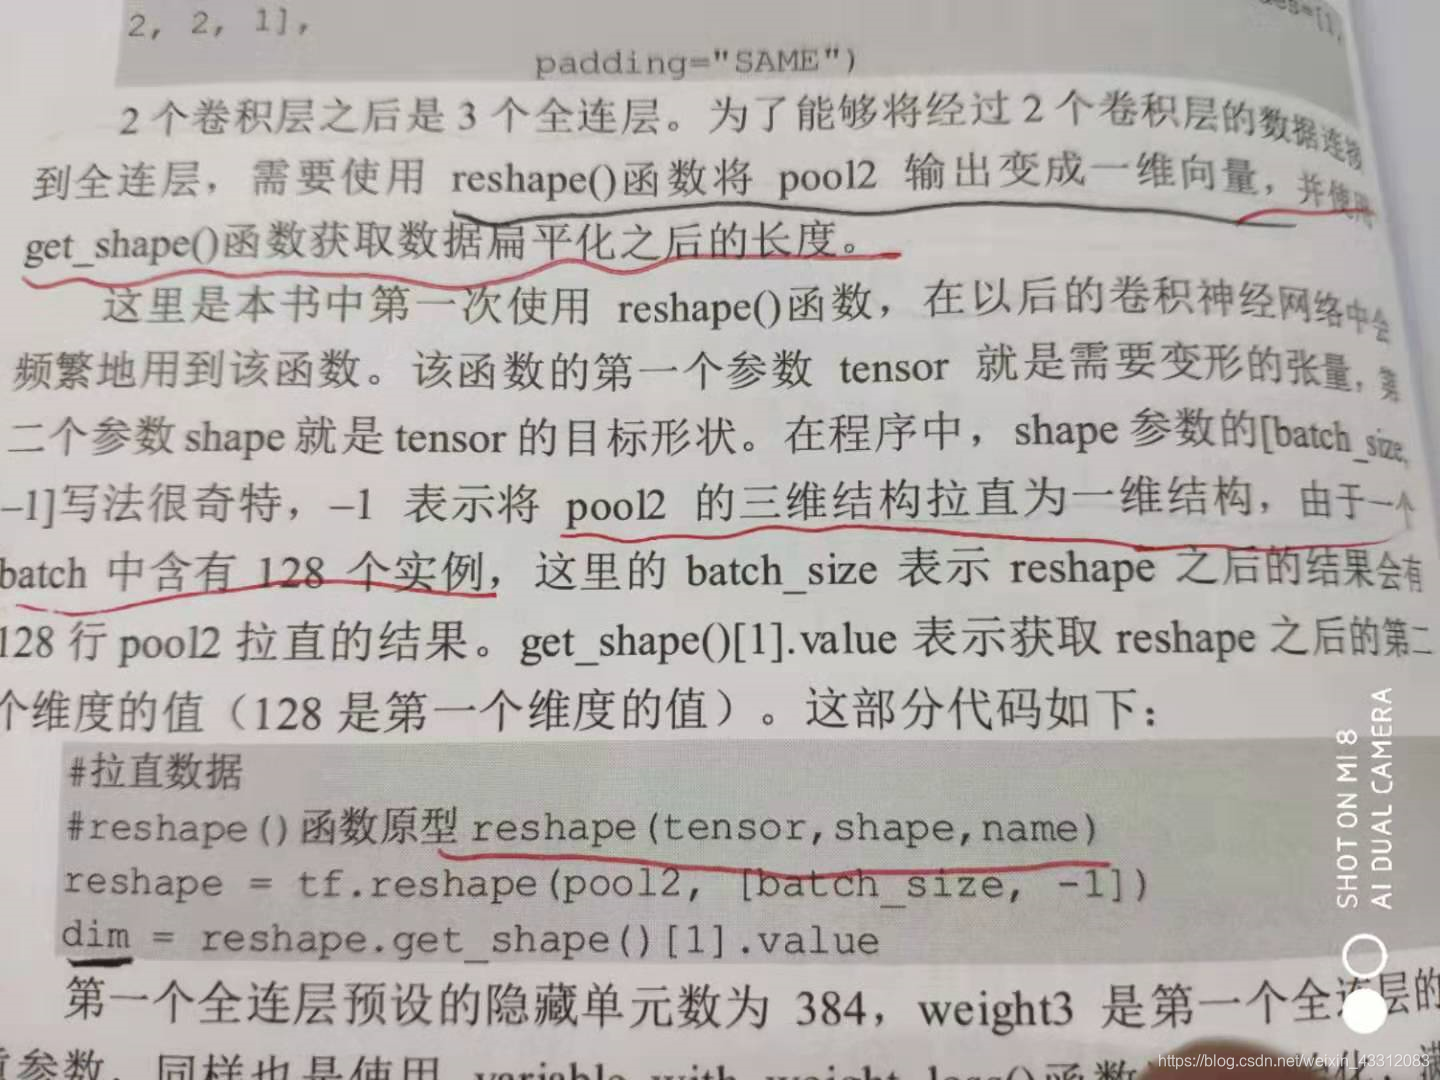
reshape函数:
# 拉直数据
# reshape()函数原型reshape(tensor,shape,name)
reshape = tf.reshape(pool2, [batch_size, -1])
dim = reshape.get_shape()[1].value


 521
521

 被折叠的 条评论
为什么被折叠?
被折叠的 条评论
为什么被折叠?
 到【灌水乐园】发言


