


 本文详细介绍了OpenCV中VideoCapture类的三种使用方式,包括摄像头捕捉、文件读取及类操作,展示了如何通过VideoCapture进行视频流的读取、特定帧的选取以及视频的重新编码保存。
在https://blog.youkuaiyun.com/weixin_42555985/article/details/93845155中,有一段摄像头捕捉后进行人脸识别代码,使用的函数是VideoCapture。
在opencv中视频处理就是利用VideoCapture类来实现的。官网说明参见https://docs.opencv.org/4.0.0/d8/dfe/classcv_1_1VideoCapture.html。
方式1:摄像头
官网说明,VideoCapture有3种方式,摄像头捕捉就是其中之一,方式如下:
<VideoCapture object> = cv.VideoCapture( index[, apiPreference] )
- index:要打开视频设备的ID。在后台打开默认摄像头使用0。
实现代码如下,人脸识别中也用过了。
cap = cv.VideoCapture(0)
如果有多个摄像头,用的是camera_id + domain_offset (CAP_*),文档中有介绍,一般也不会有这种情况发生,这里不说了。
方式2:文件读取
调用方式
<VideoCapture object> = cv.VideoCapture( filename[, apiPreference] )
- filename:可以是视频文件,或者图像序列(几个连续的jpg文件),或者在线视频流(URL of video stream)。
例:读取在线视频
import cv2

cap = cv2.VideoCapture('https://vd2.bdstatic.com/mda-ijkqpy8pad0e8auu/sc/mda-ijkqpy8pad0e8auu.mp4?auth_key=1561955030-0-0-ec931c6dbd155dd41ef9c0a159899858&bcevod_channel=searchbox_feed&pd=bjh&abtest=all')

while True:
    ret, frame = cap.read() # 读
    cv2.imshow("capture", frame) # 显示
    if cv2.waitKey(100) & 0xFF == ord('q'): #键盘按键q,退出
        break
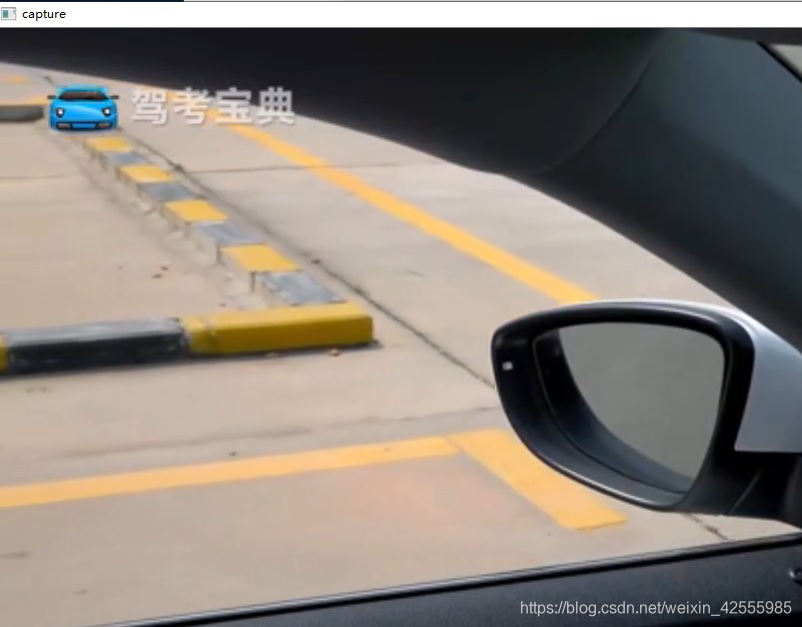
运行结果如上图。
方式3:类操作
<VideoCapture object>	=	cv.VideoCapture(	)
<VideoCapture object>.open(filename)
先创建一个VideoCapture对象,然后通过成员函数open()来设定打开的信息。
这种方式在python中似乎没有太大意义。
例1:读取视频中特定的帧写入文件
# -*- coding: cp936 -*-
import cv2

cap = cv2.VideoCapture('https://vd2.bdstatic.com/mda-ijkqpy8pad0e8auu/sc/mda-ijkqpy8pad0e8auu.mp4?auth_key=1561955030-0-0-ec931c6dbd155dd41ef9c0a159899858&bcevod_channel=searchbox_feed&pd=bjh&abtest=all')


#Set frame_no in range 0.0-1.0
#In this example we have a video of 30 seconds having 25 frames per seconds, thus we have 750 frames.
#The examined frame must get a value from 0 to 749.
#For more info about the video flags see here: https://stackoverflow.com/questions/11420748/setting-camera-parameters-in-opencv-python
#Here we select the last frame as frame sequence=749. In case you want to select other frame change value 749.
#BE CAREFUL! Each video has different time length and frame rate.
#So make sure that you have the right parameters for the right video!
time_length = 30.0
fps=25
frame_seq = 749
frame_no = (frame_seq /(time_length*fps))

#The first argument of cap.set(), number 2 defines that parameter for setting the frame selection.
#Number 2 defines flag CV_CAP_PROP_POS_FRAMES which is a 0-based index of the frame to be decoded/captured next.
#The second argument defines the frame number in range 0.0-1.0
cap.set(2,frame_no);

#Read the next frame from the video. If you set frame 749 above then the code will return the last frame.
ret, frame = cap.read()

#Set grayscale colorspace for the frame.
gray = cv2.cvtColor(frame, cv2.COLOR_BGR2GRAY)

#Cut the video extension to have the name of the video
my_video_name = 'test'

#Display the resulting frame
cv2.imshow(my_video_name+' frame '+ str(frame_seq),gray)

#Set waitKey
cv2.waitKey()

#Store this frame to an image
cv2.imwrite(my_video_name+'_frame_'+str(frame_seq)+'.jpg',gray)

# When everything done, release the capture
cap.release()
cv2.destroyAllWindows()
代码是我从网上找到的,原例中是用了一个30秒750帧的视频。
我这里的视频还是用在线视频流,因为只是为了测试一下代码有效性,所以没有改指定帧的代码,也就是在视频流中截取了任意一帧,写入了文件中。

结果如上。
例2:读取视频写入文件
# -*- coding: cp936 -*-
import cv2

#  调用VideoCapture构造器
cap = cv2.VideoCapture('https://vd2.bdstatic.com/mda-ijkqpy8pad0e8auu/sc/mda-ijkqpy8pad0e8auu.mp4?auth_key=1561955030-0-0-ec931c6dbd155dd41ef9c0a159899858&bcevod_channel=searchbox_feed&pd=bjh&abtest=all')
fps = cap.get(cv2.CAP_PROP_FPS)
size = (int(cap.get(cv2.CAP_PROP_FRAME_WIDTH)), int(cap.get(cv2.CAP_PROP_FRAME_HEIGHT)))

#  改用YUV颜色编码 写入到另一个视频文件中
# 注意,视频文件的后缀改为.avi,由于I420采用YUV颜色编码,只支持.avi格式
writer = cv2.VideoWriter('test.avi', cv2.VideoWriter_fourcc('I', '4', '2', '0'), fps, size)
ret, frame = cap.read()
while ret:
    writer.write(frame)
    ret, frame = cap.read()
这个是把在线视频流写入test.avi文件。


 460
460

 被折叠的 条评论
为什么被折叠?
被折叠的 条评论
为什么被折叠?
 到【灌水乐园】发言


