


1.环境
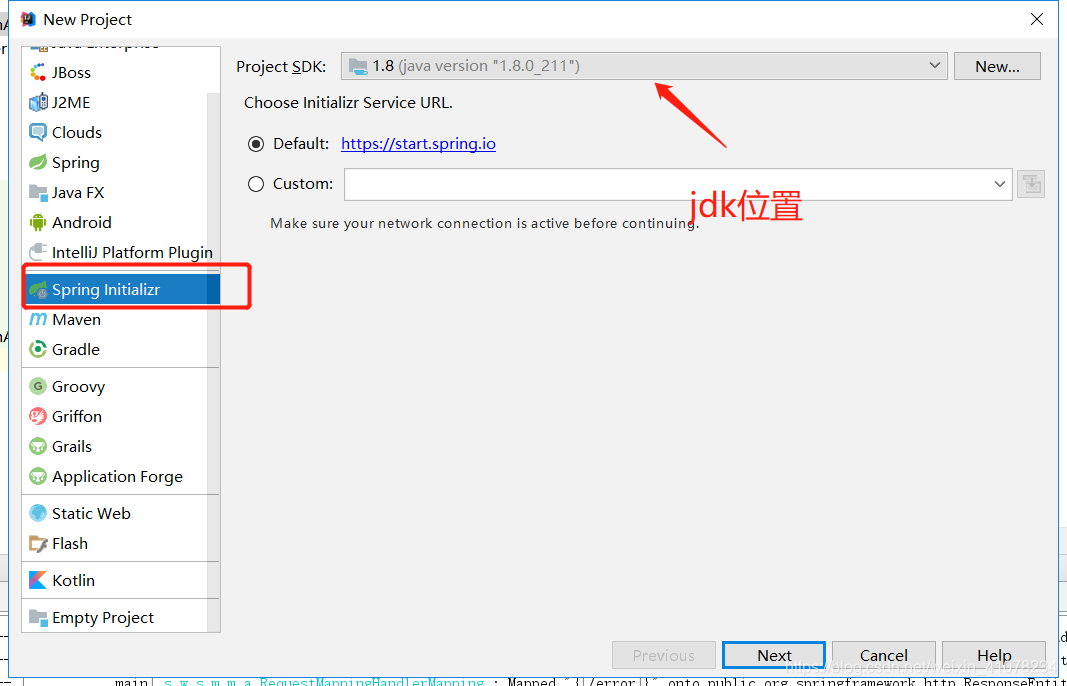
jdk1.8 maven3.6.1 IDEA2017
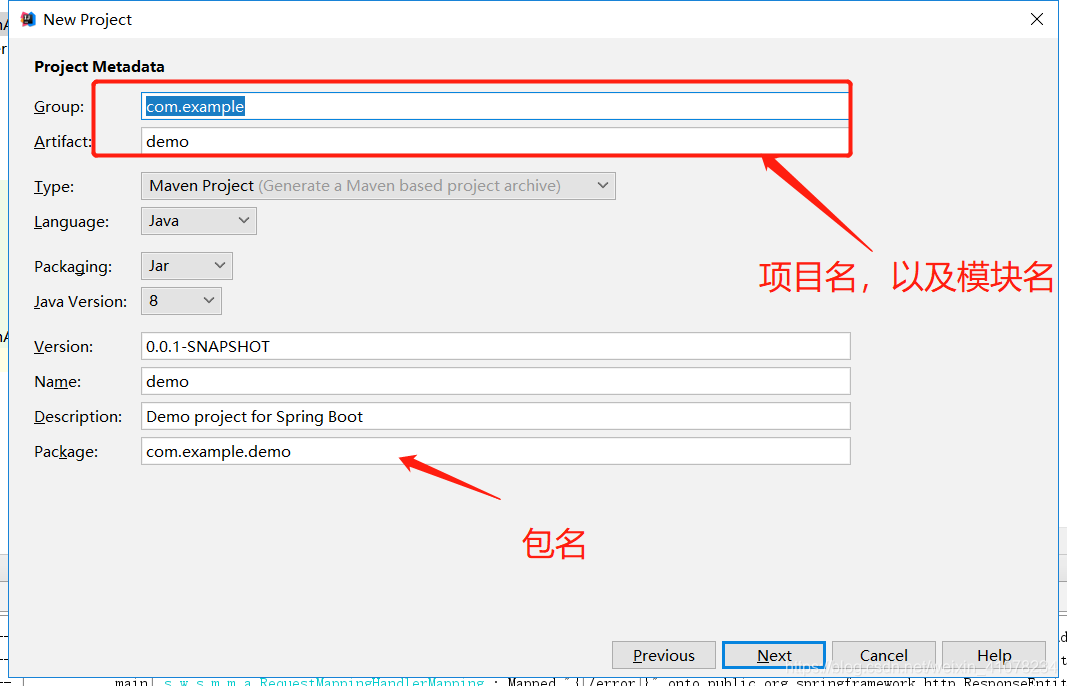
2.创建项目
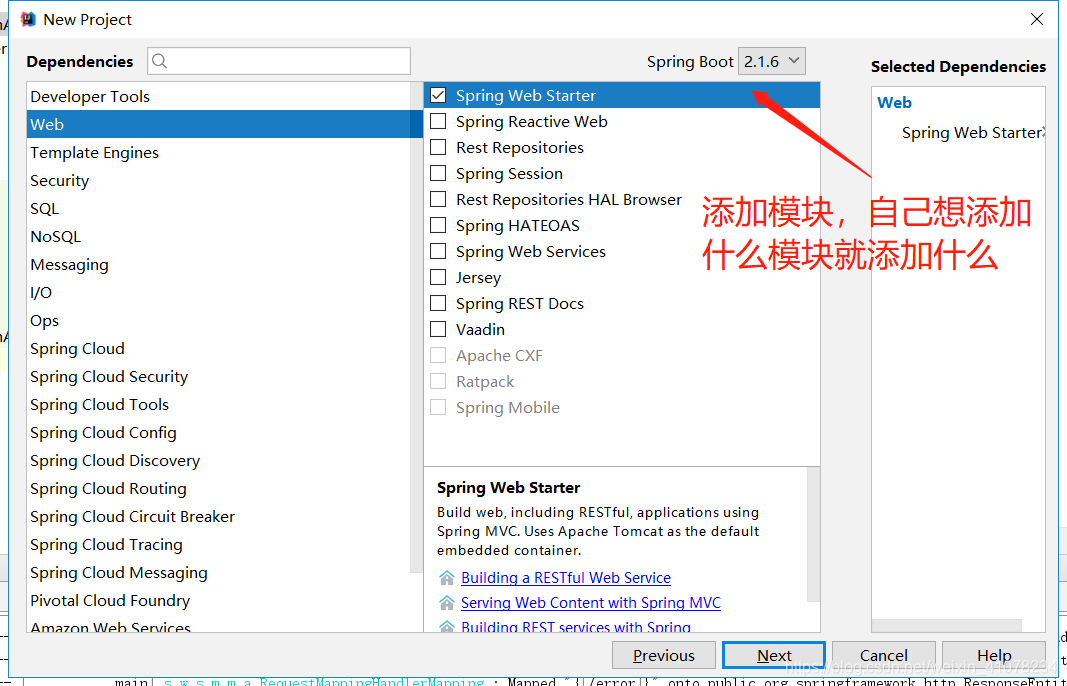
这样一个项目就完成了创建,若是单纯使用maven创建项目,可以去官网导入依赖包
<!-- 父文件,用来真正管理所有项目的jar包 -->
<parent>
   <groupId>org.springframework.boot</groupId>
   <artifactId>spring-boot-starter-parent</artifactId>
   <version>2.1.6.RELEASE</version>
   <relativePath/> <!-- lookup parent from repository -->
</parent>
<!-- 引入依赖  -->
   <dependency>
      <groupId>org.springframework.boot</groupId>
      <artifactId>spring-boot-starter-web</artifactId>
   </dependency>

接下来能看的到

在启动类HellostrengthApplication中
import org.springframework.boot.SpringApplication;
import org.springframework.boot.autoconfigure.SpringBootApplication;


//将此类标注为主程序类,是程序的入口
@SpringBootApplication
public class HellostrengthApplication {

   public static void main(String[] args) {
      SpringApplication.run(HellostrengthApplication.class, args);
   }
}
2.TestController类
import org.springframework.web.bind.annotation.RequestMapping;
import org.springframework.web.bind.annotation.RestController;

//这个类的所有方法返回的数据直接写给浏览器,(如果是对象转为json数据)
/*@Controller*/
@RestController
public class TestController {


    //此前有@ResponeBody标签,已经被@RestController取代


    @RequestMapping("/hello")
    public String mapping(){
        return "6666666";
    }
}
运行结果

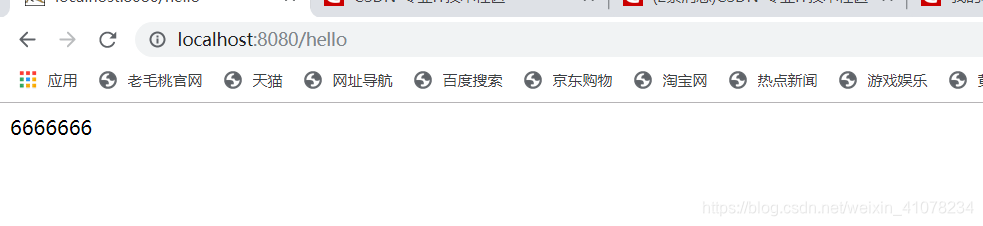
SpringBoot忒爽了!!!


 390
390

 被折叠的 条评论
为什么被折叠?
被折叠的 条评论
为什么被折叠?
 到【灌水乐园】发言


