


一、使用Maven方式构建SoringBoot项目
在准备写程序之前,我们的开发工具下载必不可少,建议大家官网下载:Spring | Home
1.1新建项目
首先选择File,然后选择New,最后选择Prohect


1.2 创建Maven项目
在你的项目pom.xml添加相关依赖
<!-- 引入Spring Boot依赖 -->
<parent>
	<groupId>org.springframework.boot</groupId>
	<artifactId>spring-boot-starter-parent</artifactId>
	<version>2.1.3.RELEASE</version>
</parent>
<dependencies>
	<!-- 引入Web场景依赖启动器 -->
	<dependency>
		<groupId>org.springframework.boot</groupId>
		<artifactId>spring-boot-starter-web</artifactId>
	</dependency>
</dependencies>

1.3 编写主程序启动类
首先创建一个包

新建一个ManualChapter01Application.java
ackage org.lzpu;
mport org.springframework.boot.autoconfigure.SpringBootApplication;
import org.springframework.boot.SpringApplication;
SpringBootApplication
public class ManualChapter01Application {
    public static void main(String[] args) {
        SpringApplication.run(ManualChapter01Application.class, args);
    }
}

1.4 创建一个用于访问的Controller
在项目创建一个Controller包,在该包下创建一个HelloController的控制类
package org.lzpu.controller;

import org.springframework.web.bind.annotation.GetMapping;
import org.springframework.web.bind.annotation.RestController;

@RestController
public class HelloController {
    @GetMapping("/hello")
    public String hello(){
        return "hello Spring Boot";
    }
}
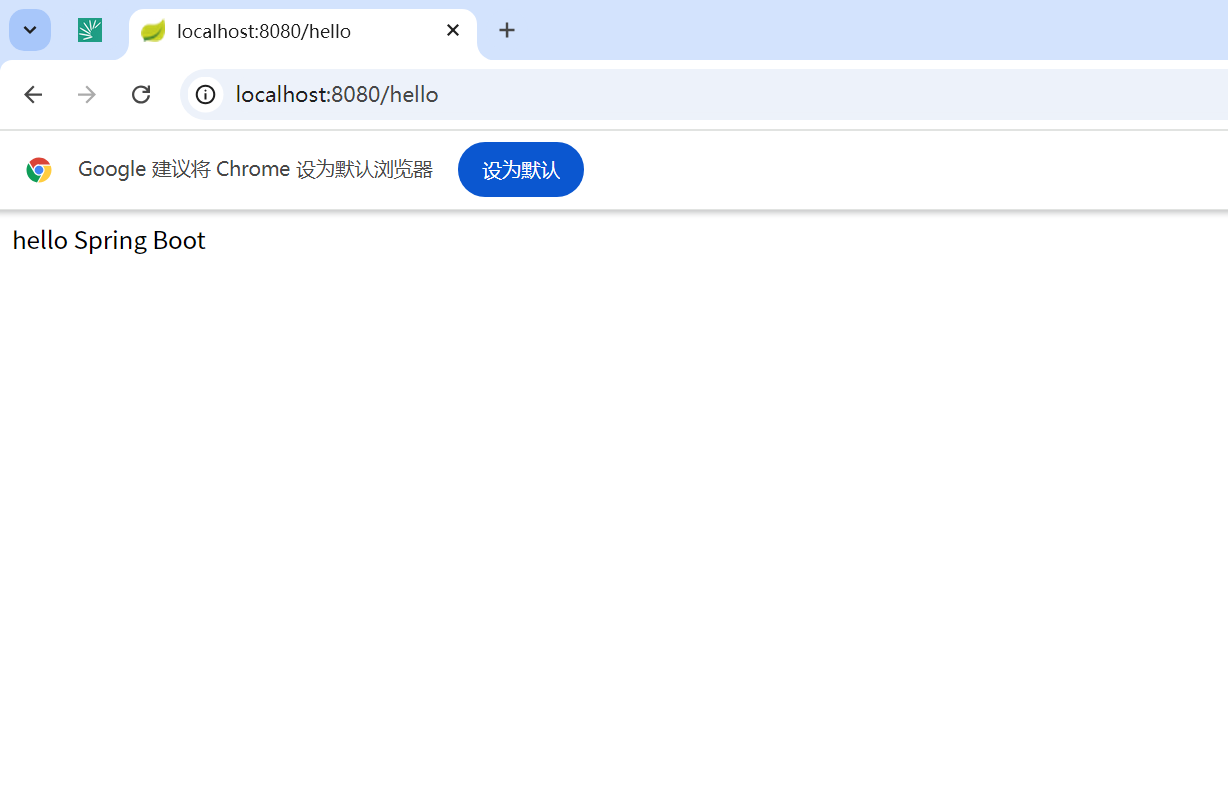
1.5 运行项目ManualChapter01Application.java
在浏览器输入localhost:8080/hello得出结果
二、SpringBoot的核心配置与注解
在resource目录下自动生成空的application.propertes文件,把相关代码放进去

2.1新建一个Pet的类和Person的类

Pet的代码块:
package org.lzpu.domain;

public class Pet {

    private String type;
    private String name;

    public String getType() {
        return type;
    }

    public void setType(String type) {
        this.type = type;
    }

    public String getName() {
        return name;
    }

    public void setName(String name) {
        this.name = name;
    }

    @Override
    public String toString() {
        return "Pet{" +
                "type='" + type + '\'' +
                ", name='" + name + '\'' +
                '}';
    }
}
Person的代码块:
package org.lzpu.domain;

    import org.springframework.data.annotation.Id;
import org.springframework.data.redis.core.RedisHash;
import org.springframework.data.redis.core.TimeToLive;
import org.springframework.data.redis.core.index.I
最低0.47元/天 解锁文章


 1万+
1万+


 到【灌水乐园】发言


