


 本文档详述了在Oracle S7-2服务器上安装Solaris 11系统的步骤,包括准备工作、文本安装过程、服务配置及系统更新等内容。
S7-2服务器安装solaris 11系统说明书
一、简介
Solaris 11被称为第一个云操作系统,因此在很多方面体现了云系统的一些特点,在程序包管理方面,Solaris 11做了很大的修改,原有的一些方式方法都已经不再适用一些新的内容了。
Solaris 11的软件分发采用IPS(Image Packaging System)方式进行分发,IPS里面存放了所有的Solaris11支持的软件包,软件包存放在叫repositories的库里面,通过publisher来进行发布,一般来说,操作系统安装完毕,缺省情况下IPS的分布包指向为ORACLE网站的更新release:http://pkg.oracle.com/solaris/release 。补丁程序也是通过SRU的方式来进行更新,不再出类似Solaris 10及以前的形式的补丁号和补丁集了,因此,Solaris 11下所有软件包的更新都必须使用IPS。
二、系统安装前的准备
1. 需要准备的物品:电脑、串口线、外接光驱和光盘
- 需要准备的软件包:
- repo更新包+ksh脚本(1个可执行文件、5个zip压缩包、1个txt文件)下载地址:
http://www.oracle.com/technetwork/server-storage/solaris11/downloads/local-repository-2245081.html
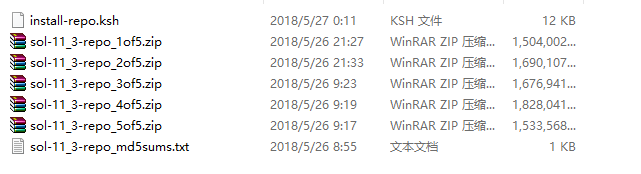
- SRU更新包(共5个文件)
二、服务器系统安装
首次打开服务器电源
- 在终端设备上,以 root 身份使用密码 changeme 登录到 SP。
login: root
Password: changeme
. . . -> 经过短暂延迟之后,将显示 Oracle ILOM 提示符 (->)
2. 从 Oracle ILOM 中,将 OpenBoot auto-boot? 参数设置为 false。
-> set /HOST/bootmode script="setenv auto-boot? false"
此设置阻止服务器从预先安装的 OS 引导。当您使用 bootmode 时,更改将仅应用于单
次引导,并且如果没有对主机电源进行复位,更改将在 10 分钟内失效。系统安装完成以后得把这条命令改为"true",不改的话每次启动不会自动引导系统。
3. 使用以下方法之一打开服务器电源:
■ 按下电源按钮。
■ 在 Oracle ILOM 提示符下键入:
-> start /System
Are you sure you want to start /System (y/n)? y
服务器初始化可能需要几分钟时间来完成。要取消初始化,请按 #.(井号+点)组合键返回到 Oracle ILOM 提示符。然后键入以下内容:stop /System
4. (可选)重定向主机输出,使其显示在串行终端设备上。
-> start /HOST/console
Are you sure you want to start /SP/console (y/n)? y
Serial console started.
. . .
5. S7-2这款服务器没有光驱,选择通过USB外接一个读写速度块的光驱进行安装。
确定所需的引导设备的名称。要查看设备的名称,请键入:
ok devalias
6. ok模式下查看外接的设备,找到你的外接设备
{0} ok show-disks #或者输入:probe-scsi-all
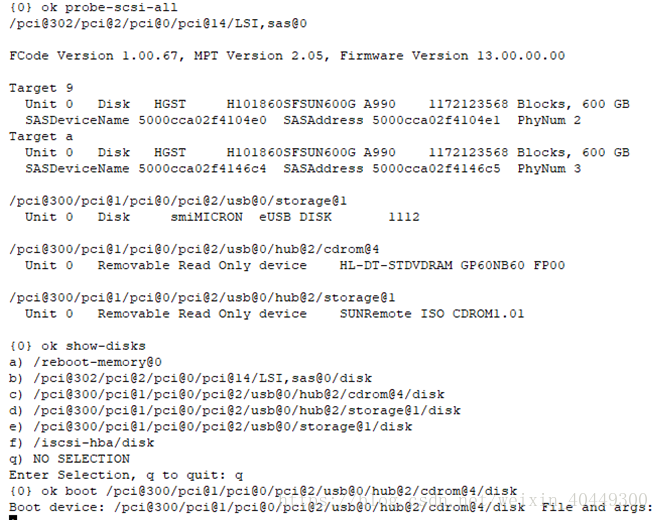
6. 使用所需的引导设备配置 boot-device 参数。
ok boot rcdrom #(rcdrom是系统内置的安装盘S7-2只能通过这种方式安装)其中,boot_device 是可以从中进行引导的有效设备。
注:如果是外接光驱的话,设备安装:
Ok boot /pci@300/pci@0/pci@2/usb@0/hub@2/cdrom@4/disk(光驱设备地址)
7.1 Solaris11.3文本安装
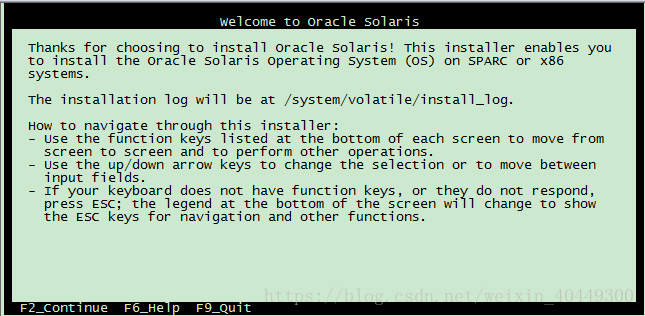
光盘启动,选择使用语言,选择英语。
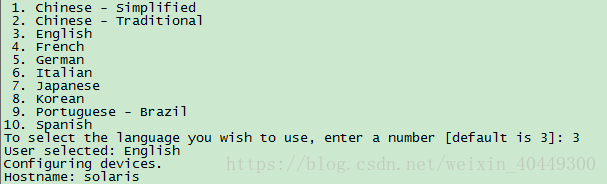
注意:终端类型默认为 xterm 模式,根据实际情况更改,此处选择vt100.

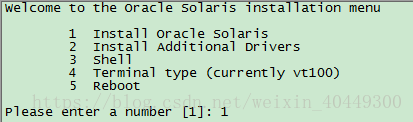
选择1“安装Oracle Solaris”
选择扫描磁盘方式
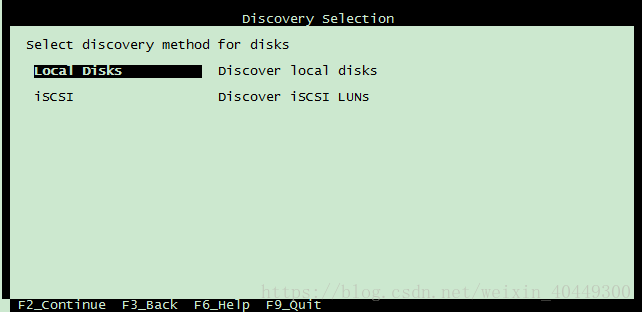
只有一块本地磁盘,不需要进行选择。
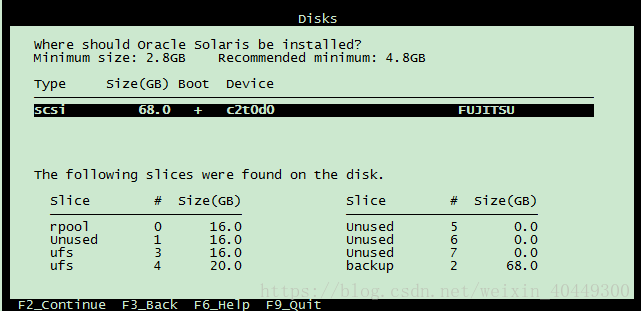
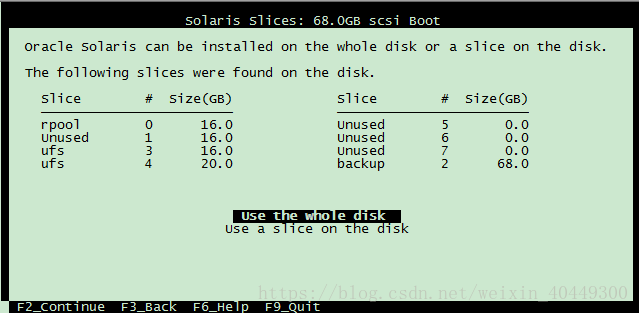
选择安装在整个磁盘
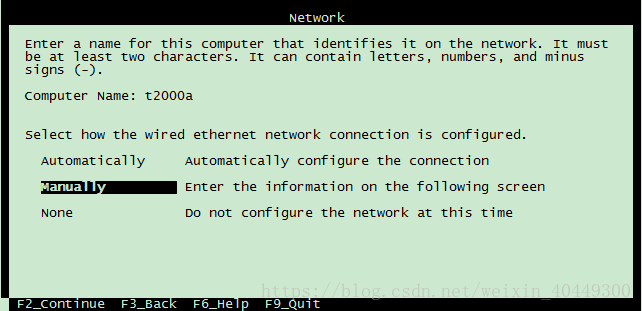
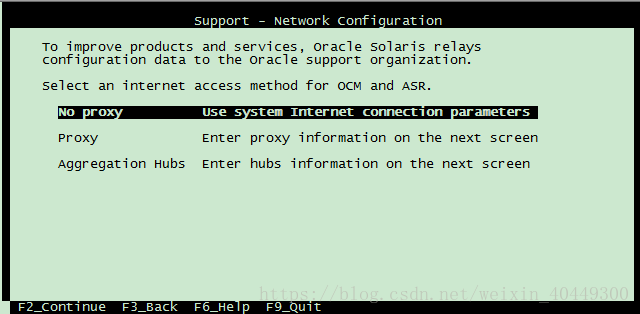
输入主机名并选择手动设置网络
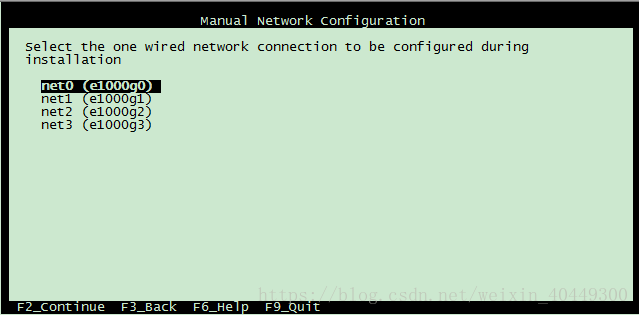
选择要设置的网口
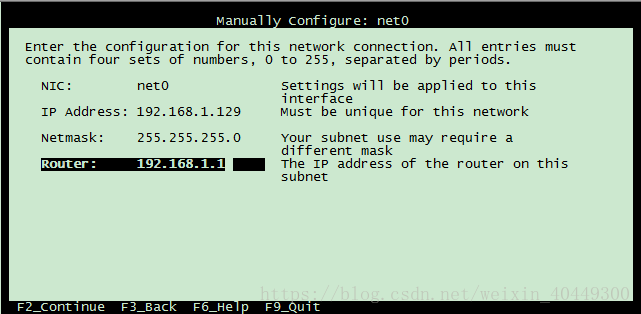
设置IP地址、子网掩码、网关
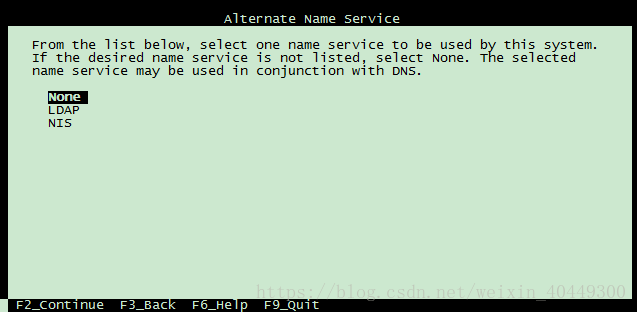
不配置DNS
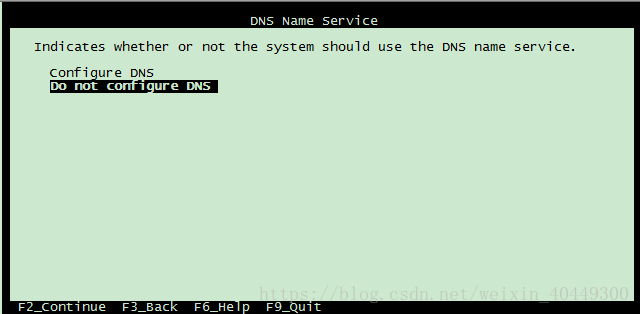
因为没配置DNS,此处选择 None
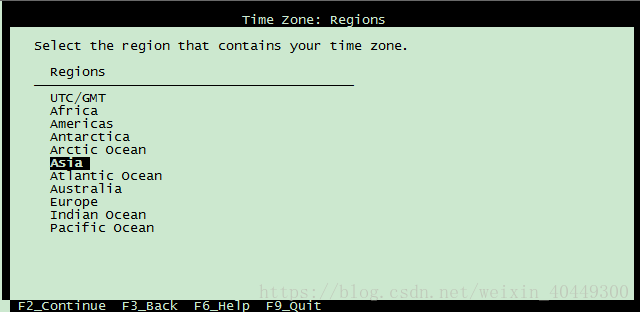
选择时区为 Asia
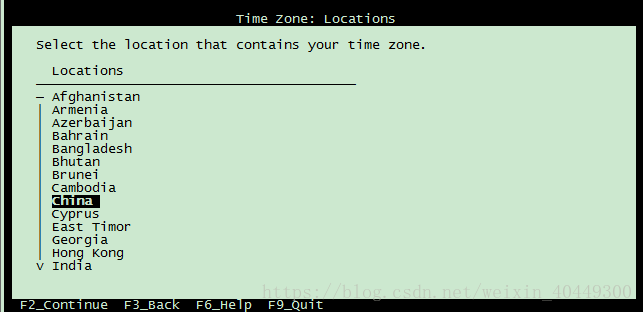
选择中国
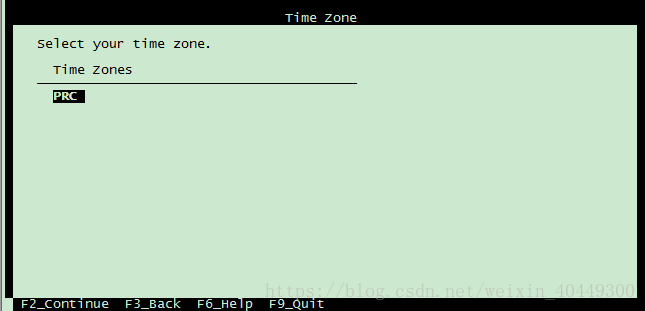
编辑时间

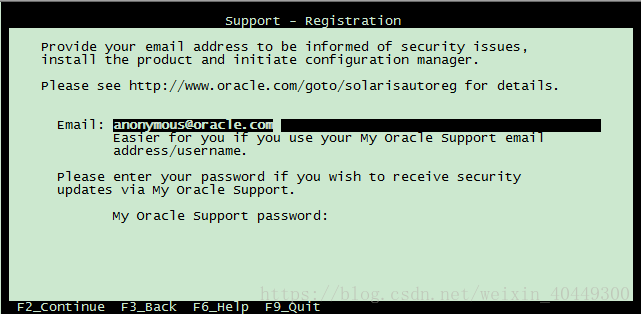
设置root密码,密码至少为6位数。创建新用户test,Solaris11不允许直接使用root用户登录。

此处默认,不接受安全升级。
设置完成,开始安装。
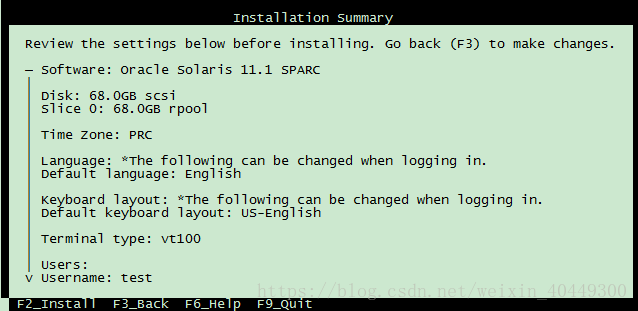

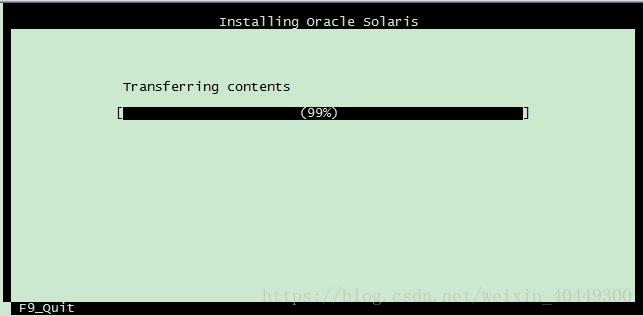
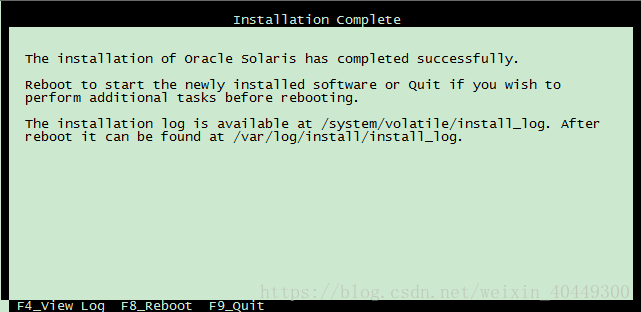
安装完成,选择重启。如按F8无反应,可按ESC+8。
7.2 Solaris11.3文本安装完成后的配置
xcsrv1 console login: test #安装时设置的用户名密码
Password: xxxx
Oracle Corporation SunOS 5.11 11.3 October 2017
nk@xcsrv1:~$ su – root #转到root权限下执行修改
Password: root123
May 18 00:27:25 xcsrv1 last message repeated 1 time
May 18 00:27:54 xcsrv1 su: 'su root' succeeded for nk on /dev/console
Oracle Corporation SunOS 5.11 11.3 October 2017
7.3 开启SSH/Telnet/Ftp服务
允许root用户直接登录需要注释/etc/user_attr文件里的root::::type=role
# more /etc/user_attr
#root::::type=role
test::::type=normal;lock_after_retries=no;profiles=System Administrator;roles=root
开启root用户的ssh服务:
# vi /etc/ssh/sshd_config
修改PermitRootLogin no为PermitRootLogin yes
重启ssh服务:
# svcadm restart ssh
执行上面命令后即可实现root用户的远程ssh登录功能。
开启root用户的telnet服务:
# vi /etc/default/login
注释掉CONSOLE=/dev/console行,启动telnet服务:
# svcadm enable telnet
即可开启root用户的远程telnet功能。
启动root用户的ftp服务:
# vi /etc/ftpd/ftpusers
注释掉root行
# vi /etc/proftpd.conf
去掉RootLogin on行的注释,启动ftp服务:
# svcadm enable ftp
即可开启root用户的远程ftp功能。
7.4 Solaris11的更新
7.4.1 FRESH安装默认的publisher为oracle官方更新的地址
root@t2000a # pkg publisher
PUBLISHER TYPE STATUS P LOCATION
solaris origin online F http://pkg.oracle.com/solaris/release/
此处选择本地文件更新系统,需要上传repo包和 最新的 SRU包至服务器。
7.4.2 创建文件夹repoSolaris11用于存放补丁包
root@t2000a # mkdir repoSolaris11 //先进入到/expor/目录再创建
root@t2000a # zfs create rpool/export/repoSolaris11
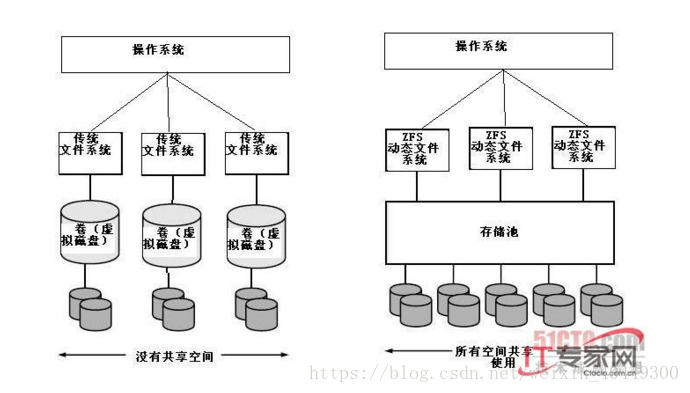
(一般solaris 11操作系统采用zfs封装系统盘,如果采用zfs的话,zfs create需要制定rpool名字以及磁盘等信息。)
root@t2000a # zfs list
NAME USED AVAIL REFER MOUNTPOINT
rpool 36.1G 30.3G 73.5K /rpool
rpool/ROOT 2.21G 30.3G 31K legacy
rpool/ROOT/solaris 2.21G 30.3G 2.11G /
rpool/ROOT/solaris/var 101M 30.3G 98.4M /var
rpool/VARSHARE 41.5K 30.3G 41.5K /var/share
rpool/dump 16.4G 30.8G 15.9G -
rpool/export 13.3G 30.3G 13.3G /export
rpool/export/home 66K 30.3G 32K /export/home
rpool/export/home/test 34K 30.3G 34K /export/home/test
rpool/export/repoSolaris11 31K 30.3G 31K /export/repoSolaris11
rpool/swap 4.13G 30.4G 4.00G -
root@t2000a # zfs set atime=off rpool/export/repoSolaris11
atime 属性控制是否在读取文件时更新文件的访问时间。关闭此属性可避免在读取文件时生成写入流量。
用ftp软件传输以下文件到/export/repoSolaris11 路径下

root@t2000a # ls /export/repoSolaris11
然后执行脚本(执行之前需要把install-repo.ksh赋予执行权限)
#chmod a+x install-repo.ksh //把文件变成可执行文件
#./install-repo.ksh -d /export/repoSolaris11 -I -v -c //执行这个文件的主要作用是解压5个压缩包并合成一个iso文件
7.4.3 上传最新的SRU包至服务器,此处上传的为p25791246_1100_SOLARIS64_1of4等四个zip压缩包
root@t2000a # zfs create rpool/export/repoSRU
root@t2000a # zfs list
NAME USED AVAIL REFER MOUNTPOINT
rpool 43.1G 23.3G 73.5K /rpool
rpool/ROOT 2.21G 23.3G 31K legacy
rpool/ROOT/solaris 2.21G 23.3G 2.11G /
rpool/ROOT/solaris/var 101M 23.3G 98.4M /var
rpool/VARSHARE 41.5K 23.3G 41.5K /var/share
rpool/dump 16.4G 23.8G 15.9G -
rpool/export 20.3G 23.3G 6.51G /export
rpool/export/home 66K 23.3G 32K /export/home
rpool/export/home/test 34K 23.3G 34K /export/home/test
rpool/export/repoSRU 31K 23.3G 31K /export/repoSRU
rpool/export/repoSolaris11 13.8G 23.3G 13.8G /export/repoSolaris11
rpool/swap 4.13G 23.4G 4.00G -
上传压缩包至/export/repoSRU
root@t2000a # ls /export/repoSRU
然后手动解压
root@t2000a #unzip xxx
7.4.4设置软件包系统信息库发布者
root@t2000a # pkg publisher
PUBLISHER TYPE STATUS P LOCATION
solaris origin online F http://pkg.oracle.com/solaris/release/
-G为删除publisher,-g为添加publisher
root@t2000a #
pkg set-publisher -G '*' -M '*' -g file:///export/repoSolaris11 solaris
(//如果本机有其他发布,就使用-G 和-M的option将其他发布remove掉)
root@t2000a # pkg publisher
PUBLISHER TYPE STATUS P LOCATION
solaris origin online F file:///export/repoSolaris11/
root@t2000a # pkg set-publisher -g file:///export/repoSRU solaris
root@t2000a # pkg publisher
PUBLISHER TYPE STATUS P LOCATION
solaris origin online F file:///export/repoSolaris11/
solaris origin online F file:///export/repoSRU/
7.4.5 更新操作系统
更新前
root@t2000a # beadm list
BE Active Mountpoint Space Policy Created
-- ------ ---------- ----- ------ -------
solaris NR / 2.65G static 2013-03-08 13:06
更新系统,设置更新后系统名为s11sru46
root@t2000a # pkg update -v --be-name s11sru46
-----
更新完后
root@t2000a # beadm list
BE Active Mountpoint Space Policy Created
-- ------ ---------- ----- ------ -------
s11sru46 R - 3.49G static 2013-03-08 15:42
solaris N / 148.0K static 2013-03-08 13:06
N代表Now,R代表重启后将进入的系统。
root@t2000a # init 6
root@t2000a # beadm list
BE Active Mountpoint Space Policy Created
-- ------ ---------- ----- ------ -------
s11sru46 NR / 3.61G static 2013-03-08 15:42
solaris - - 7.21M static 2013-03-08 13:06
然后安装gdm软件
| root@solaris11-1:#pkg install solaris-desktop 启动服务,如果执行过程中出现需要授权的情况,执行下一步获得授权 root@solaris11-1:# pkg install --accept pkg://solaris/runtime/java/jre-7@1.7.0.181.9,5.11:20180410T023021Z root@solaris11-1:#pkg install solaris-desktop root@solaris11-1:#svcadm enable gdm |
如果启动了服务 还是起不来图形化。
| 修改 /etc/gdm/custom.conf root@solaris11-1:#vi /etc/gdm/custom.conf 找到[xdmcp] 在它的下一行添加如下: Enable=true |
重启系统测试图形化是否安装成功
| root@solaris11-1:#reboot |
Solaris 11 网络配置命令小结
Solaris 11 用ipadm命令取代了ifconfig命令,且操作后的IP网络信息可永久保存。具体网络配置参看:https://www.oracle.com/technetwork/cn/articles/servers-storage-admin/s11-network-config-1632927-zhs.html
- 查看现有网卡的启动情况:
# dladm show-phys
- 配置net0:
# ipadm create-ip net0 添加、激活要使用的网卡
# ipadm create-addr -T static -a 192.168.124.12/24 net1/v4 配置IP地址
# ipadm show-addr 查看配置结果
# route -p add default 192.168.31.1 配置网关
Ok模式下:
Probe-scsi-all 显示所有SCSI通道及所挂接设备(探测所有硬件);
Devalias 显示设备别名 如cdro,disk,disk0,disk1等
相关命令参考
一、svcadm
说明:
直接管理系统服务的启动与停止的,并可以在不重启服务的情况下刷新系统状态
参数:
svcadm enable [ssh] :激活开机启动ssh服务,并启动ssh服务
svcadm disable [ssh] : 停止ssh服务,并且不开机启动
svcadm restart [ssh] :重启ssh服务
| 目标 | 命令 |
| 禁用服务 | # svcadm disable <fmri> |
| 临时禁用服务 | # svcadm -t disable <fmri> |
| 启用服务 | # svcadm enable <fmri> |
| 递归启用服务 | # svcadm -r enable <fmri> |
| 重新启动服务 | # svcadm restart <fmri> |
| 刷新服务配置 | # svcadm refresh <fmri> |
| 清除服务 | # svcadm clear <fmri> |
二、svcs
说明:
是用来查看系统服务状态的
参数:
-a :列出系统中所有的服务
-x :查看开机未启动的服务
-d [ssh] :查看服务依赖的关系
-D [ssh] :查看被依赖的服务
-l [ssh] : 查看服务的详细信息
注:上文是我实际安装solaris 11系统下来总结的文档,适用于服务器是Oracle S7-2 Sparc。如果是自己的PC机,那么得安装x86版本的安装流程参见文章:https://blog.youkuaiyun.com/gsls200808/article/details/51111731


 249
249

 被折叠的 条评论
为什么被折叠?
被折叠的 条评论
为什么被折叠?
 到【灌水乐园】发言


