


 本文介绍如何在SpringBoot项目中配置Mysql数据库访问并集成Druid连接池,包括依赖添加、配置文件设置及监控页面搭建。
SpringBoot对于Mysql的数据访问和的Druid集成 :
准备

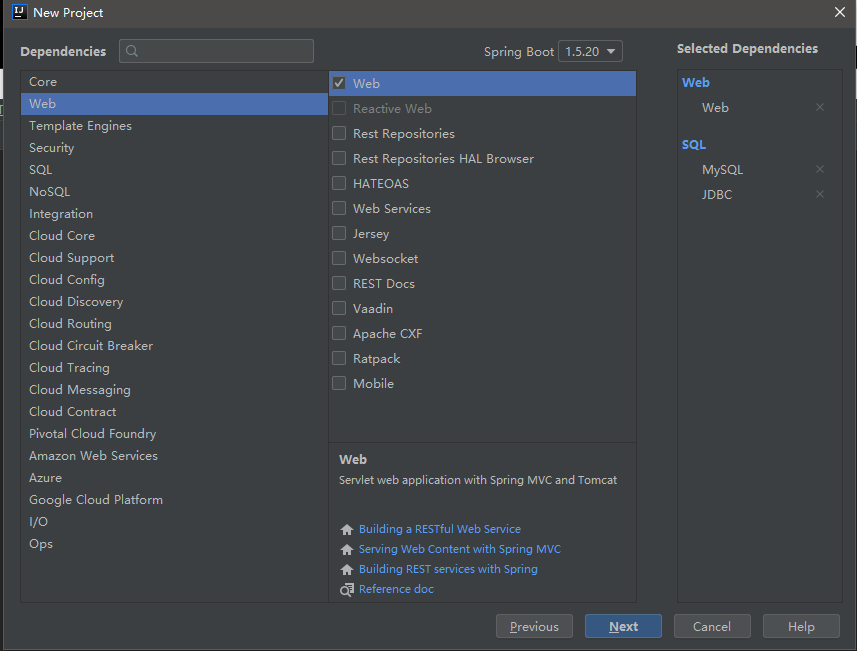
在Maven中会多依赖
1 | <dependency> |
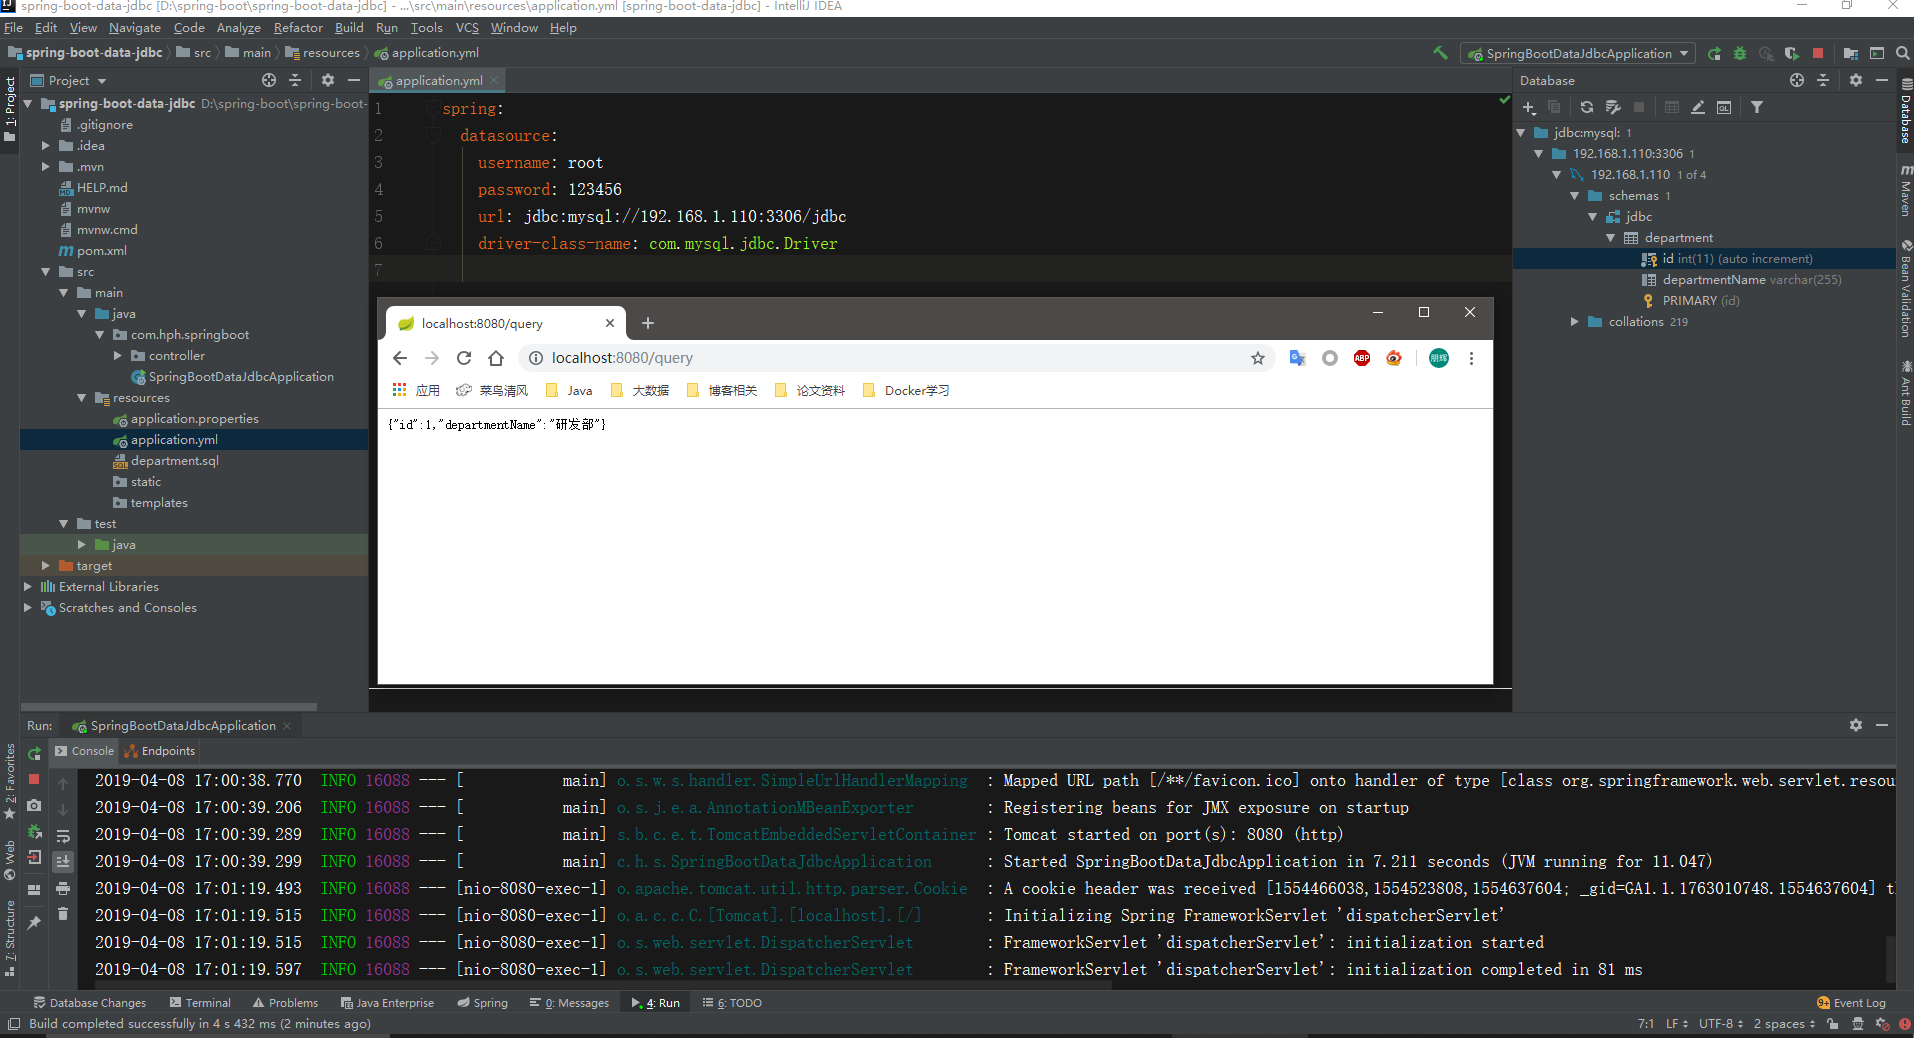
application.yml的配置文件关于JDBC的
1 | spring: |
测试
1 | package com.hph.springboot; |

默认是用org.apache.tomcat.jdbc.pool.DataSource作为数据源;数据源的相关配置都在DataSourceProperties里面;
自动配置
1 | /** |
1、参考DataSourceConfiguration,根据配置创建数据源,默认使用Tomcat连接池;可以使用spring.datasource.type指定自定义的数据源类型;
2、SpringBoot默认可以支持;
1 | org.apache.tomcat.jdbc.pool.DataSource HikariDataSource BasicDataSource、 |
3、自定义数据源类型
1 | /** |
4、DataSourceInitializer:ApplicationListener
runSchemaScripts();运行建表语句;
1 | private void runSchemaScripts() { |
runDataScripts();运行插入数据的sql语句;
1 | private void runDataScripts() { |
1 | //获取列表 |
1 | schema-*.sql、data-*.sql |
1 | SET FOREIGN_KEY_CHECKS=0; |
未启动Run方法之前


如果你想运行指定的sql文件可以在配置文件中指定
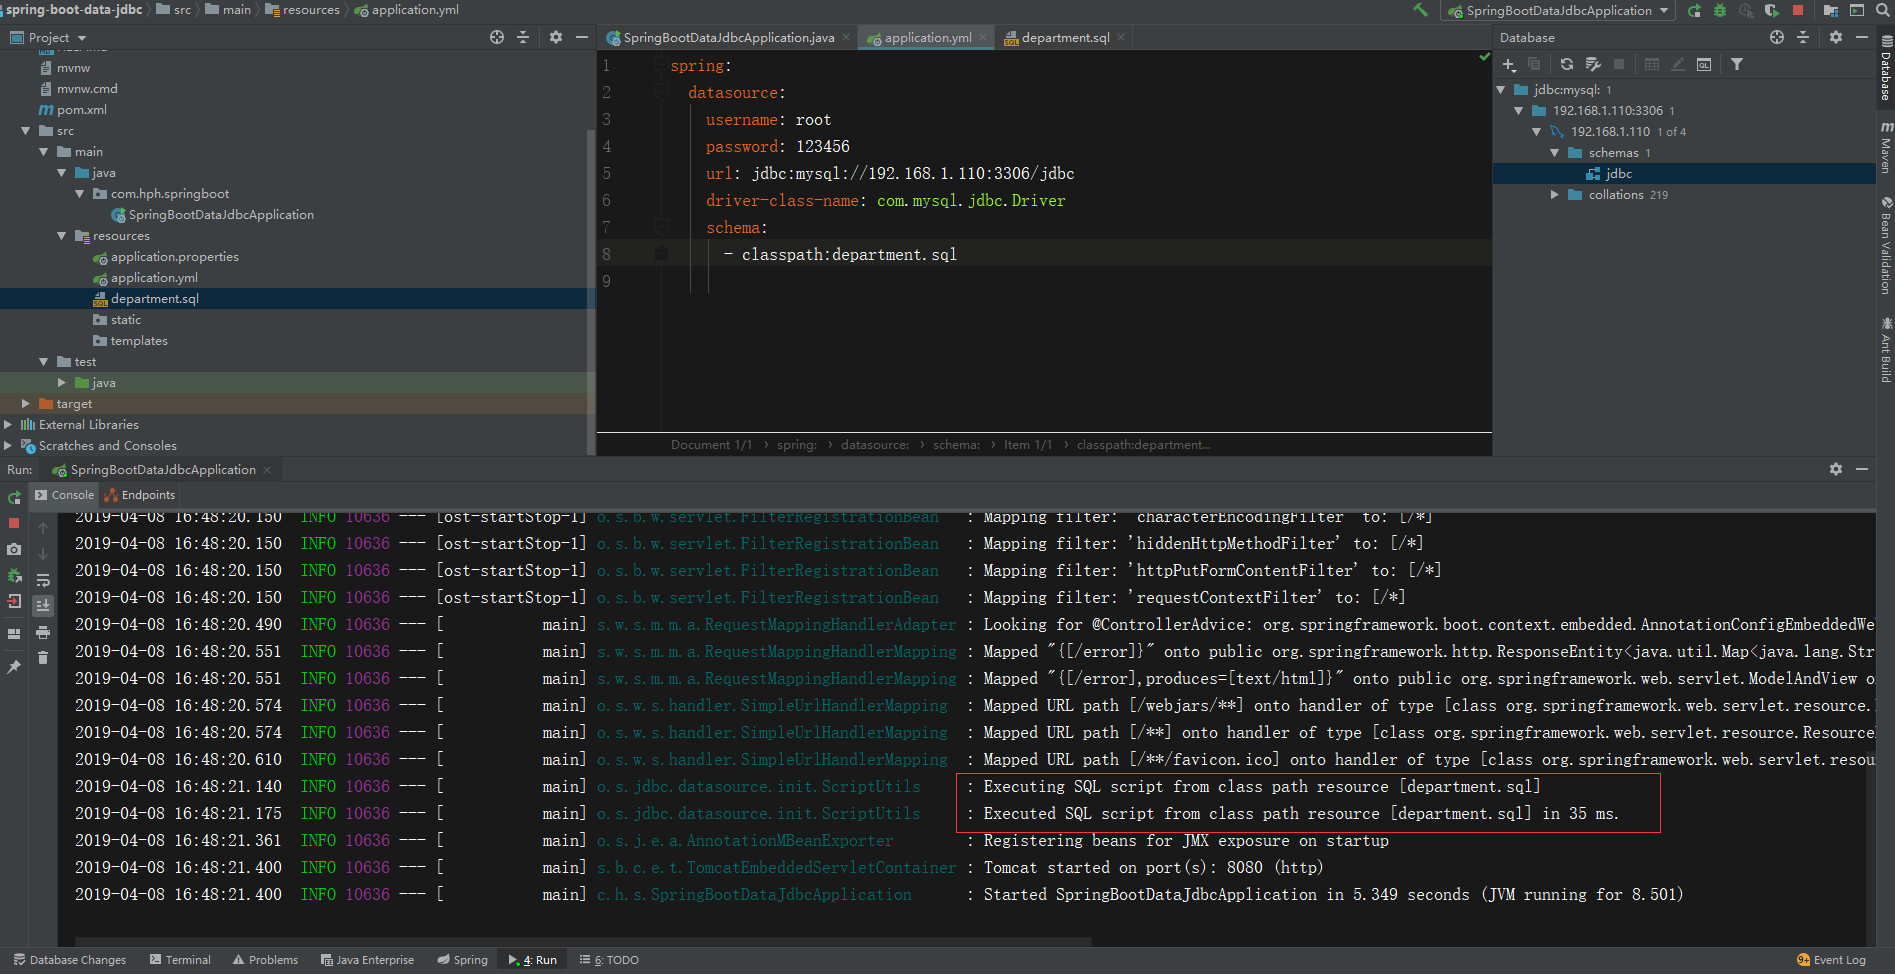
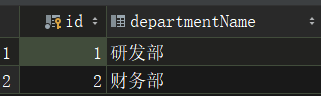
执行成功
JdbcTemplate
操作数据库:自动配置了JdbcTemplate操作数据库
1 |
|
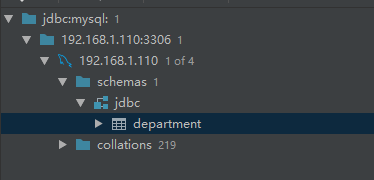
数据库准备
注意要取消application.yml中指定sql的配置,因为这样重新运行表会重新创建,消失。
整合Druid数据源
简介
DRUID是阿里巴巴开源平台上一个数据库连接池实现,它结合了C3P0、DBCP、PROXOOL等DB池的优点,同时加入了日志监控,可以很好的监控DB池连接和SQL的执行情况,可以说是针对监控而生的DB连接池(据说是目前最好的连接池)
步骤
在pom文件中加入Druid依赖
1 | <dependency> |
测试

以成功更换
Debug

发现配置未生效,我们需要编写一个类来实现它。
1 | package com.hph.springboot.config; |

监控
在DruidConfig中
1 | package com.hph.springboot.config; |
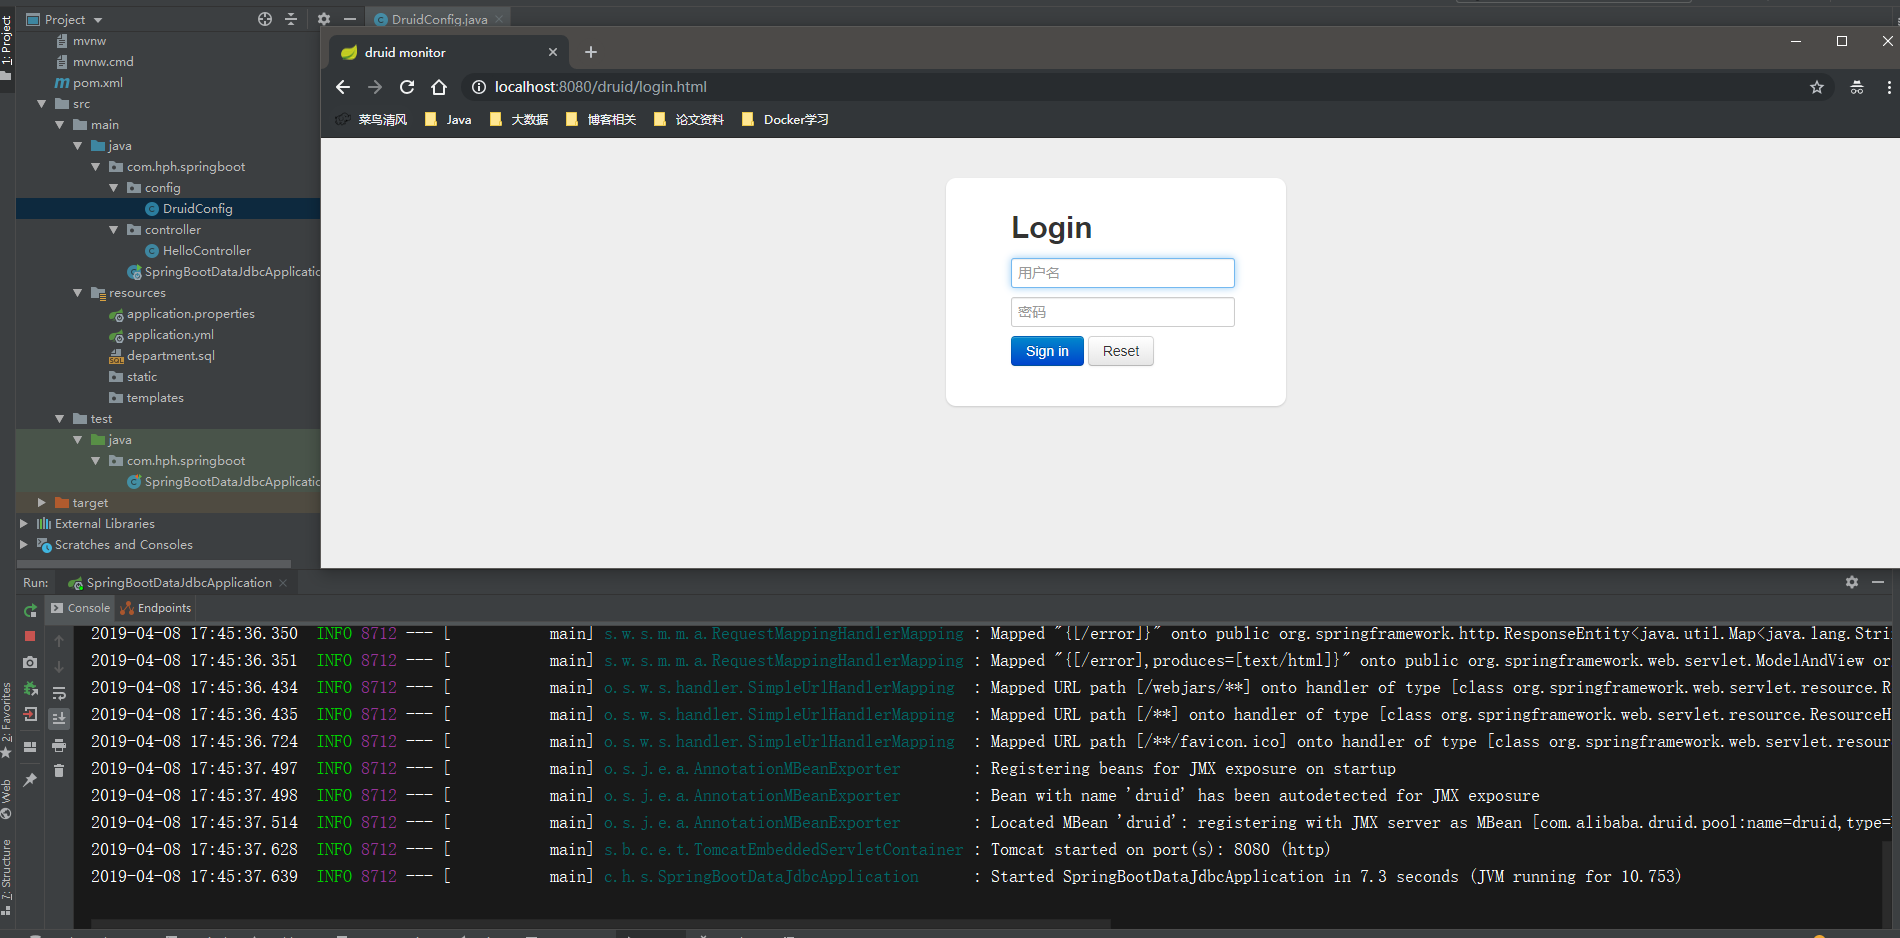


Web中也可以查看我们JDBC的执行次数。


 1550
1550

 被折叠的 条评论
为什么被折叠?
被折叠的 条评论
为什么被折叠?
 到【灌水乐园】发言


