DokerFile相关知识:
简介
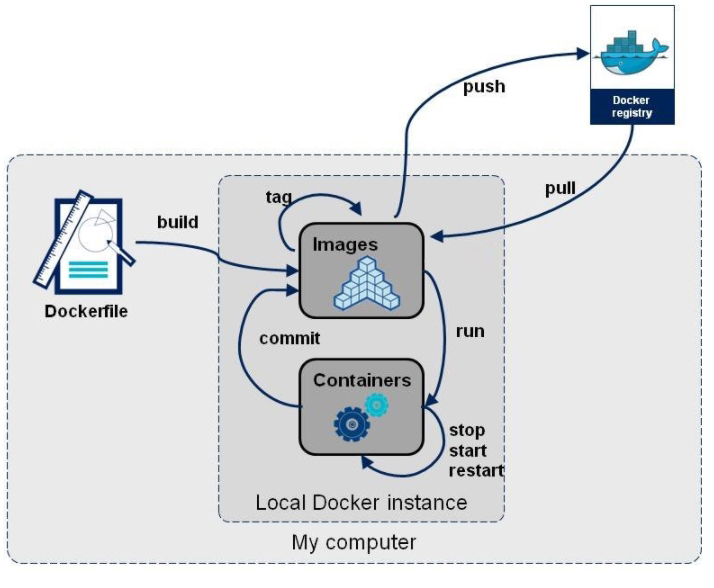
Dockerfile是用来构建Docker镜像的构建文件,是由一系列命令和参数构成的脚本。
1:每条保留字指令都必须为大写字母且后面要跟随至少一个参数
2:指令按照从上到下,顺序执行
3:#表示注释
4:每条指令都会创建一个新的镜像层,并对镜像进行提交
步骤
- 编写Dockerfile文件
- docker build
- docker run
用法
docker build命令从Dockerfile和上下文构建映像。 构建的上下文是指定位置PATH或URL处的文件集。 PATH是本地文件系统上的目录。 URL是Git存储库位置。 递归处理上下文。 因此,PATH包括任何子目录,URL包括存储库及其子模块。
构建由Docker守护程序运行,而不是由CLI运行。 构建过程所做的第一件事是将整个上下文(递归地)发送到守护进程。 在大多数情况下,最好以空目录作为上下文,并将Dockerfile保存在该目录中。 仅添加构建Dockerfile所需的文件。
注意:不要将根目录/ /用作PATH,因为它会导致构建将硬盘驱动器的全部内容传输到Docker守护程序。
要在构建上下文中使用文件,Dockerfile引用指令中指定的文件,例如COPY指令。 要提高构建的性能,请通过将.dockerignore文件添加到上下文目录来排除文件和目录。传统意义上上,Dockerfile称为Dockerfile,位于上下文的根目录中。 您可以将-f标志与docker build一起使用,以指向文件系统中任何位置的Dockerfile。
从版本18.09开始,Docker支持一个新的后端,用于执行moby/buildkit项目提供的构建。与旧的实现相比,BuildKit后端提供了许多好处。例如,BuildKit可以:
- Detect and skip executing unused build stages
- Parallelize building independent build stages
- Incrementally transfer only the changed files in your build context between builds
- Detect and skip transferring unused files in your build context
- Use external Dockerfile implementations with many new features
- Avoid side-effects with rest of the API (intermediate images and containers)
- Prioritize your build cache for automatic pruning
保留字指令
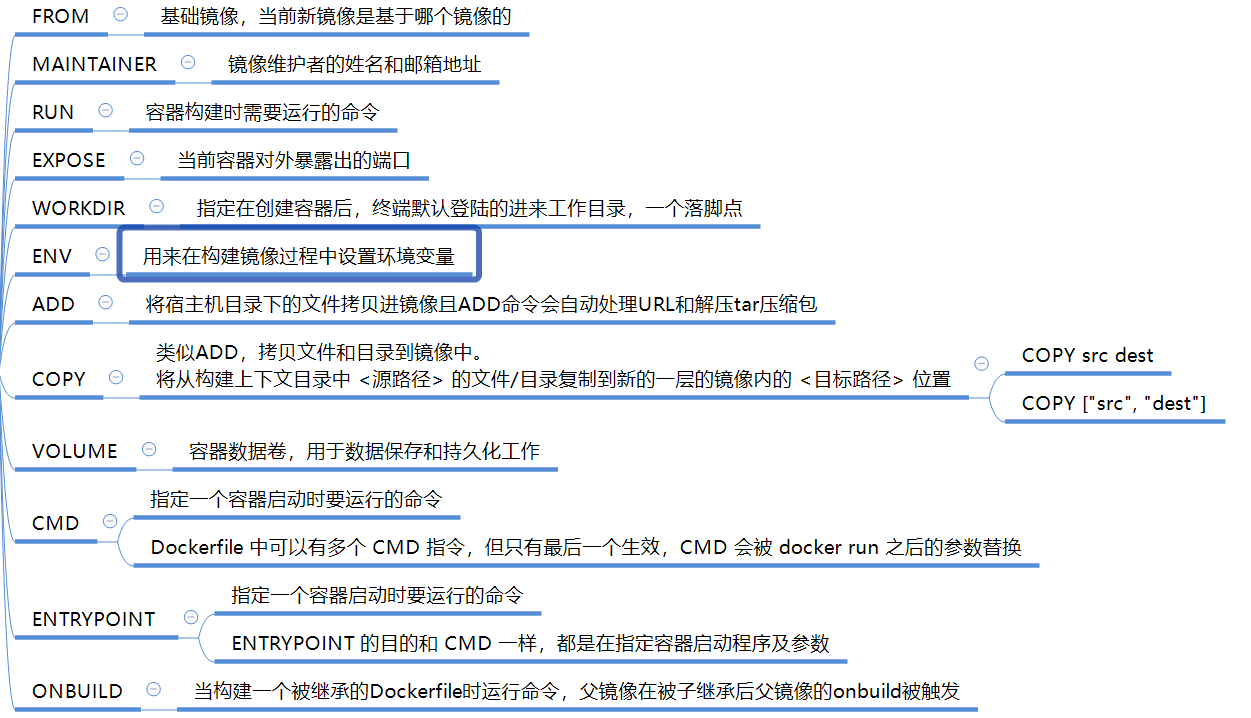
更详尽的内容参考Docker官网指南
案例1
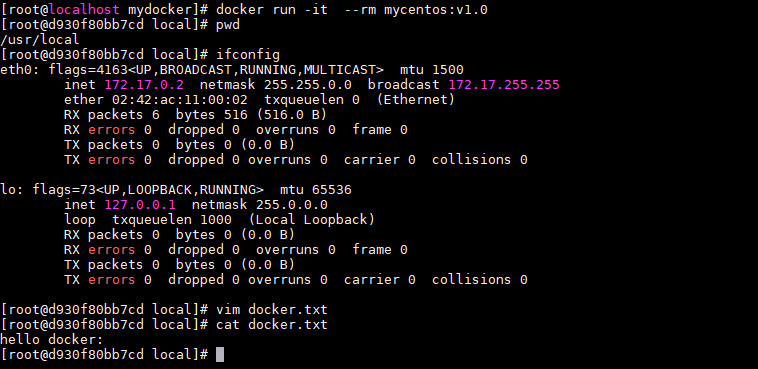
定制一个Centos镜像
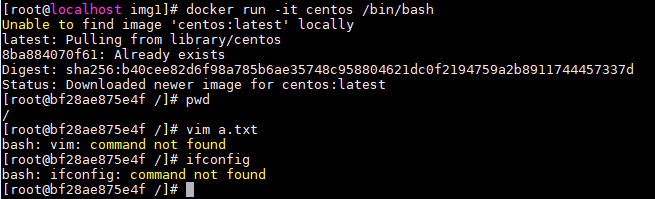
在centos镜像中默认登录的位置为 跟目录 不支持 vim 不支持 ifconfig。我们可以在自定义镜像文件中添加这些。
1
2
3
4
5
6
7
8
9
10
11
12
13
14
15
16
17
18
19
| #Description: test image
FROM centos:latest
MAINTAINER "bigdataxiaohan <467008580@qq.com>"
# 设置环境变量
ENV mypath /usr/local
# 设置工作目录
WORKDIR ${mypath}
# 运行指令
RUN yum -y install vim
# 运行指令
RUN yum -y install net-tools
EXPOSE 80
CMD echo $mypath
CMD echo "success --------OK"
#指定bash
CMD /bin/bash
|
1
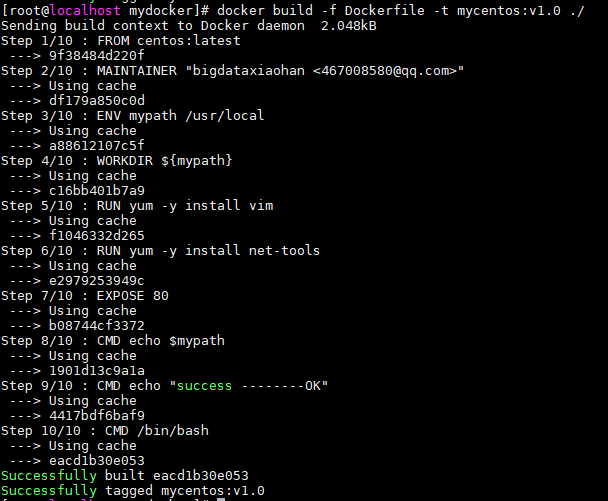
| docker build -f Dockerfile -t mycentos:v1.0 ./
|
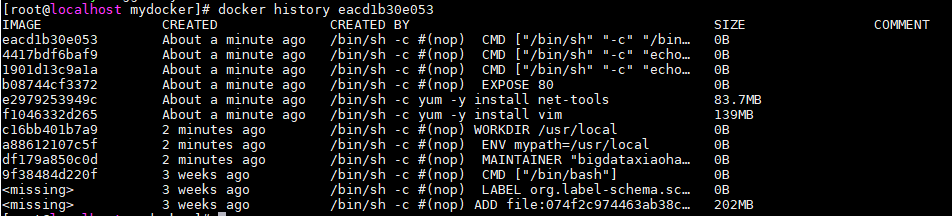
倒着加载镜像层顺着执行 。
案例2
Dockerfile 中可以有多个 CMD 指令,但只有最后一个生效,CMD 会被 docker run 之后的参数替换

1
2
3
4
5
6
7
8
|
FROM centos:latest
MAINTAINER "bigdataxiaohan <467008580@qq.com>"
RUN yum install -y curl
CMD ["curl", "-s","http://ip.cn"]
|
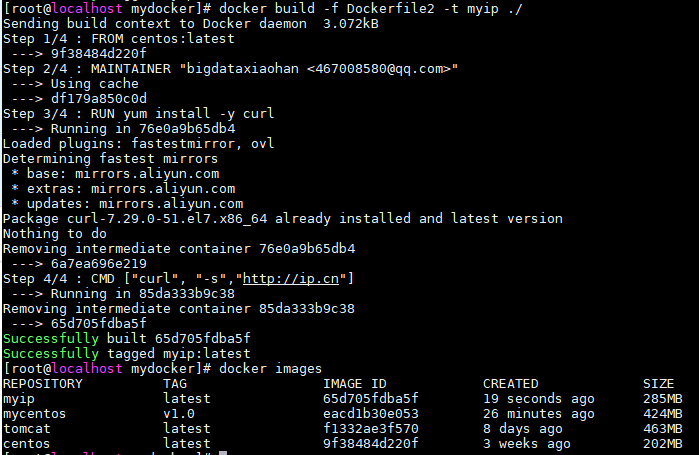
定制一个查询ip的Centos
1
2
3
4
5
6
7
|
FROM centos:latest
MAINTAINER "bigdataxiaohan <467008580@qq.com>"
RUN yum install -y curl
CMD ["curl","-s","https://ip.cn"]
|
1
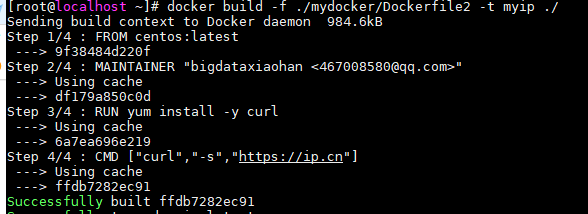
| docker build -f ./mydocker/Dockerfile2 -t myip ./
|


改进
1
2
3
4
5
6
7
|
FROM centos:latest
MAINTAINER "bigdataxiaohan <467008580@qq.com>"
RUN yum install -y curl
ENTRYPOINT ["curl","-s","https://ip.cn"]
|
1
| [root@localhost mydocker]# docker build -f Dockerfile3 -t myip2plus .
|
ENTRYPOINT 相当于在命令curl 后面添加了一个参数。
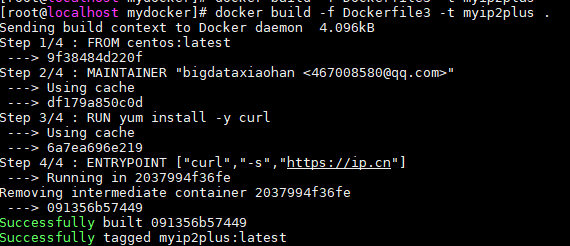

CMD 运行容器时参数会被覆盖。 ENTRYPOINT会被追加。
案例3
Docker
1
2
3
4
5
6
7
8
9
10
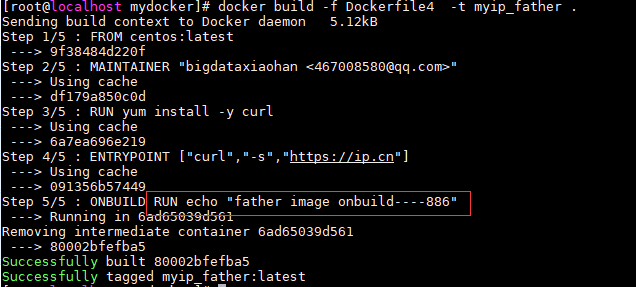
| [root@localhost mydocker]
FROM centos:latest
MAINTAINER "bigdataxiaohan <467008580@qq.com>"
RUN yum install -y curl
ENTRYPOINT ["curl","-s","https://ip.cn"]
ONBUILD RUN echo "father image onbuild----886"
|
1
2
3
4
5
6
7
8
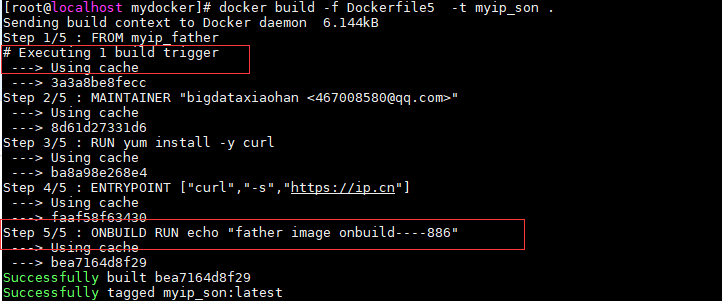
| [root@localhost mydocker]
FROM myip_father
MAINTAINER "bigdataxiaohan <467008580@qq.com>"
RUN yum install -y curl
ENTRYPOINT ["curl","-s","https://ip.cn"]
|
案例4
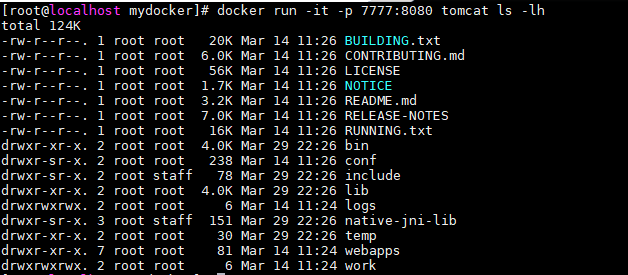
自定义Tomcat

1
2
3
4
5
6
7
8
9
10
11
12
13
14
15
16
17
18
19
20
21
22
23
24
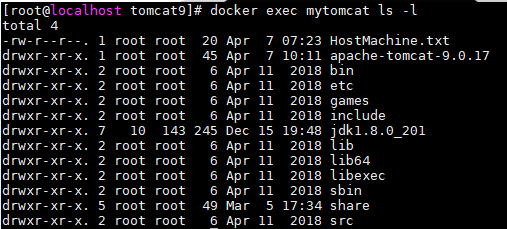
| [root@localhost tomcat9]
FROM centos
COPY HostMachine.txt /usr/local/HostMachine.txt
ADD jdk-8u201-linux-x64.tar.gz /usr/local/
ADD apache-tomcat-9.0.17.tar.gz /usr/local/
RUN yum -y install vim
ENV MYPATH /usr/local
WORKDIR $MYPATH
ENV JAVA_HOME /usr/local/jdk1.8.0_201
ENV CLASSPATH $JAVA_HOME/lib/dt.jar:$JAVA_HOME/lib/tools.jar
ENV CATALINA_HOME /usr/local/apache-tomcat-9.0.17
ENV CATALINA_BASE /usr/local/apache-tomcat-9.0.17
ENV PATH $PATH:$JAVA_HOME/bin:$CATALINA_HOME/lib:$CATALINA_HOME/bin
CMD /usr/local/apache-tomcat-9.0.17/bin/startup.sh && tail -F /usr/local/apache-tomcat-9.0.17/logs/catalina.out
|
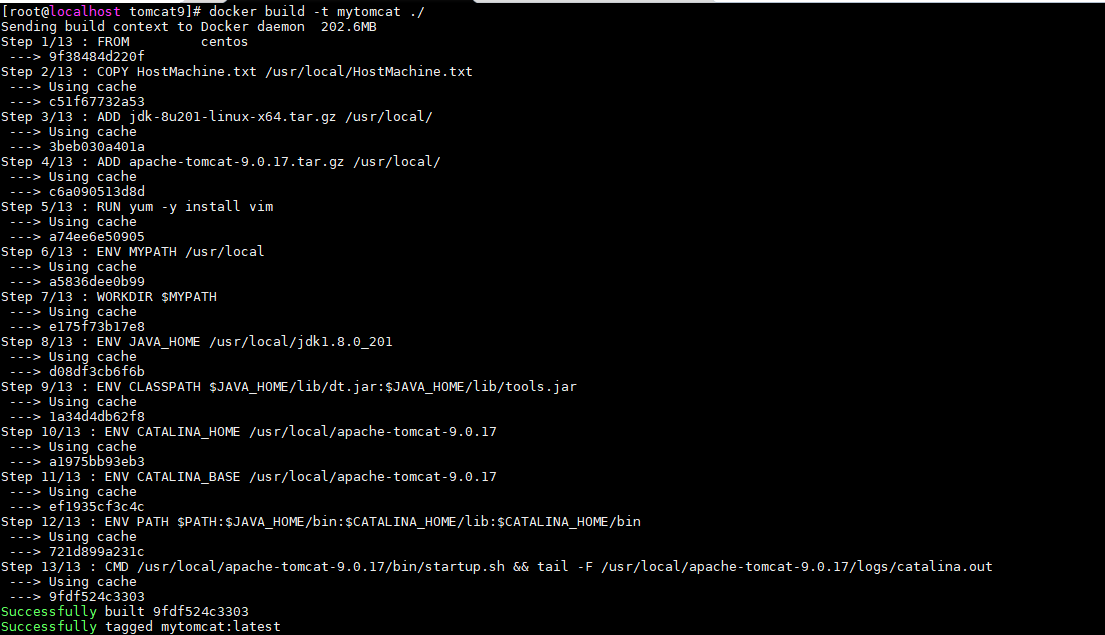
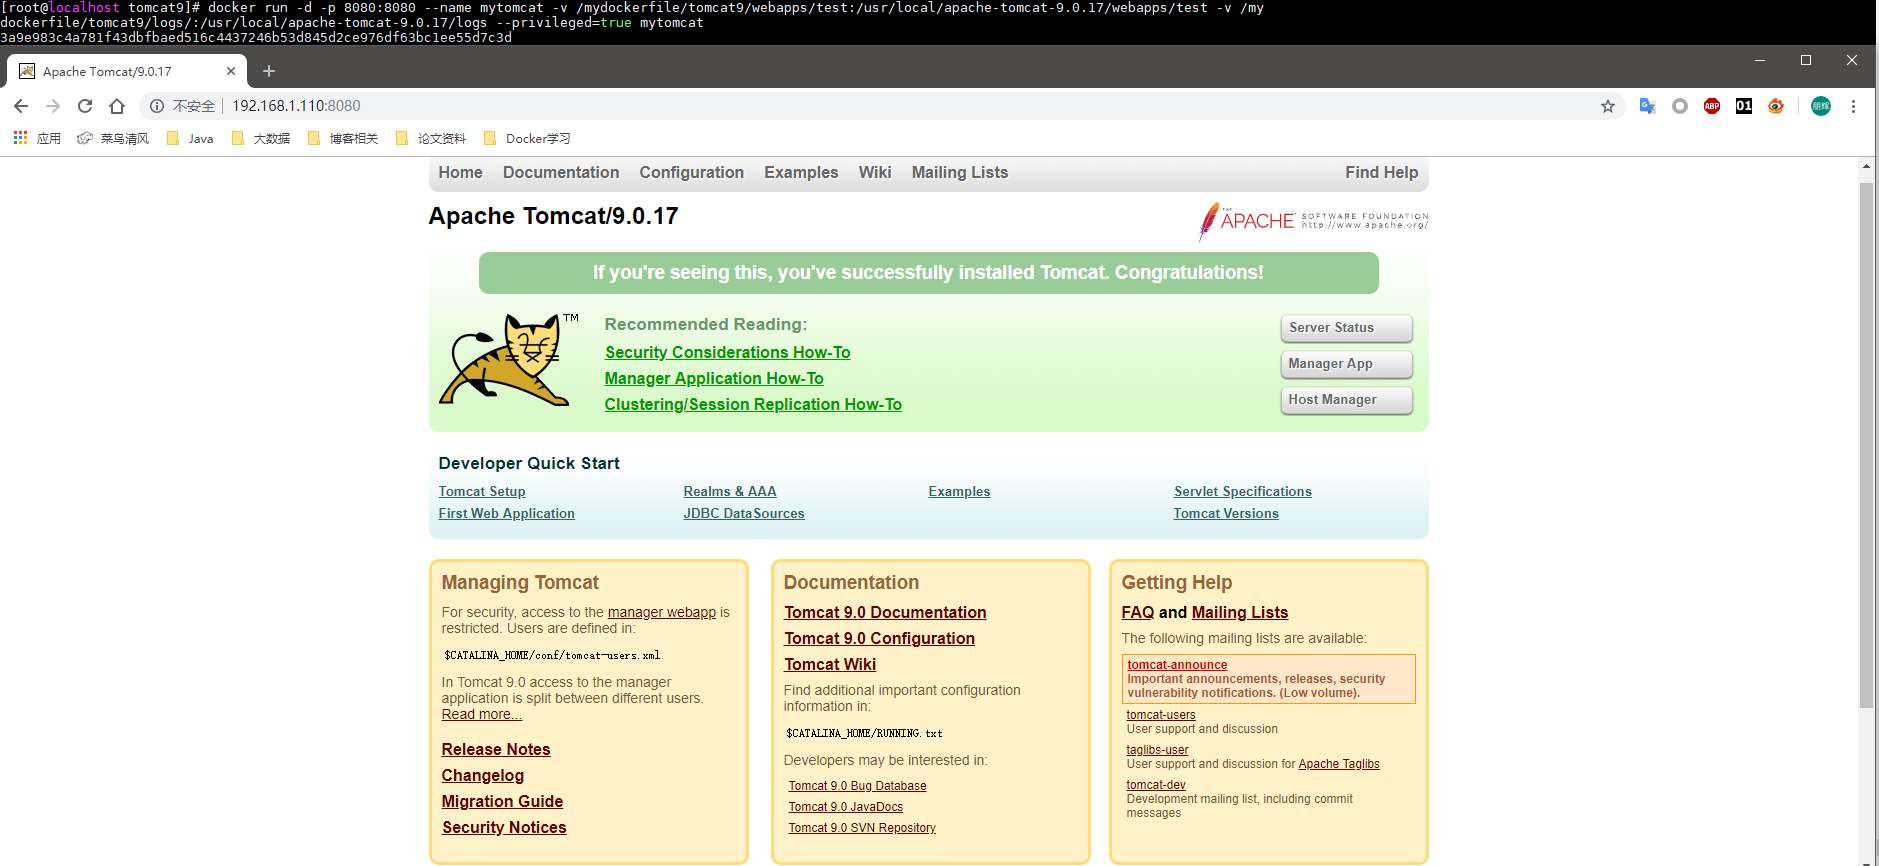
验证自定义Tomcat9完成。

部署Web
1
2
3
4
5
6
7
8
9
10
11
12
13
14
15
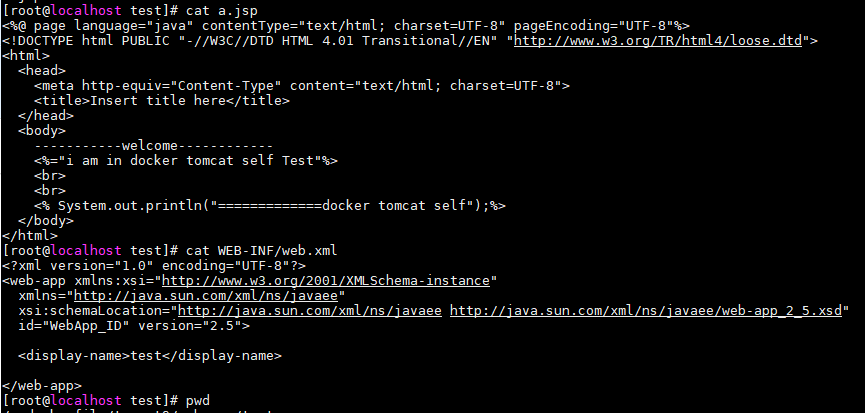
| <%@ page language="java" contentType="text/html; charset=UTF-8" pageEncoding="UTF-8"%>
<!DOCTYPE html PUBLIC "-//W3C//DTD HTML 4.01 Transitional//EN" "http://www.w3.org/TR/html4/loose.dtd">
<html>
<head>
<meta http-equiv="Content-Type" content="text/html; charset=UTF-8">
<title>Insert title here</title>
</head>
<body>
-----------welcome------------
<%="i am in docker tomcat self Test"%>
<br>
<br>
<% System.out.println("=============docker tomcat self");%>
</body>
</html>
|
1
2
3
4
5
6
7
| <?xml version="1.0" encoding="UTF-8"?>
<web-app xmlns:xsi="http://www.w3.org/2001/XMLSchema-instance"
xmlns="http://java.sun.com/xml/ns/javaee"
xsi:schemaLocation="http://java.sun.com/xml/ns/javaee http://java.sun.com/xml/ns/javaee/web-app_2_5.xsd"
id="WebApp_ID" version="2.5">
<display-name>test</display-name>
</web-app>
|
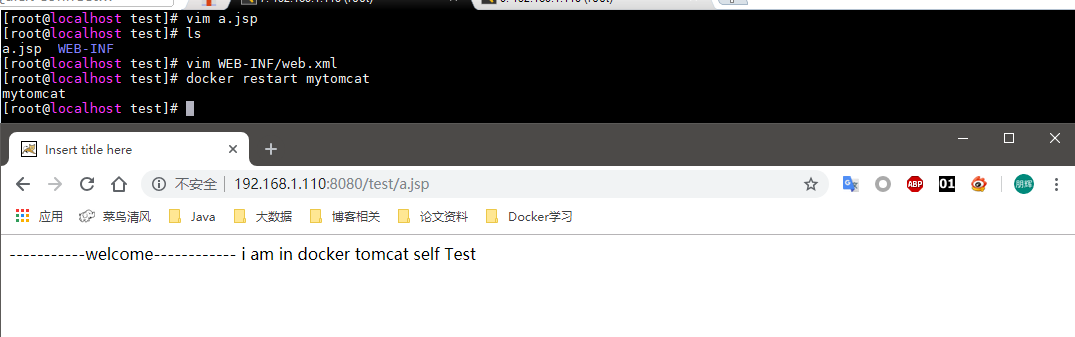
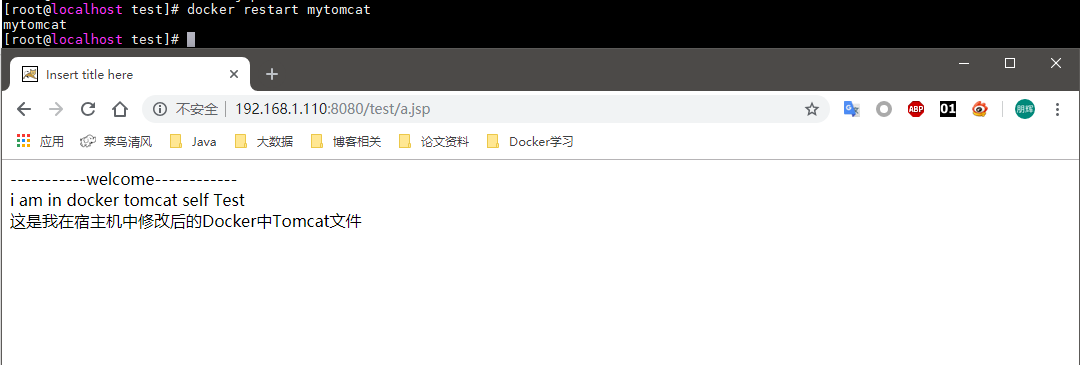
修改a.jsp
1
2
3
4
5
6
7
8
9
10
11
12
13
14
15
16
| <%@ page language="java" contentType="text/html; charset=UTF-8" pageEncoding="UTF-8"%>
<!DOCTYPE html PUBLIC "-//W3C//DTD HTML 4.01 Transitional//EN" "http://www.w3.org/TR/html4/loose.dtd">
<html>
<head>
<meta http-equiv="Content-Type" content="text/html; charset=UTF-8">
<title>Insert title here</title>
</head>
<body>
-----------welcome------------<br/>
<%="i am in docker tomcat self Test"%><br/>
<%="这是我在宿主机中修改后的Docker中Tomcat文件"%>
<br>
<br>
<% System.out.println("=============docker tomcat self");%>
</body>
</html>
|
可以在/mydockerfile/tomcat9/logs/目录中查看logs文件。
图解


 993
993

 被折叠的 条评论
为什么被折叠?
被折叠的 条评论
为什么被折叠?
 到【灌水乐园】发言


