


 本文详述了从环境配置到源码编译,再到测试的全过程,包括JDK、IDEA、Gradle的安装,Spring源码的修改与编译,以及依赖下载、预编译、模块移除等步骤。最后通过创建新项目进行测试,验证Spring框架的功能。
1、准备工作
1、安装jdk1.8.0_241、idea2019.3.3、gradle4.10.3、spring-framework-5.1.x
2、以上环境我的百度云:
3、IDEA的版本我认为不是2019.3.3也没关系,jdk1.8的安装这里不赘述
2、设置gradle环境
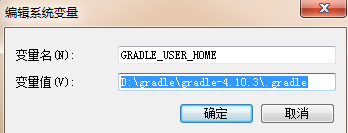
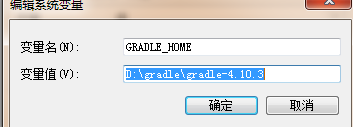
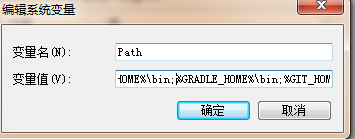
1、确保gralde环境变量如下2张图,最后一张图是将这两个环境变量添加进系统变量
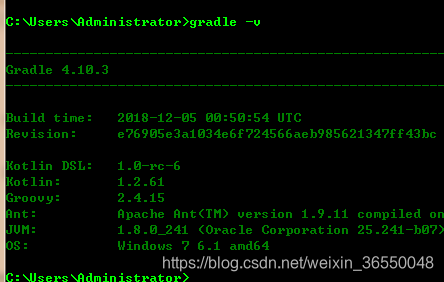
2、命令提示行 输入cmd,再输入gradle -v,如下图所示就证明安装好了
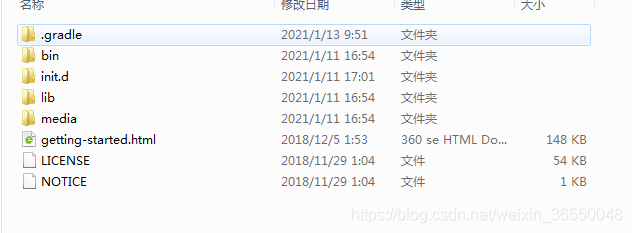
3、进入到gradle的文件目录,比如我的是 D:\gradle\gradle-4.10.3
在这个目录下创建 .gradle文件夹
进入init.d文件夹,创建一个init.gradle文件
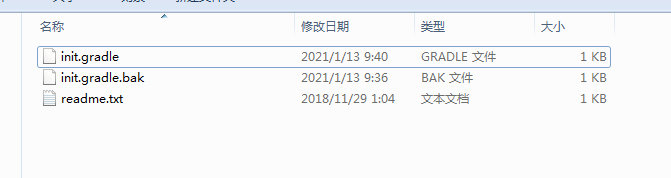
以下是init.gradle里面你需要粘贴进去的内容
   allprojects{
    repositories {
        def REPOSITORY_URL = 'https://maven.aliyun.com/nexus/content/groups/public/'
        all { ArtifactRepository repo ->
            def url = repo.url.toString()
            if ((repo instanceof MavenArtifactRepository) && (url.startsWith('https://repo1.maven.org/maven2') || url.startsWith('https://jcenter.bintray.com'))) {
                project.logger.lifecycle 'Repository ${repo.url} replaced by $REPOSITORY_URL .'
                remove repo
            }
        }
        maven {
            url REPOSITORY_URL
        }
    }
}
3、设置spring-framework-5.1.x
1、打开源码路径:E:\spring_sourcecode\spring-framework-5.1.x找到build.gradle打开
复制粘贴以下内容A
maven { url 'https://maven.aliyun.com/nexus/content/groups/public/'}
maven { url "https://repo.springsource.org/plugins-release" }
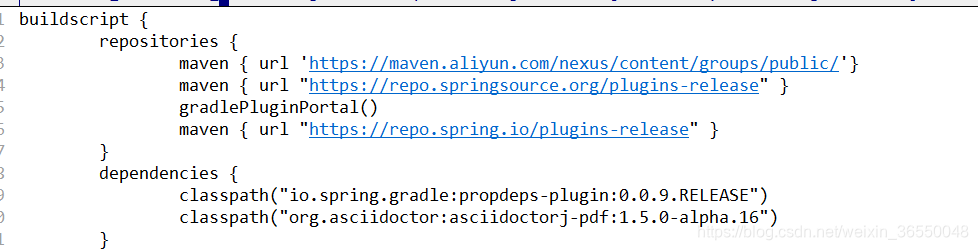
2、CTRL+F 搜索repositories,参考上图复制粘贴内容A,共有两个这样的地方。
3、不要关闭这个文件,命令提示行输入gradle -v 如下图
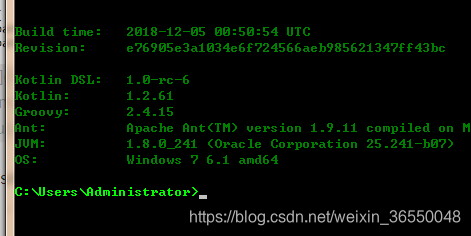
再在build.gradle里面CTRL+F 输入groovyVersion和kotlinVersion替换掉原来的版本,这里的操作意思就是需要跟你安装的gradle版本号保持一致。
4、进入到spring-framework-5.1.x\gradle\wrapper目录,将gradle-4.10.3-bin.zip拷贝到目录下,打开这个目录下的gradle-wrapper.properties,将以下内容B全部替换原来的内容即可。
distributionBase=GRADLE_USER_HOME
distributionPath=wrapper/dists
distributionUrl=gradle-4.10.3-bin.zip
zipStoreBase=GRADLE_USER_HOME
zipStorePath=wrapper/dists
5、修改spring-framework-5.1.x下的gradle.properties文件,将以下内容C全部替换原来的内容即可
version=5.1.21.BUILD-SNAPSHOT
org.gradle.daemon=true
org.gradle.jvmargs=-Xmx2048m -XX:MaxPermSize=512m -XX:+HeapDumpOnOutOfMemoryError -Dfile.encoding=UTF-8
org.gradle.parallel=true
org.gradle.configureondemand=true
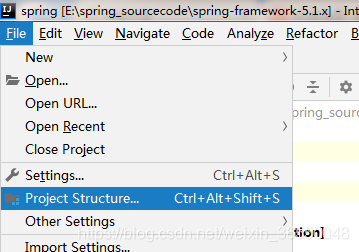
4、导入IDEA并配置IDEA环境
1、File -> New -> Project from Existing Sources -> 找到选择spring-framework源码 -> 选择build.gradle
2、当你点击确定后IDEA就会自动更新包,立马点击停止键,这个键聪明的你应该能找到。
3、先配置IDEA环境再重新更新这个才是正常的步骤,idea配置gradle: File->setting->gradle
4、完全参考下图的步骤即可,类似于来找茬的游戏。

5、设置kotlin,跟上面的一样完全参考。
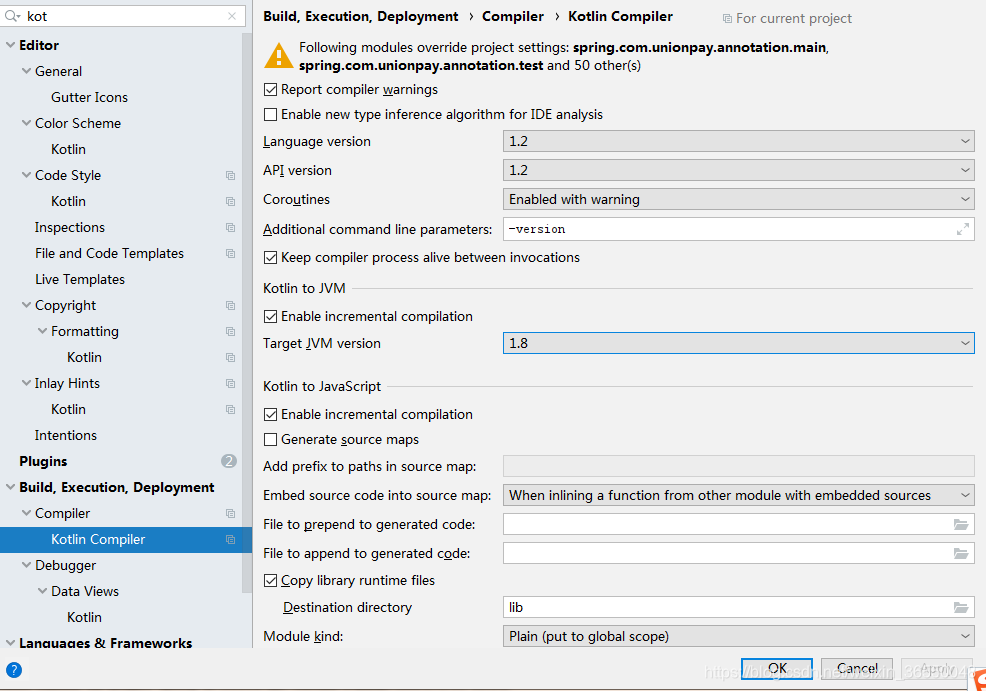
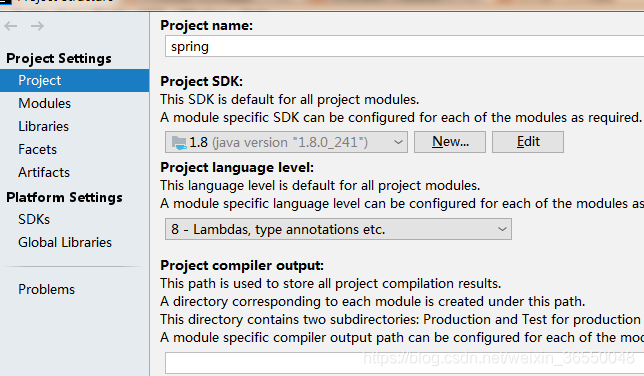
6、FILE—ProjectStructure设置JDK版本为1.8,继续完全参考。
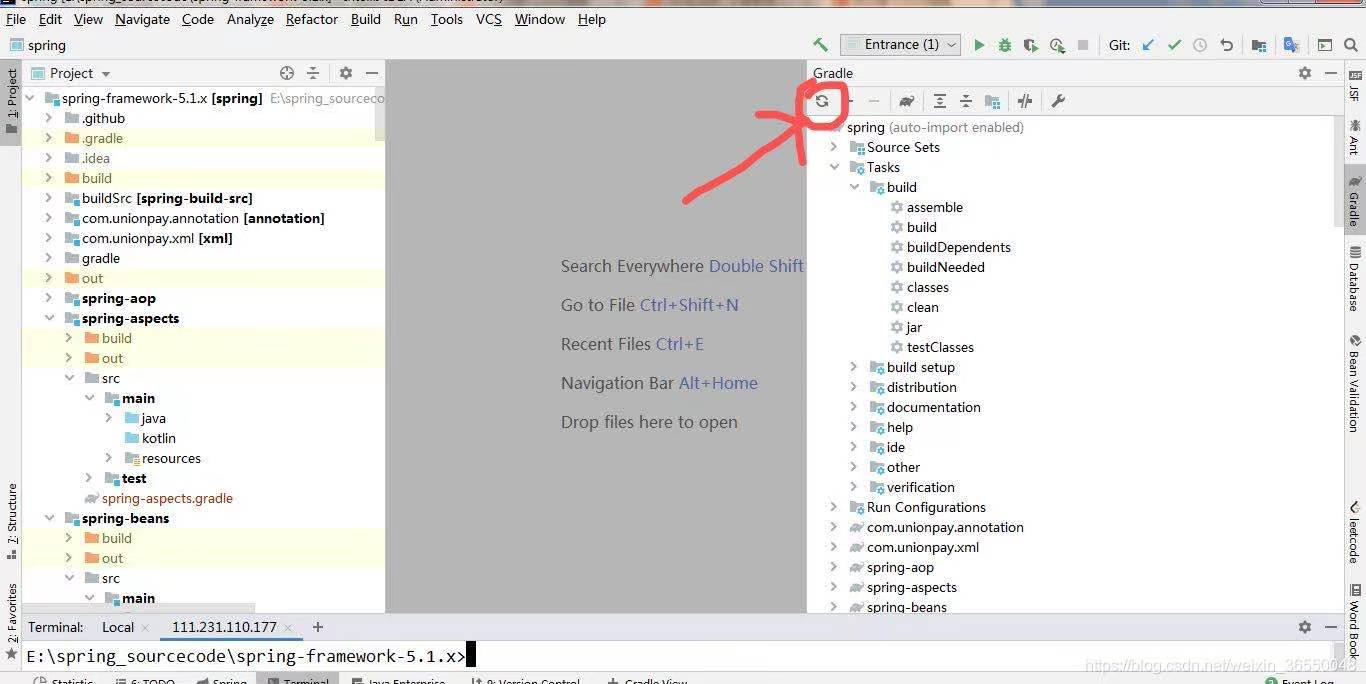
7、至此可以下载依赖了,点击下图指示的按钮即可
8、下载依赖,等待时间取决你的网速。下载完成标志:

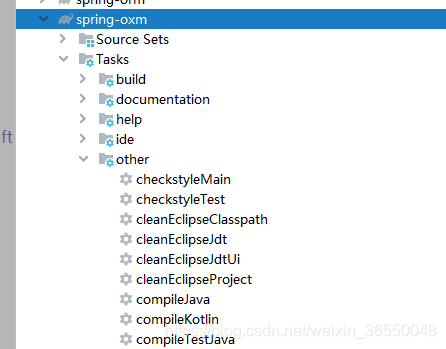
9、依赖下载完毕就可以进行预编译,点击compileTestJava,预编译会显示成功
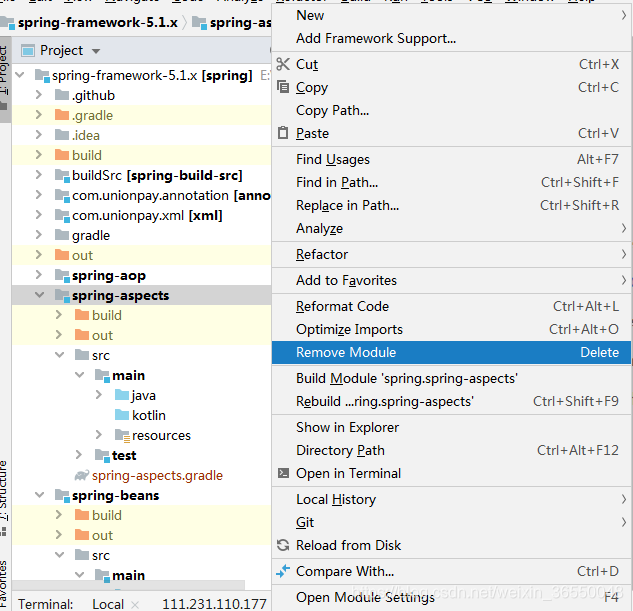
10、预编译结束后去除spring-aspects模块,如下图remove module即可。
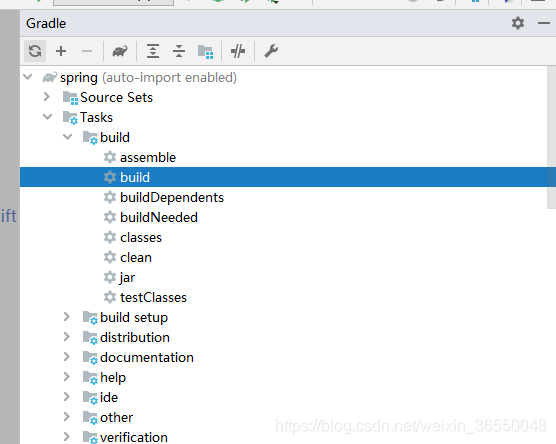
11、去除以后开始正式编译,点击build即可正式开始编译项目
12、这里需要等待很长时间,编译完成以后如下图出现successful就是编译成功。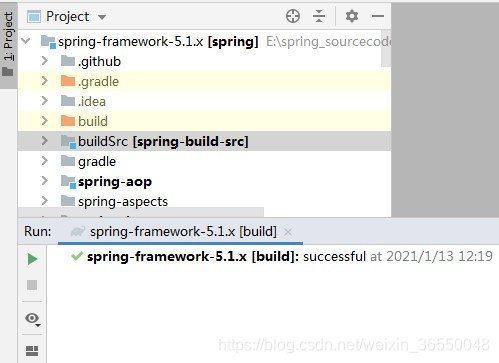
5、编译过程中遇到的问题和心态调整
1、一般是网络问题,多次需要多编译几次就才能成功。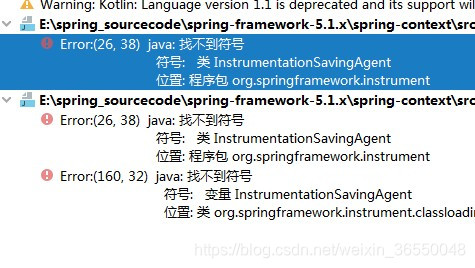
2、心态调整,断断续续一天半才完成编译,编译不成功大部分问题是环境,只要按照我说的版本做,相信自己一定可以完成编译。
6、编译完成后的测试
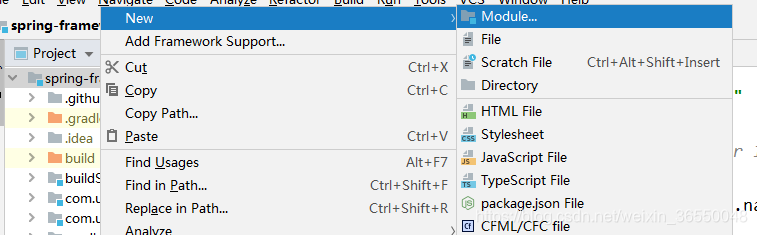
1、新建一个gradle的module,module名字随便起,如下图

2、新建好以后,展开module找到build.gradle,将 compile project(":spring-context")添加进去即可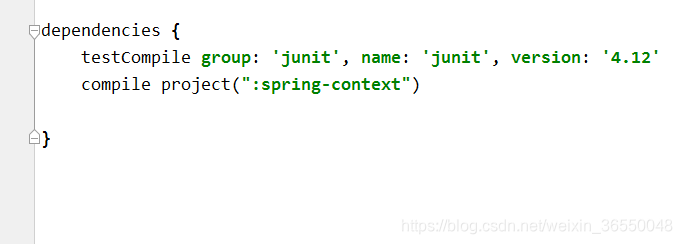
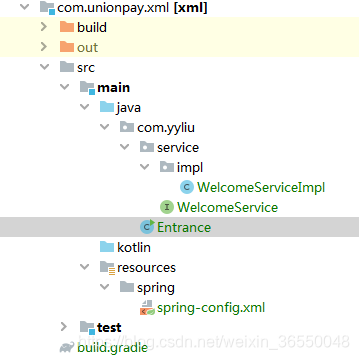
3、下面是module的结构
4、建立一个Entrance入口函数,下面是代码
package com.yyliu;

import com.yyliu.service.WelcomeService;
import org.springframework.context.ApplicationContext;
import org.springframework.context.support.FileSystemXmlApplicationContext;

/**
 * @author 刘阳洋
 * @date 2021/1/14 15:54
 */
public class Entrance {
	public static void main(String[] args) {
		System.out.println("Hello World");
		//1、获取Springbean的容器实例,先copyPath
		String xmlPath="E:\\spring_sourcecode\\spring-framework-5.1.x\\com.unionpay.xml\\src\\main\\resources\\spring\\spring-config.xml";
		//2、用一个类去解析spring xml文件同时生成spring容器并返回,解析类
		ApplicationContext applicationContext=new FileSystemXmlApplicationContext(xmlPath);
		//3、拿到spring容器以后就可以获取bean实例了
		WelcomeService welcomeService=(WelcomeService) applicationContext.getBean("welcomeService");
		welcomeService.satHello("我的名字叫spring");


	}
}
5、建立一个service的文件夹,创建接口WelcomeService
package com.yyliu.service;

/**
 * @author 刘阳洋
 * @date 2021/1/14 15:55
 */
public interface WelcomeService {
	String satHello(String name);

}
6、创建接口的实现类WelcomeServiceImpl
package com.yyliu.service.impl;

import com.yyliu.service.WelcomeService;

/**
 * @author 刘阳洋
 * @date 2021/1/14 15:56
 */
//告诉spring去管理bean
public class WelcomeServiceImpl implements WelcomeService {
	@Override
	public String satHello(String name) {
		System.out.println("欢迎您:"+name);
		return "success";
	}
}
7、在resource下面创建一个spring目录,在目录下创建一个spring-config.xml
<?xml version="1.0" encoding="UTF-8"?>
<beans xmlns="http://www.springframework.org/schema/beans" xmlns:xsi="http://www.w3.org/2001/XMLSchema-instance" xmlns:aop="http://www.springframework.org/schema/aop" xmlns:tx="http://www.springframework.org/schema/tx" xmlns:context="http://www.springframework.org/schema/context"
	   xsi:schemaLocation="
          http://www.springframework.org/schema/beans http://www.springframework.org/schema/beans/spring-beans.xsd
          http://www.springframework.org/schema/aop http://www.springframework.org/schema/aop/spring-aop.xsd
          http://www.springframework.org/schema/tx http://www.springframework.org/schema/tx/spring-tx.xsd
          http://www.springframework.org/schema/context http://www.springframework.org/schema/context/spring-context.xsd">
     <!--完成了bean的定义-->
	<bean id="welcomeService" class="com.yyliu.service.impl.WelcomeServiceImpl"/>


</beans>
8、右键Entrance,点击run.

9、看到如下信息即测试成功,有兴趣的小伙伴还可以试一试使用注解进行测试,我测试了两种,另外一种就不贴了,一样的打印结果。

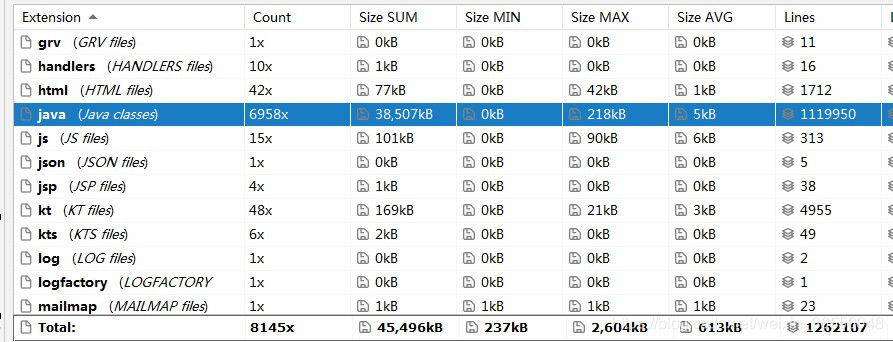
10、至此spring的源码编译和测试完全成功,下图是spring 代码行数,一百多万行。
如果觉得这边文章对你有用,请转发一下帮助那些还没编译成功的小伙伴们,
,加油小伙伴们,我们一起探索spring的星辰大海。


 被折叠的 条评论
为什么被折叠?
被折叠的 条评论
为什么被折叠?
 到【灌水乐园】发言


