 嵌入式Linux驱动实验


 本文介绍了基于嵌入式Linux的外设驱动程序设计实验,包括驱动程序代码实现与测试流程。通过阅读教程并完成实验任务,实现了字符设备驱动的编写、编译、加载与卸载,并解决了权限问题。
2017-2018-1 20155328 实验四 外设驱动程序设计
任务一
学习全课资源中的“hqyj.嵌入式Linux应用程序开发标准教程.pdf”中的第十一章。
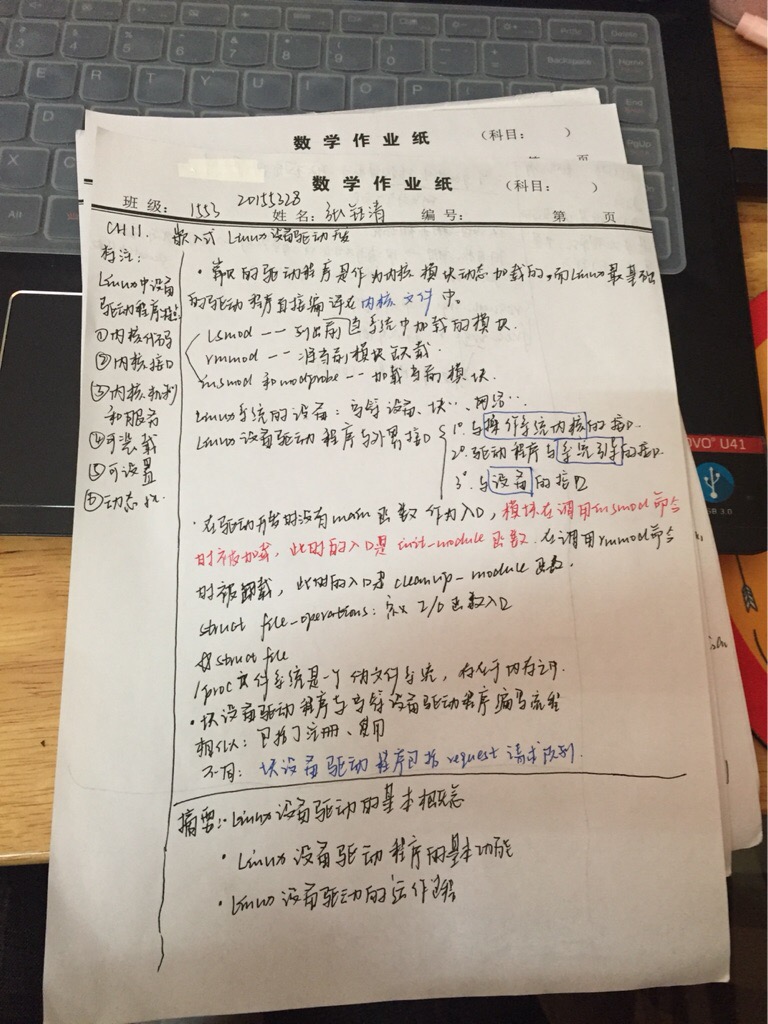
任务二
在Ubuntu中完成全课资源中的“hqyj.嵌入式Linux应用程序开发标准教程.pdf”中的第十一章中test试验,提交编译、加载与卸载模块以及测试运行的截图。
驱动程序的代码如下:
#include <linux/module.h>
#include <linux/init.h>
#include <linux/fs.h>
#include <linux/kernel.h>
#include <linux/slab.h>
#include <linux/types.h>
#include <linux/errno.h>
#include <linux/cdev.h>
#include <asm/uaccess.h>
#define     TEST_DEVICE_NAME    "test_dev"
#define     BUFF_SZ         1024

/*全局变量*/
static struct cdev test_dev;
unsigned int major =0;
static char *data = NULL;

/*函数声明*/
static ssize_t test_read(struct file *file, char *buf, size_t count, loff_t *f_pos);
static ssize_t test_write(struct file *file,const char *buffer, size_t count,loff_t *f_pos);
static int test_open(struct inode *inode, struct file *file);
static int test_release(struct inode *inode,struct file *file);

/*读函数*/
static ssize_t test_read(struct file *file, char *buf, size_t count, loff_t *f_pos)
{
    int len;
    if (count < 0 )
    {
        return -EINVAL;
    }
    len = strlen(data);
    count = (len > count)?count:len;
    if (copy_to_user(buf, data, count))
    {
        return -EFAULT;
    }
    return count;
}

/*写函数*/
static ssize_t test_write(struct file *file, const char *buffer, size_t count, loff_t *f_pos)
{
    if(count < 0)
    {
        return -EINVAL;
    }
    memset(data, 0, BUFF_SZ);
    count = (BUFF_SZ > count)?count:BUFF_SZ;
    if (copy_from_user(data, buffer, count))
    {
        return -EFAULT;
    }
    return count;
}

/*打开函数*/
static int test_open(struct inode *inode, struct file *file)
{
    printk("This is open operation\n");
    data = (char*)kmalloc(sizeof(char) * BUFF_SZ, GFP_KERNEL);
    if (!data)
    {
        return -ENOMEM;
    }
    memset(data, 0, BUFF_SZ);
    return 0;
}

/*关闭函数*/
static int test_release(struct inode *inode,struct file *file)
{
    printk("This is release operation\n");
    if (data)
    {
        kfree(data);
        data = NULL;
    }
    return 0;
}

static void test_setup_cdev(struct cdev *dev, int minor,
        struct file_operations *fops)
{
    int err, devno = MKDEV(major, minor);

    cdev_init(dev, fops);
    dev->owner = THIS_MODULE;
    dev->ops = fops;
    err = cdev_add (dev, devno, 1);
    if (err)
    {
        printk (KERN_NOTICE "Error %d adding test %d", err, minor);
    }
}

/* tests设备的file_operations结构 */
static struct file_operations test_fops =
{
    .owner   = THIS_MODULE,
    .read    = test_read,
    .write   = test_write,
    .open    = test_open,
    .release = test_release,
};

/*模块注册入口*/
int init_module(void)
{
    int result;
    dev_t dev = MKDEV(major, 0);

    if (major)
    {
        result = register_chrdev_region(dev, 1, TEST_DEVICE_NAME);
    }
    else
    {
        result = alloc_chrdev_region(&dev, 0, 1, TEST_DEVICE_NAME);
        major = MAJOR(dev);
    }

    if (result < 0)
    {
        printk(KERN_WARNING "Test device: unable to get major %d\n", major);
        return result;
    }

    test_setup_cdev(&test_dev, 0, &test_fops);
    printk("The major of the test device is %d\n", major);
    return 0;
}

/*卸载模块*/
void cleanup_module(void)
{
    cdev_del(&test_dev);
    unregister_chrdev_region(MKDEV(major, 0), 1);
    printk("Test device uninstalled\n");
}
代码编写完成后,首先使用make clean;make和./test_drv_load编译并加载驱动模块;接下来,用gcc -o test test.c和./test编译并运行测试程序;在运行结束后,使用./test_drv_unload卸载驱动模块。
过程截图如下: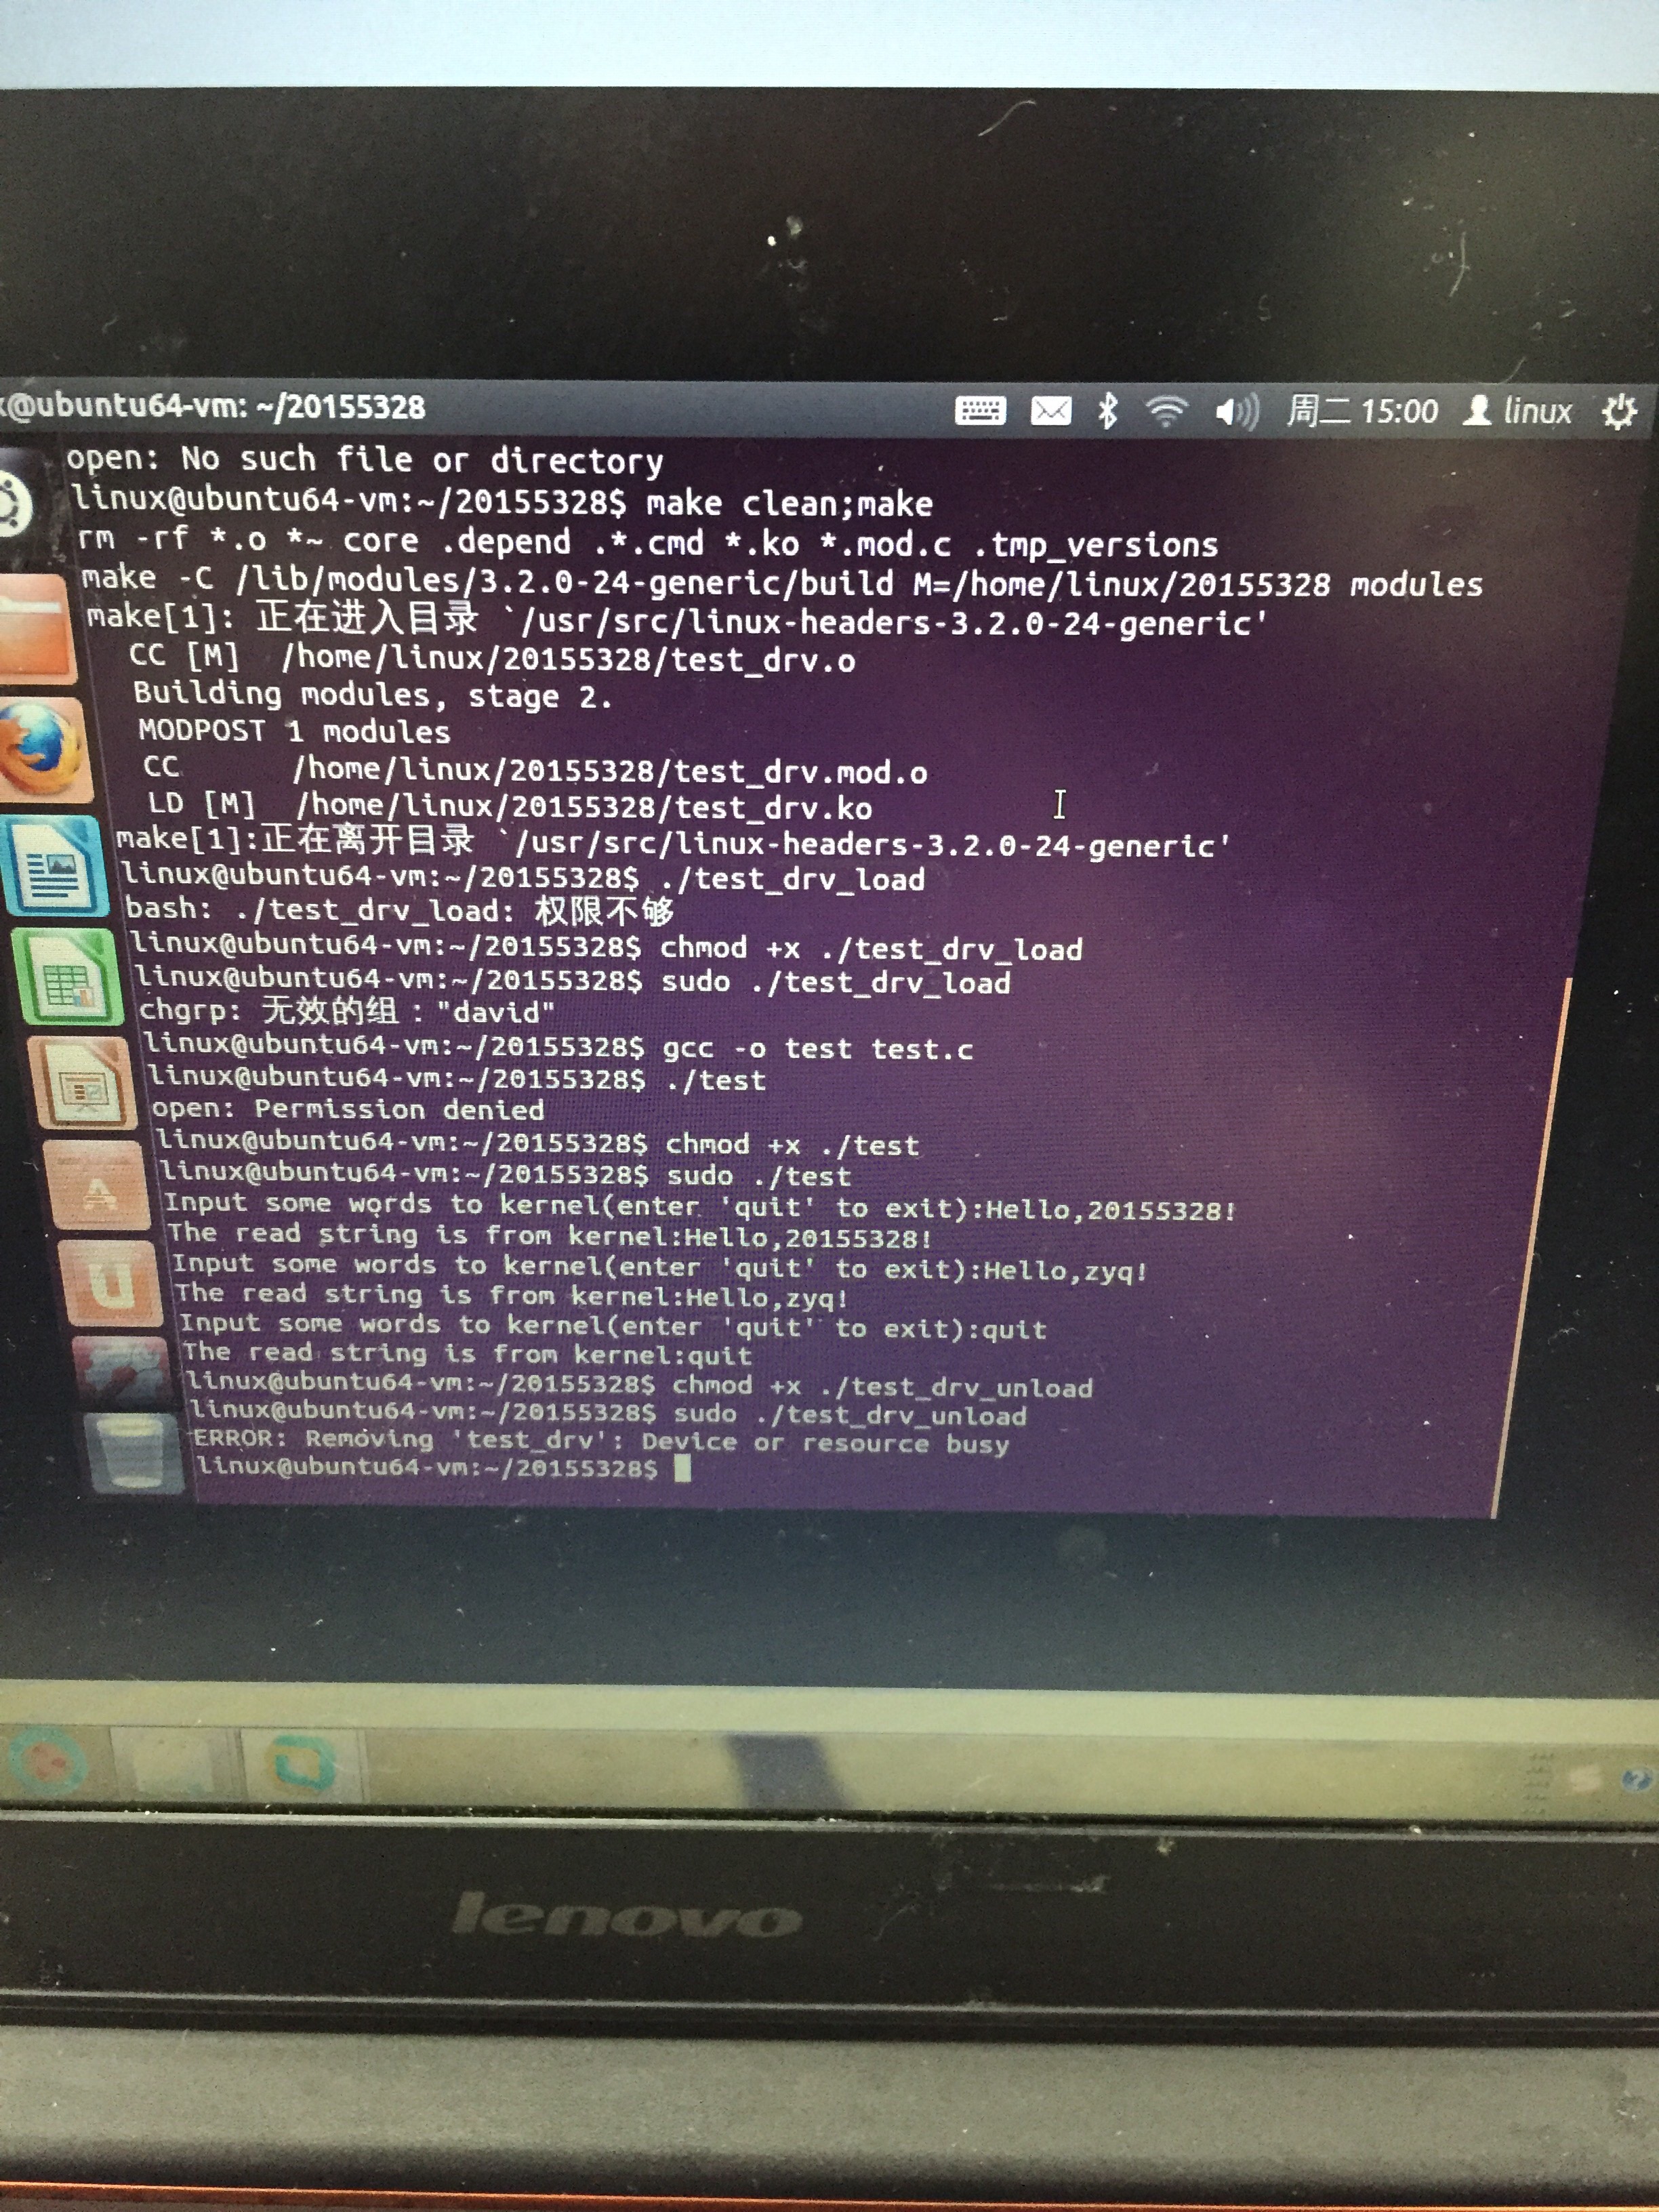
实验中遇到的问题及解决方法
- 问题:在执行./test_drv_load及后来的可执行程序中都提示没有权限。
- 解决方法: 使用chmod+x给命令加上权限,再在执行命令时在前面加上sudo。


 175
175

 被折叠的 条评论
为什么被折叠?
被折叠的 条评论
为什么被折叠?
 到【灌水乐园】发言


