


Shader "Custom/aaa" {
    Properties {
        _Color ("Color", Color) = (1,1,1,1)
        _MainTex ("Albedo (RGB)", 2D) = "white" {}
    }
    SubShader {
        Tags { "RenderType"="Opaque" }
        LOD 200

        CGPROGRAM
        #pragma surface surf Lambert

        sampler2D _MainTex;
     fixed4 _Color;
struct Input
     {
            float2 uv_MainTex;
        };

        void surf (Input IN, inout SurfaceOutput o) {
            fixed4 c = tex2D (_MainTex, IN.uv_MainTex) * _Color;
            o.Albedo = c.rgb;
            o.Alpha = c.a;
        }
        ENDCG
    }
    FallBack "Diffuse"
}
使用上面最简单的shader,我们修改它:
1.将 #pragma标记修改为如下代码
#pragma surface surf LambertSelf
2.在subshader中加入如下代码:
inline float4 LightingLambertSelf (SurfaceOutput s,fixed3 lightDir,fixed atten)
        {
            float difLight = max(0,dot (s.Normal,lightDir));
            float4 col;
            col.rgb = s.Albedo * _LightColor0.rgb*(difLight * atten * 2);
            return col;
        }
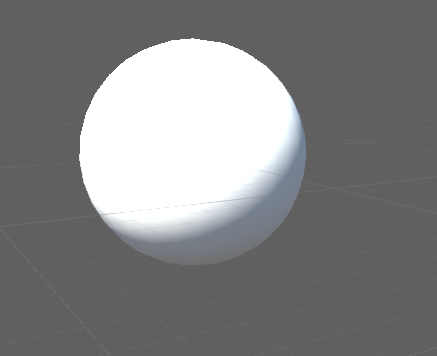
3.保存着色器代码并返回Unity窗口后,着色器会自动编译。可以看到材质已经发生了变化。我们做的就是
删除Unity自带的漫反射光照,并且实现一个可以自定义的光照模型。
实现原理
代码中有很多元素参加了工作,现在来逐行解释他们是如何工作的:
♦ #pragma surface 指令告诉着色器将使用哪个光照模型来计算。在我们原来的着色器代码里,默认使用
Lighting.cginc 文件里包含的Lambert光照模型,所以可以使用这种光照模型来计算。现在我们告诉着色
器将使用名叫 LambertSelf 的光照模型。
♦ 通过声明一个新的光照模型函数我们就能创建一个新的光照模型了,当完成了这个步骤后,便可以将函
数名替换成你想要的任何名字。函数名的格式是:Lighting <任何名>。你可以使用三种格式的光照模型
函数:
•half4 LightingName (SurfaceOutput s , half3 lightDir , half atten) { }
该函数用于不需要视角方向的前向着色。
•half4 LightingName (SurfaceOutput s , half3 lightDir , half3 viewDir , half atten) { }
该函数用于需要视角方向的前进着色。
•half4 LightingName_PrePass (SurfaceOutput s , half4 light ) { }
该函数用于需要使用延迟着色的项目。
♦ 点击函数 (dot Product function)是Cg语言的一个内置数学函数,我们可以用它来比较两个向量在空间里的方向。
点击函数会检查两个向量是互相平行还是互相垂直。任意两个向量都可以通过点击函数过得 -1 到1的夹角范围,-1
表示平行向量并背离你的方向,1也表示平行向量,不过是朝你的方向,0表示和你垂直的方向向量。
√ 矢量点积(或内积)的归一化向量 N 和 L 是测量两个向量之间夹角的方法。两个向量之间的夹角越小,点积越大,
表面可以接受的入射光也就越多。
♦ 为了完成漫反射计算,我们需要将 Unity 和 SurfaceOutput 结构体提供给我们的数据做乘法运算。为此我们需要乘上
s.Albedo (来自于sur函数) 和 _LightColor0.rgb(来自于Unity)然后再将结果与(difLight * atten)相乘,最后,返回这
个值作为颜色值。代码如下所示:
inline float4 LightingLambertSelf (SurfaceOutput s,fixed3 lightDir,fixed atten)
        {
            float difLight = max(0,dot (s.Normal,lightDir));
            float4 col;
            col.rgb = s.Albedo * _LightColor0.rgb*(difLight * atten * 2);
            col.a = s.Alpha;
            return col;
        }


 486
486

 被折叠的 条评论
为什么被折叠?
被折叠的 条评论
为什么被折叠?
 到【灌水乐园】发言


