


 本文通过实战演示如何使用VS2008搭建WCF服务。详细介绍从创建项目到实现服务接口,再到客户端调用的全过程。
随着微软VS2008的强势推出,其中的新技术也层出不穷.每一项新技术的诞生,都是一场革命.在这个SOA的时代,跟随微软的脚步,我们看到了WCF(windows
communication foundation).据说WCF解决了以往技术中的一些列问题(如web service中的安全问题,.net remoting的跨平台问题等),做为初学者,我没资格去讨
论,既然有WCF的出现,就有它存在的理由.以下开始演练我的WCF:
现在进入第一个WCF实例,具体的WCF概念方面的东西就不多说了,一切从代码着手.
准备环境:VS2008
打开vs2008
新建一个空白解决方案:然后命名 这里我用的是WCFDemo
然后向解决方案中添加一个ClassLibrary和两个Console Application, ClassLibrary的名称为:MyWcf ,Console
Application的名称分别为Server和Client.好了准备工作做好了 我们看下解决方案的截图

首先 我们先编写类库 也就是WCF的服务程序.打开MyWcf,添加一个接口类,命名为IHelloMessage,然后给Wcf类库添加System.ServiceModel类库的引
用,IHelloMessage的代码为:
 using System;using System.Collections.Generic;using System.Linq;using System.Text;using System.ServiceModel;namespace MyWcf

 {
{ //使用特性表示服务契约。。。 [ServiceContract(Namespace="http://trampt.cnblogs.com")] public interface IHelloMessage
 { //要暴露给客户端的操作 [OperationContract] string Hello(string message);
 }
} }
}我们开始编写服务端(Server)程序,打开Server控制台应用程序,我们添加System.ServiceModel和刚新建类库MyWcf的引用.然后我们在Server的Program.cs中
实现MyWcf中的IHelloMessage接口 然后给客户端暴露服务,也就是提供服务给客户端,具体代码如下:
using System;using System.Collections.Generic;using System.Linq;using System.Text;using System.ServiceModel;using MyWcf;namespace Server{ //实现MyWcf中IHelloMessage接口,供客户端调用 public class HelloMessage : IHelloMessage { public string Hello(string message) { return String.Format("you receive: {0} at :{1}", message, DateTime.Now.ToString()); } } class Program { static void Main(string[] args) { //创建服务宿主ServiceHost using(ServiceHost host=new ServiceHost(typeof(HelloMessage))) { //通过EndPoint将服务暴露给客户端 A:服务地址 B:通讯协议 C:服务契约 //以下代码中A为"net.tcp://localhost:8090/Hello" B:new NetTcpBinding() C:typeof(MyWcf.IHelloMessage) host.AddServiceEndpoint(typeof(MyWcf.IHelloMessage),new NetTcpBinding() ,"net.tcp://localhost:8090/Hello"); //开启服务 host.Open(); Console.ReadLine(); } } }}然后我们在客户端添加System.ServiceModel和MyWcf类库的引用,然后编程实现对服务器端服务的调用.客户端主要是通过创建服务通道获取服务代理实现对服务器端服务的引用:代码如下:
using System;
using System.Collections.Generic;
using System.Linq;
using System.Text;
using System.ServiceModel;
using MyWcf;
namespace Client
{
class Program
{
static void Main(string[] args)
{
//创建服务通道 获取服务代理
MyWcf.IHelloMessage proxy = ChannelFactory<IHelloMessage>.CreateChannel(new NetTcpBinding(), new EndpointAddress("net.tcp://localhost:8090/Hello"));
//通过代理调用服务器端方法
string s = proxy.Hello("hello!");
Console.WriteLine(s);
Console.ReadLine();
}
}
}
所有准备工作就绪,我们就开始我们的测试.首先启动Server,然后我们启动Client来看下输出结果.
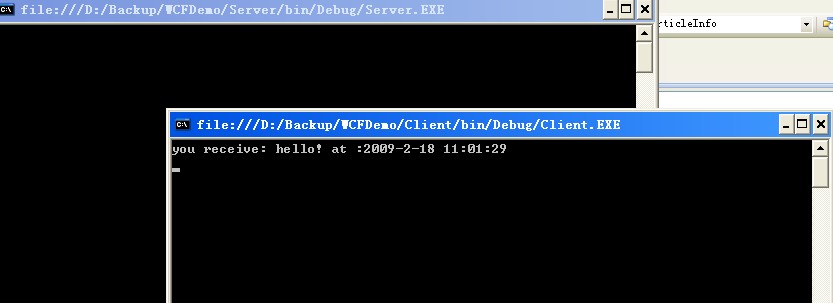
好了 第一个WCF程序已经调式运行成功了.....


 400
400

 被折叠的 条评论
为什么被折叠?
被折叠的 条评论
为什么被折叠?
 到【灌水乐园】发言


