


vue2插槽的基本使用
匿名插槽 : 没有名字的插槽
具名插槽 : 有名字的插槽
作用域插槽 :传值
创建一个公共的组件HelloWorld.vue,
匿名插槽
<template>
  <div class="hello">
    <slot name="header"></slot>
    <p>接收到插槽内容</p>
    <slot></slot>
  </div>
</template>

<script>
export default {
  name: 'HelloWorld',
  data() {
    return {

    }
  }
}
</script>
创建一个业务组件 HomeView.vue 并在该组件内使用上面带有插槽的组件(HelloWorld.vue)
<template>
  <div class="home">
    <HelloWorld>
      <template>
        <p style="color: red">内容提示</p>
      </template>
    </HelloWorld>
  </div>
</template>

<script>
import HelloWorld from '@/components/HelloWorld.vue'
export default {
  name: 'HomeView',
  components: {
    HelloWorld
  }
}
</script>
具名插槽 修改HelloWorld.vue组件 增加name属性 加上名字
<template>
  <div class="hello">
    <slot name="header"></slot>
    <p>接收到插槽内容</p>
    <slot name="footer"></slot>
  </div>
</template>

<script>
export default {
  name: 'HelloWorld',
  data() {
    return {

    }
  }
}
</script>
<style scoped></style>
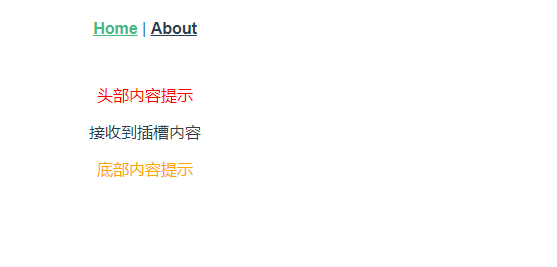
在业务组件 HomeView.vue 使用具名插槽
<template>
  <div class="home">
    <HelloWorld>
      <template #header>
        <p style="color: red">头部内容提示</p>
      </template>
      <template #footer>
        <p style="color: orange">底部内容提示</p>
      </template>
    </HelloWorld>
  </div>
</template>

<script>
import HelloWorld from '@/components/HelloWorld.vue'
export default {
  name: 'HomeView',
  components: {
    HelloWorld
  }
}
</script>
显示的效果
作用域插槽 修改HelloWorld.vue组件传 给具名插槽header传一个arr数组
<template>
  <div class="hello">
    <slot name="header"></slot>
    <p>接收到插槽内容</p>
    <slot name="footer" :arr="arr"></slot>
  </div>
</template>
<script>
export default {
  name: 'HelloWorld',
  data() {
    return {
      arr: ['a', 'b', 'c', 'd']
    }
  }
}
</script>
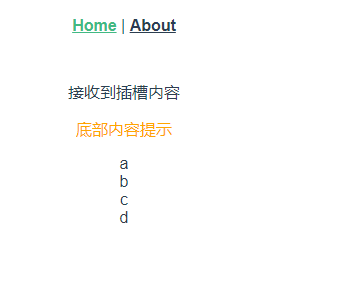
在HomeView.vue使用如下
<template>
  <div class="home">
    <HelloWorld>
      <template>
        <p style="color: red">头部内容提示</p>
      </template>
      <template #footer="{ arr }">
        <p style="color: orange">底部内容提示</p>
        <div v-for="item in arr" :key="item">{{ item }}</div>
      </template>
    </HelloWorld>
  </div>
</template>
<script>
import HelloWorld from '@/components/HelloWorld.vue'
export default {
  name: 'HomeView',
  components: {
    HelloWorld
  }
}
</script>
显示的效果如下所示


 1541
1541

 被折叠的 条评论
为什么被折叠?
被折叠的 条评论
为什么被折叠?
 到【灌水乐园】发言


