需求
- 支持本地选择图片绘制到画布
- 移动裁剪框 ,裁剪固定宽高的图片
- 支持导出
canvas为image
难点
- 裁剪框移动需要监听
onmousedown,onmousemove,onmouseup。移动限定边界, - 鼠标坐标需使用
pageX,pageY。使用offsetX,offsetY是不准确的,有可能出现(0,0)的情况,会导致移动闪烁,通过计算可以得出鼠标在画布中的偏移坐标类似于offsetX,offsetY。 - 需要根据鼠标点坐标,计算裁剪框的坐标,需要分析鼠标点坐标与裁剪框宽高的关系。
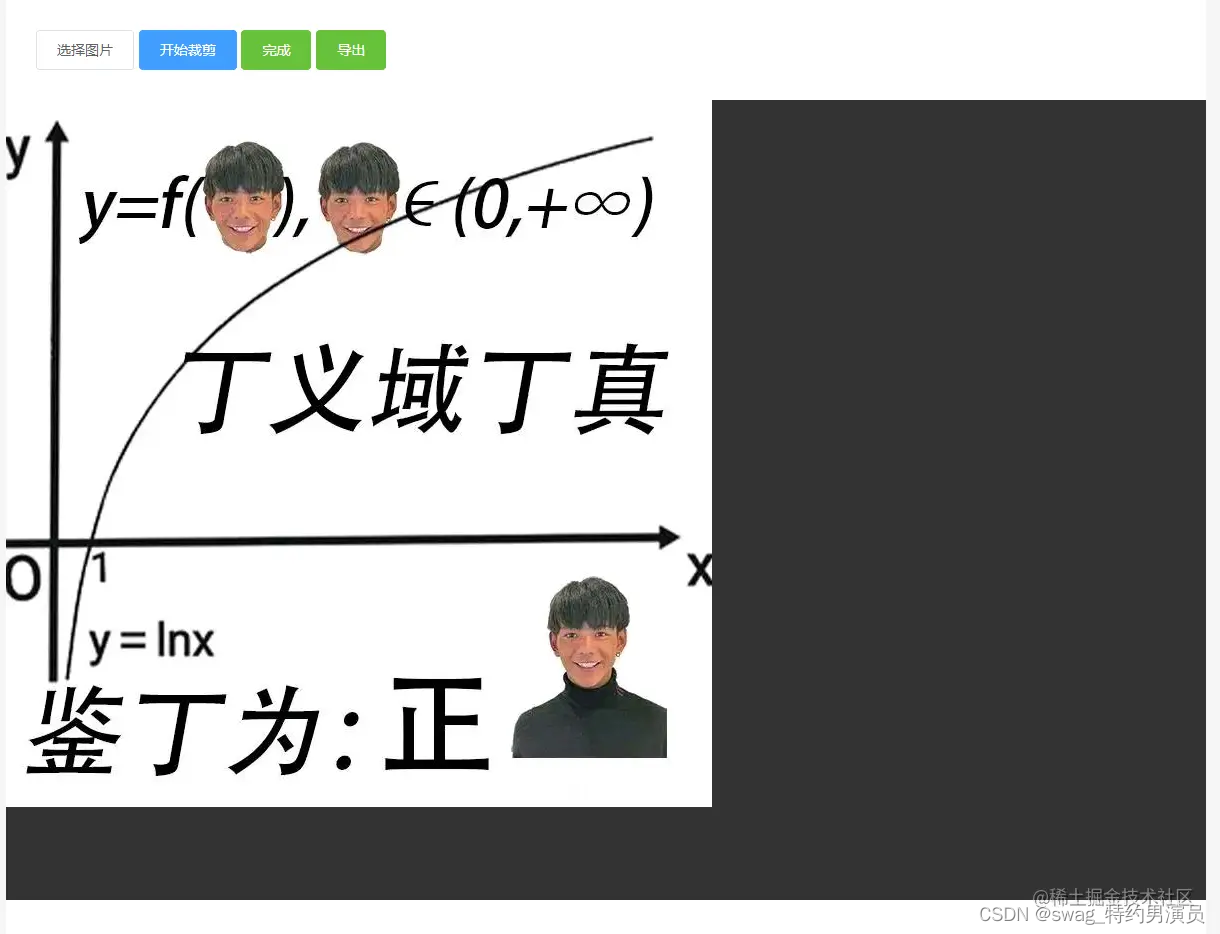
效果
Html
<!DOCTYPE html>
<html lang="en">
  <head>
    <meta charset="UTF-8" />
    <meta http-equiv="X-UA-Compatible" content="IE=edge" />
    <meta name="viewport" content="width=device-width, initial-scale=1.0" />
    <link rel="stylesheet" href="./style.css" />
    <title>canvas-cut-image</title>
  </head>
  <body>
    <div class="container">
      <div class="toolbar">
        <button id="choose" class="btn">选择图片</button>
        <button id="begin-cut" class="btn primary">开始裁剪</button>
        <button id="finish" class="btn success">完成</button>
        <button id="export" class="btn success">导出</button>
        <input
          type="file"
          name="file-inp"
          id="file-inp"
          accept=".jpg, .jpeg, .png"
        />
      </div>
      <div class="canvas-wrap">
        <canvas id="myCanvas"> </canvas>
        <div class="cut-box"></div>
      </div>
      <div id="preview"></div>
    </div>
    <script src="./script.js"></script>
  </body>
</html>
Script
const selectImgBtn = document.querySelector("#choose")
const beginCutBtn = document.querySelector("#begin-cut")
const finishBtn = document.querySelector("#finish")
const exportBtn = document.querySelector("#export")
const fileInp = document.querySelector("#file-inp")
const preview = document.querySelector("#preview")
const canvasWrap = document.querySelector(".canvas-wrap")
const canvas = document.querySelector("#myCanvas")
const cutBox = document.querySelector(".cut-box")
const canvas_init_width = 1200
const canvas_init_height = 800
const cutBox_init_width = 375
const cutBox_init_height = 200
let ctx = null
let sourceImg = null
let canvasImg = null
let isCutting = false
let mouse_x = null
let mouse_y = null
let cutBox_x = 0
let cutBox_y = 0
init()
selectImgBtn.addEventListener("click", () => {
fileInp.click()
})
fileInp.addEventListener("change", (event) => {
sourceImg = event.target.files[0]
drawImageToCanvas(sourceImg)
})
beginCutBtn.addEventListener("click", () => {
if (!isCutting) {
isCutting = true
cutBox.style.display = "block"
}
})
finishBtn.addEventListener("click", () => {
isCutting = false
cutBox.style.display = "none"
beginCutImage()
resetCutBoxPosition()
})
exportBtn.addEventListener("click", () => {
preview.innerHTML = ""
preview.appendChild(convertCanvasToImage(canvas))
})
cutBox.addEventListener("mousedown", () => {
canvasWrap.onmousemove = (e) => {
mouse_x = e.pageX - 300
mouse_y = e.pageY - 100
cutBox_x = mouse_x - cutBox_init_width / 2
cutBox_y = mouse_y - cutBox_init_height / 2
if (mouse_x < cutBox_init_width / 2) {
cutBox_x = 0
} else if (mouse_x > canvas_init_width - cutBox_init_width / 2) {
cutBox_x = canvas_init_width - cutBox_init_width
}
if (mouse_y < cutBox_init_height / 2) {
cutBox_y = 0
} else if (mouse_y > canvas_init_height - cutBox_init_height / 2) {
cutBox_y = canvas_init_height - cutBox_init_height
}
cutBox.style.top = `${cutBox_y}px`
cutBox.style.left = `${cutBox_x}px`
}
cutBox.addEventListener("mouseup", () => {
canvasWrap.onmousemove = null
console.log("鼠标弹起不再监听鼠标移动")
})
})
function init() {
ctx = canvas.getContext("2d")
canvas.width = canvas_init_width
canvas.height = canvas_init_height
cutBox.style.width = `${cutBox_init_width}px`
cutBox.style.height = `${cutBox_init_height}px`
}
function drawImageToCanvas(file) {
clearCanvas()
canvasImg = new Image()
canvasImg.onload = () => {
ctx.drawImage(
canvasImg,
0,
0,
canvasImg.width < canvas_init_width ? canvasImg.width : canvas_init_width,
canvasImg.height < canvas_init_height
? canvasImg.height
: canvas_init_height
)
}
canvasImg.src = getObjectURL(file)
}
function getObjectURL(file) {
let url = null
if (window.createObjectURL !== undefined) {
url = window.createObjectURL(file)
} else if (window.webkitURL !== undefined) {
url = window.webkitURL.createObjectURL(file)
} else if (window.URL !== undefined) {
url = window.URL.createObjectURL(file)
}
return url
}
function clearCanvas() {
ctx.clearRect(0, 0, canvas_init_width, canvas_init_height)
}
function resetCutBoxPosition() {
mouse_x = null
mouse_y = null
cutBox_x = 0
cutBox_y = 0
cutBox.style.top = `${cutBox_y}px`
cutBox.style.left = `${cutBox_x}px`
}
function beginCutImage() {
clearCanvas()
ctx.drawImage(
canvasImg,
cutBox_x,
cutBox_y,
cutBox_init_width,
cutBox_init_height,
0,
0,
cutBox_init_width,
cutBox_init_height
)
}
function convertCanvasToImage(canvas) {
var image = new Image()
image.src = canvas.toDataURL("image/png")
return image
}
Style
body {
  margin: 0;
  padding: 0;
  background: #f5f5f5;
}

.container {
  width: 1200px;
  min-height: 100vh;
  margin: 0 auto;
  background: #fff;
}

.toolbar {
  width: 100%;
  padding: 30px;
}

button.btn {
  display: inline-block;
  line-height: 1;
  white-space: nowrap;
  cursor: pointer;
  background: #fff;
  border: 1px solid #dcdfe6;
  color: #606266;
  -webkit-appearance: none;
  text-align: center;
  box-sizing: border-box;
  outline: none;
  margin: 0;
  transition: .1s;
  font-weight: 500;
  padding: 12px 20px;
  font-size: 14px;
  border-radius: 4px;
}

button.primary {
  color: #fff;
  background-color: #409eff;
  border-color: #409eff;
}

button.success {
  color: #fff;
  background-color: #67c23a;
  border-color: #67c23a;
}

.toolbar>button:active,
.toolbar>button:hover {
  filter: brightness(0.85);
}

.canvas-wrap {
  position: relative;
}

#myCanvas {
  width: 100%;
  height: 800px;
  background-color: #333;
}

.cut-box {
  display: none;
  position: absolute;
  top: 0;
  left: 0;
  width: 375px;
  height: 200px;
  background-color: rgba(255, 255, 255, .4);
  border: 1px solid #000;
  cursor: move;
}

#file-inp {
  display: none;
}


 本文详细介绍了如何使用HTML5 Canvas实现图片裁剪功能,包括监听鼠标事件实现裁剪框移动,计算裁剪坐标,以及将裁剪后的canvas转换为image。示例代码展示了从选择图片到裁剪、导出的完整流程,适用于前端开发中图片编辑场景。


 1058
1058

 被折叠的 条评论
为什么被折叠?
被折叠的 条评论
为什么被折叠?
 到【灌水乐园】发言


