


 本文详细介绍了如何使用Arduino Cloud与nano rp2040 IMU进行数据采集,并通过Processing进行实时可视化。尽管面临ARDUINO官方云服务的延迟问题,作者成功移植了奈何col的Processing解决方案,实现IMU数据的动态展示。
本文主要介绍了Arduino cloud的用法和nano rp2040IMU调用方法,以及奈何col的IMU数据可视化的移植方法。
之前听说树莓派和ARDUINO合作出了一款开发板:还带WiFi/BT模块的,IMU,麦克风。看上去这一套还挺多的,就决定试试。
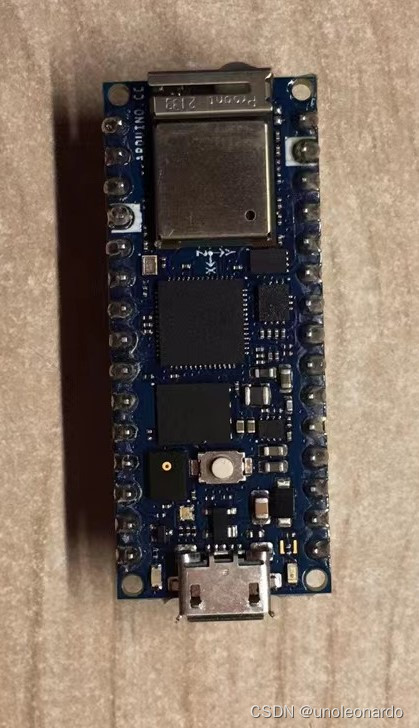
但试了以后才发现它能干的MPU6050也能干.......麦克风也是个摆设,也就能看个热闹,看看曲线,分析的话根本不太可能。最后就只剩下那个ARDUINO官方支持的esp32模组了。经过我的努力,在官网上发现了一个组件:
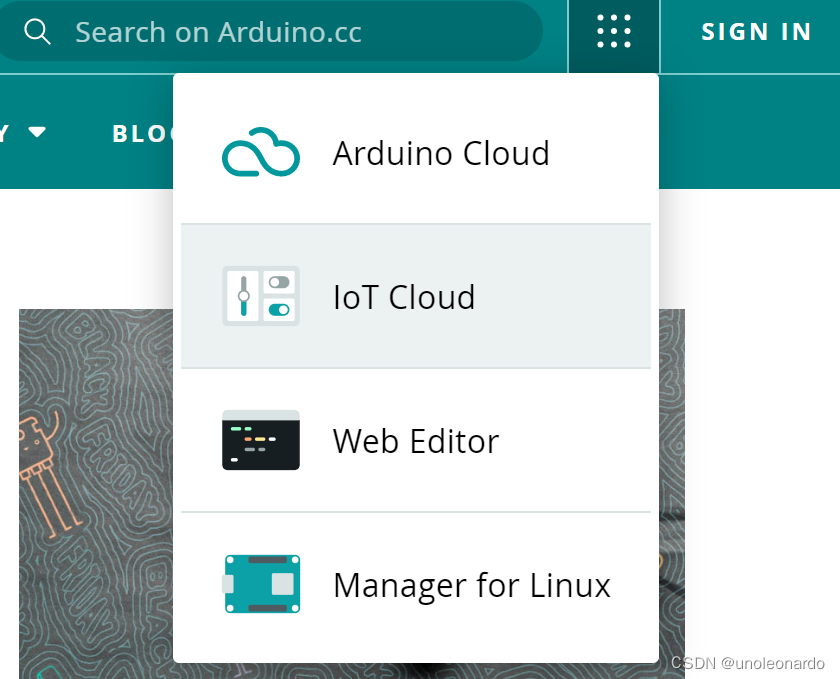
看上去这是个好东西,但国内用的人好像不多,资料也不多。我找了半天只发现了几篇博文,还用的都是esp8266。我一开始还以为只要在IOT平台里把组件弄好,再在离线版里配置网络就好了......最后还是跑了官方的例程才弄明白的。
/*
  Sketch generated by the Arduino IoT Cloud Thing "Cloud Blink"

  Arduino IoT Cloud Variables description

  The following variables are automatically generated and updated when changes are made to the Thing

  bool led;

  Variables which are marked as READ/WRITE in the Cloud Thing will also have functions
  which are called when their values are changed from the Dashboard.
  These functions are generated with the Thing and added at the end of this sketch.
*/
#include "thingProperties.h"

void setup() {
  // Initialize serial and wait for port to open:
  Serial.begin(9600);
  // This delay gives the chance to wait for a Serial Monitor without blocking if none is found
  delay(1500);

  // Defined in thingProperties.h
  initProperties();

  // Connect to Arduino IoT Cloud
  ArduinoCloud.begin(ArduinoIoTPreferredConnection);

  /*
     The following function allows you to obtain more information
     related to the state of network and IoT Cloud connection and errors
     the higher number the more granular information you’ll get.
     The default is 0 (only errors).
     Maximum is 4
 */
  setDebugMessageLevel(2);
  ArduinoCloud.printDebugInfo();
  pinMode(LED_BUILTIN, OUTPUT);
  pinMode(13,OUTPUT);
  digitalWrite(13,HIGH);
  delay(200);
  digitalWrite(13,LOW);
  delay(200);
}

void loop() {
  ArduinoCloud.update();
  digitalWrite(LED_BUILTIN, led);
  digitalWrite(13,led);
}

/*
  Since Led is READ_WRITE variable, onLedChange() is
  executed every time a new value is received from IoT Cloud.
*/
void onLedChange()  {
  Serial.print("Led status changed:");
  Serial.println(led);
}
官方例程:注意要在web版里打开,离线版里是没有云的库的 。
在这里还是要吐槽一下ARDUINO官方的:cloud blink 真的是十分cloud,发过去开灯信号,它不在现实中点灯,它给你在云上点......搞得我一度怀疑板子是不是烧了。还是我把13脚的电平控制给
 最低0.47元/天 解锁文章


 1万+
1万+

 被折叠的 条评论
为什么被折叠?
被折叠的 条评论
为什么被折叠?
 到【灌水乐园】发言


