1.获取图片像素数据
- 通过canvas获取像素数据data
const img = document.getElementById("img");
const { width, height } = img;
const canvas = document.createElement("canvas");
canvas.width = width;
canvas.height = height;
const context = canvas.getContext("2d");
context.drawImage(img, 0, 0, width, height);
const data = context.getImageData(0, 0, width, height).data;
- 解析data,将所有像素点RGBA数据存入origins
//通过particleGap值控制显示粒子总数量
const particleGap = 2;
const origins = [];
for (let g = 0; g < width; g += particleGap) {
  for (let v = 0; v < renderHeight; v += particleGap) {
    const i = 4 * (g + v * width);
    const alpha = data[i+3];
    if (alpha > 0) {
      const r = data[i];
      const g = data[i+1];
      const b = data[i+2];
      this.origins.push({
        x: g,
        y: v,
        z: 50,
        vertexColors: [r/255, g/255, b/255, alpha/255]
      });
    }
   }
}
- 通过origins创建粒子数组particles
const particles = [];
for (let i = 0; i < origins.length; i++) {
  const p = this.origins[i];
  const o = {};
  o.x = p.x;
  o.y = p.y;
  o.z = 0;
  o.vx = o.vy = o.vz = 0;
  particles.push(o);
}
2.创建three粒子系统
- 通过THREE.Points创建粒子系统
const scene = new THREE.Scene();
const renderer = new THREE.WebGLRenderer({antialias: true, alpha: true});
renderer.setSize(width, height);
document.body.appendChild(renderer.domElement);
const camera = new THREE.PerspectiveCamera(40, width / height, 0.1, 10000);
camera.position.z = 700;
const geometry = new THREE.BufferGeometry();
const material = shaderMaterial;
const grid = new THREE.Points(geometry, material);
scene.add(grid);
- 创建shader材质
const vertShader = `
  precision highp float;
  attribute vec4 vertexColor;
  uniform float pointSize;
  uniform float depth;
  vec3 mirror = vec3(1, -1, 1);
  varying vec4 vColor;
  void main() {
    gl_Position = projectionMatrix * modelViewMatrix * vec4( mirror * position, 1.0 );
    gl_PointSize = pointSize + max((log(position.z) - 3.91) * depth, -pointSize + 1.0);
    vColor = vertexColor;
  }
`;
const fragShader = `
  precision highp float;
  varying vec4 vColor;
  void main() {
    gl_FragColor = vColor;
  }
`;
const uniforms = {
  vertexOffset: {type: 'v3', value: new THREE.Vector3(0, 0, 1e3)},
  pointSize: {type: 'f', value: 1},
  depth: {type: 'f', value: 1},
};
const shaderMaterial = new THREE.ShaderMaterial({
  uniforms: uniforms,
  vertexShader: vertShader,
  fragmentShader: fragShader,
  transparent: true,
});
3.显示图像静态粒子效果
- 获取顶点坐标和像素数据
let vertices = [];
let colors = [];
for (let i = 0; i < particles.length; i++) {
  const o = origins[i],
    p = particles[i];
  const x = p.x - width / 2,
    y = p.y - height / 2,
    z = p.z;
  const [r, g, b, a] = o.vertexColors;
  vertices.push(x, y, z);
  colors.push(r, g, b, a);
}
- 向shader传入顶点和像素数据
geometry.setAttribute('position', new THREE.BufferAttribute(new Float32Array(vertices), 3));
geometry.setAttribute('vertexColor', new THREE.BufferAttribute(new Float32Array(colors), 4));
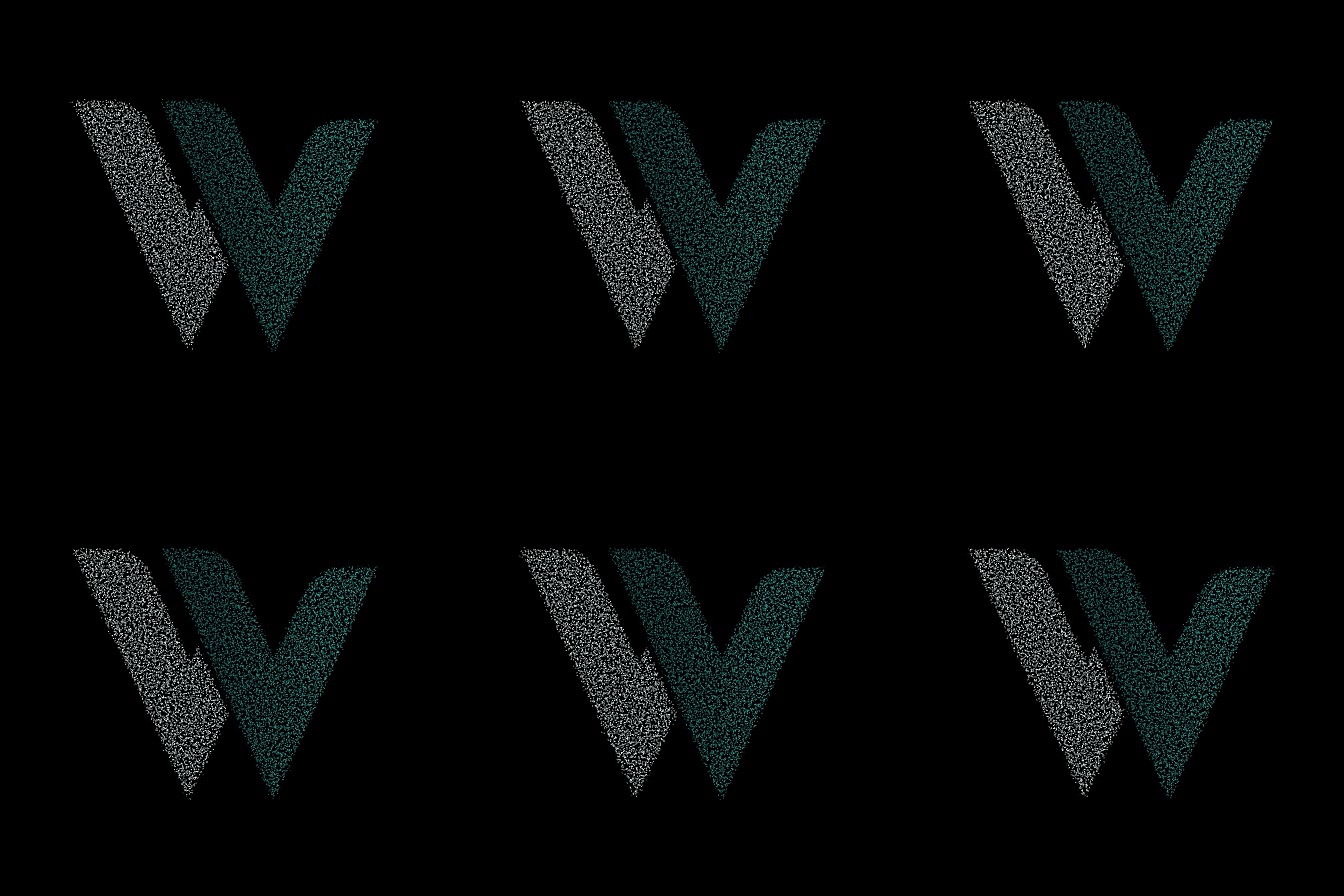
- 效果如下:
原图:

粒子化效果:

4.让粒子动起来
- 给粒子添加随机方向速度,使其运动看起来更自然
const noise = 20;
const gravity = .1;
const speed = Math.log(origins.length) / 10;
const gravityFactor = 1 - gravity * speed;
for (let i = 0; i < particles.length; i++) {
  let o = origins[i],
    p = particles[i],
    dx = o.x - p.x + (Math.random() - .5) * noise,
    df = o.y - p.y + (Math.random() - .5) * noise,
    dp = o.z - p.z + (Math.random() - .5) * noise / 1e3,
    dy = Math.sqrt(dx * dx + df * df + dp * dp),
    M = .01 * dy;
  p.vx += M * (dx / dy) * speed,
  p.vy += M * (df / dy) * speed,
  p.vz += M * (dp / dy) * speed;
  p.vx *= gravityFactor,
  p.vy *= gravityFactor,
  p.vz *= gravityFactor,
  p.x += p.vx,
  p.y += p.vy,
  p.z += p.vz;
  const x = p.x - width / 2,
    y = p.y - height / 2,
    z = p.z;
  const [r, g, b, a] = o.vertexColors;
  vertices.push(x, y, z);
  colors.push(r, g, b, a);
}
- 每一帧都要更新顶点数据
geometry.attributes.position = new THREE.BufferAttribute(new Float32Array(vertices), 3);
5.最终效果如下


 本文详细展示了如何利用HTML5canvas获取图片像素,通过THREE.js构建粒子系统,并实现像素化和动态效果的实现过程。


 2060
2060

 被折叠的 条评论
为什么被折叠?


