


 文章详细介绍了在Mac系统中如何利用VisualStudioCode进行Raspberry-Pi-PICO的开发和调试,包括安装编译环境、编译openocd、设置环境变量、配置VisualStudioCode的launch.json和settings.json文件,以及使用Cortex-Debug插件进行GDB调试。
一、目的
在前面章节中我们已经介绍了Mac下如何搭建开发环境,并且也介绍了Ubuntu下通过命令行进行调试的整个过程。
Raspberry-Pi-PICO系列--第二篇 开发环境搭建-Mac系统_coder.mark的博客-优快云博客
但是命令行方式的调试方法对于新手还是有些不太友好,那有没有基于IDE的开发调试方式呢?Raspberry-Pi-PICO系列--第九篇 高级篇 Ubuntu下使用Visual Code开发调试_pico图形化编程_coder.mark的博客-优快云博客
本篇则介绍Mac系统下如何使用Visual Studio Code进行开发调试,请务必把前面的开发环境搭建过程吃透(Raspberry-Pi-PICO系列--第二篇 开发环境搭建-Mac系统_coder.mark的博客-优快云博客),本篇中不会再重复介绍。
二、准备
1、安装编译环境
brew install libtool automake libusb wget pkg-config gcc texinfo2、编译openocd
cd ~/workspace/third/raspberry_pi_pico
git clone https://github.com/raspberrypi/openocd.git --branch rp2040 --depth=1
cd openocd
./bootstrap
./configure --disable-werror
make -j4
编译成功后在src目录有openocd程序
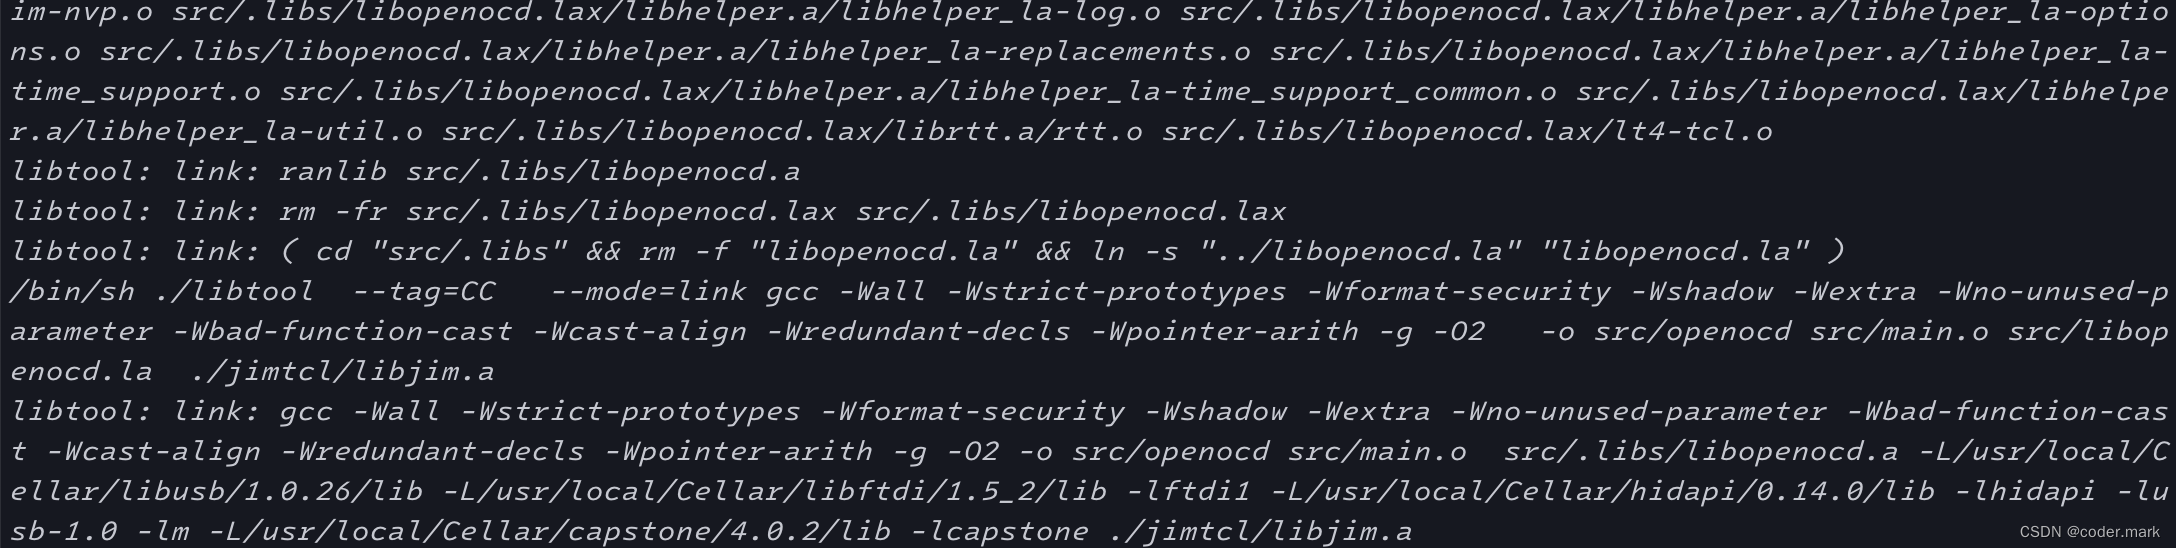

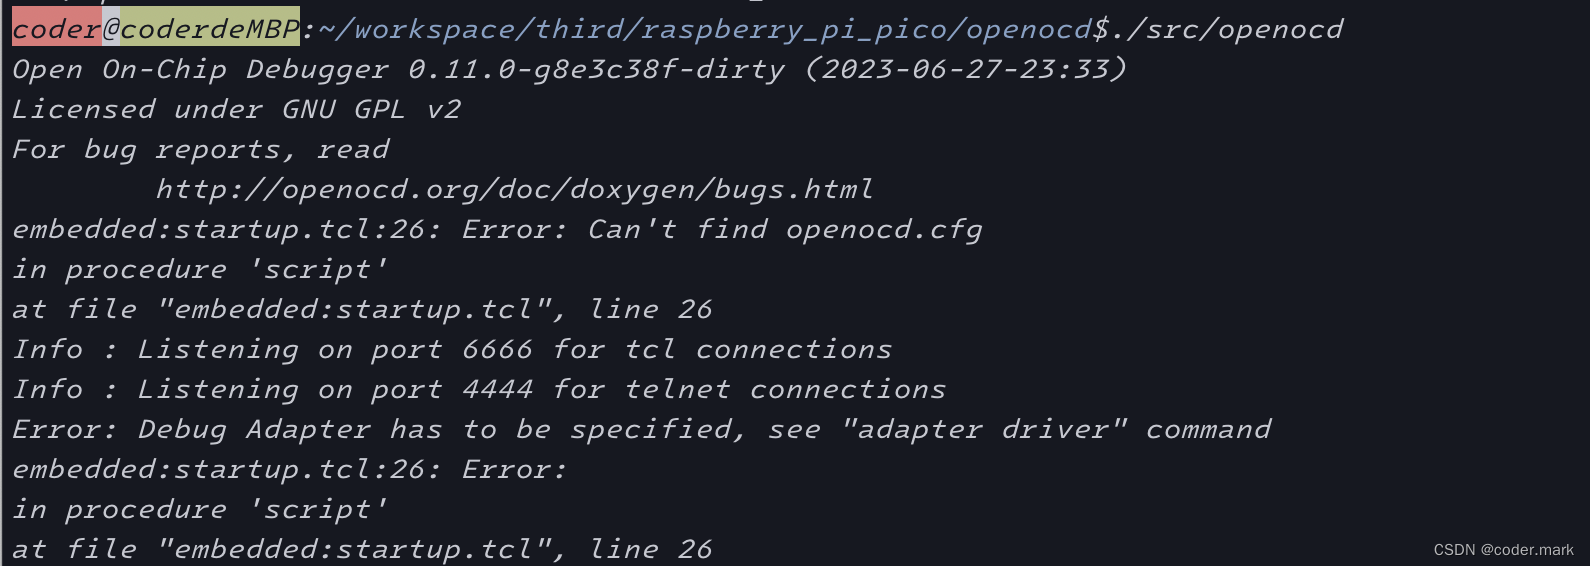
我们测试一下是否可以运行
3、设置openocd环境变量,并保存到~/.bash_profile中
export PICO_OPENOCD_PATH="/Users/你的用户名/workspace/third/raspberry_pi_pico/openocd" 
4、重新打开一个Terminal确认PICO相关的环境变量生效

PICO_TOOLCHAIN_PATH是交叉编译工具链的路径(包括gcc/gdb)
PICO_SDK_PATH是SDK的路径
PICO_OPENOCD_PATH是我们自行编译的OPENOCD调试工具
5、确认工具链中的gdb可用

6、确认pico-examples可以用命令行进行编译
cd ~/workspace/third/raspberry_pi_pico/pico-examples
rm -rf build
mkdir build
cd build
cmake -DCMAKE_BUILD_TYPE=Debug ..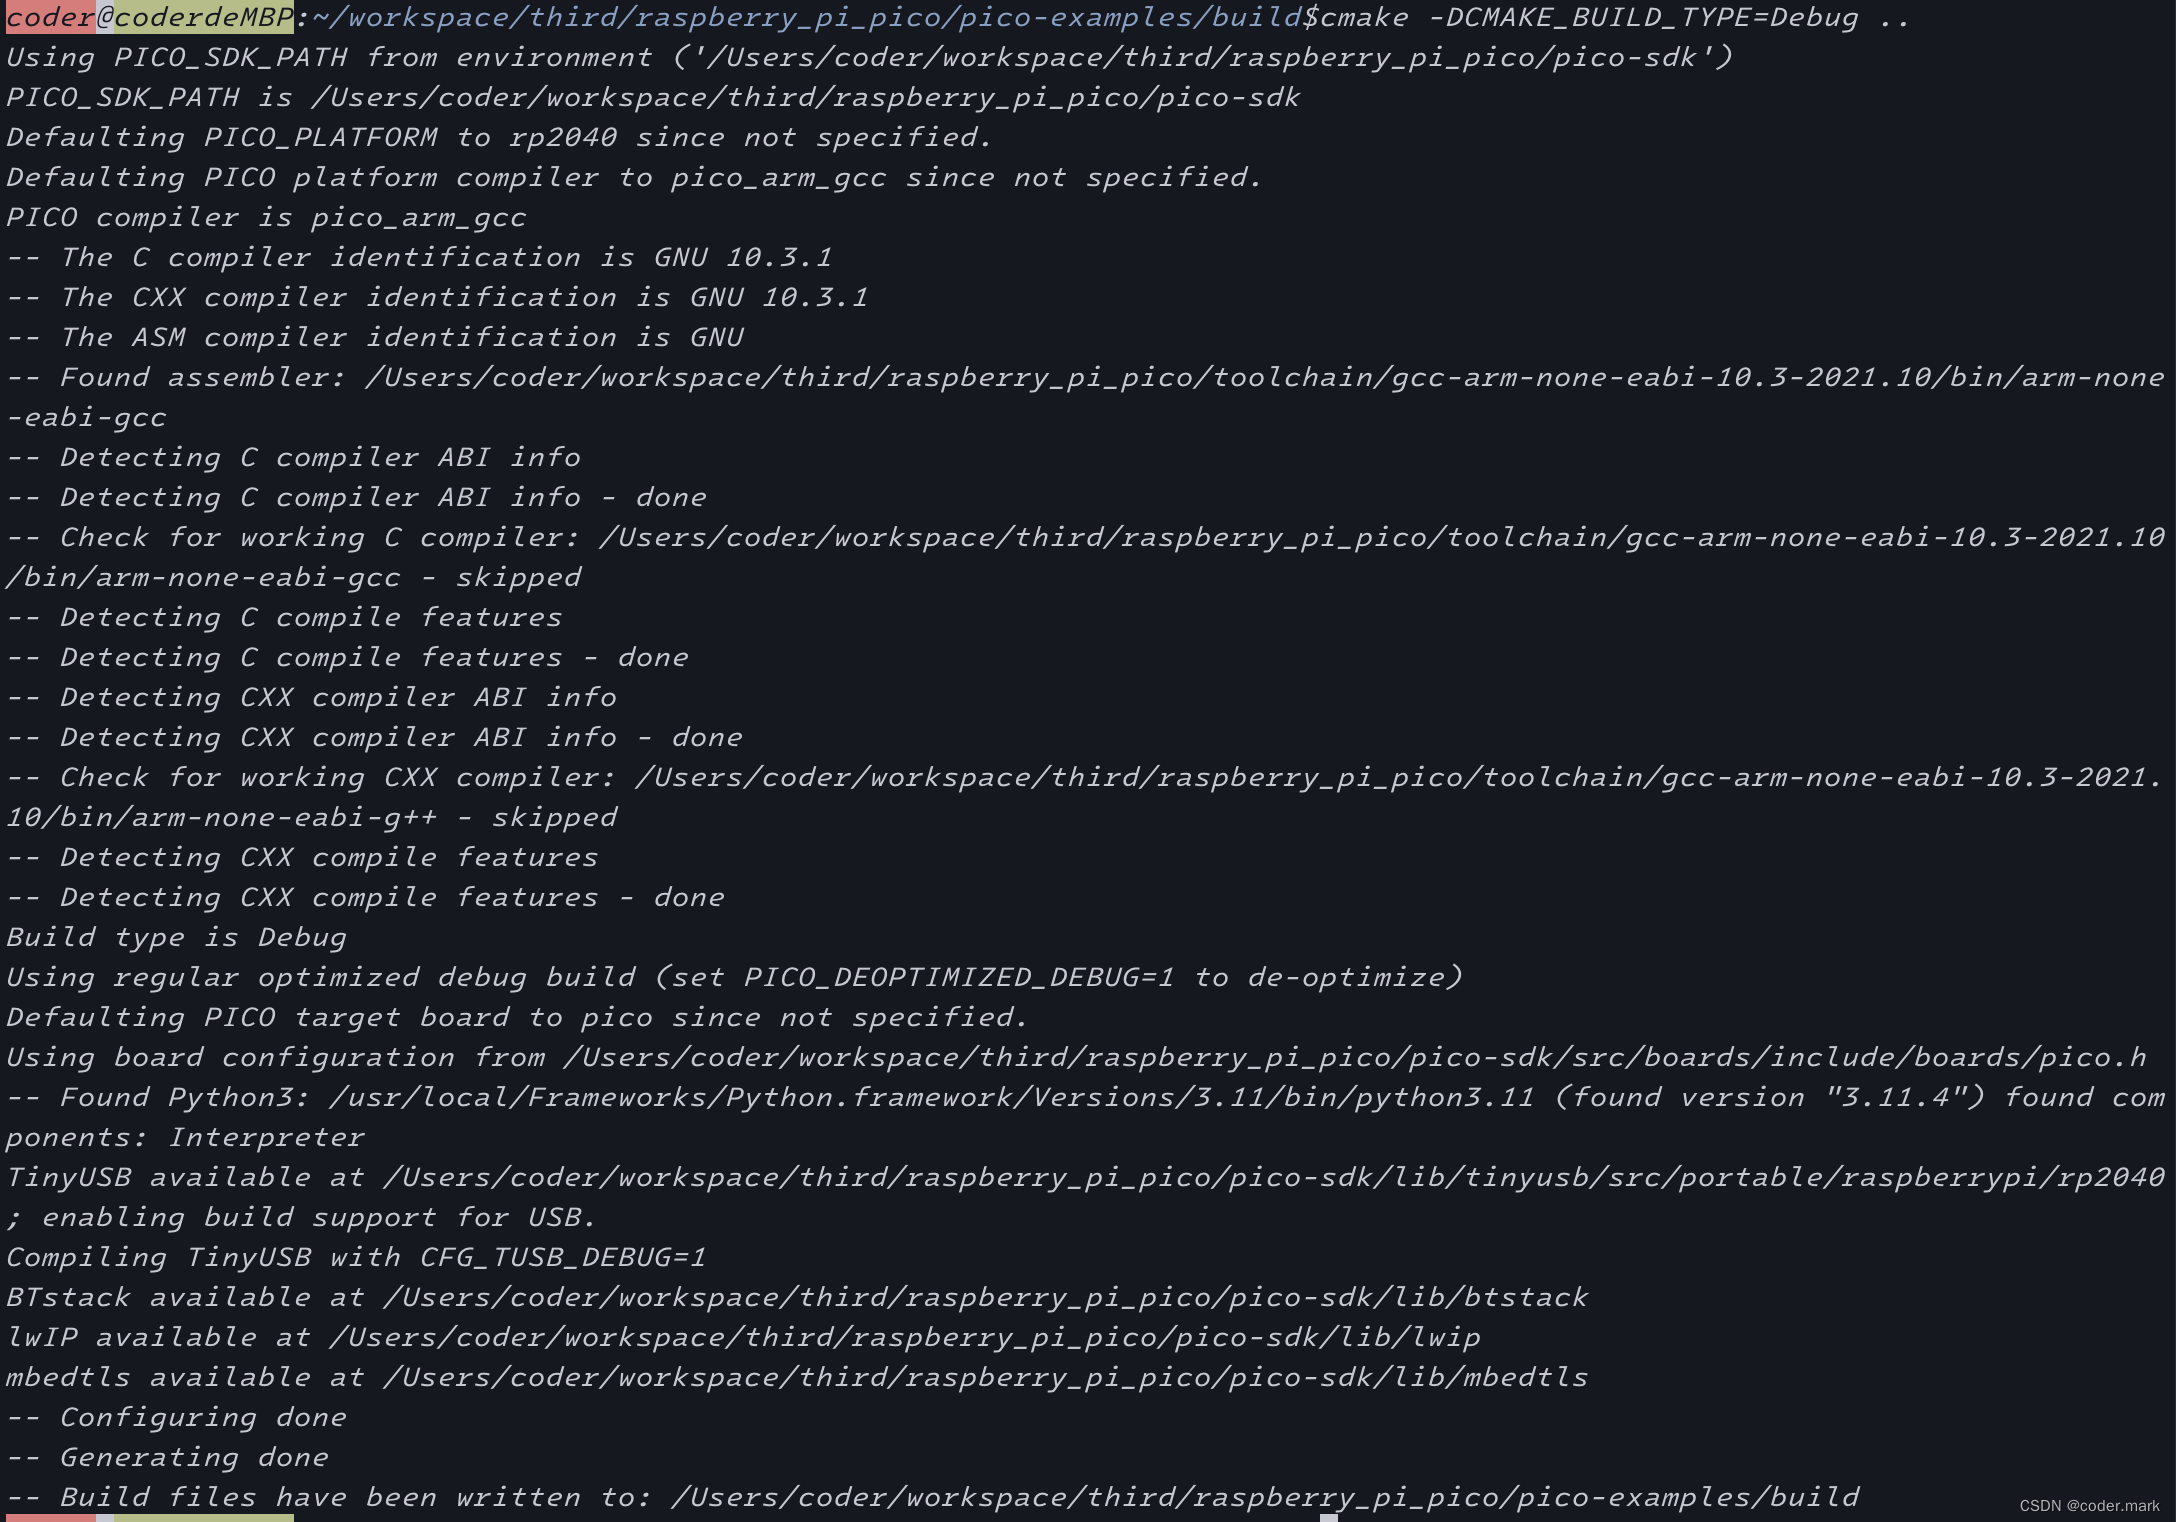
7、编译blink程序
cd blink
make
8、通过SWD进行下载(前提已经将一个pico烧写picoprobe固件,请查看本专栏其他相关博文)
cd ~/workspace/third/raspberry_pi_pico/openocd/
修改tcl/interface/cmsis-dap.cfg文件内容为
#
# ARM CMSIS-DAP compliant adapter
#
# http://www.keil.com/support/man/docs/dapdebug/
#

adapter driver cmsis-dap

adapter speed 5000

# Optionally specify the serial number of CMSIS-DAP usb device.
#cmsis_dap_serial 02200201E6661E601B98E3B9
硬件连接
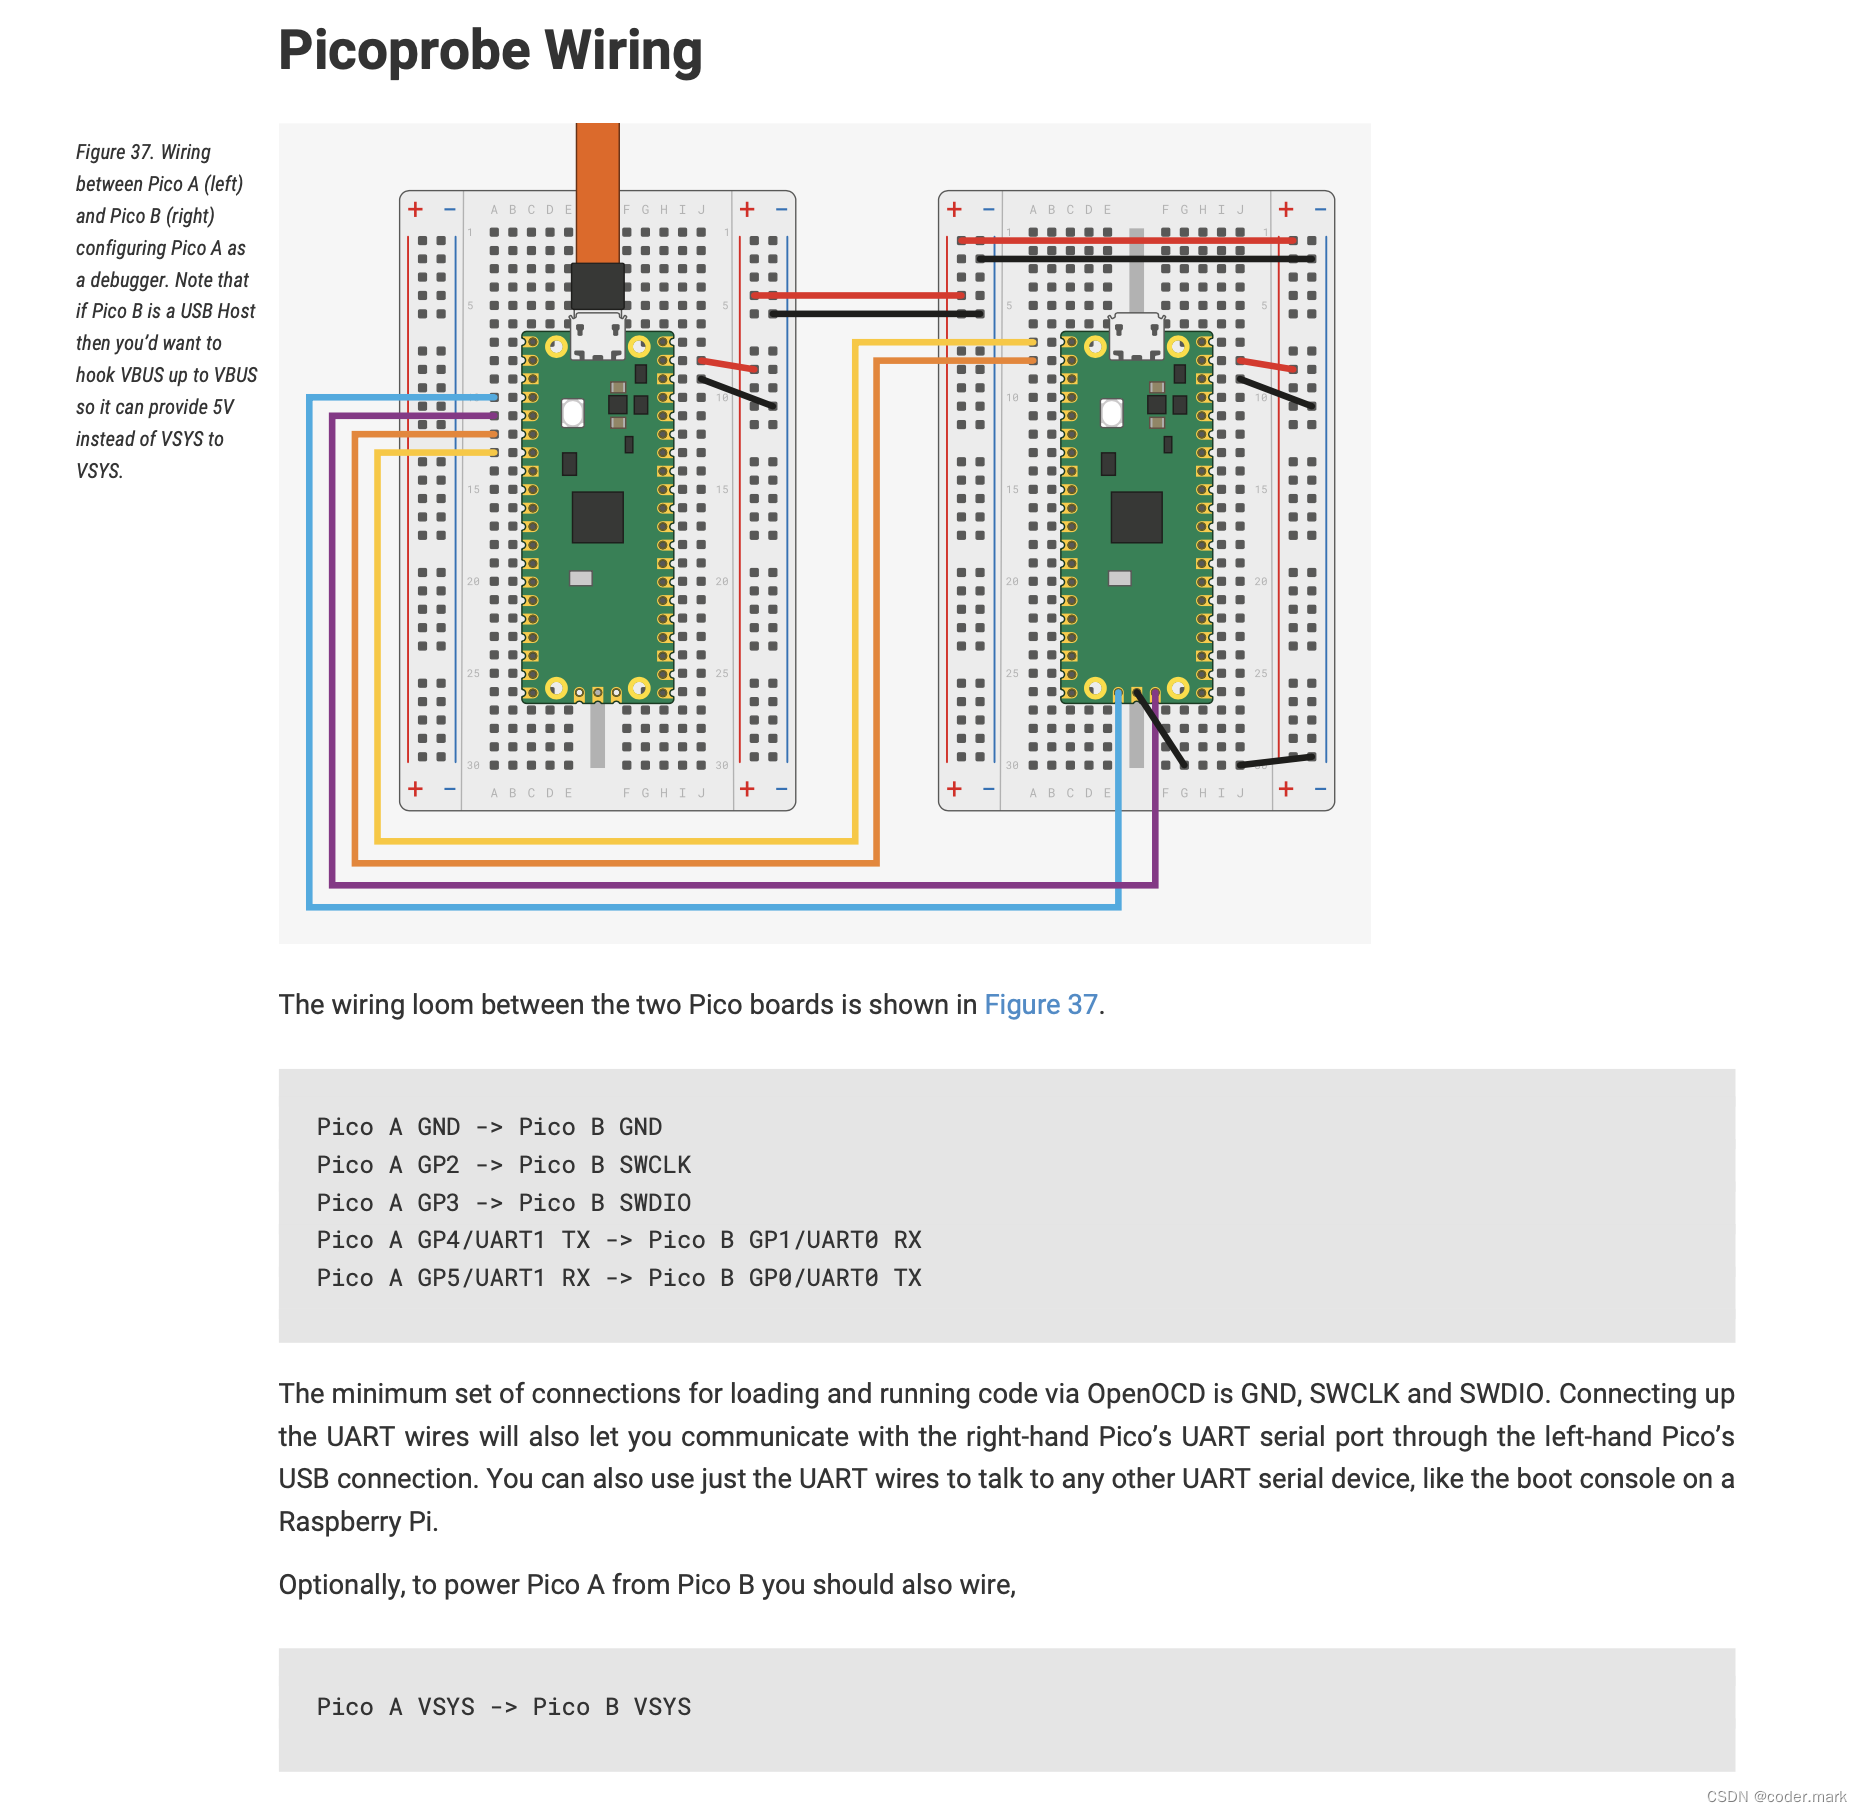
注意,上图中只给左边的PICO通过USB供电,其实两个PICO都可以单独通过USB供电,只要供地即可。(如果分别用USB进行供电,上图中的红色线一定要断开)
Pico A GP4/UART1 TX -> Pico B GP1/UART0 RX
Pico A GP5/UART1 RX -> Pico B GP0/UART0 TX
这两个引脚连接起来的目的是,PICO B可能通过串口输出日志,通过这样的连接开发者就可以省掉一个USB转串口工具,PICO A既是SWD调试器,又是USB转串口工具,只要PICO A接在电脑上,就可以识别出一个COM口,这样PC上就可以通过串口工具软件看到PICO B的串口输出。
在openocd目录下执行
./src/openocd -f interface/cmsis-dap.cfg -f target/rp2040.cfg -s tcl 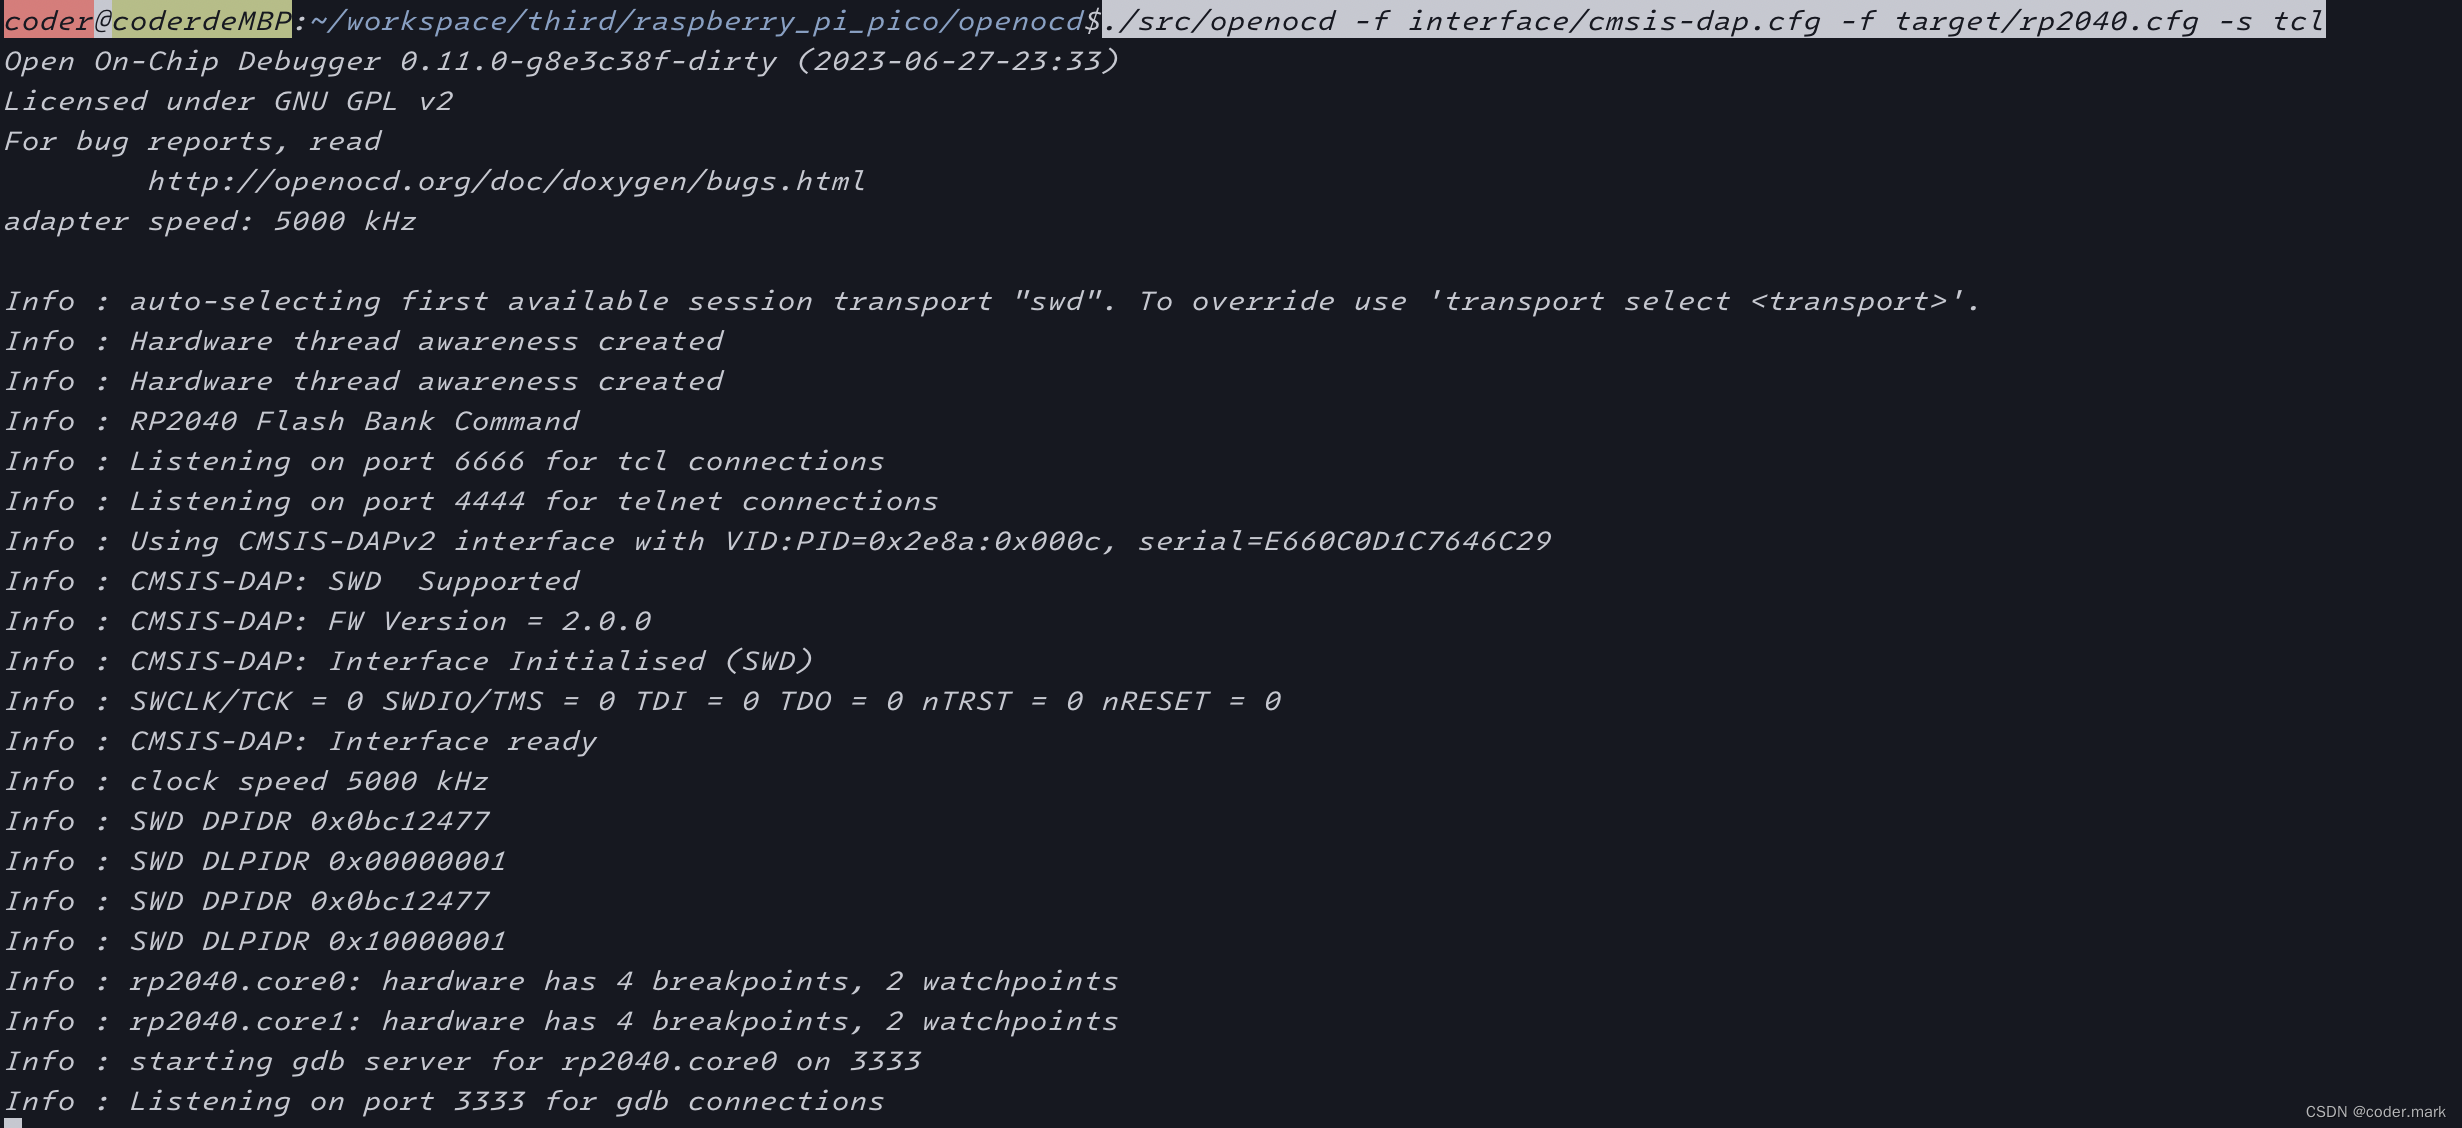
如果有类似上图的输出说明硬件和调试器一切正常。
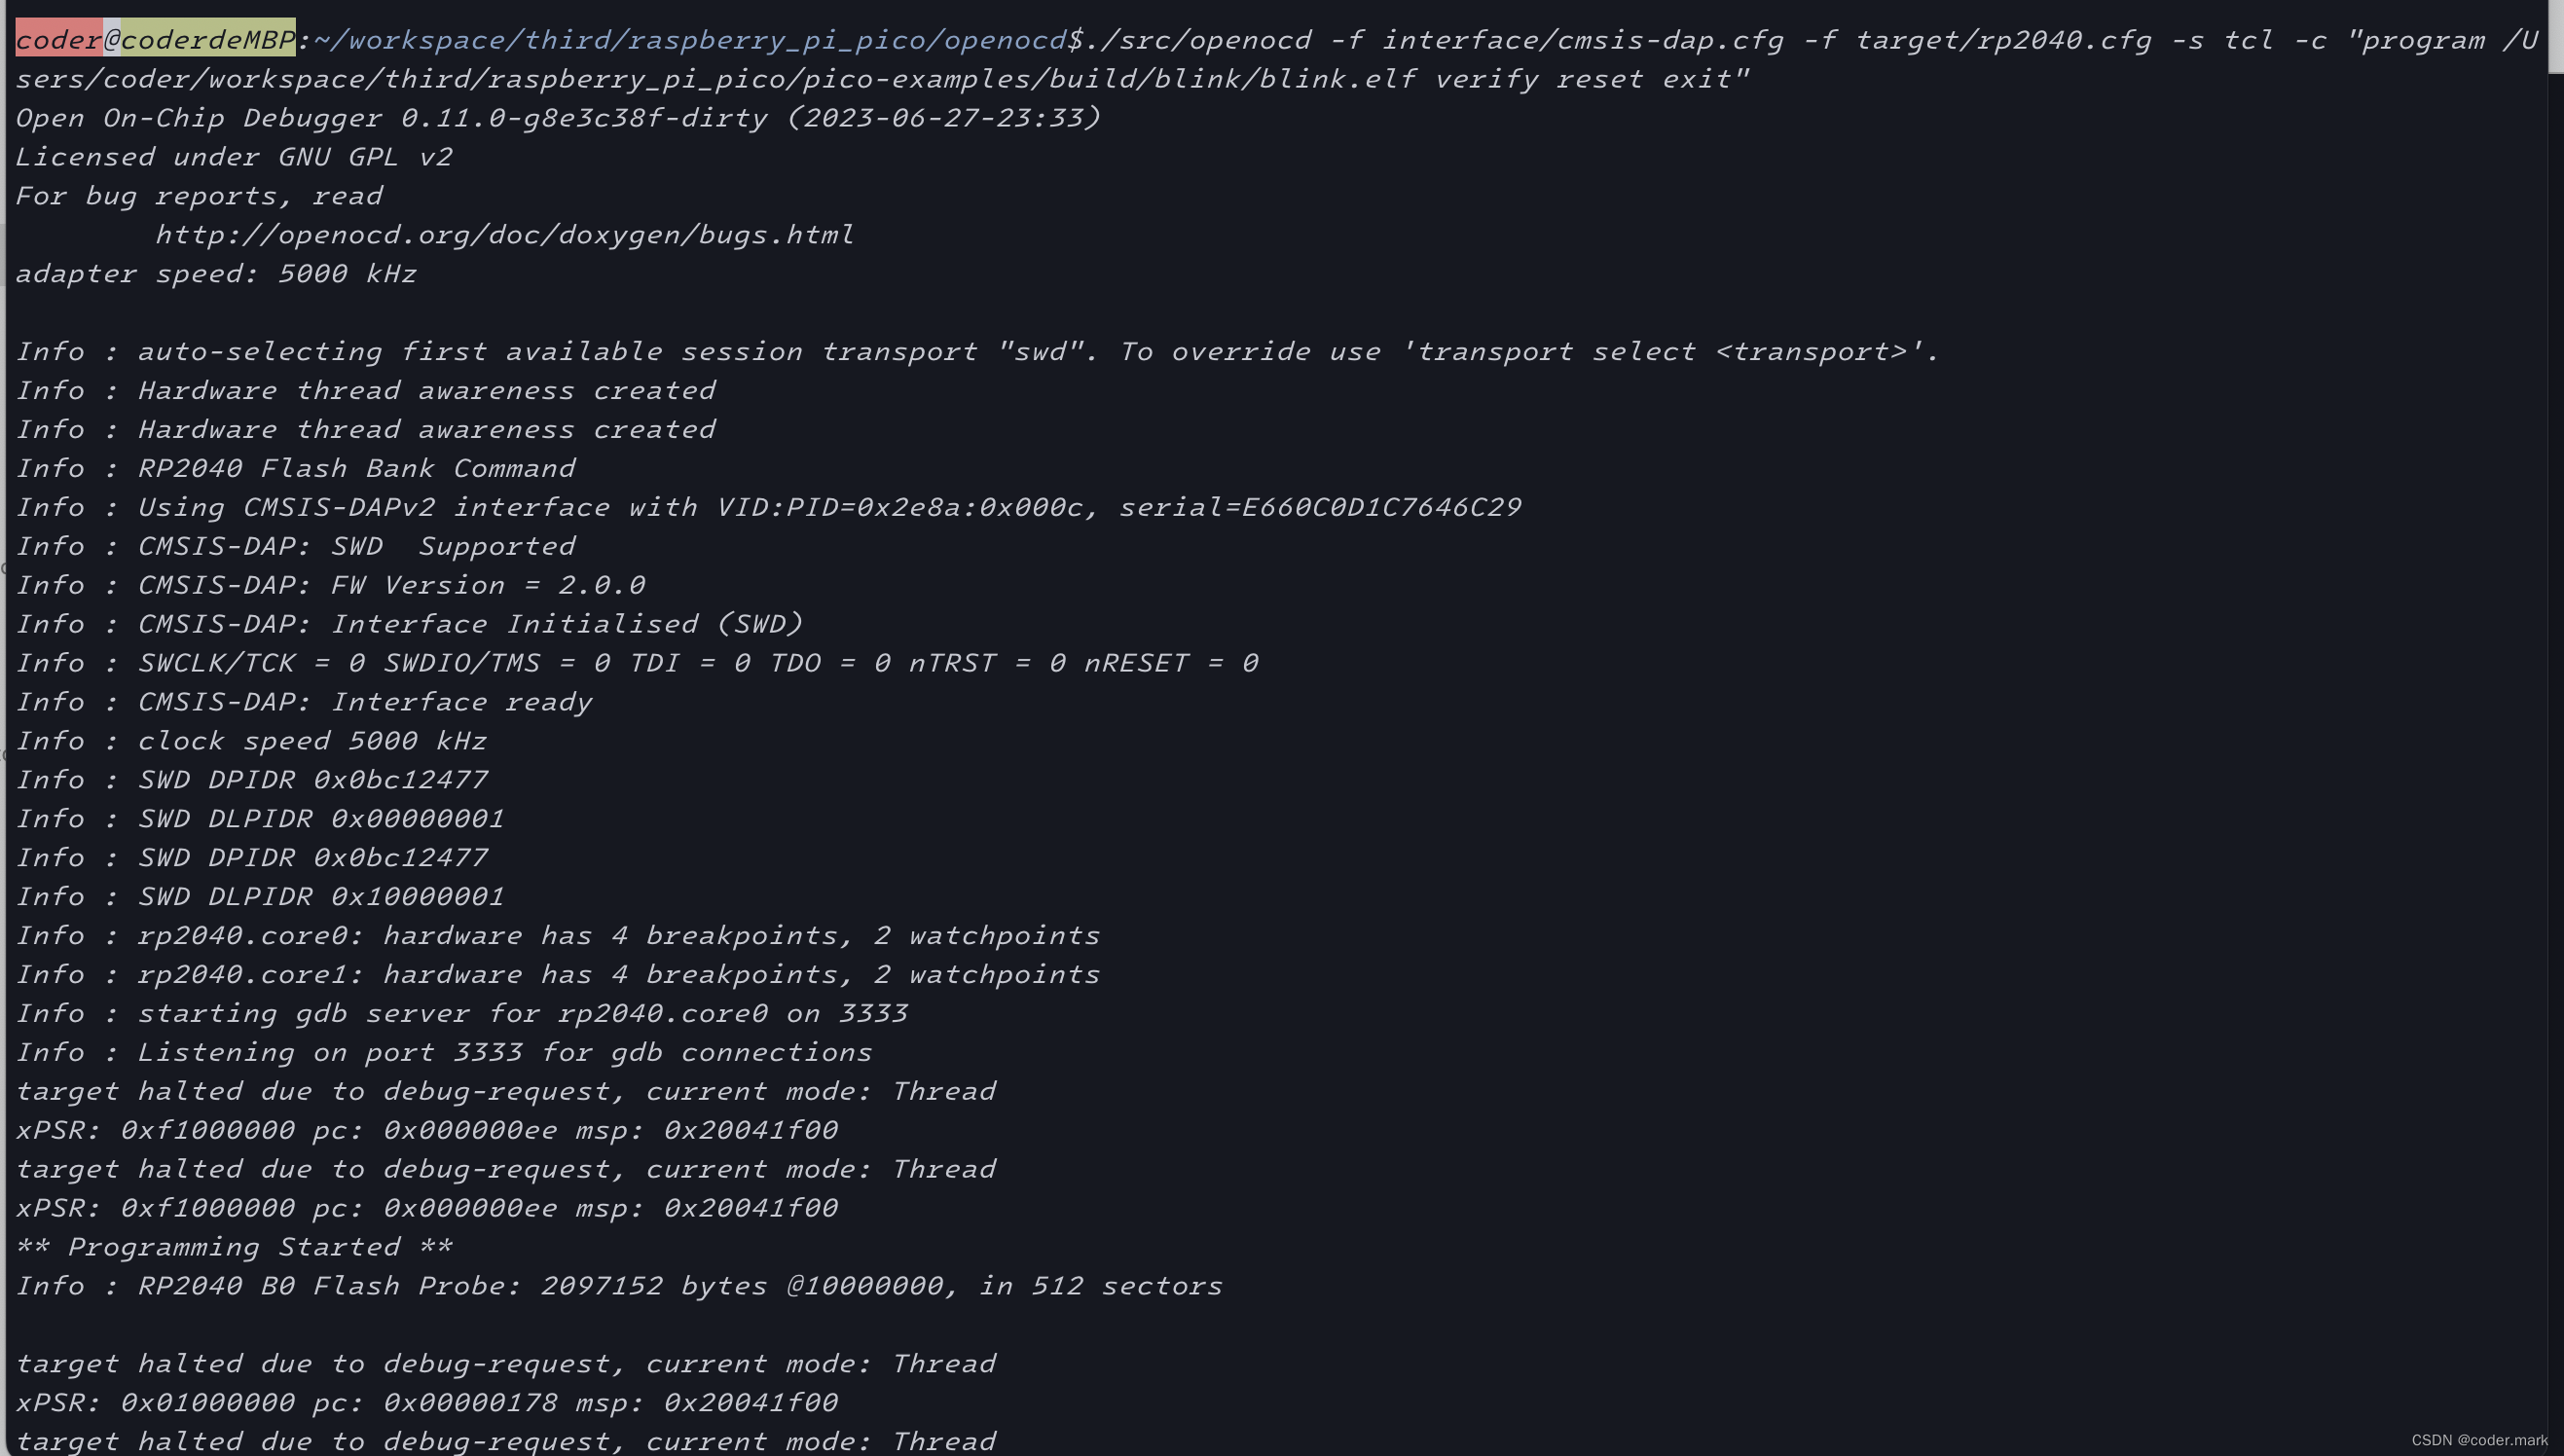
烧写blink程序
9、基于命令行的调试方法
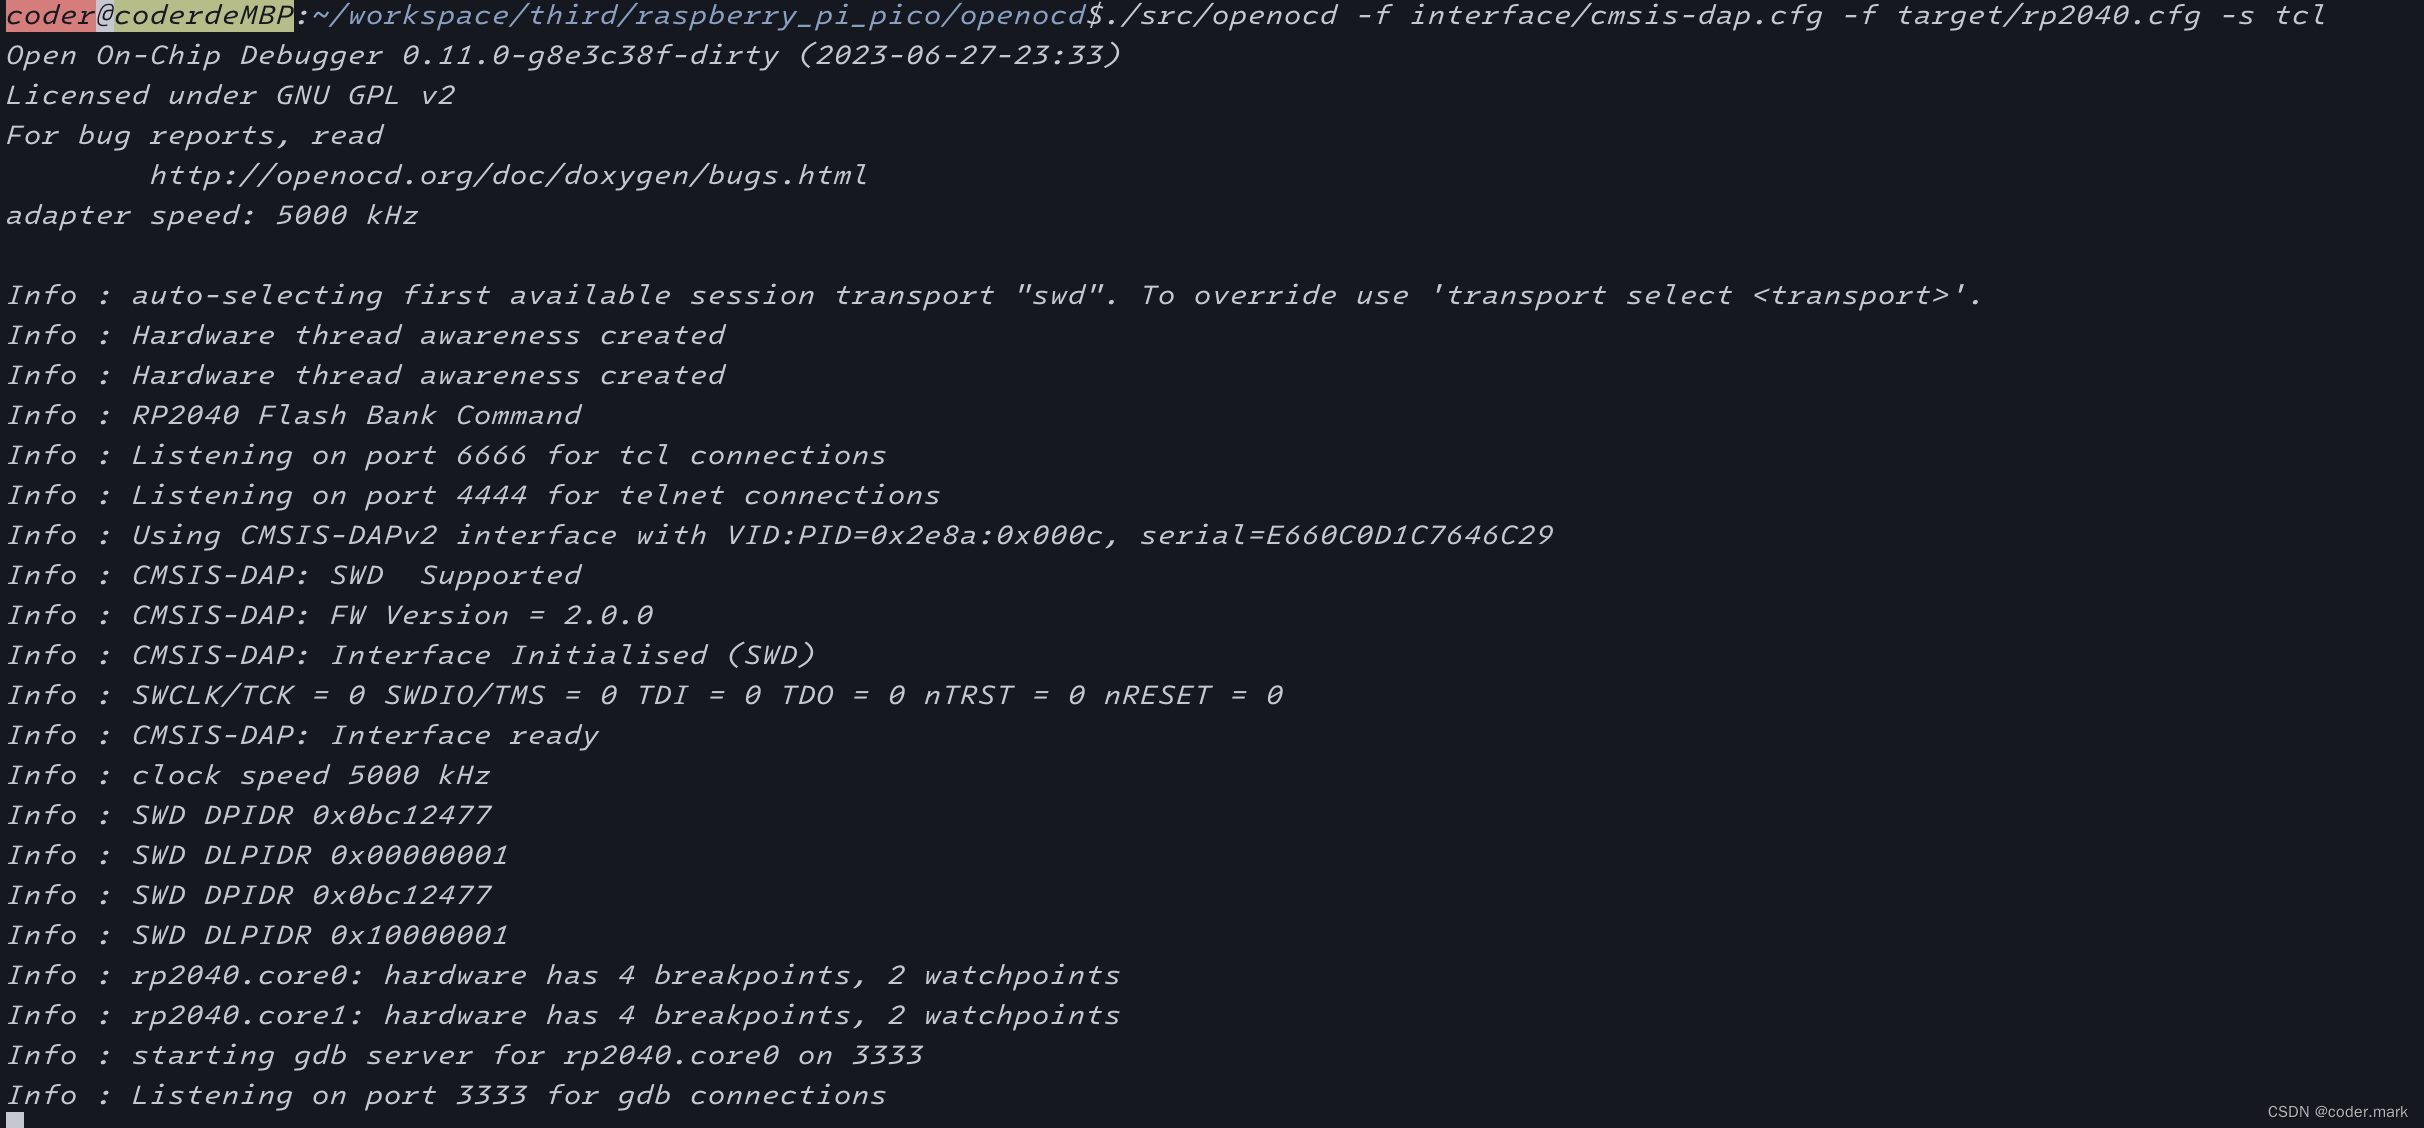
新开一个Terminal执行openocd
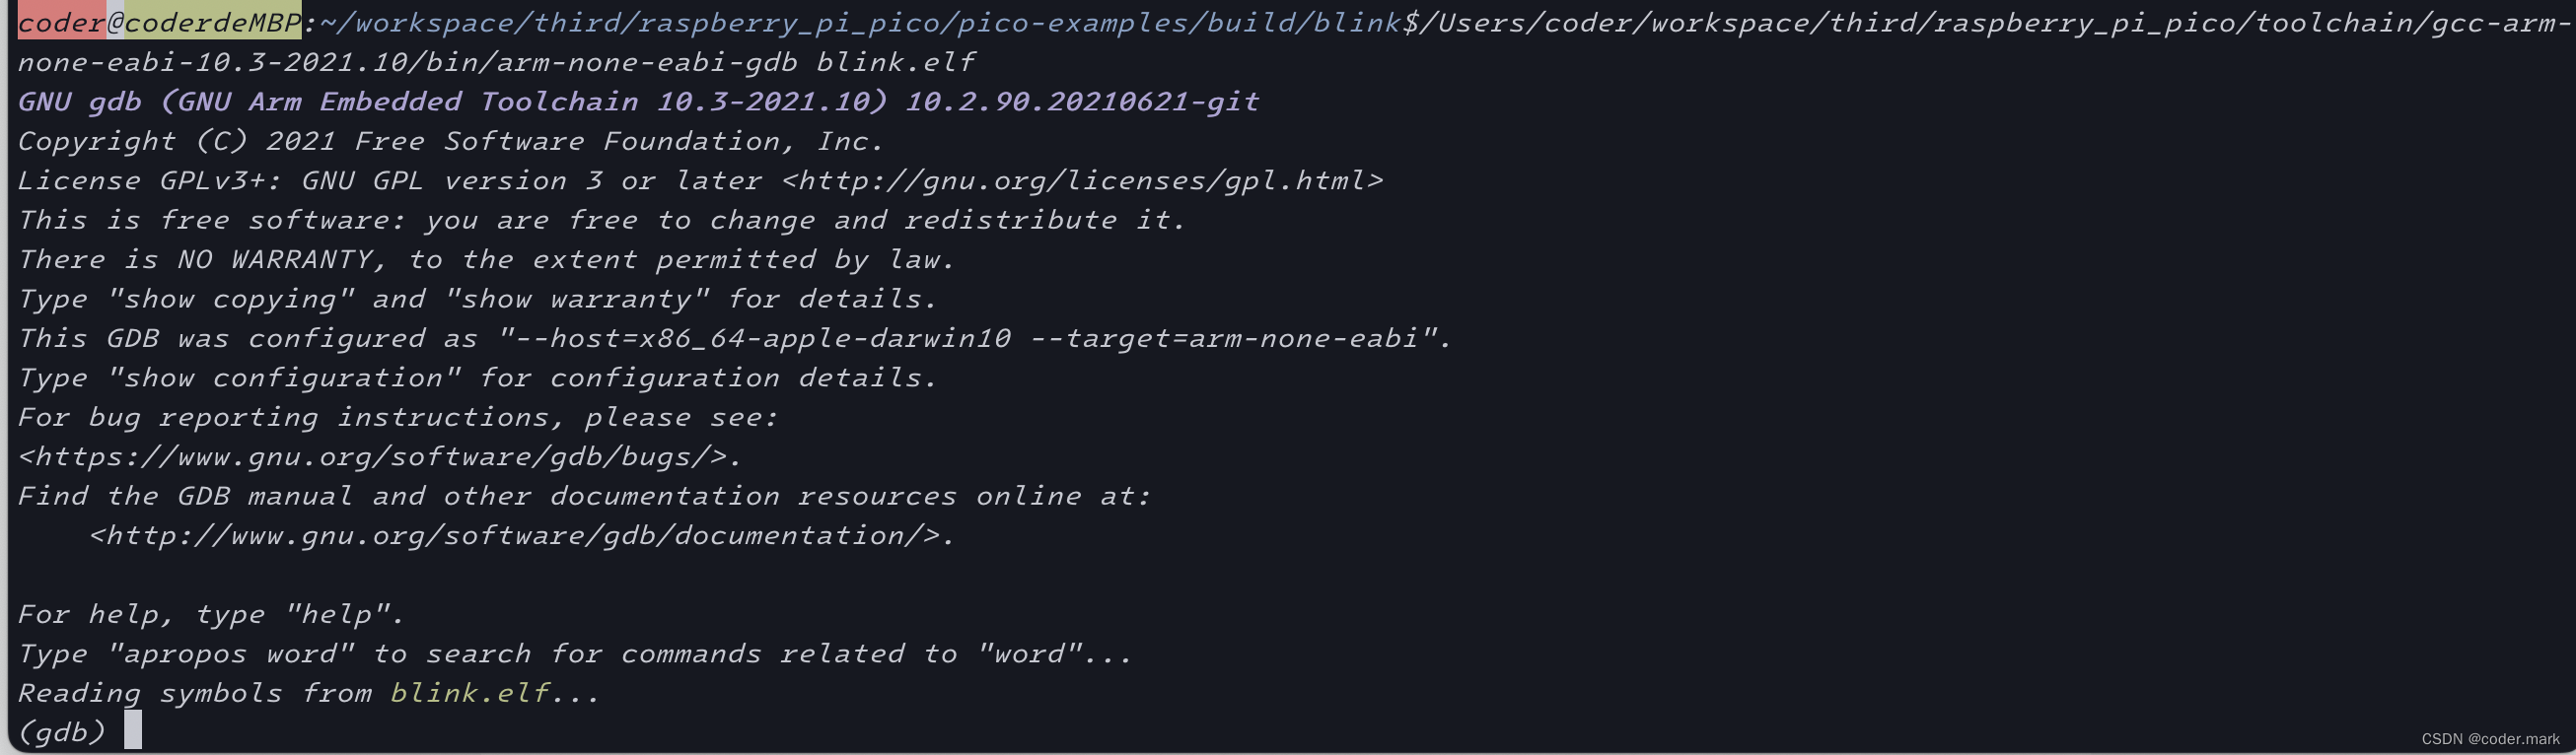
再开一个Terminal执行gdb
连接GDB和OpenOCD
target remote localhost:3333 
加载代码
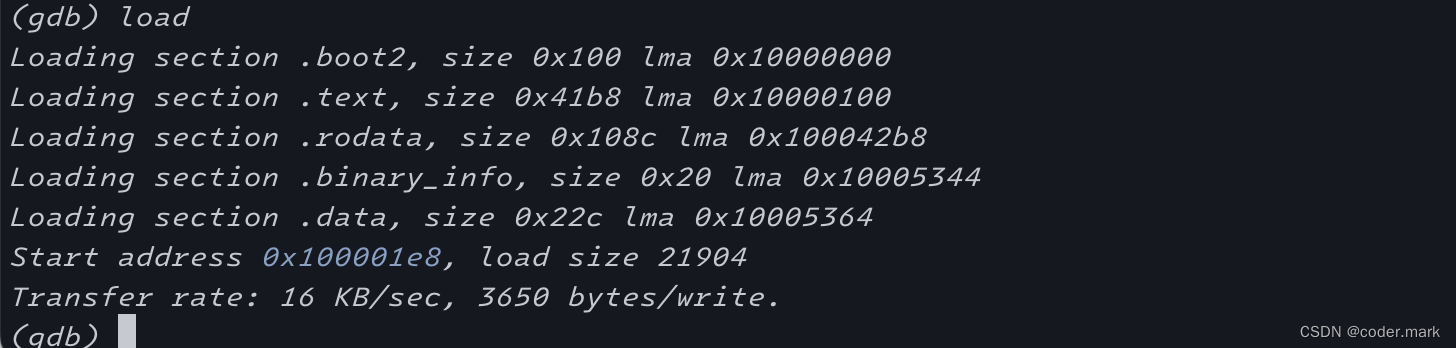
复位、设置断点、单步执行
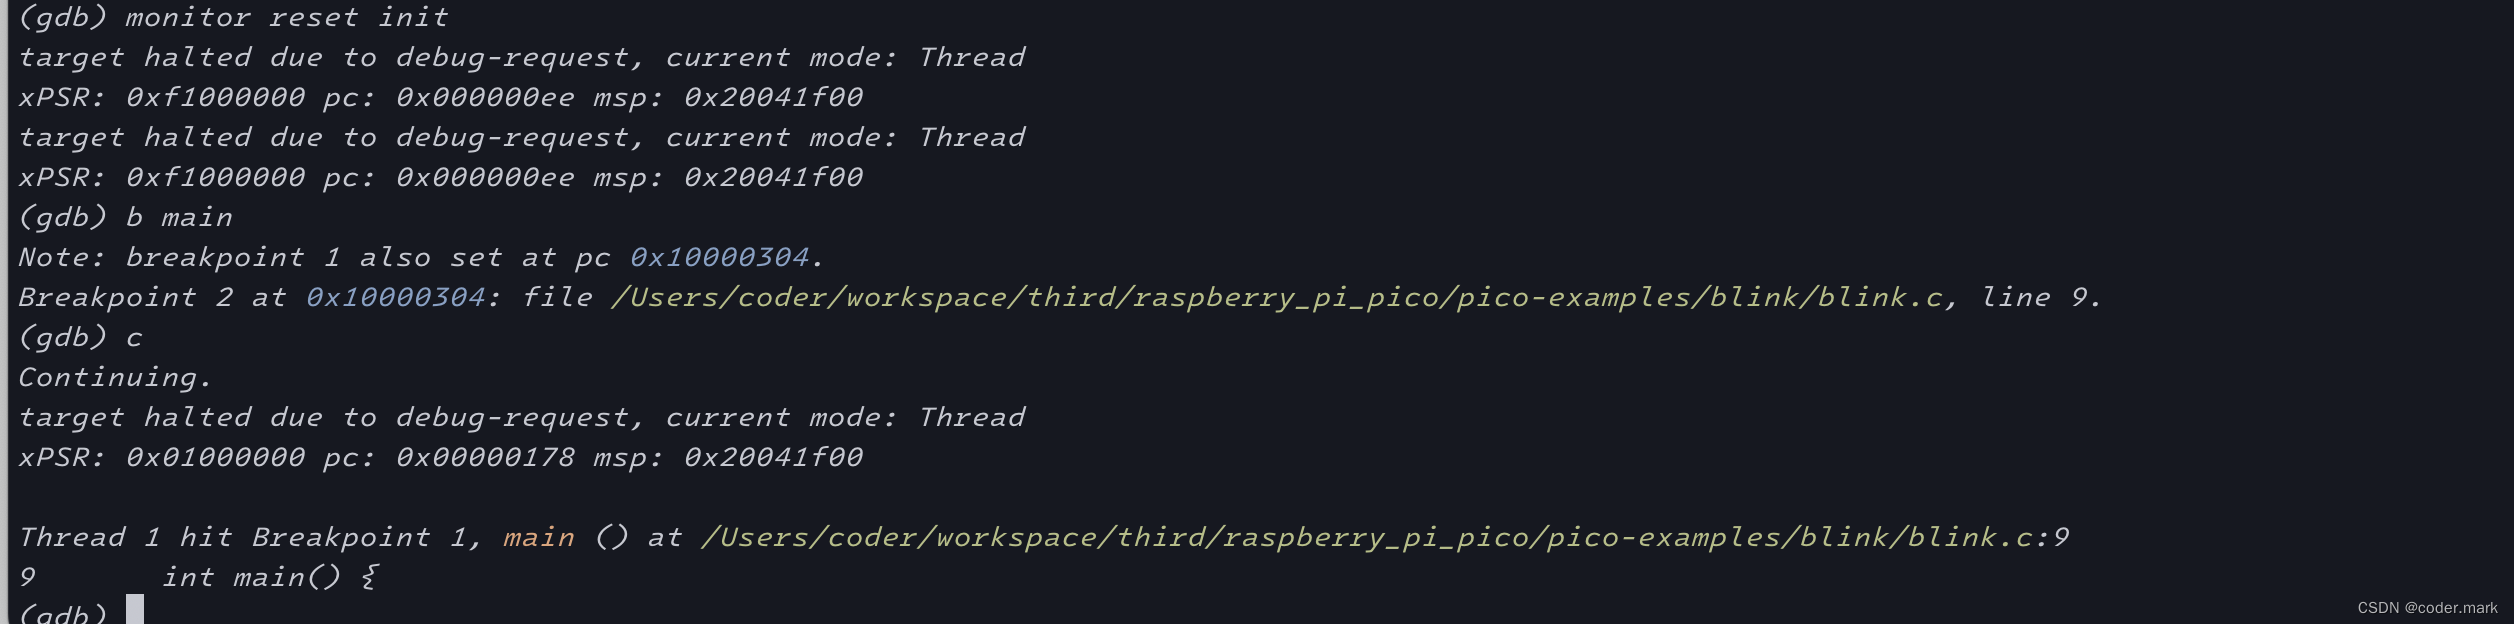
以上就是mac系统上命令行调试方法
三、实战
1、安装visual studio code
Visual Studio Code - Code Editing. Redefined
2、打开工程
cd ~/workspace/third/raspberry_pi_pico/pico-examples
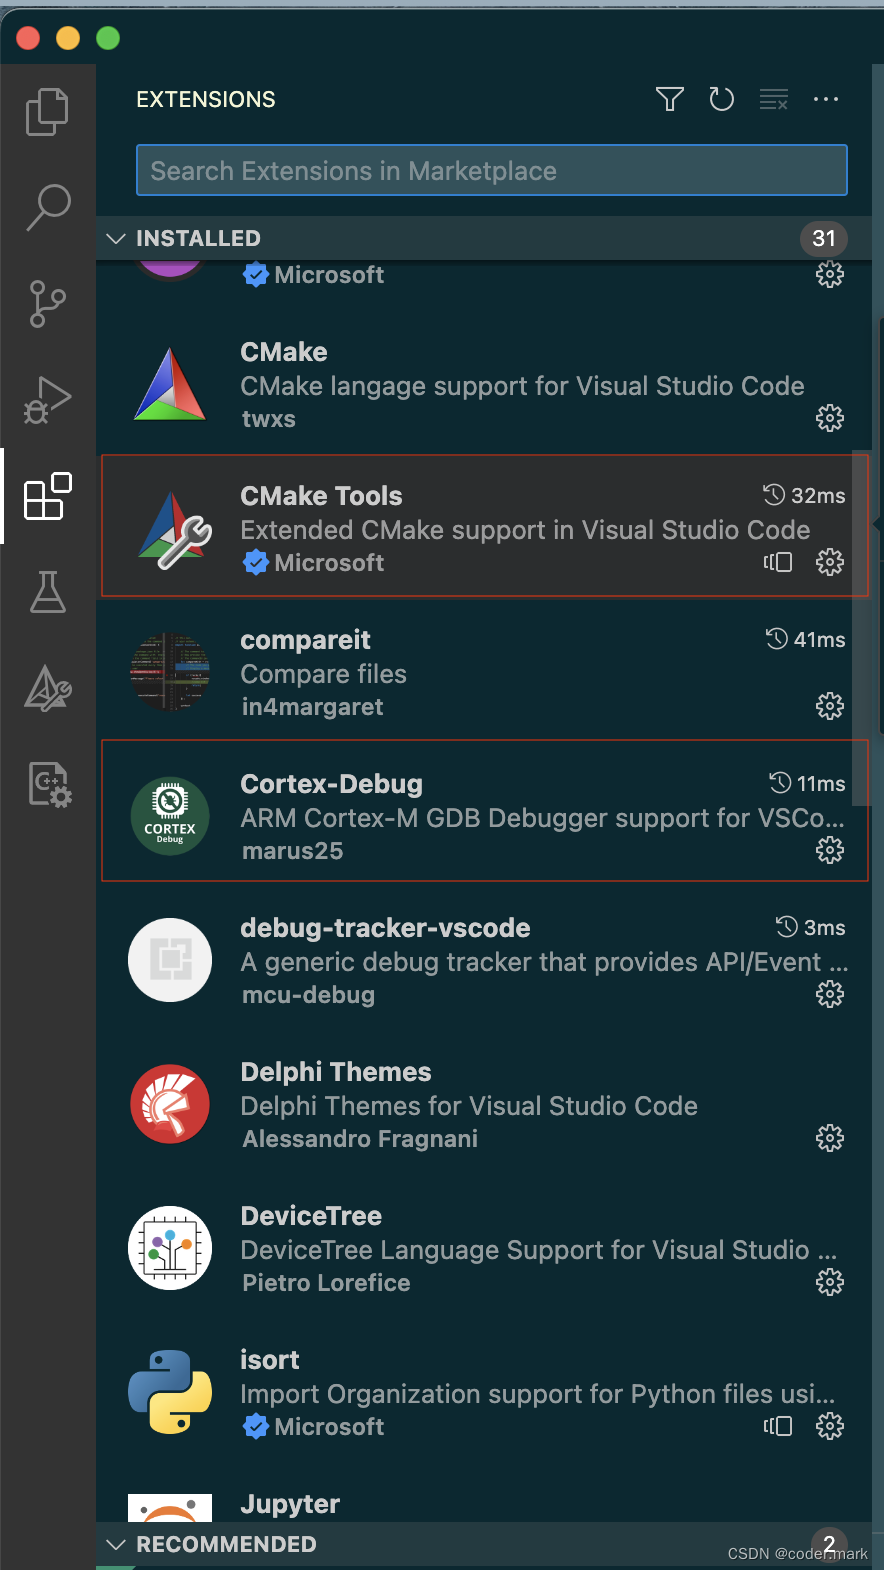
code .3、 安装插件(cortex-debug 、cmake-tools )
4、在pico-example目录下新建.vscode目录并存放以下两个文件
mkdir .vscodelaunch.json文件内容
{
    "version": "0.2.0",
    "configurations": [
        {
            "name": "Pico Debug",
            "cwd": "${workspaceRoot}",
            "executable": "${command:cmake.launchTargetPath}",
            "request": "launch",
            "type": "cortex-debug",
            "servertype": "openocd",
            // This may need to be "arm-none-eabi-gdb" for some previous builds
            "gdbPath" : "${env:PICO_TOOLCHAIN_PATH}/bin/arm-none-eabi-gdb",
            "searchDir":    ["${env:PICO_OPENOCD_PATH}/tcl"],
            "device": "RP2040",
            "configFiles": [
                "interface/cmsis-dap.cfg",
                "target/rp2040.cfg"
            ],
            "svdFile": "${env:PICO_SDK_PATH}/src/rp2040/hardware_regs/rp2040.svd",
            "runToEntryPoint": "main",
            // Work around for stopping at main on restart
            "postRestartCommands": [
                "break main",
                "continue"
            ]
        }
    ]
}
尤其注意gdbPath、searchDir、configFiles的内容
settings.json
{
    // These settings tweaks to the cmake plugin will ensure
    // that you debug using cortex-debug instead of trying to launch
    // a Pico binary on the host
    "cmake.buildBeforeRun": true,
    "C_Cpp.default.configurationProvider": "ms-vscode.cmake-tools",
    "cortex-debug.openocdPath": "${env:PICO_OPENOCD_PATH}/src/openocd"
}
尤其注意cortex-debug.openocdPath的内容
3、按照第二步重新打开pico-examples
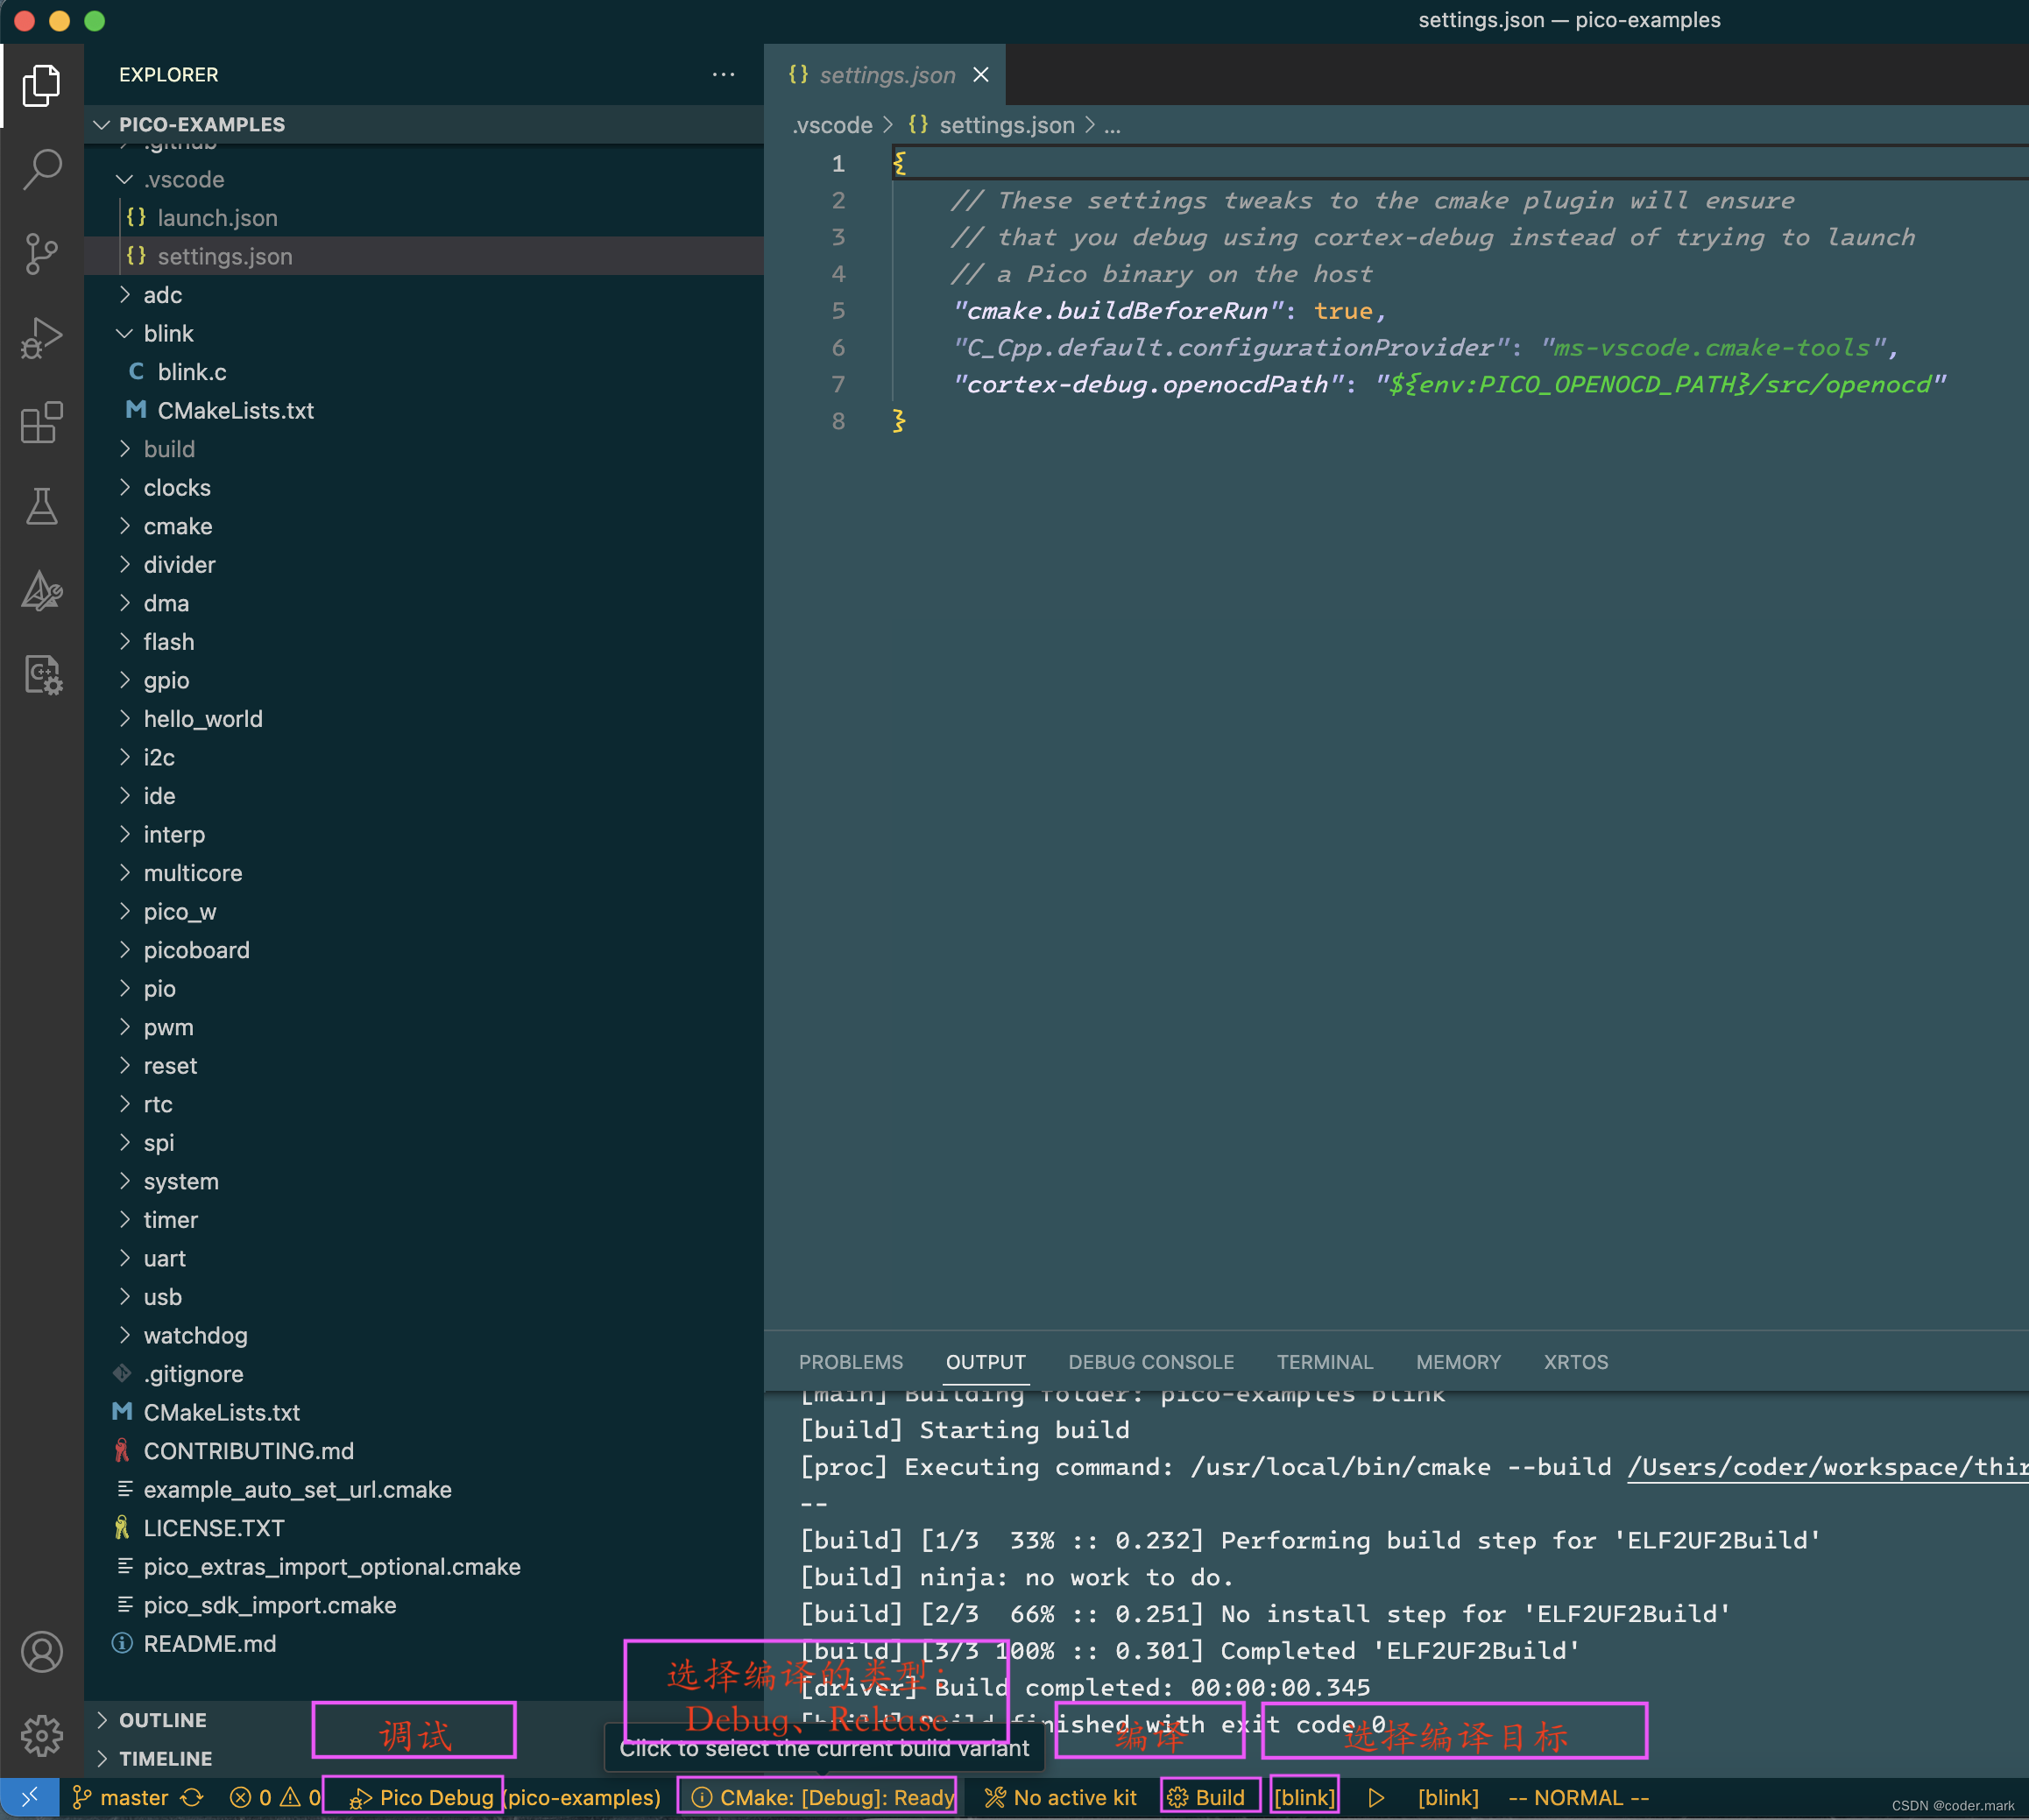
4、调试

以上就是MAC下开发调试的全部内容


 491
491

 被折叠的 条评论
为什么被折叠?
被折叠的 条评论
为什么被折叠?
 到【灌水乐园】发言


