 像调接口一样调用第三方API的两种方式


对于调用第三方接口有很多种方式,最常见的是使用HttpClient的方式调用,与之类似的还有OkHttpClient以及Spring自带的RestTemplate均可实现第三方接口的调用。但是这样的接口调用有点硬编码,能不能像调用接口一样调用第三方API呢。当然是有的,下面来介绍两种调用的方式。
01 Forest
1.1 Forest简介
声明式与编程式双修,让天下没有难以发送的 HTTP
请求。这是Forest官方对它的说明。底层支持OkHttp3和HttpClient框架,只需要简单配置就可随意切换。
官网地址:https://forest.dromara.org/
1.2 Forest引入
引入mavan依赖:
<dependency>
    <groupId>com.dtflys.forest</groupId>
    <artifactId>forest-spring-boot3-starter</artifactId>
    <version>1.6.4</version>
</dependency>
因为笔者项目搭建使用的Springboot3.x ,所以就是使用了上面的依赖。使用者可以根据自己项目的情况引入不同的依赖。
1.3 Forest客户端
定义客户端,并使用Froest的注解。本章使用了的公布公开API:山河
package com.simonking.boot.remote.forest;

import com.dtflys.forest.annotation.Get;
import com.dtflys.forest.annotation.Query;
import com.dtflys.forest.annotation.Var;

/**
 * 山河api
 *  https://api.shanhe.kim
 *
 * @Author: ws
 * @Date: 2025/3/3 16:06
 */
public interface ShanheForestClient {

    @Get("http://shanhe.kim/api/za/xingzuo.php?msg={0}")
    String getXingZuo(String xinZuo);

    @Get("http://shanhe.kim/api/za/phonegj.php?phone={phone}")
    String phoneGj(@Var("phone") String phone);

    @Get("http://shanhe.kim/api/qq/xiongji.php?qq=${qq}")
    String qqxiongJi(@Var("qq") String qq);

    @Get("http://shanhe.kim/api/wz/ymgj.php")
    String domainGj(@Query("url") String url);
}
-
1、主要使用的注解:@Get、@Post、@Put等来标注请求的类型。
-
2、使用占位{},参数@Var、@Query注解来传递参数。
推荐使用 @Query 注解,可以像调用接口一样传递参数,其他直接需要在Url后拼接参数,这种方式如果参数太多代码就会变得冗余。
1.4 Forest配置
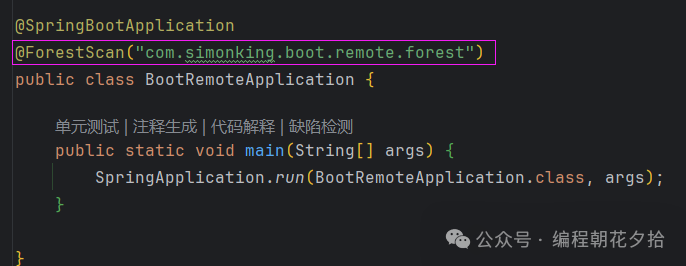
启动类增加 ** Forest ** 客户端的注解扫描,使用者可以替换成自己的包名:
@ForestScan(“com.simonking.boot.remote.forest”)
到这里我们的方法已经可以启动访问了。 ** Forest ** 还提供了很多配置,使用者可以自定修改指定,详情可以参考官网。下面只是展示了部分配置:
# 配置后端HTTP API为 okhttp3
forest.backend=okhttp3
# 连接池最大连接数
forest.max-connections=1000
# 连接超时时间,单位为毫秒
forest.connect-timeout=3000
# 数据读取超时时间,单位为毫秒
forest.read-timeout=3000
1.5 Forest启动测试
测试代码:
@Autowired
private ShanheForestClient shanheClient;

@Test
void forestTest() {
    String xingZuo = shanheClient.getXingZuo("双鱼");
    System.out.println("星座:" + xingZuo);
    System.out.println("--------------------------------------------");

    String phoneGj = shanheClient.phoneGj("15268595589");
    System.out.println("手机估值:" + phoneGj);
    System.out.println("--------------------------------------------");

    String qqxiongJi = shanheClient.qqxiongJi("585984585");
    System.out.println("QQ吉凶:" + qqxiongJi);
    System.out.println("--------------------------------------------");

    String domainGj = shanheClient.domainGj("baidu.com");
    System.out.println("域名估值:" + domainGj);
}
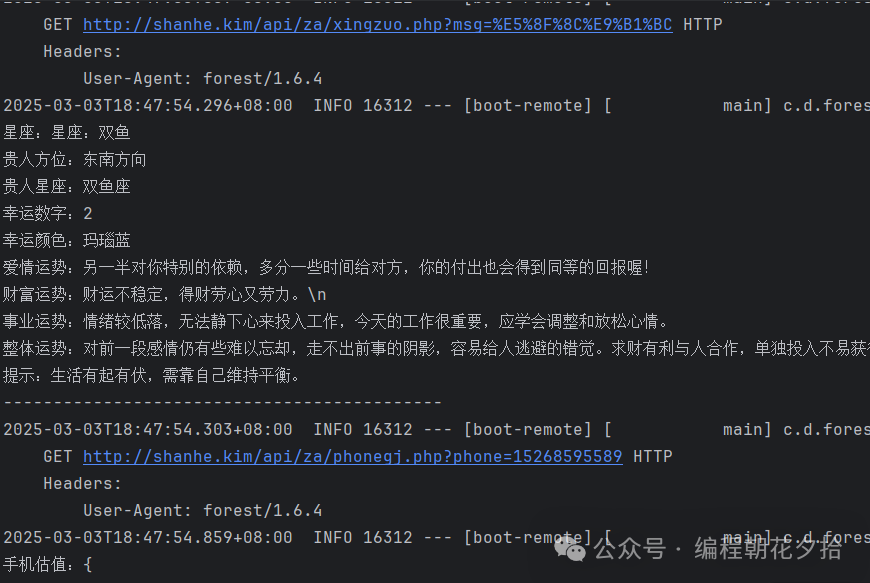
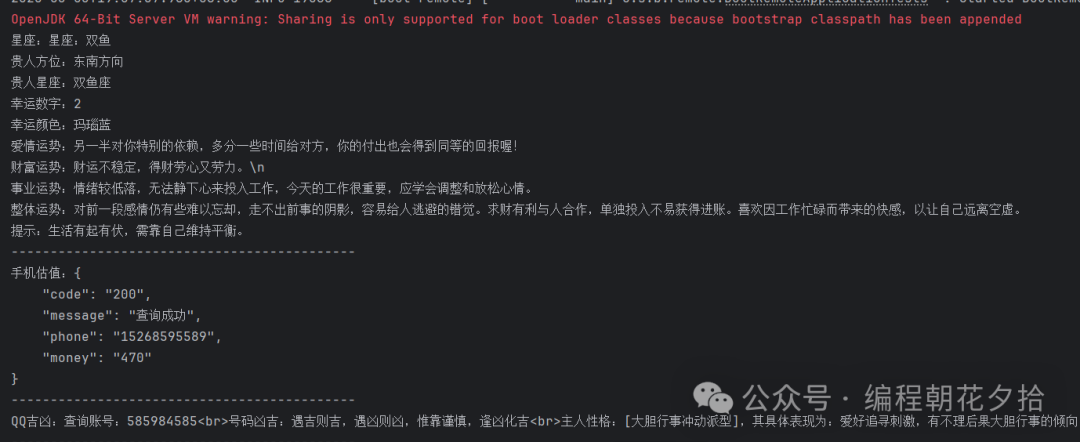
1.6 Forest效果展示
测试成功:
1.7 Forest扩展
Forest 不仅提供了声明式的接口调用,还提供编程式的接口调用。这里不展开演示。摘取一个小片段,有兴趣可以去了解一下。
// Get请求
// 并以 String 类型接受数据
String str = Forest.get("/").executeAsString();

// Post请求
// 并以自定义的 MyResult 类型接受
MyResult myResult = Forest.post("/").execute(MyResult.class);
02 OpenFeign
2.1 OpenFeign简介
OpenFeign 是SpringCloud官方提供的一种声明式客户端。专为简化微服务间的 RESTful API调用而设计。它通过接口和注解的方式,将 HTTP 请求的细节隐藏在抽象层之下,开发者只需定义接口即可完成远程调用,显著减少模板代码。
2.2 OpenFeign引入
OpenFeign 的引入通过SpringCloud管理版本。
<properties>
    <spring-cloud.version>2024.0.0</spring-cloud.version>
</properties>

<dependencyManagement>
    <dependencies>
        <dependency>
            <groupId>org.springframework.cloud</groupId>
            <artifactId>spring-cloud-dependencies</artifactId>
            <version>${spring-cloud.version}</version>
            <type>pom</type>
            <scope>import</scope>
        </dependency>
    </dependencies>
</dependencyManagement>

<dependency>
    <groupId>org.springframework.cloud</groupId>
    <artifactId>spring-cloud-starter-openfeign</artifactId>
</dependency>
2.3 OpenFeign客户端
OpenFeign 客户端使用@FeignClient声明。
package com.simonking.boot.remote.feign;

import org.springframework.cloud.openfeign.FeignClient;
import org.springframework.web.bind.annotation.GetMapping;
import org.springframework.web.bind.annotation.RequestParam;

/**
 * TODO
 *
 * @Author: ws
 * @Date: 2025/3/3 16:43
 */
@FeignClient(name = "shanhe", url = "http://shanhe.kim/api")
public interface ShanheFeignClient {

    @GetMapping("/za/xingzuo.php")
    String getXingZuo(@RequestParam("msg") String xinZuo);

    @GetMapping("/za/phonegj.php")
    String phoneGj(@RequestParam("phone") String phone);

    @GetMapping("/qq/xiongji.php")
    String qqxiongJi(@RequestParam("qq") String qq);

    @GetMapping("/wz/ymgj.php")
    String domainGj(@RequestParam("url") String url);
}
这种方式就可定义普通的http请求一样,使用@GetMapping、@RequestParam、@PathVariable等
2.4 OpenFeign配置
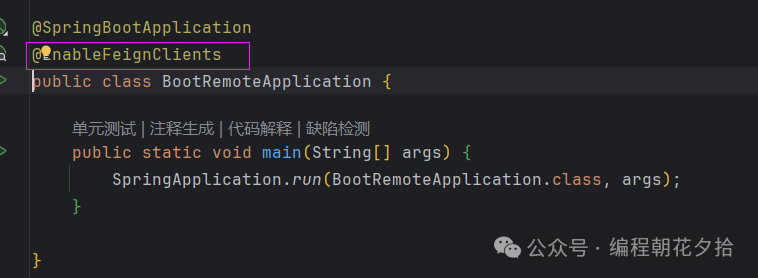
启动类增加 OpenFeign 客户端的注解,默认先扫描当前包下所有的资源。
@EnableFeignClients
其他配置可参考SpringCloud的官方配置。
2.5 OpenFeign测试
测试 OpenFeign 客户端。
@Autowired
private ShanheFeignClient shanheFeignClient;

@Test
void feignTest() {
    String xingZuo = shanheFeignClient.getXingZuo("双鱼");
    System.out.println("星座:" + xingZuo);
    System.out.println("--------------------------------------------");

    String phoneGj = shanheFeignClient.phoneGj("15268595589");
    System.out.println("手机估值:" + phoneGj);
    System.out.println("--------------------------------------------");

    String qqxiongJi = shanheFeignClient.qqxiongJi("585984585");
    System.out.println("QQ吉凶:" + qqxiongJi);
    System.out.println("--------------------------------------------");

    String domainGj = shanheFeignClient.domainGj("baidu.com");
    System.out.println("域名估值:" + domainGj);
}
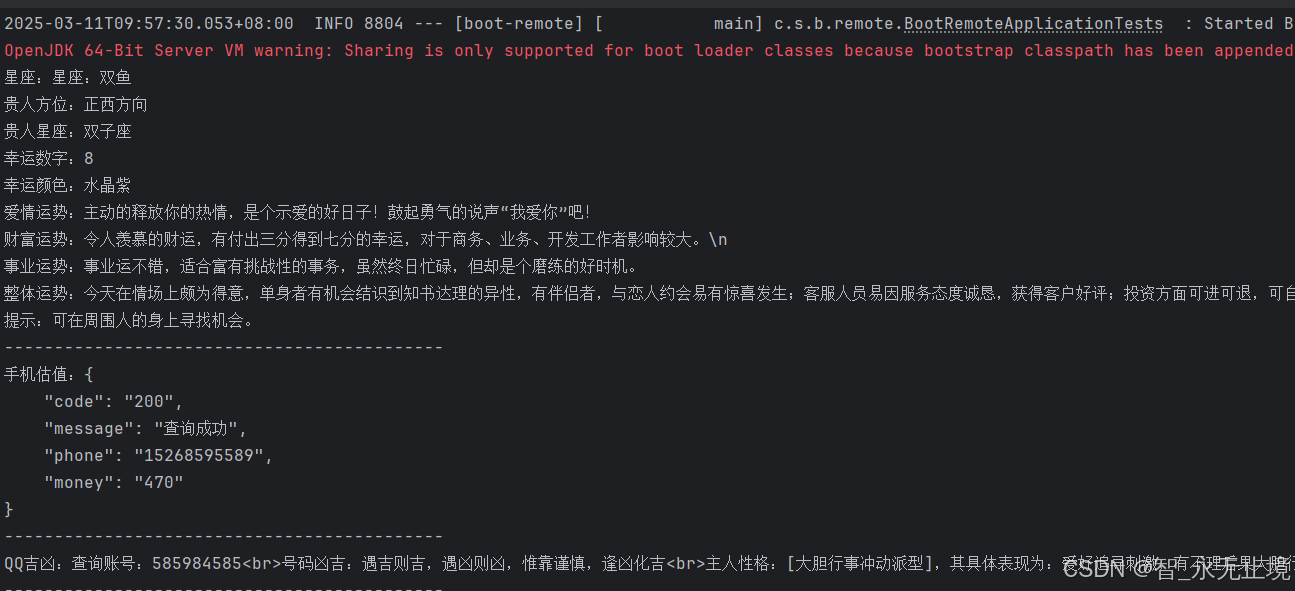
2.6 OpenFeign效果展示
可以看到直接返回了结果:
03 Spring6 特性
Spring6提供新的注解可以代替RestTemplate的注解。
Springboot 3.x使用的spring framework 6.0里有一个全新的http服务调用注解@HttpExchange,该注解的用途是可以进行申明式http远程服务调用。与Feign作用相同,在spring boot 3.x里,由于本身spring内置,相比Feign可以大幅减少第三方包依赖,且比Feign更轻巧。
官方文档:https://docs.spring.io/spring-framework/reference/6.1/integration/rest-clients.html#rest-http-interface
3.1 依赖引入
<dependency>
   <groupId>org.springframework.boot</groupId>
    <artifactId>spring-boot-starter-web</artifactId>
</dependency>
3.2 定义接口
package com.simonking.boot.remote.spring6;

import org.springframework.web.bind.annotation.RequestParam;
import org.springframework.web.service.annotation.GetExchange;
import org.springframework.web.service.annotation.HttpExchange;

/**
 * Spring6 新特性
 *
 * @Author: ws
 * @Date: 2025/3/11 9:17
 */
@HttpExchange("http://shanhe.kim/api")
public interface ShanheSpringClient {

    @GetExchange("/za/xingzuo.php")
    String getXingZuo(@RequestParam("msg") String xinZuo);

    @GetExchange("/za/phonegj.php")
    String phoneGj(@RequestParam("phone") String phone);

    @GetExchange("/qq/xiongji.php")
    String qqxiongJi(@RequestParam("qq") String qq);

    @GetExchange("/wz/ymgj.php")
    String domainGj(@RequestParam("url") String url);
}
3.3 注册客户端
Spring6中并没有提供扫描的注解,需要注册并指定客户端的方式,官方提供的客户端的方式有三种:RestClient、WebClient、RestTemplate
@Configuration
public class BeanConfig {

    @Bean
    public ShanheSpringClient getShanheSpringClient() {
        // RestClient
        RestClient restClient = RestClient.builder().build();
        RestClientAdapter adapter = RestClientAdapter.create(restClient);

        // WebClient 需要webflux依赖
        /**
         *  <dependency>
         *    <groupId>org.springframework</groupId>
         *    <artifactId>spring-webflux</artifactId>
         *  </dependency>
         */
//        WebClient webClient = WebClient.create();
//        WebClientAdapter adapter = WebClientAdapter.create(webClient);

        // restTepmplate
//        RestTemplate restTemplate = new RestTemplate();
//        RestTemplateAdapter adapter = RestTemplateAdapter.create(restTemplate);

        HttpServiceProxyFactory proxyFactory = HttpServiceProxyFactory.builderFor(adapter).build();
        return proxyFactory.createClient(ShanheSpringClient.class);
    }
}
3.4 测试
	@Autowired
    private ShanheSpringClient shanheSpringClient;

    @Test
    void springClientTest() {
        String xingZuo = shanheSpringClient.getXingZuo("双鱼");
        System.out.println("星座:" + xingZuo);
        System.out.println("--------------------------------------------");

        String phoneGj = shanheSpringClient.phoneGj("15268595589");
        System.out.println("手机估值:" + phoneGj);
        System.out.println("--------------------------------------------");

        String qqxiongJi = shanheSpringClient.qqxiongJi("585984585");
        System.out.println("QQ吉凶:" + qqxiongJi);
        System.out.println("--------------------------------------------");

        String domainGj = shanheSpringClient.domainGj("baidu.com");
        System.out.println("域名估值:" + domainGj);
    }
3.5 效果展示
04 结语
每一种调用方式都有其特点,你更偏向于使用哪一种调用方式呢,可以留言讨论哦。
– END –
喜欢就点赞、收藏,微信可以搜【编程朝花夕拾】关注我哦!


 4730
4730

 被折叠的 条评论
为什么被折叠?
被折叠的 条评论
为什么被折叠?
 到【灌水乐园】发言


