


1.ELK安装
1.1.CentOS7系统配置
关闭防火墙
[root@localhost ~]# systemctl stop firewalld
安装netstat方便以后使用
[root@localhost ~]# yum -y install net-tools wget gcc gcc-c++
安装JDK
[root@localhost home]# tar -zxvf jdk-8u261-linux-x64.tar.gz -C /usr/local/
[root@localhost ~]# ln -vs /usr/local/jdk1.8.0_261/bin/java* /usr/bin/
[root@localhost ~]# java -version
java version "1.8.0_261"
Java(TM) SE Runtime Environment (build 1.8.0_261-b12)
Java HotSpot(TM) 64-Bit Server VM (build 25.261-b12, mixed mode)
[root@localhost ~]#
2.安装Elasticsearch
https://www.elastic.co/guide/en/elasticsearch/reference/current/index.html
2.1导入elasticsearch公钥
[root@localhost home]# rpm --import https://artifacts.elastic.co/GPG-KEY-elasticsearch
2.2创建elasticsearch.repo
添加elasticsearch的yum repo文件,使用清华的yum源镜像:
[root@localhost home]# vi /etc/yum.repos.d/elasticsearch7.repo
[root@localhost home]# cat /etc/yum.repos.d/elasticsearch7.repo
[elasticsearch-7.x]
name=Elasticsearch repository for 7.x packages
baseurl=https://mirror.tuna.tsinghua.edu.cn/elasticstack/7.x/yum/
gpgcheck=1
gpgkey=https://artifacts.elastic.co/GPG-KEY-elasticsearch
enabled=1
autorefresh=1
type=rpm-md
[root@localhost home]# yum makecache
2.3安装elasticsearch
[root@localhost home]# yum install elasticsearch
创建elasticsearch data的存放目录,并修改该目录的属主属组
[root@localhost home]# mkdir -p /data/es-data
chown -R elasticsearch:elasticsearch /data/es-data
修改elasticsearch的日志属主属组
chown -R elasticsearch:elasticsearch /var/log/elasticsearch/
修改elasticsearch的配置文件
vim /etc/elasticsearch/elasticsearch.yml
打开注释快捷操作
[root@localhost ~]# cat /etc/elasticsearch/elasticsearch.yml
# ======================== Elasticsearch Configuration =========================
#
# NOTE: Elasticsearch comes with reasonable defaults for most settings.
#       Before you set out to tweak and tune the configuration, make sure you
#       understand what are you trying to accomplish and the consequences.
#
# The primary way of configuring a node is via this file. This template lists
# the most important settings you may want to configure for a production cluster.
#
# Please consult the documentation for further information on configuration options:
# https://www.elastic.co/guide/en/elasticsearch/reference/index.html
#
# ---------------------------------- Cluster -----------------------------------
#
# Use a descriptive name for your cluster:
#
cluster.name: demon
#
# ------------------------------------ Node ------------------------------------
#
# Use a descriptive name for the node:
#
node.name: node-1
#
# Add custom attributes to the node:
#
#node.attr.rack: r1
#
# ----------------------------------- Paths ------------------------------------
#
# Path to directory where to store the data (separate multiple locations by comma):
#
path.data: /data/es-data
#
# Path to log files:
#
path.logs: /var/log/elasticsearch
#
# ----------------------------------- Memory -----------------------------------
#
# Lock the memory on startup:
#
bootstrap.memory_lock: true
#
# Make sure that the heap size is set to about half the memory available
# on the system and that the owner of the process is allowed to use this
# limit.
#
# Elasticsearch performs poorly when the system is swapping the memory.
#
# ---------------------------------- Network -----------------------------------
#
# Set the bind address to a specific IP (IPv4 or IPv6):
#
network.host: 192.168.3.45
#
# Set a custom port for HTTP:
#
http.port: 9200
#
# For more information, consult the network module documentation.
#
# --------------------------------- Discovery ----------------------------------
#
# Pass an initial list of hosts to perform discovery when this node is started:
# The default list of hosts is ["127.0.0.1", "[::1]"]
#
#discovery.seed_hosts: ["host1", "host2"]
#
# Bootstrap the cluster using an initial set of master-eligible nodes:
#
#cluster.initial_master_nodes: ["node-1", "node-2"]
#
# For more information, consult the discovery and cluster formation module documentation.
#
# ---------------------------------- Gateway -----------------------------------
#
# Block initial recovery after a full cluster restart until N nodes are started:
#
#gateway.recover_after_nodes: 3
#
# For more information, consult the gateway module documentation.
#
# ---------------------------------- Various -----------------------------------
#
# Require explicit names when deleting indices:
#
#action.destructive_requires_name: true
http.cors.enabled: true
http.cors.allow-origin: "*"
修改如下
找到配置文件中的cluster.name,打开该配置并设置集群名称
cluster.name: demon

找到配置文件中的node.name,打开该配置并设置节点名称
node.name: elk-1

修改data存放的路径
path.data: /data/es-data

修改logs日志的路径
path.logs: /var/log/elasticsearch/

配置内存使用用交换分区
bootstrap.memory_lock: true

监听的网络地址
network.host: 0.0.0.0

开启监听的端口
http.port: 9200


增加新的参数,这样head插件可以访问es (5.x版本,如果没有可以自己手动加)
http.cors.enabled: true
http.cors.allow-origin: "*"
遇到问题:
[root@localhost ~]# systemctl start elasticsearch
Job for elasticsearch.service failed because the control process exited with error code. See "systemctl status elasticsearch.service" and "journalctl -xe" for details.
查了很多资料:
服务不能用root用户启动
创建组与用户elk
用elk用户启动成功
[root@localhost ~]# netstat -anpt|grep 9200
tcp6       0      0 192.168.3.45:9200       :::*                    LISTEN      5533/java
2.4验证
[root@localhost ~]# curl http://192.168.3.45:9200
{
  "name" : "node-1",
  "cluster_name" : "demon",
  "cluster_uuid" : "_na_",
  "version" : {
    "number" : "7.11.1",
    "build_flavor" : "default",
    "build_type" : "rpm",
    "build_hash" : "ff17057114c2199c9c1bbecc727003a907c0db7a",
    "build_date" : "2021-02-15T13:44:09.394032Z",
    "build_snapshot" : false,
    "lucene_version" : "8.7.0",
    "minimum_wire_compatibility_version" : "6.8.0",
    "minimum_index_compatibility_version" : "6.0.0-beta1"
  },
  "tagline" : "You Know, for Search"
}
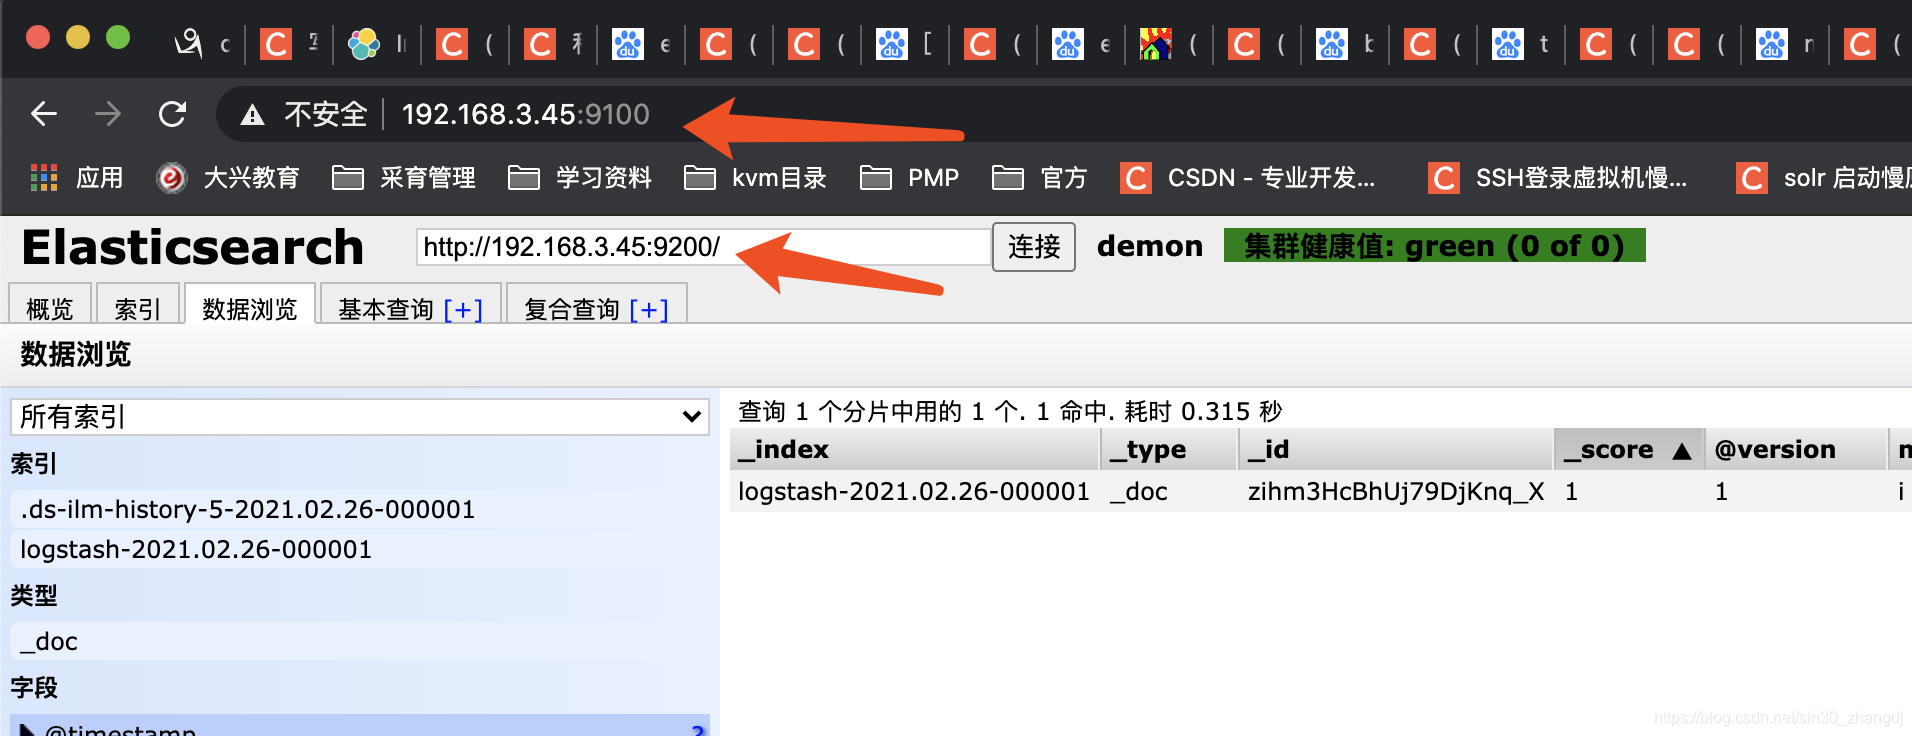
2.5安装插件
使用git安装elasticsearch-head
[root@localhost ~]# yum -y install git
安装npm
[root@localhost ~]# wget https://npm.taobao.org/mirrors/node/v10.14.1/node-v10.14.1-linux-x64.tar.gz
[root@localhost node]# tar -zxvf node-v10.14.1-linux-x64.tar.gz
[root@localhost node]# mv node-v10.14.1-linux-x64 node
添加环境变量
export NODE_HOME=/root/node
export PATH=$NODE_HOME/bin:$PATH
生效
[root@localhost node]# source /etc/profile
验证
[root@localhost node]# npm -v
6.4.1
[root@localhost ~]# cd elasticsearch-head/
[root@localhost ~]# npm install
[root@localhost ~]# npm run start
[root@localhost ~]# netstat -anpt|grep 9100
tcp        0      0 0.0.0.0:9100            0.0.0.0:*               LISTEN      8482/grunt
3.LogStash
3.1LogStash的使用
安装Logstash环境
https://www.elastic.co/guide/en/logstash/current/installing-logstash.html
下载yum源的密钥认证并安装
[root@localhost ~]# # rpm --import https://artifacts.elastic.co/GPG-KEY-elasticsearch
[root@localhost ~]# yum install -y logstash
报了个警告
[root@localhost ~]# logstash -e 'input { stdin { } } output { stdout {} }'
Using bundled JDK: /usr/share/logstash/jdk
OpenJDK 64-Bit Server VM warning: Option UseConcMarkSweepGC was deprecated in version 9.0 and will likely be removed in a future release.
The stdin plugin is now waiting for input:
[INFO ] 2021-02-24 10:16:09.487 [Agent thread] agent - Pipelines running {:count=>1, :running_pipelines=>[:main], :non_running_pipelines=>[]}
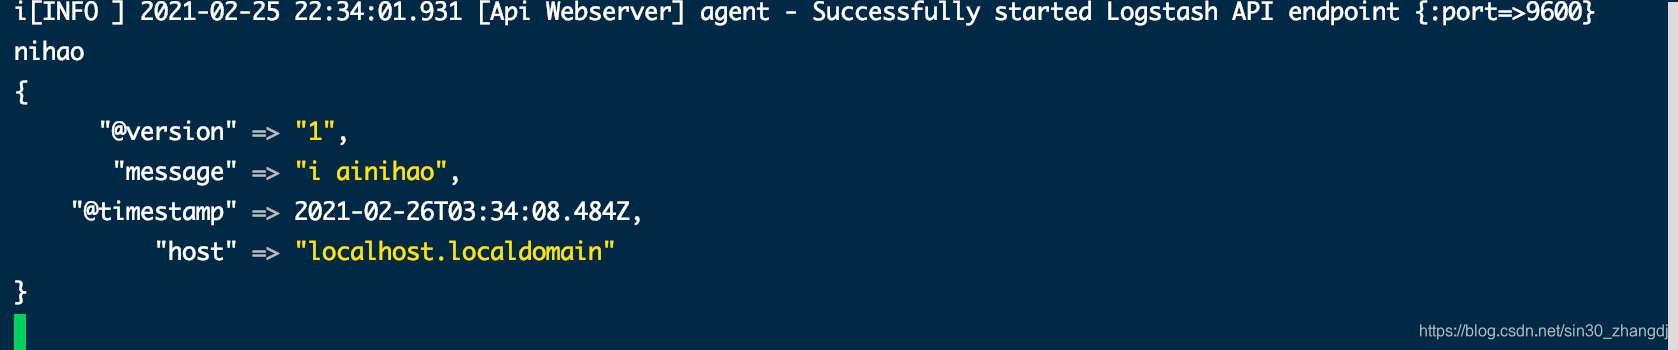
[INFO ] 2021-02-24 10:16:10.664 [Api Webserver] agent - Successfully started Logstash API endpoint {:port=>9600}
nihao
{
"message" => "nihao",
"@version" => "1",
"host" => "localhost.localdomain",
"@timestamp" => 2021-02-24T15:18:48.519Z
}
集群健康值: 未连接
参考如下:
https://blog.youkuaiyun.com/weixin_43798579/article/details/109843601
https://zhuanlan.zhihu.com/p/128969541
主要几个文件必须对应
编辑elasticsearch-head目录下的
Gruntfile.js
_site/app.js
3.2logstash使用配置文件
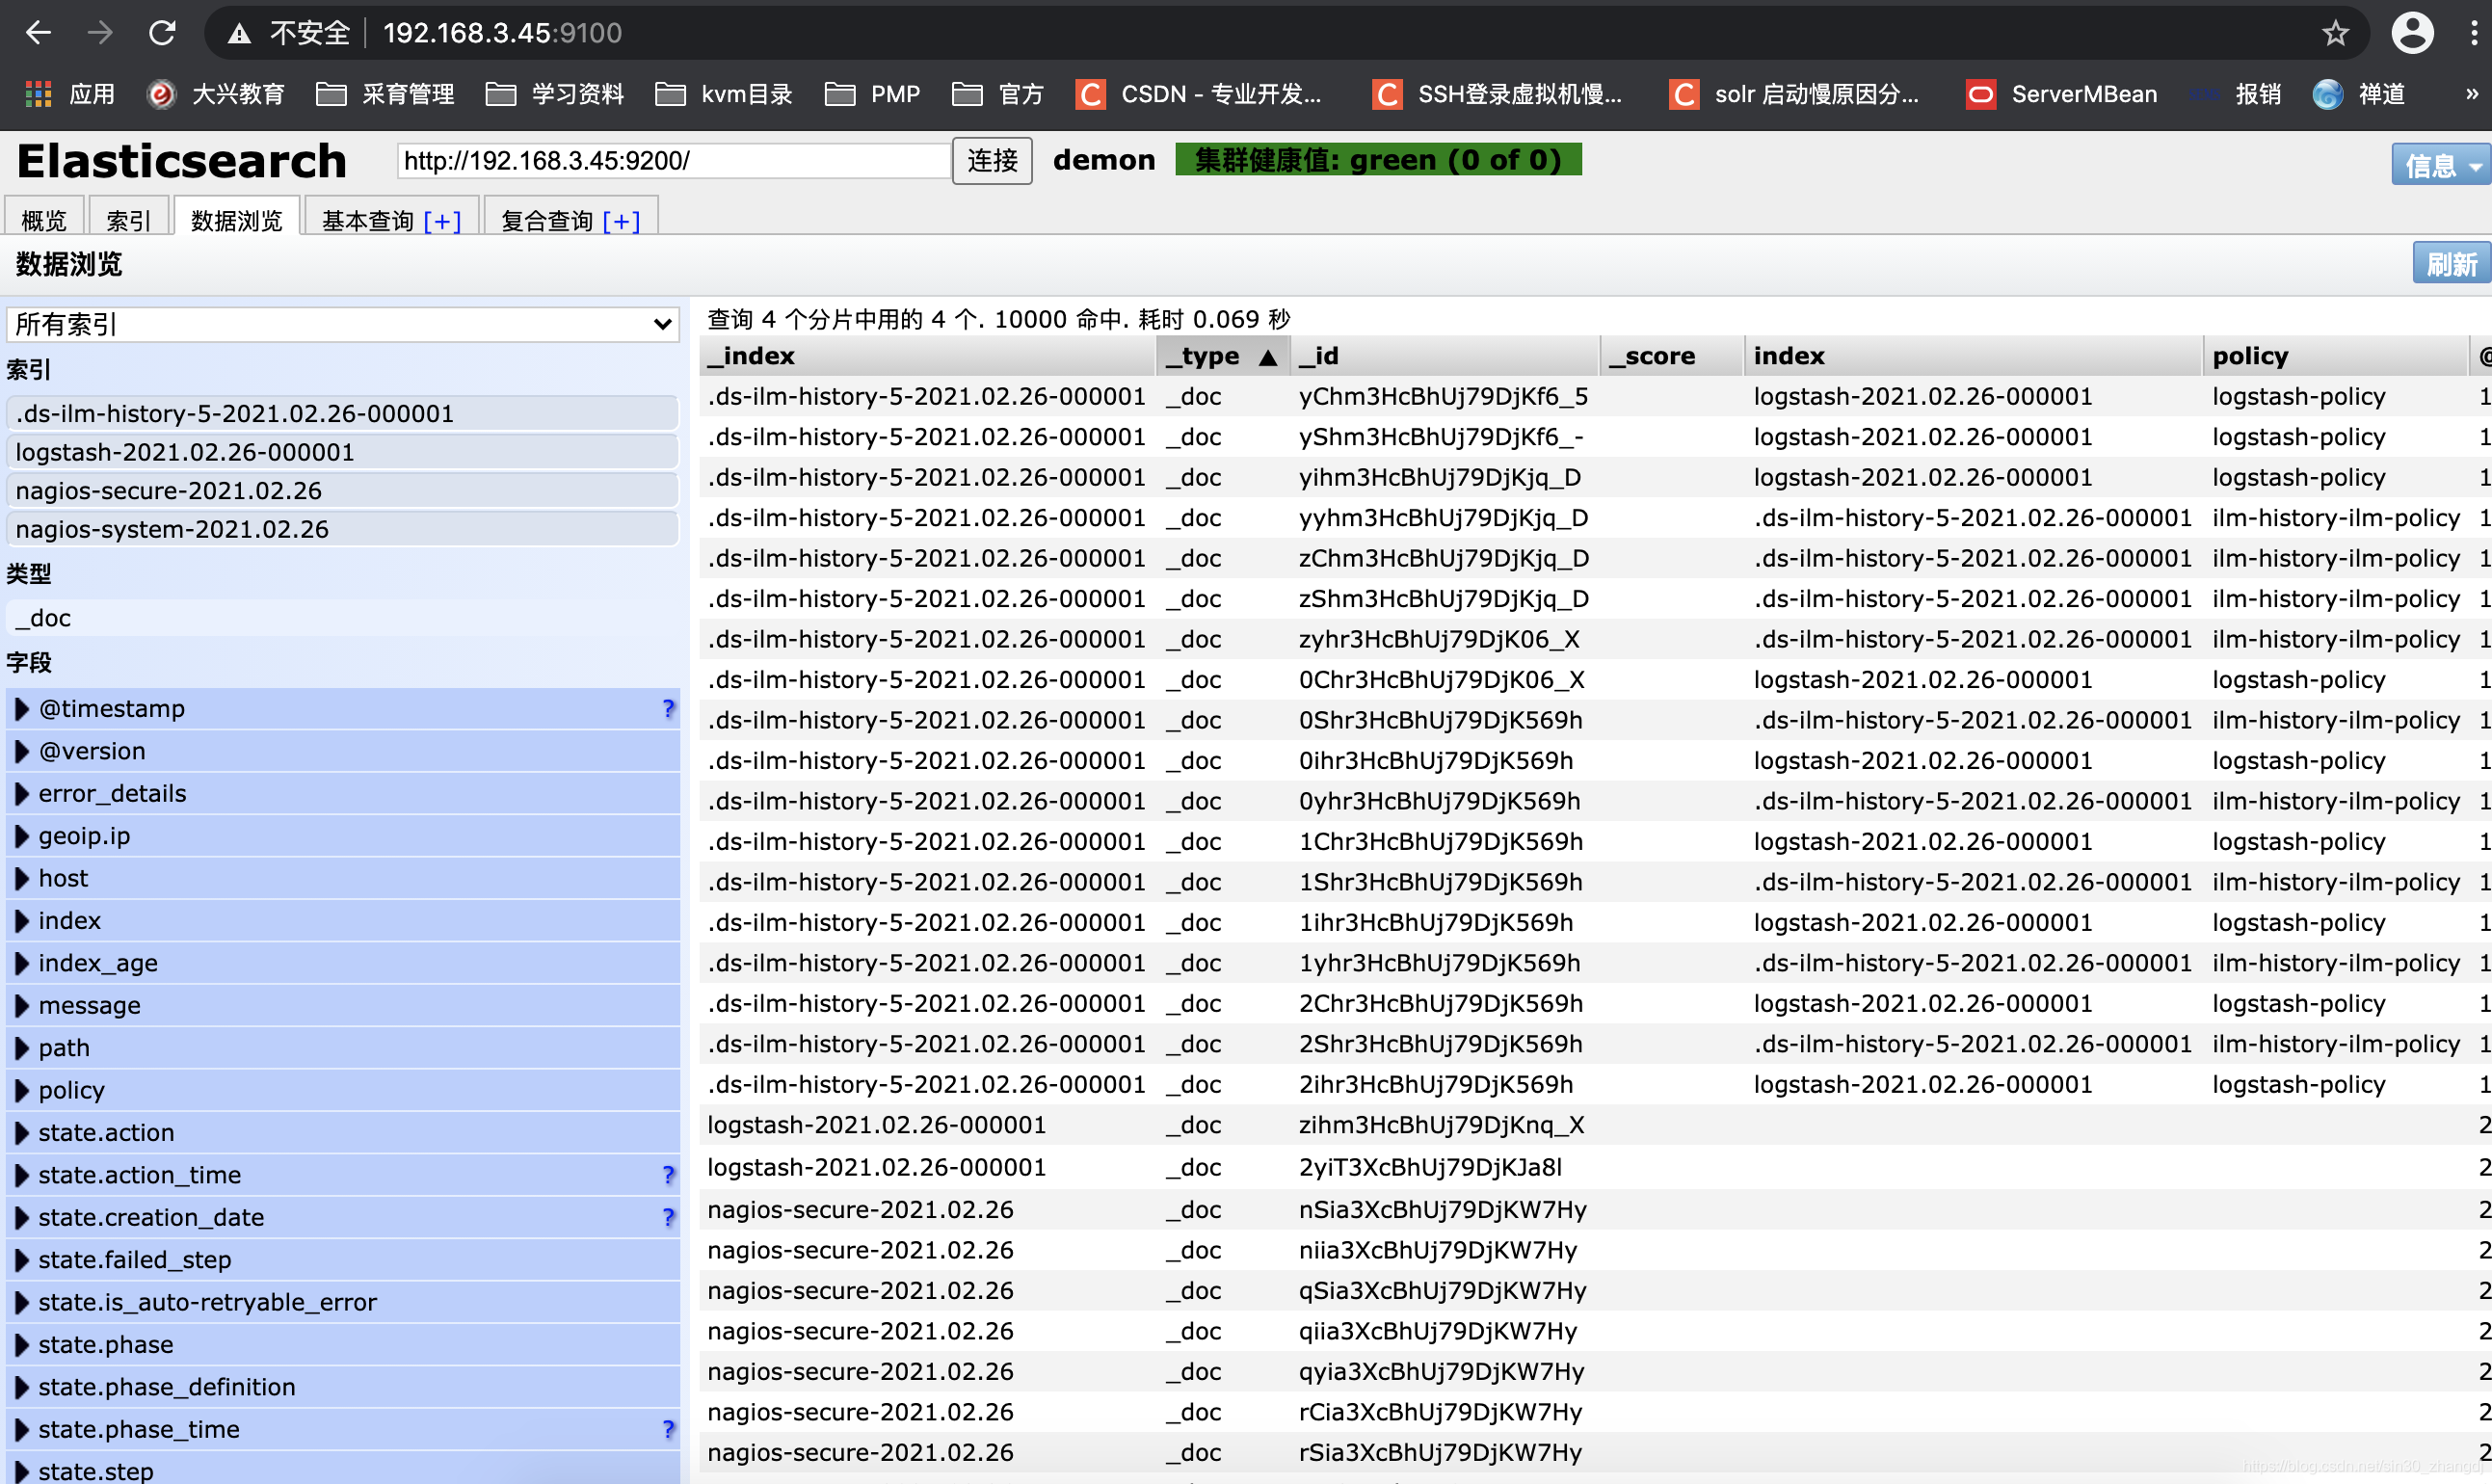
配置安全日志的并且把日志的索引按类型做存放,继续编辑node1.conf文件
[root@localhost conf.d]# cat node1.conf
input {
    file {
        path => "/var/log/messages"
        type => "system"
        start_position => "beginning"
    }

    file {
        path => "/var/log/secure"
        type => "secure"
        start_position => "beginning"
    }
}

output {

    if [type] == "system" {

        elasticsearch {
            hosts => ["192.168.3.45:9200"]
            index => "nagios-system-%{+YYYY.MM.dd}"
        }
    }

    if [type] == "secure" {

        elasticsearch {
            hosts => ["192.168.3.45:9200"]
            index => "nagios-secure-%{+YYYY.MM.dd}"
        }
    }
}
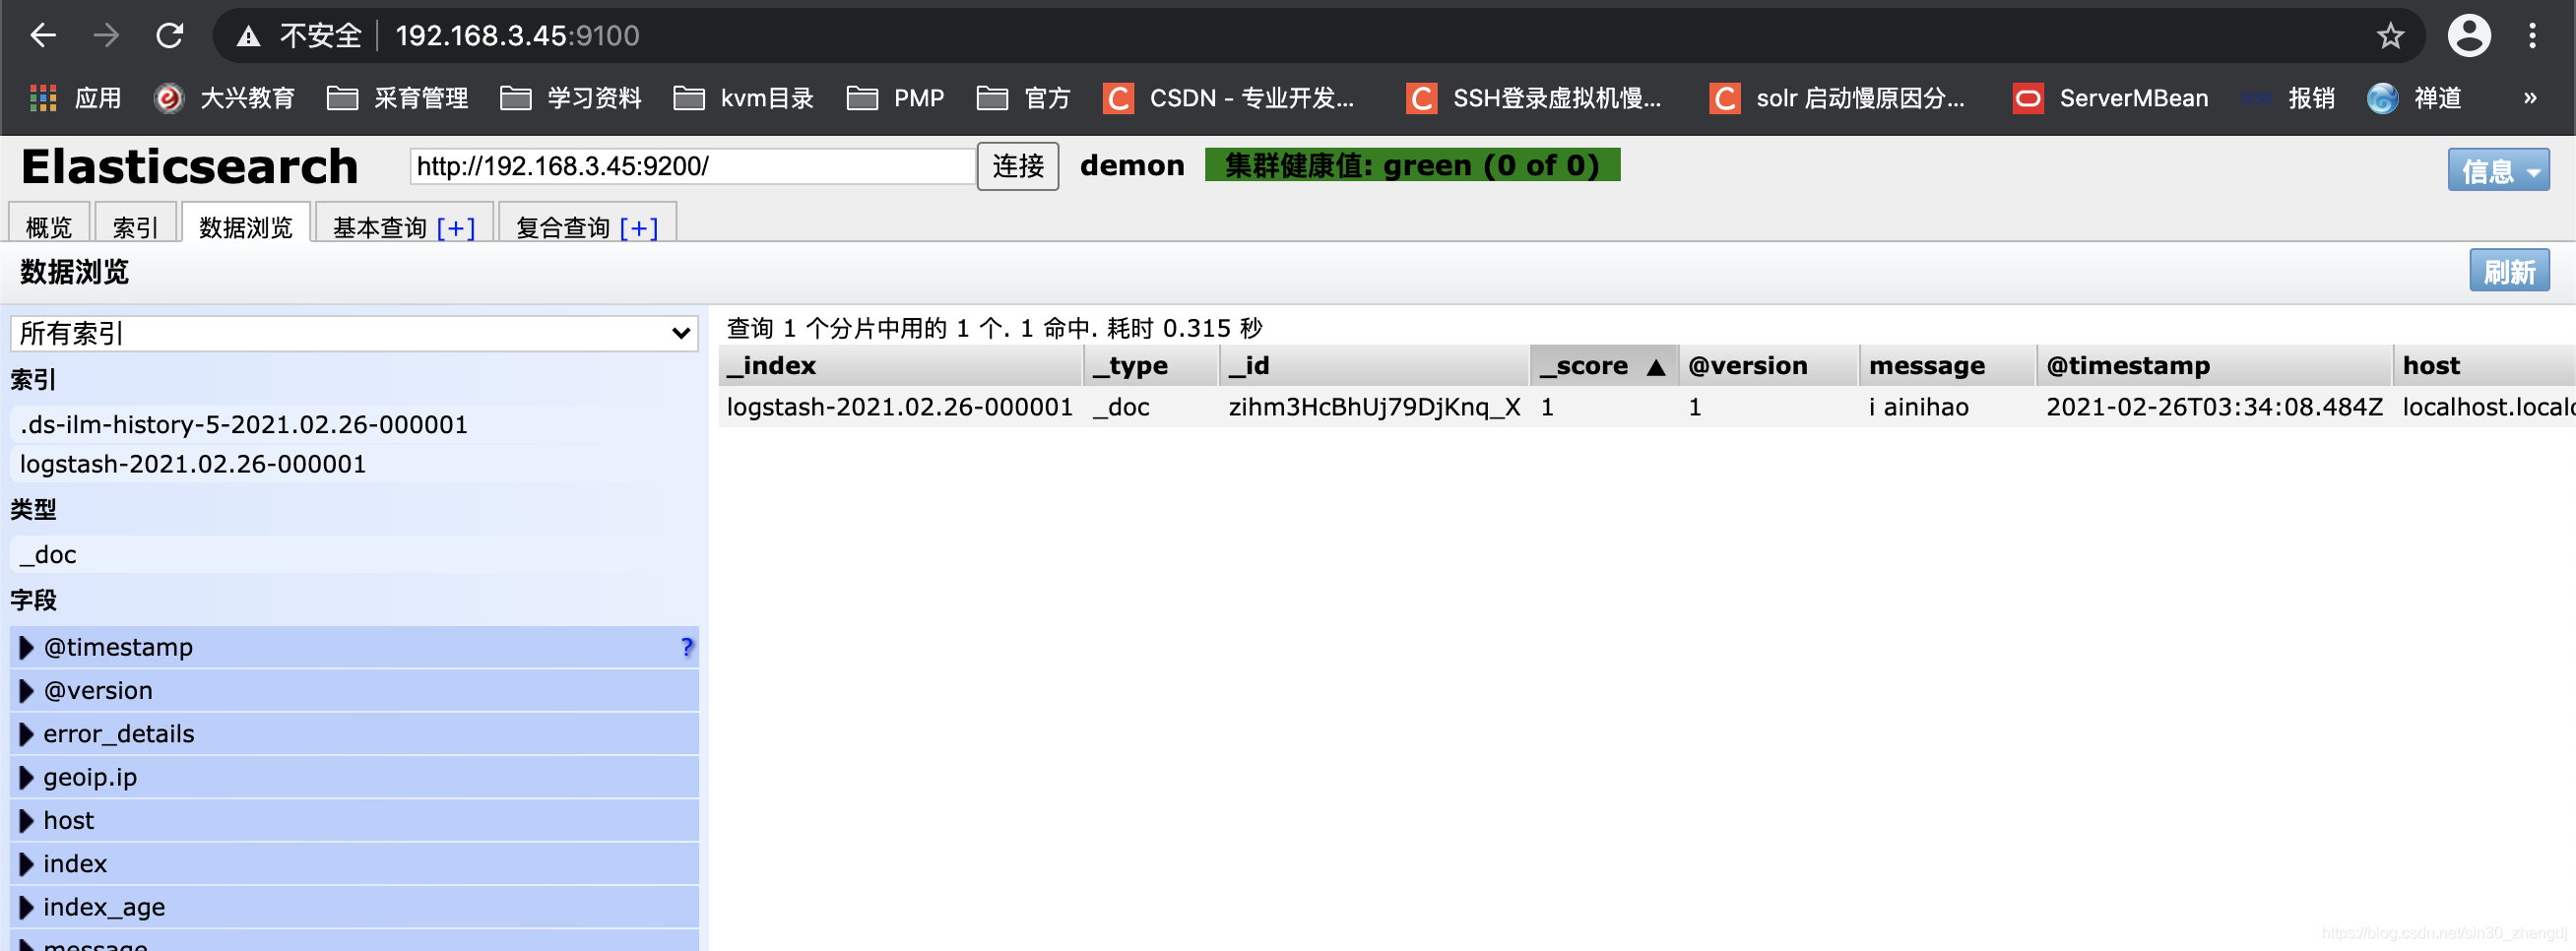
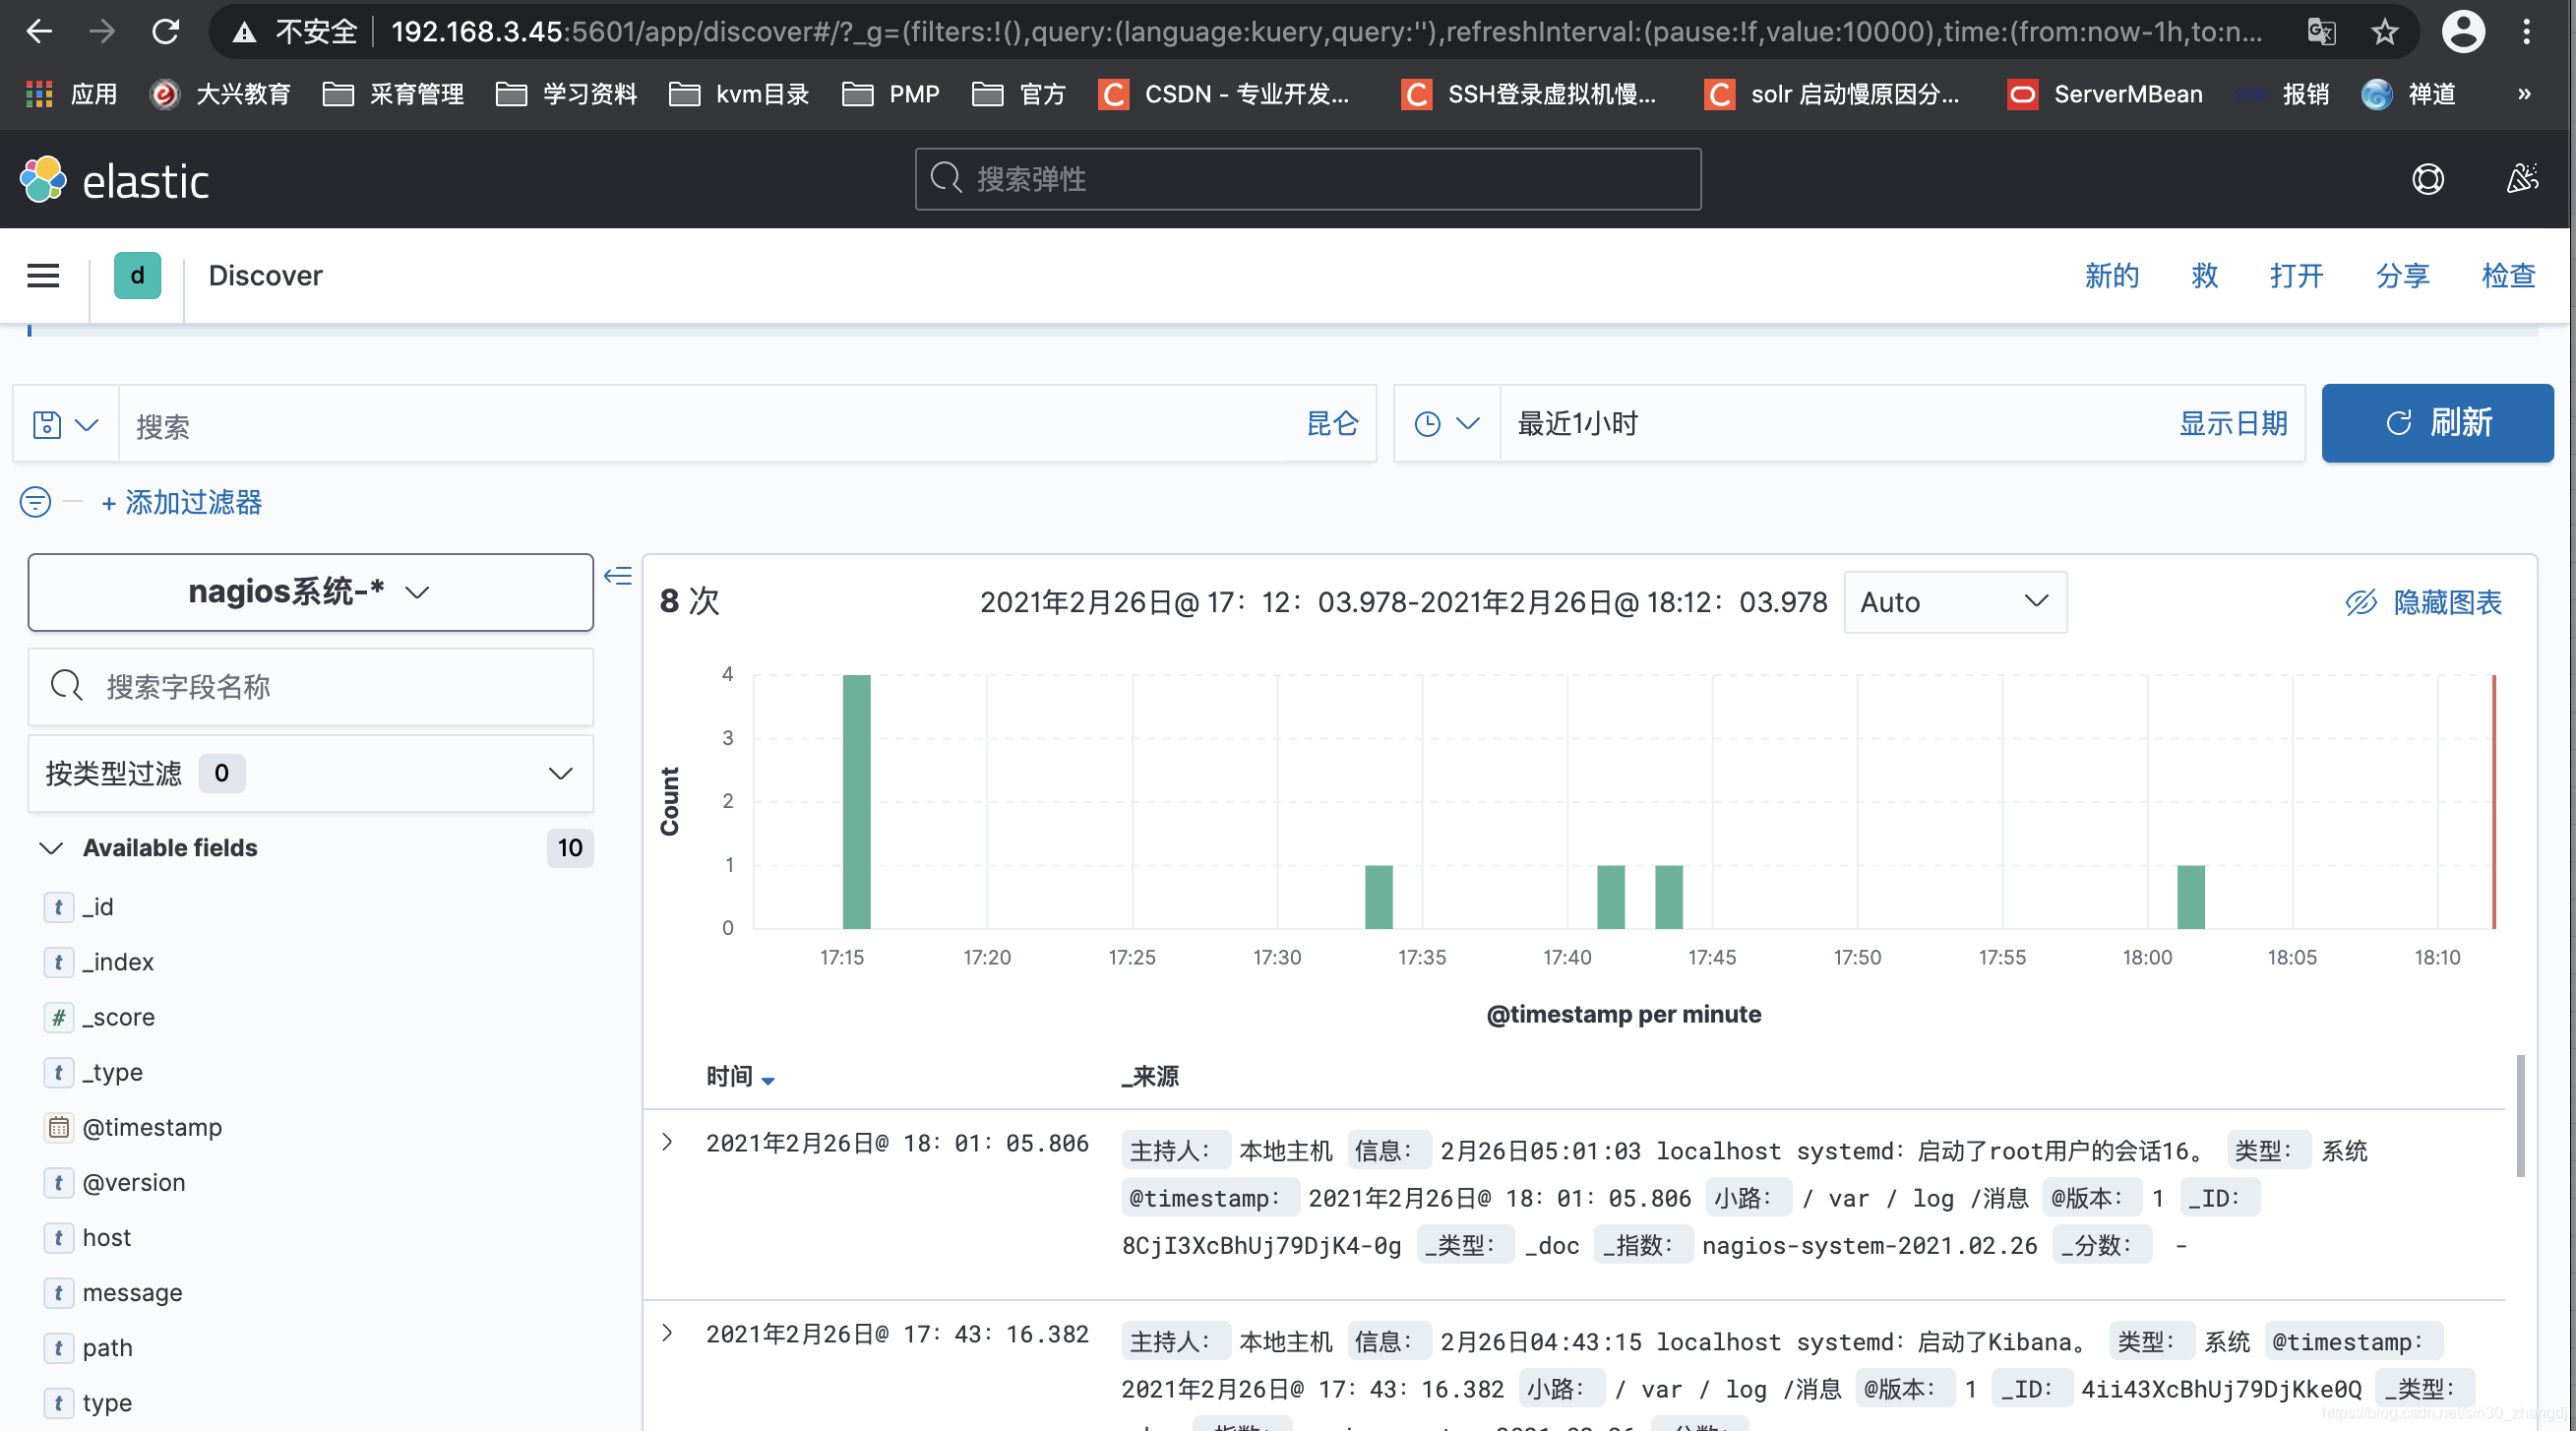
查看结果
设置都没有问题之后,接下来我们就开始安装下kibana,可以让在前台展示
4.Kibana的安装及使用
安装kibana环境
因为用了清华的景象直接安装即可
[root@localhost ~]# yum -y install kibana
默认安装的主目录在
/usr/share/kibana
配置文件的位置
/etc/kibana/kibana.yml
修改配置文件:
server.port: 5601
server.host: "192.168.3.45"
elasticsearch.hosts: ["http://192.168.3.45:9200"]
kibana.index: ".kibana"
i18n.locale: "zh-cn"
至此ELK部署过程结束,后续研究并发布实际使用经验


 4万+
4万+

 被折叠的 条评论
为什么被折叠?
被折叠的 条评论
为什么被折叠?
 到【灌水乐园】发言


