 部署UI5开发工具指南


 本文详细介绍如何在Eclipse中配置并使用SAP UI5开发工具包,包括下载Eclipse,配置Java JDK和Tomcat服务器,安装SAP UI5开发包,创建测试项目,以及将项目分享至SAP Repository的步骤。
Deploy UI5 Development Tool: Eclipse
1. Download Eclipse Package
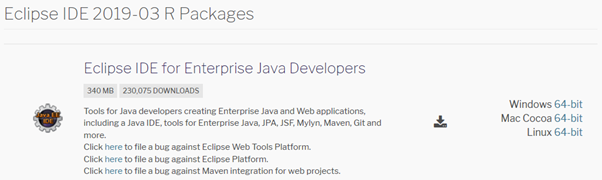
1.1. Access the Eclipse download site.
https://www.eclipse.org/downloads/packages/
1.2. Choose the download link based on your operation system
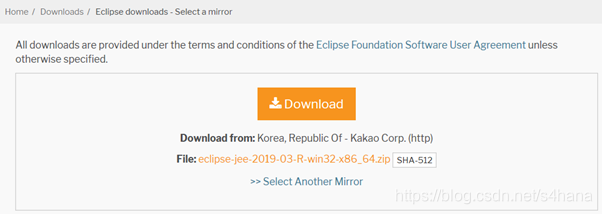
1.3. Choose Download
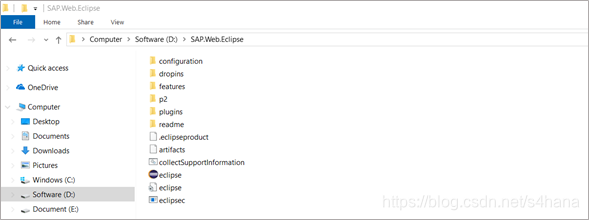
1.4. When the installation package is downloaded, extract it to a directory.
2. Starting Eclipse Development Tool
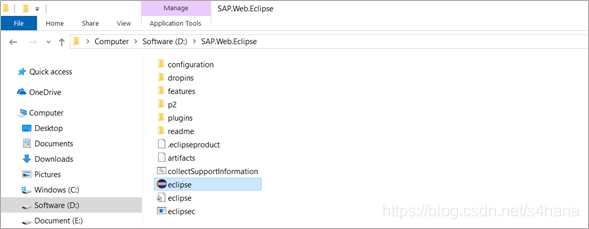
2.1. Double-click the eclipse.exe file to run Eclipse IDE.
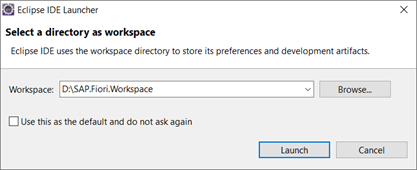
2.2. Select a directory as workspace, and choose Launch.
3. Configuring Eclipse Preferences
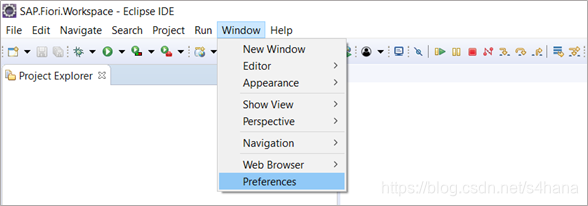
3.1. Choose the Windows > Preferences menu.
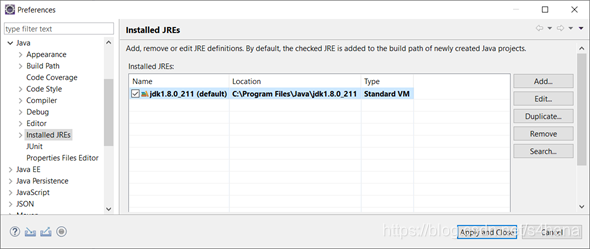
3.2. On the left panel, choose the Java > Installed JREs node and add the JDK.
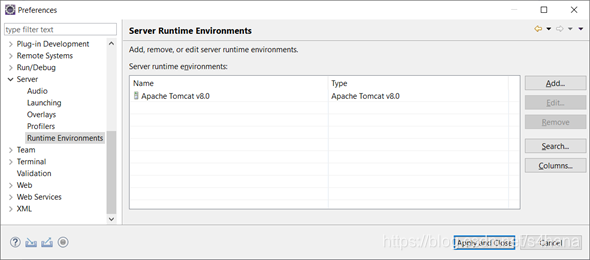
3.3. On the left panel, choose the Server > Runtime Environments node and add the Tomcat.
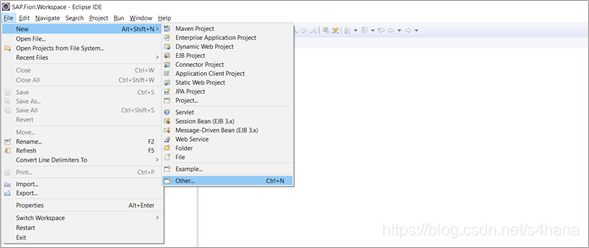
4. Adding Web Server
4.1. Choose the File > New > Other menu.
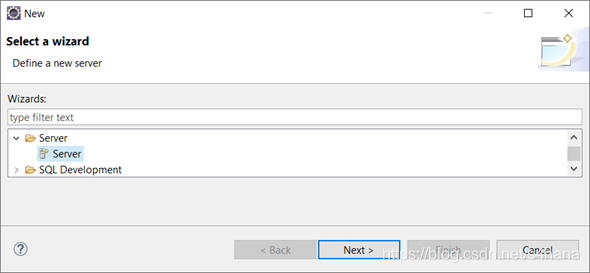
4.2. Select the Sever > Sever wizard and choose Next.
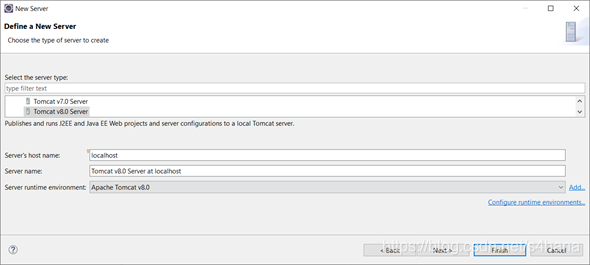
4.3. Select the Server Type as Tomcat v8.0 Server, and choose Finish.
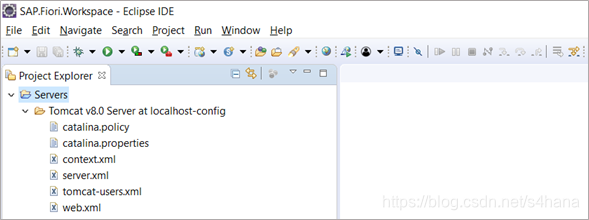
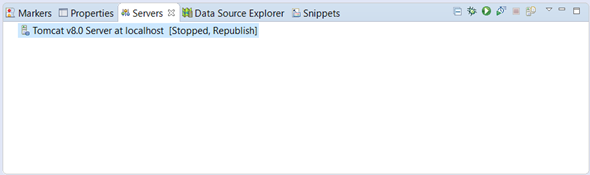
4.4. A server has been added.
5. Setting Web Server
5.1. Start the Tomcat v8.0 server.
5.2. Double-click the Tomcat v8.0 to edit parameters.
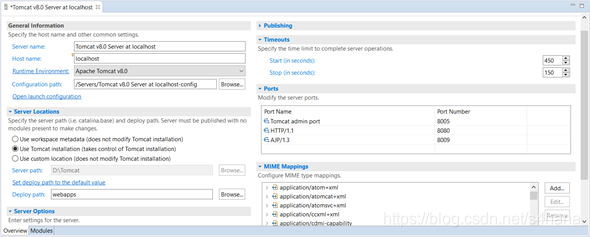
5.3. Choose Save.
6. Installing SAPUI5 Development Package
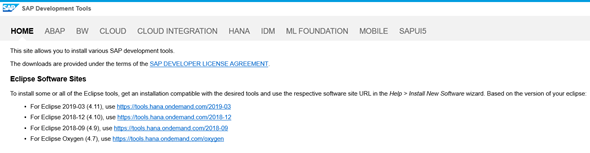
6.1. Access the SAP Development Tools website to get the link of downloading package.
https://tools.hana.ondemand.com/
6.2. Node down the link of downloading package.
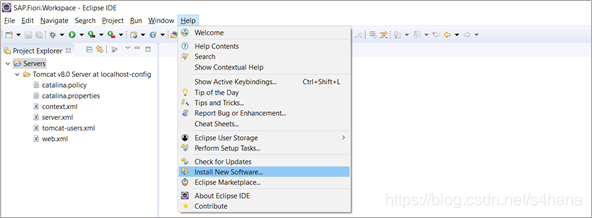
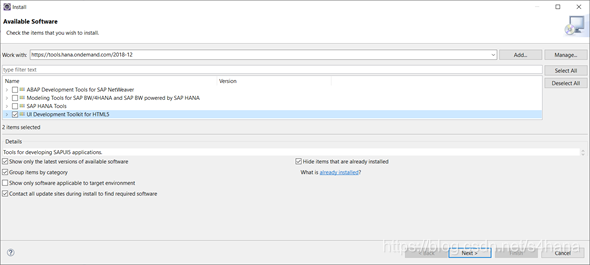
6.3. Launch the Eclipse IDE, choose the Help > Install New Software menu.
6.4. Paste the text of link and press enter. And then select the UI Development Toolkit for HTML5 and choose Next.
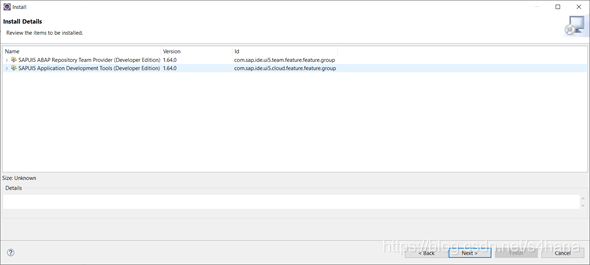
6.5. Choose Next.
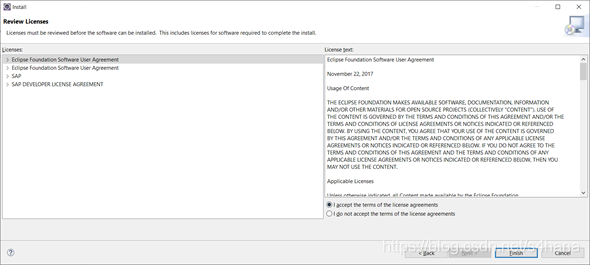
6.6. Check the I accept the terms of the license agreements radio button and choose Finish.
6.7. Waiting for the download to complete.
7. Testing SAPUI5 Development Environment
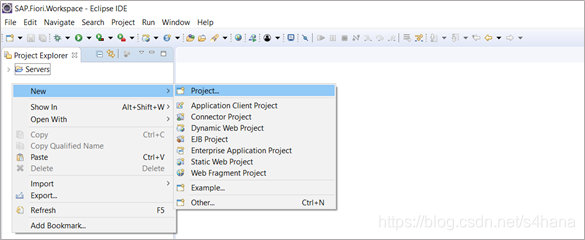
7.1. Right-click in the Project Explorer area and select the New > Project menu.
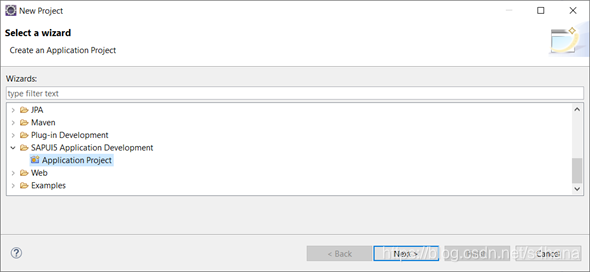
7.2. Select the SAPUI5 Application Development > Application Project and choose Next.
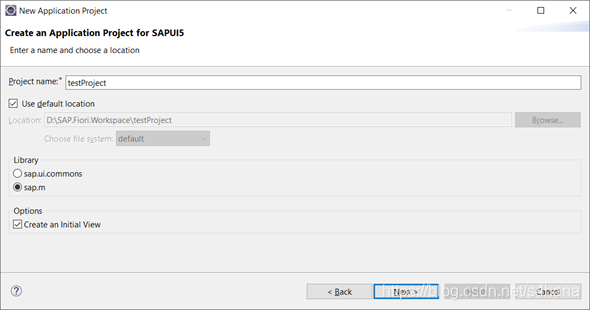
7.3. Enter the Project Name and choose Next.
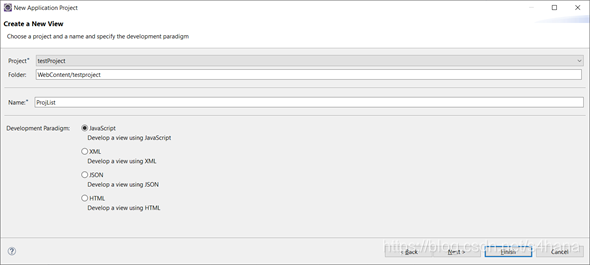
7.4. Enter the View Name and choose Finish.
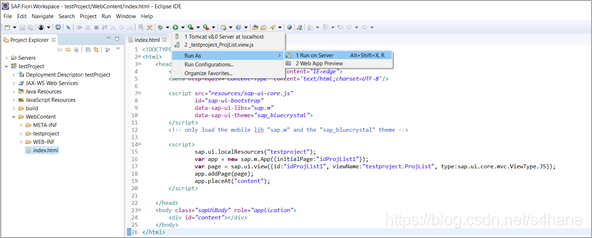
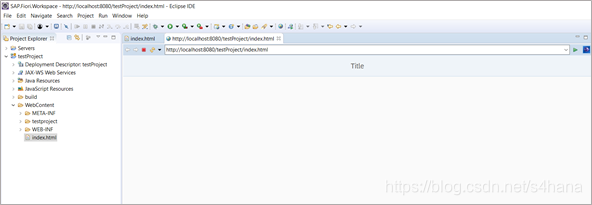
7.5. A test project has been created.

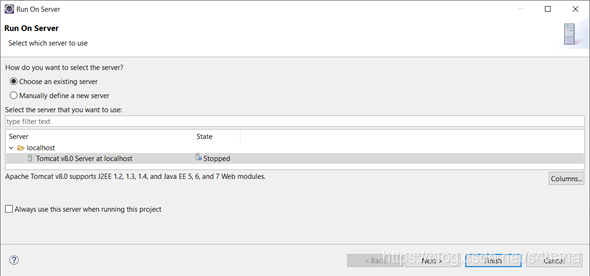
7.6. Choose the Run As > Run on Server menu.
7.7. Select the Server and choose Finish.
7.8. Application page is shown.
8. Sharing SAPUI5 Project to the SAP Repository
8.1. Sharing project to the SAP Repository
8.1.1. Select a project and choose Term > Share Project menu.

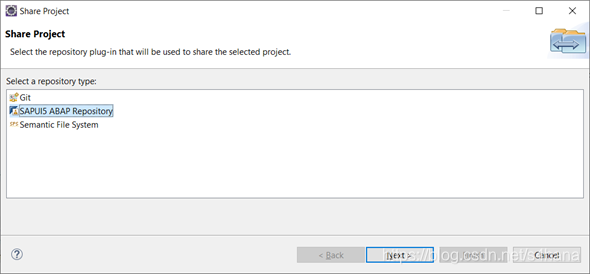
8.1.2. Select a repository type and choose Next.
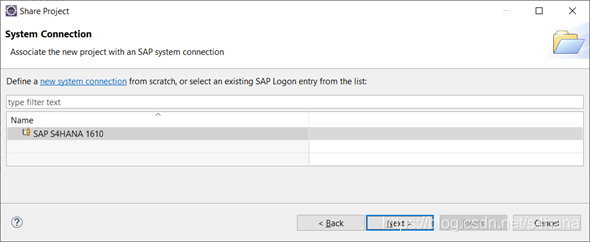
8.1.3. Select an SAP System Connection and choose Next.
8.1.4. Select a Connection Type and choose Next.
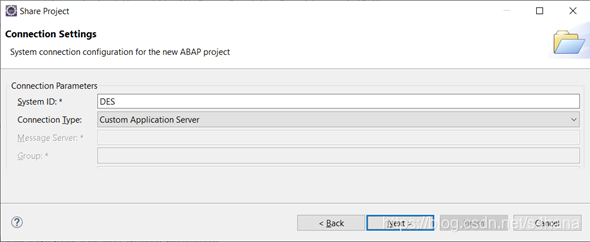
8.1.5. Enter the corresponding parameters value and choose Next.
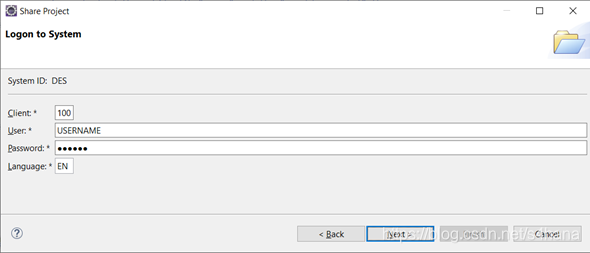
8.1.6. Enter the corresponding parameters value and choose Next.

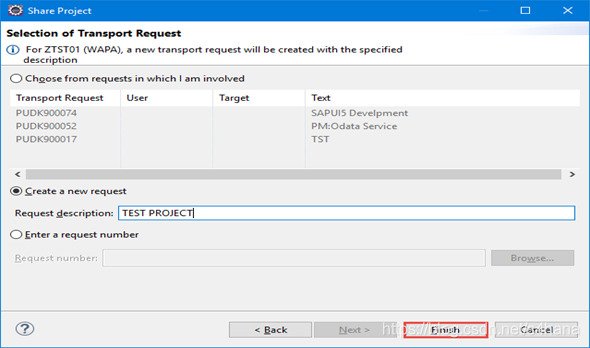
8.1.7. Select the Create a New Request radio button and choose Finish.
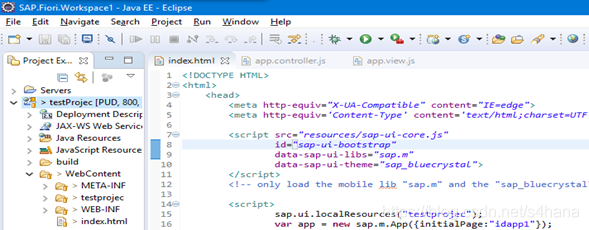
8.1.8. This Project has been shared success.
8.2. Submitting project to the SAP Repository
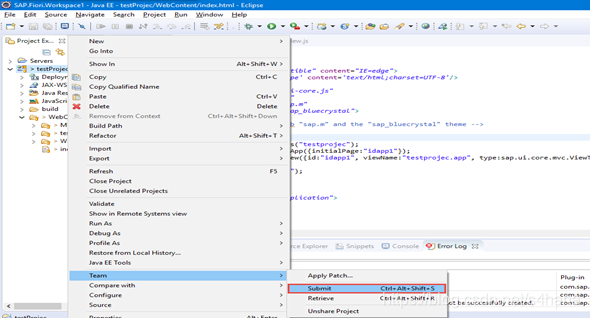
8.2.1. Select a project and choose Term > Submit menu.
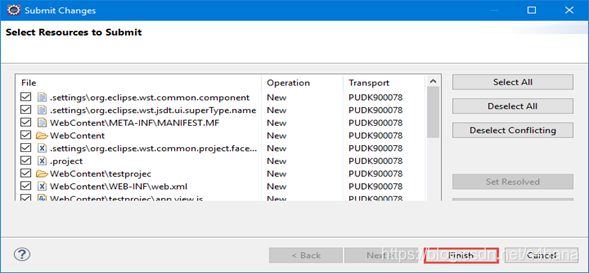
8.2.2. Select resource to submit and choose Finish.
8.3. Showing application in the SAP Repository
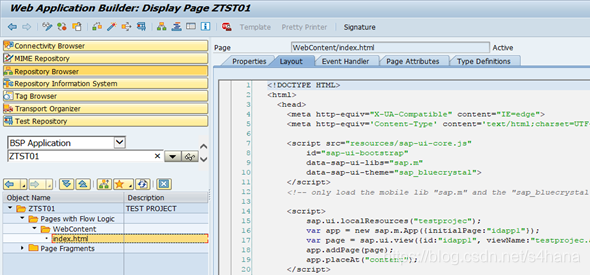
8.3.1. On the ABAP Front-End server, access the transaction: SE80.
8.3.2. Choose the Repository Browser and the BSP Application.
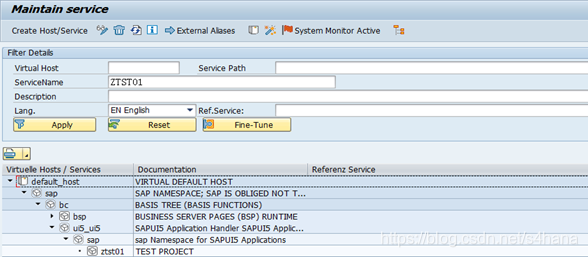
8.3.3. On the ABAP Front-End server, access the transaction: SICF.
8.3.4. Navigation to the ICF Service Node: default_host/sap/bc/ui5_ui5/sap/ztst01.
8.4. Testing application in the SAP Repository
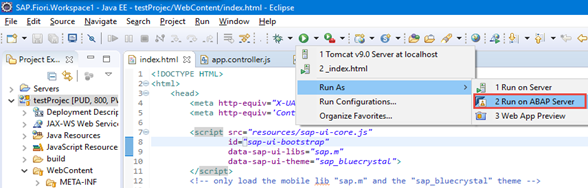
8.4.1. Choose the Run As > Run on ABAP Server menu.
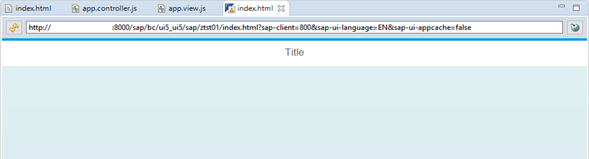
8.4.2. Enter the User ID and Password and application page is shown.
8.5. Cancel Sharing project to the SAP Repository
8.5.1. Select a project and choose Term > Share Project menu.
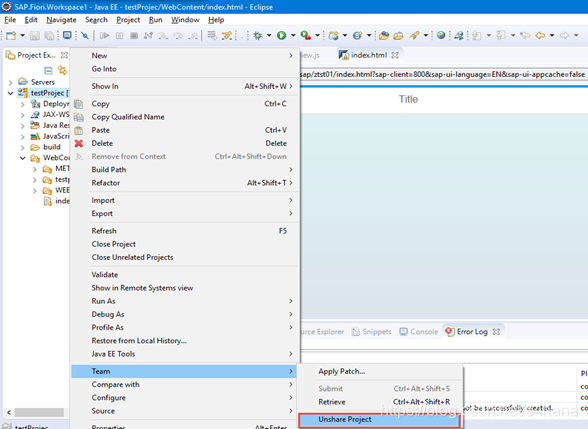
8.5.2. This Project doesn’t have been shared.


 被折叠的 条评论
为什么被折叠?
被折叠的 条评论
为什么被折叠?
 到【灌水乐园】发言


