


一、创建项目
作者创建的是maven项目,jdk和java自选
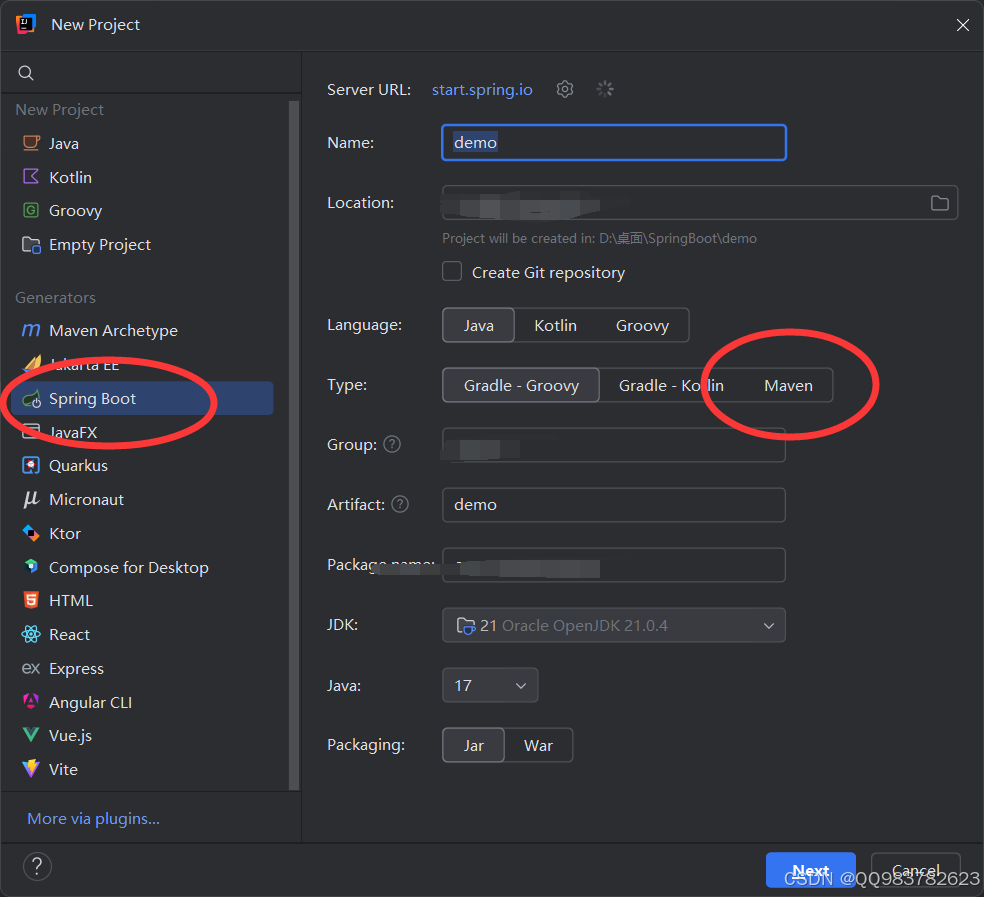
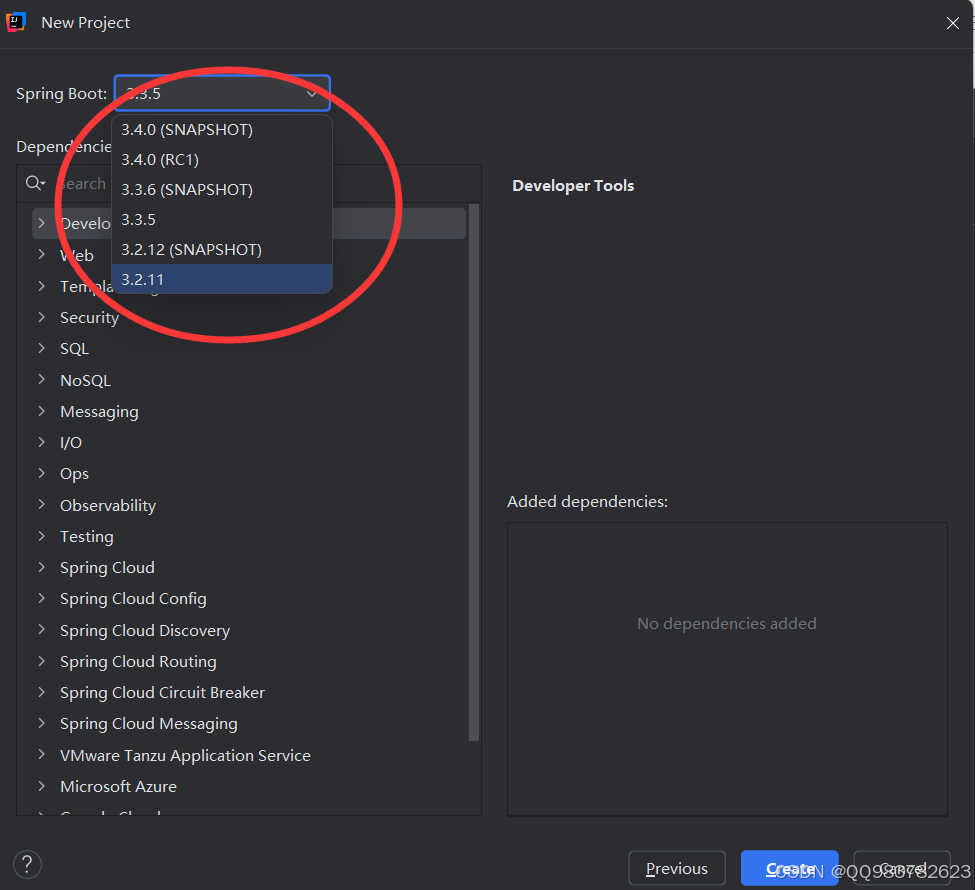
选择SpringBoot版本的时候,选择没有字母的,基本就是稳定版本
二·、搭建项目环境
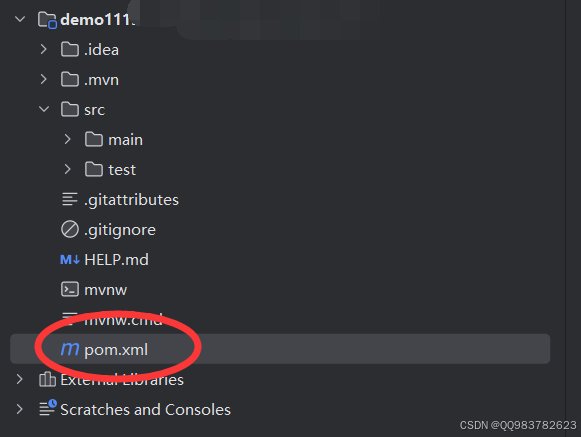
把阿里的镜像代码粘贴到pom.xml文件里,
作者是粘贴到<dependencies>标签上面
    <repositories>
        <repository>
            <id>aliyun-central</id>
            <name>Aliyun Maven Central</name>
            <url>https://maven.aliyun.com/repository/central</url>
            <layout>default</layout>
            <snapshots>
                <enabled>false</enabled>
            </snapshots>
            <releases>
                <enabled>true</enabled>
            </releases>
        </repository>
    </repositories>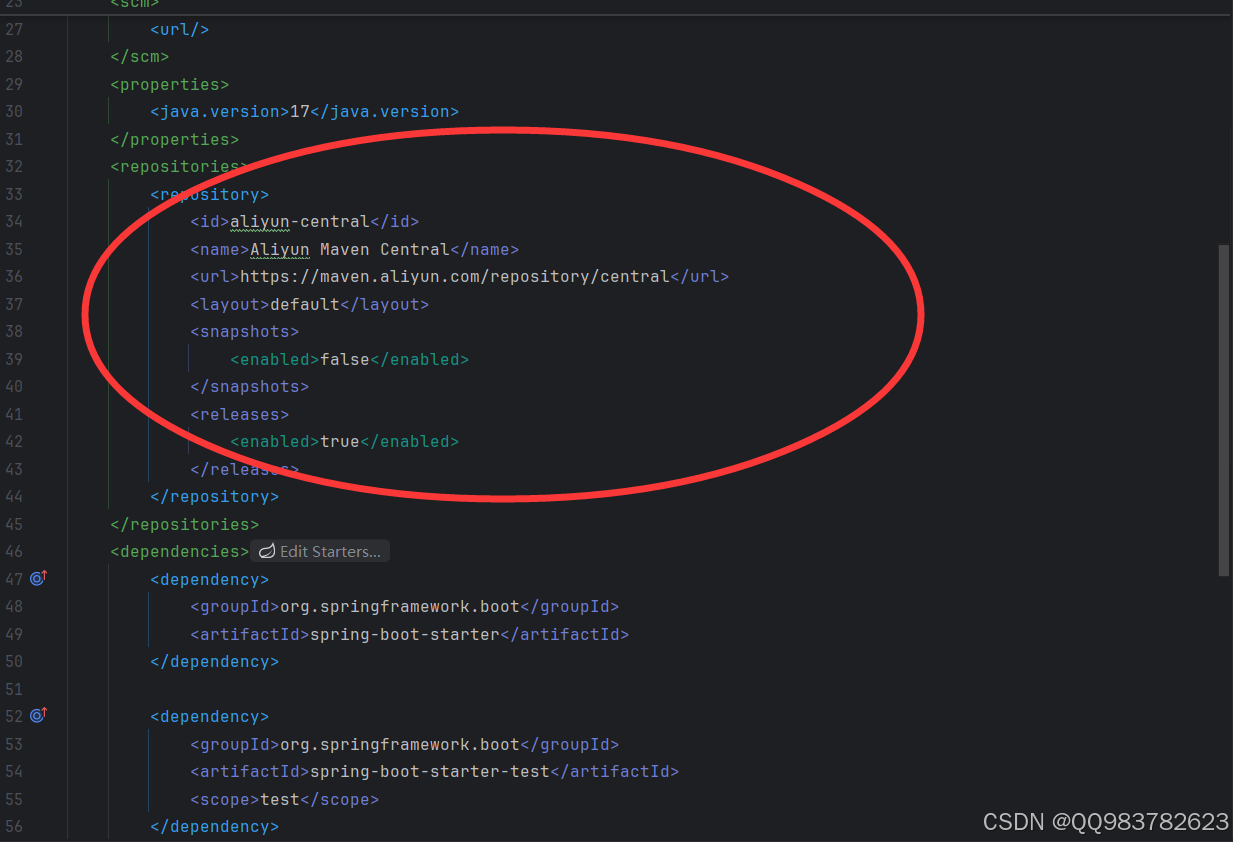
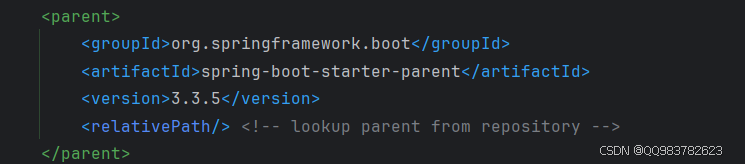
添加依赖spring-boot-starter-web,因为一开始我们选择了spring-boot-starter-parent版本,就是一开始SpringBoot3.3.5,所以spring-boot-starter-web不用添加版本
<dependency>
<groupId>org.springframework.boot</groupId>
<artifactId>spring-boot-starter-web</artifactId>
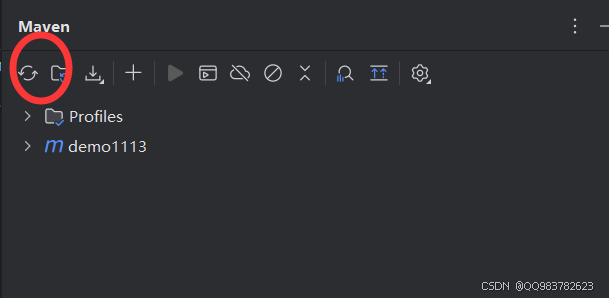
</dependency>刷新maven
三、创建接口
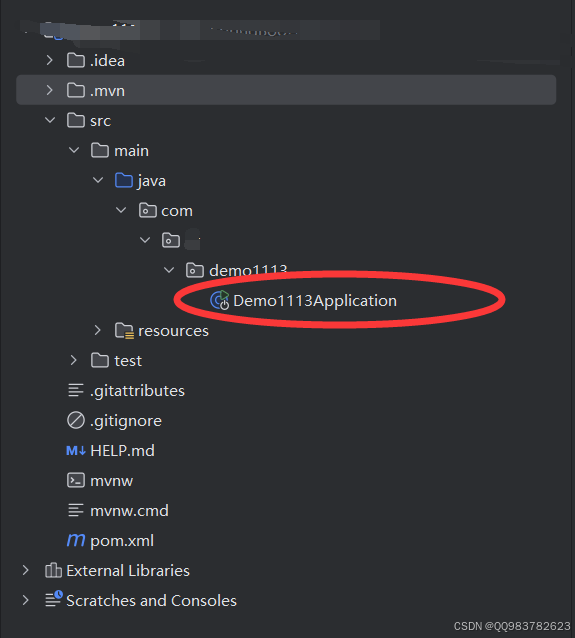
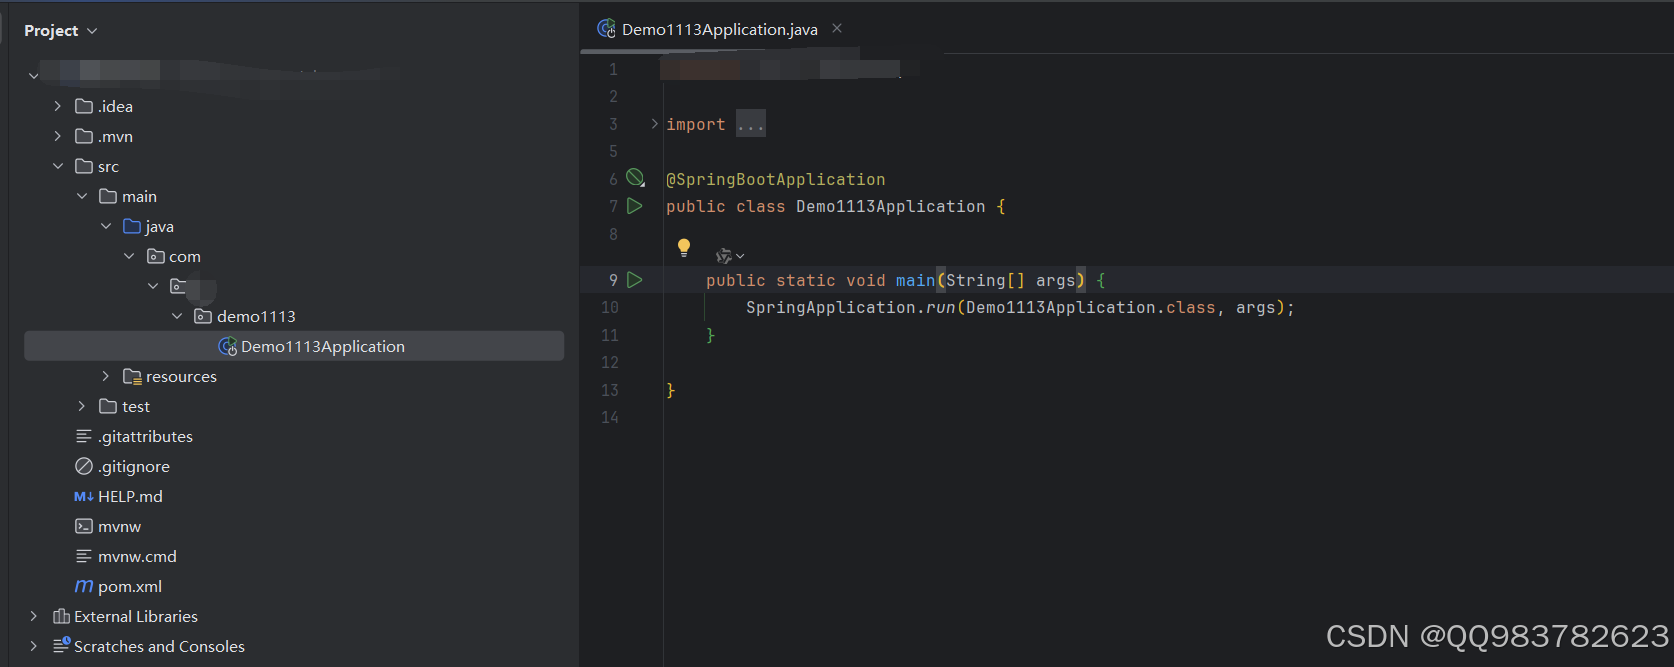
我们可以看到,项目一开始就为我们创建好了启动类
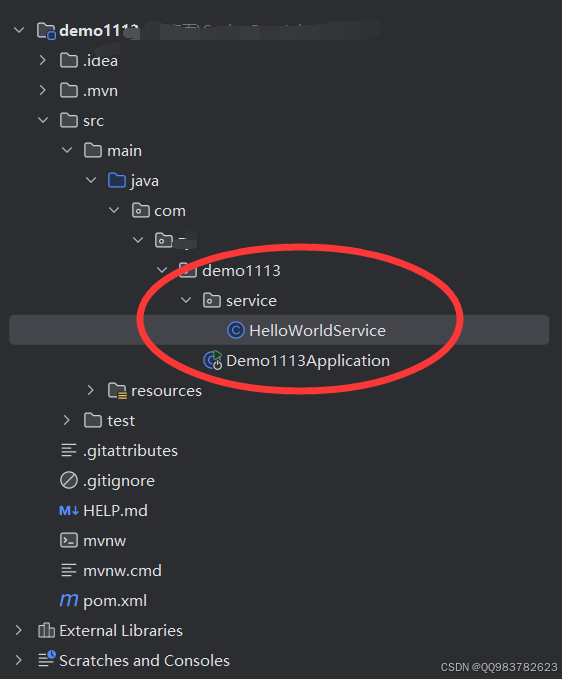
1、创建service包
service包一定要和启动类在同一目录,用于存放逻辑层
2、创建HelloWorldService逻辑层
在service包内创建HelloWorldService类
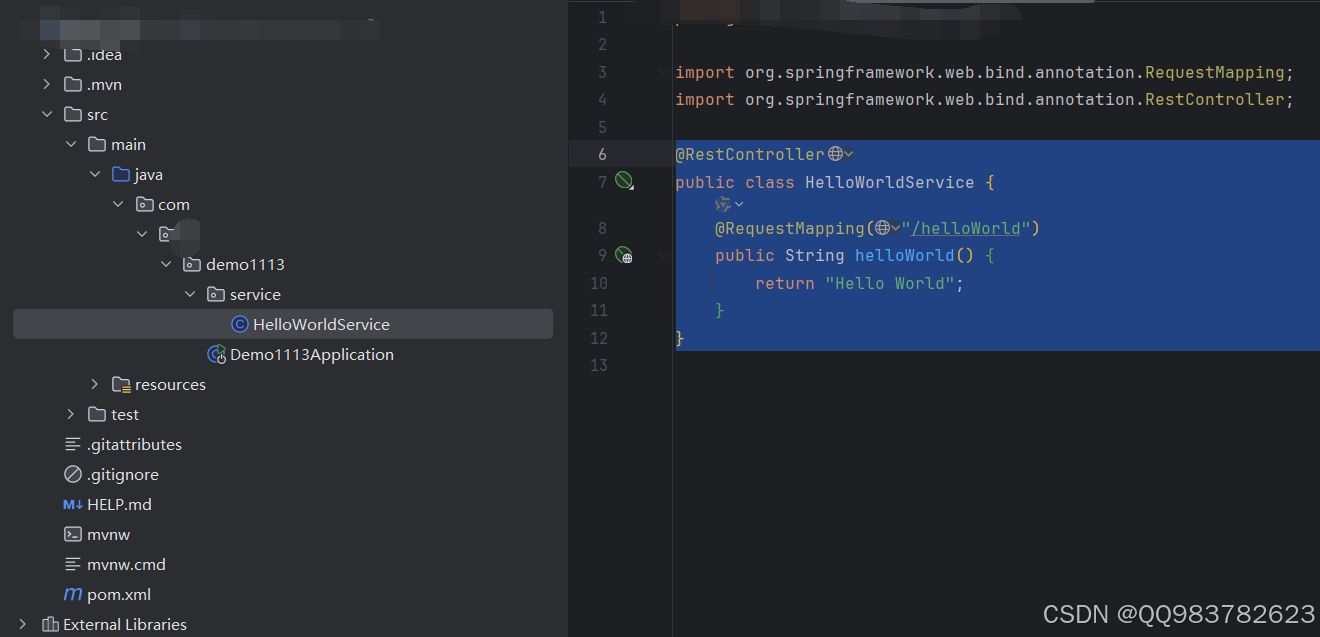
3、写出第一个接口helloWorld
写出我们第一个接口返回方法helloWorld,在方法上面加上注解RequestMapping,并写出访问接口的路径/helloWorld
@RestController
public class HelloWorldService {
    @RequestMapping("/helloWorld")
    public String helloWorld() {
        return "Hello World";
    }
}
4、启动项目

启动完后,在浏览器输入localhost:8080/helloWorld,一定要保持访问路径一样
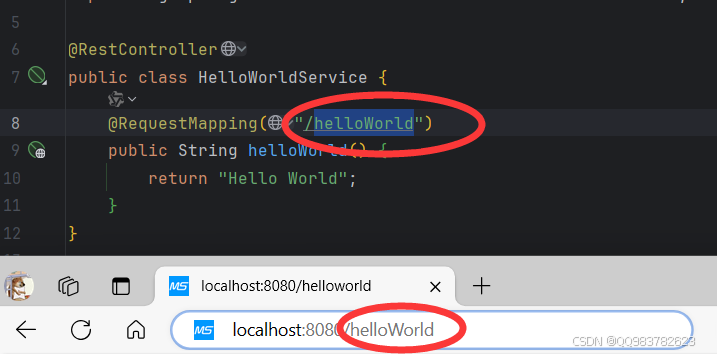

返回Hello World即为成功


 1万+
1万+

 被折叠的 条评论
为什么被折叠?
被折叠的 条评论
为什么被折叠?
 到【灌水乐园】发言


