(一)帧式布局概述
- FrameLayout(帧布局)是布局中最简单的一个布局,此布局可直接在屏幕上选出一块空白区域,当需要往里添加控件的时候,会自动默认把要添加的控件放到这块区域的左上角,然而这种布局方式却没有任何的定位方式,所以需要用到它的场景并不多;帧布局的大小由控件中最大的子控件决定,如果这个控件的大小一样大的话,那么同一时刻就只能看到最上面的那个组件;后续添加的控件会覆盖前一个;虽然默认会将控件放置在左上角,但可以通过layout_gravity属性,指定添加到其他的位置。
1、布局特点
- 帧式布局是一种层叠式的布局,后添加的控件会层叠在先添加的控件上。
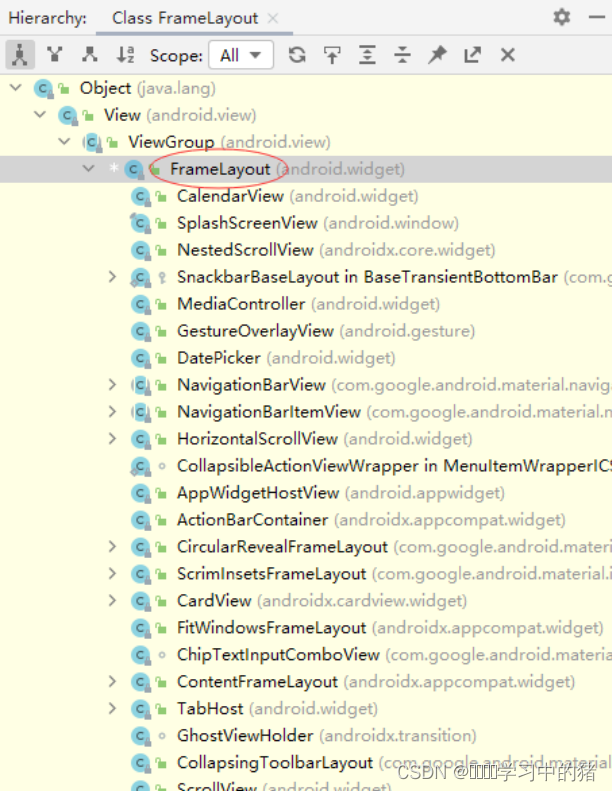
2、继承关系图
- FrameLayout类是ViewGroup的子类
3、常用属性
| 属性 | 含义 |
|---|
| scrollbars 滚动条 | (none、horizontal、vertical) |
| layout_marginTop | 上边距 |
| layout_marginBottom | 下边距 |
| layout_marginLeft | 左边距 |
| layout_marginRight | 右边距 |
| paddingLeft | 左内边距 |
| paddingRight | 右内边距 |
| paddingTop | 上内边距 |
| paddingBottom | 下内边距 |
| background | 背景(背景色、背景图、背景选择器) |
(二)案例演示:切换颜色
1、创建安卓应用
- 基于Empty Activity创建安卓应用 - SwitchColor
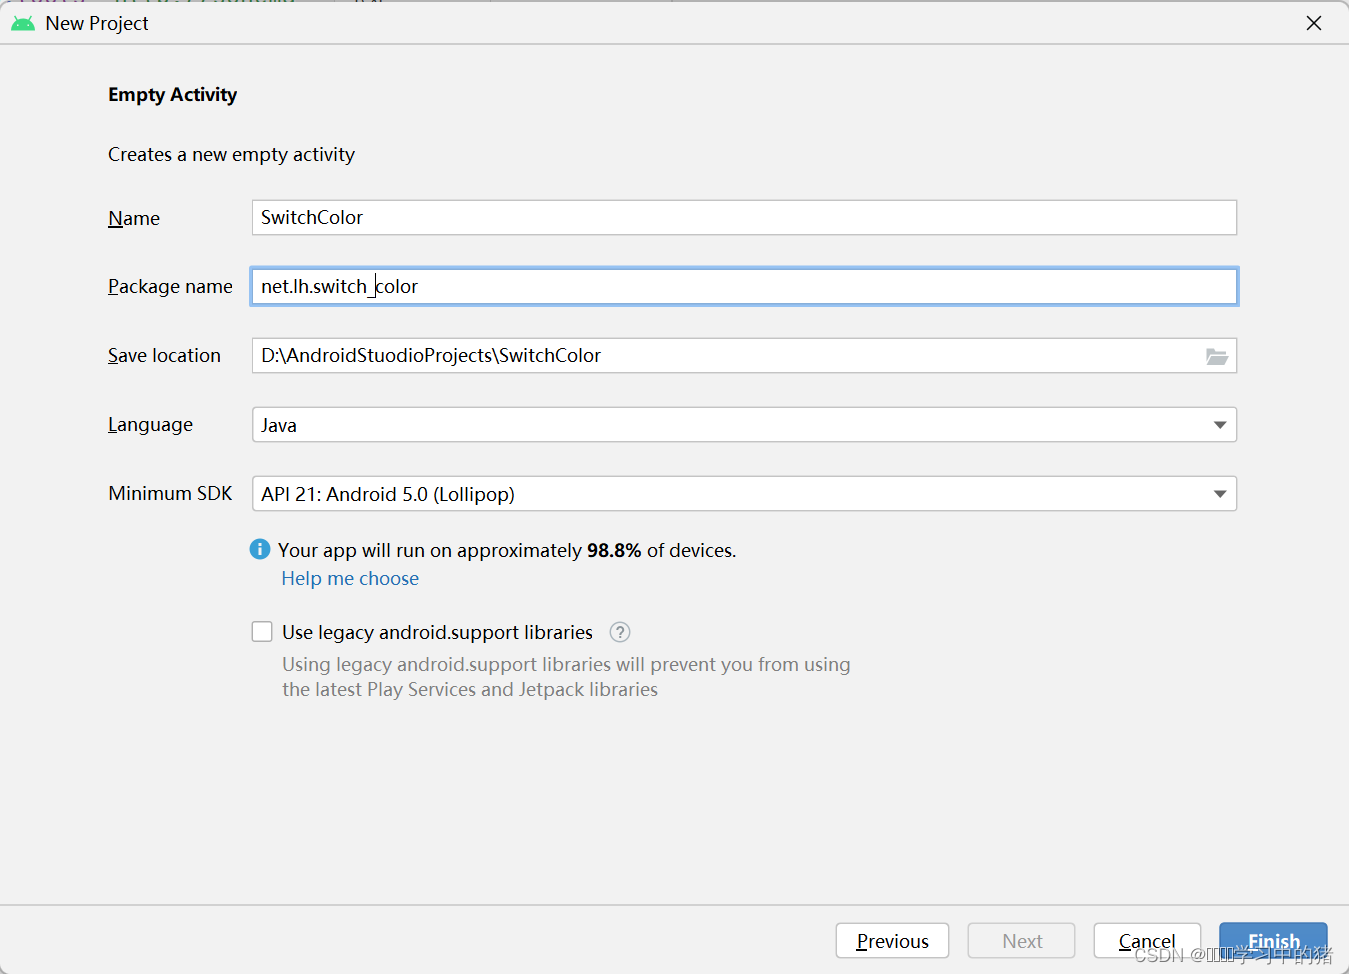
- 点击 finish 按钮

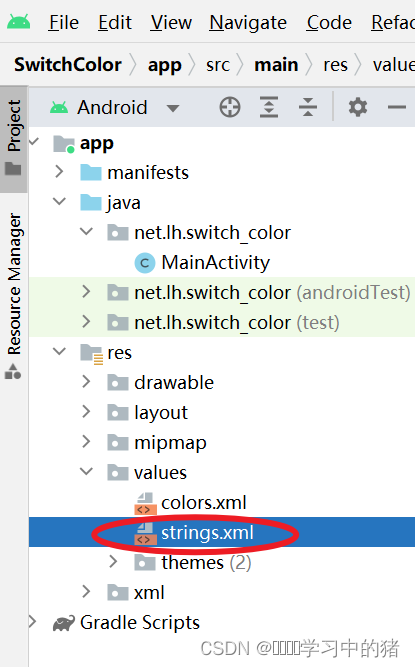
2、字符串资源文件
- 字符串资源文件 - strings.xml
<resources>
    <string name="app_name">帧式布局:切换颜色</string>
    <string name="top">顶层</string>
    <string name="middle">中层</string>
    <string name="bottom">底层</string>
    <string name="switch_color">切换颜色</string>
</resources>
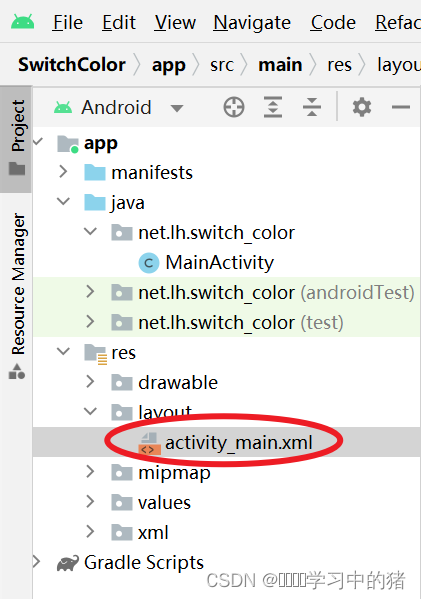
3、主布局资源文件
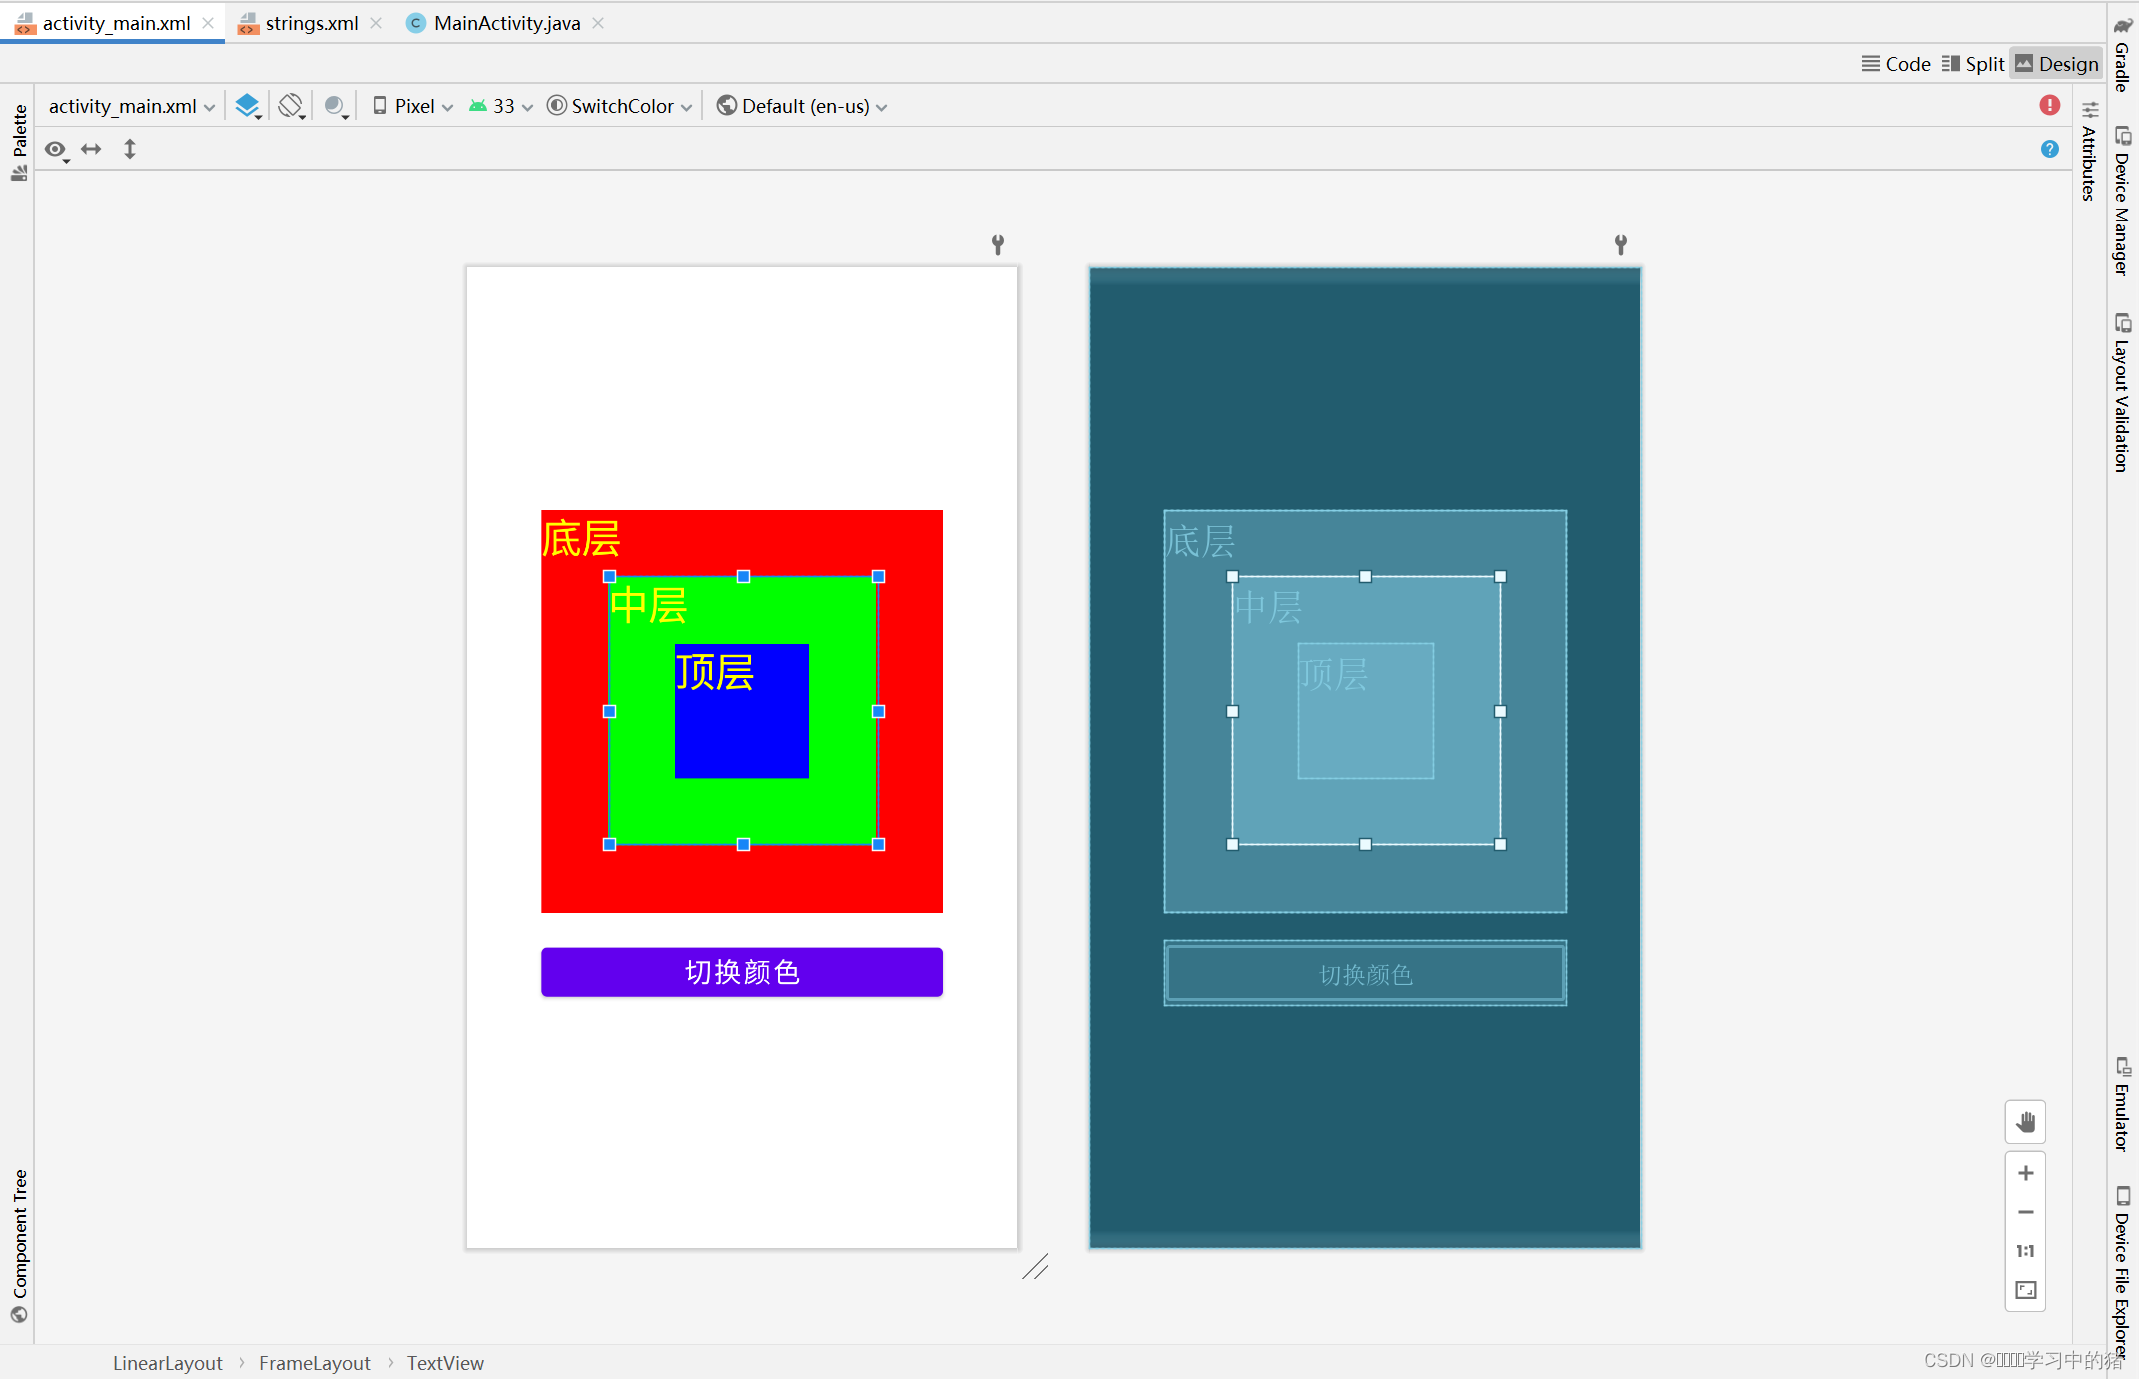
- 主布局资源文件 - activity_main.xml
<?xml version="1.0" encoding="utf-8"?>
<LinearLayout xmlns:android="http://schemas.android.com/apk/res/android"
xmlns:tools="http://schemas.android.com/tools"
android:layout_width="match_parent"
android:layout_height="match_parent"
android:gravity="center"
android:orientation="vertical"
tools:context=".MainActivity">
<FrameLayout
android:layout_width="wrap_content"
android:layout_height="wrap_content"
android:layout_marginBottom="20dp">
<TextView
android:id="@+id/tv_bottom"
android:layout_width="300dp"
android:layout_height="300dp"
android:layout_gravity="center"
android:background="#ff0000"
android:text="@string/bottom"
android:textColor="#ffff00"
android:textSize="30sp" />
<TextView
android:id="@+id/tv_middle"
android:layout_width="200dp"
android:layout_height="200dp"
android:layout_gravity="center"
android:background="#00ff00"
android:text="@string/middle"
android:textColor="#ffff00"
android:textSize="30sp" />
<TextView
android:id="@+id/tv_top"
android:layout_width="100dp"
android:layout_height="100dp"
android:layout_gravity="center"
android:background="#0000ff"
android:text="@string/top"
android:textColor="#ffff00"
android:textSize="30sp" />
</FrameLayout>
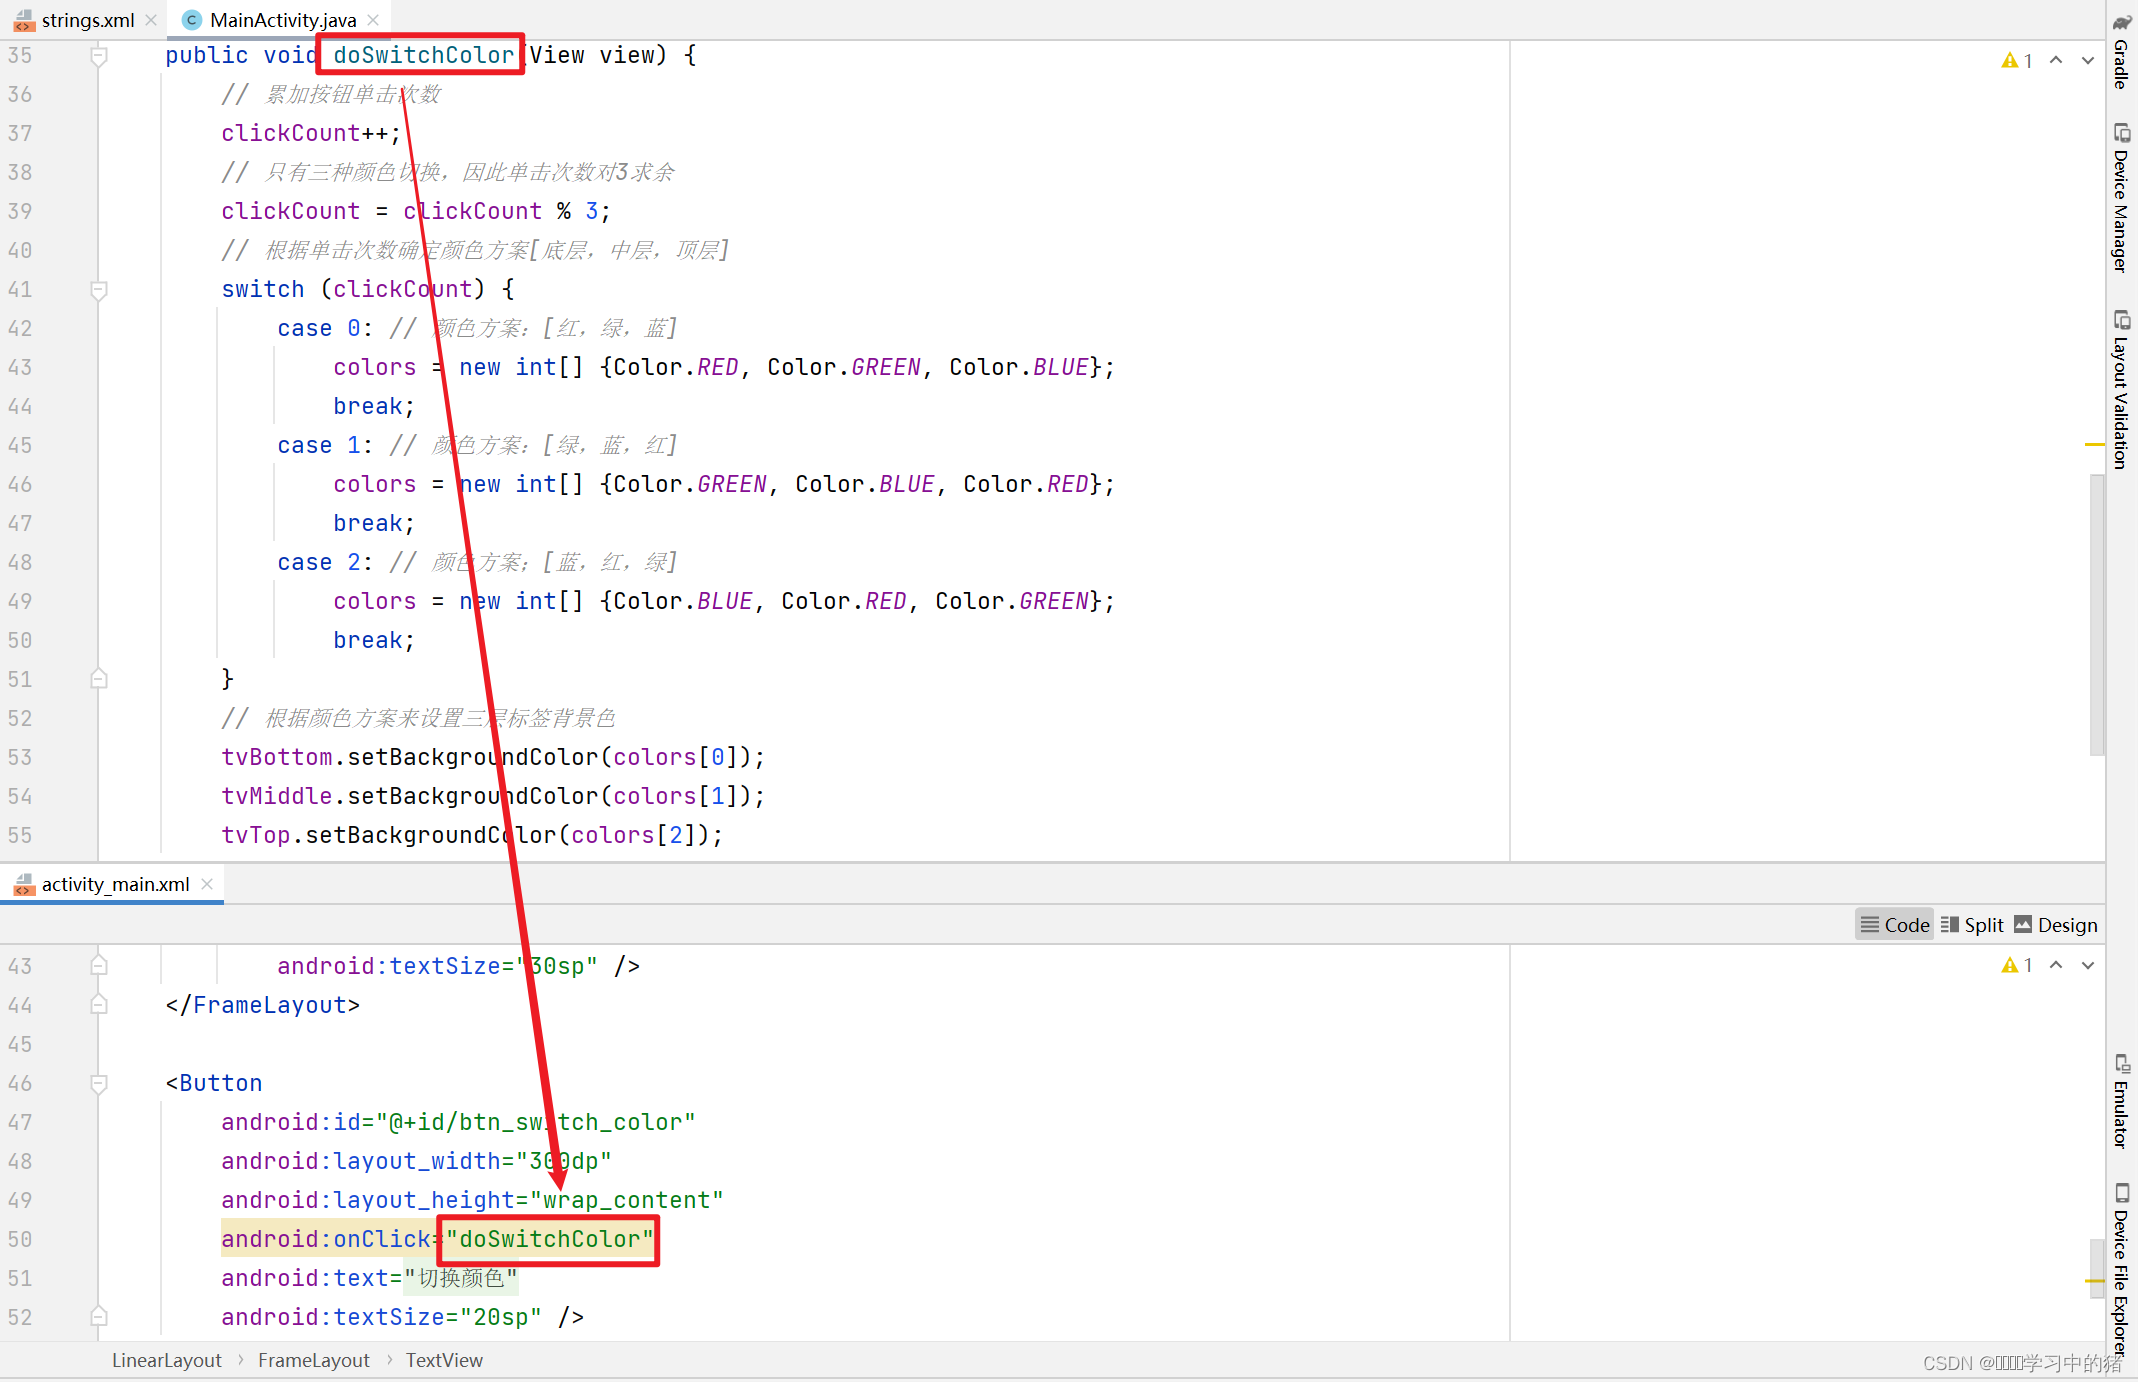
<Button
android:id="@+id/btn_switch_color"
android:layout_width="300dp"
android:layout_height="wrap_content"
android:onClick="doSwitchColor"
android:text="@string/switch_color"
android:textSize="20sp" />
</LinearLayout>
- 查看预览效果
4、主界面实现功能
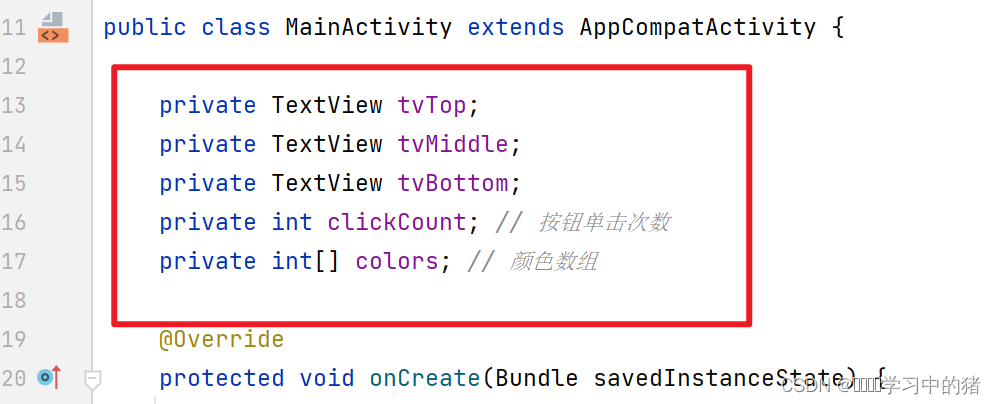
- 主界面类 - MainActivity

- 定义变量
- 通过资源标识符获取控件实例
- 如代码有误,可查看完整代码
package net.lh.switch_color;
import androidx.appcompat.app.AppCompatActivity;
import android.graphics.Color;
import android.os.Bundle;
import android.view.View;
import android.widget.TextView;
public class MainActivity extends AppCompatActivity {
private TextView tvTop;
private TextView tvMiddle;
private TextView tvBottom;
private int clickCount;
private int[] colors;
@Override
protected void onCreate(Bundle savedInstanceState) {
super.onCreate(savedInstanceState);
setContentView(R.layout.activity_main);
tvTop = findViewById(R.id.tv_top);
tvMiddle = findViewById(R.id.tv_middle);
tvBottom = findViewById(R.id.tv_bottom);
}
public void doSwitchColor(View view) {
clickCount++;
clickCount = clickCount % 3;
switch (clickCount) {
case 0:
colors = new int[] {Color.RED, Color.GREEN, Color.BLUE};
break;
case 1:
colors = new int[] {Color.GREEN, Color.BLUE, Color.RED};
break;
case 2:
colors = new int[] {Color.BLUE, Color.RED, Color.GREEN};
break;
}
tvBottom.setBackgroundColor(colors[0]);
tvMiddle.setBackgroundColor(colors[1]);
tvTop.setBackgroundColor(colors[2]);
}
}
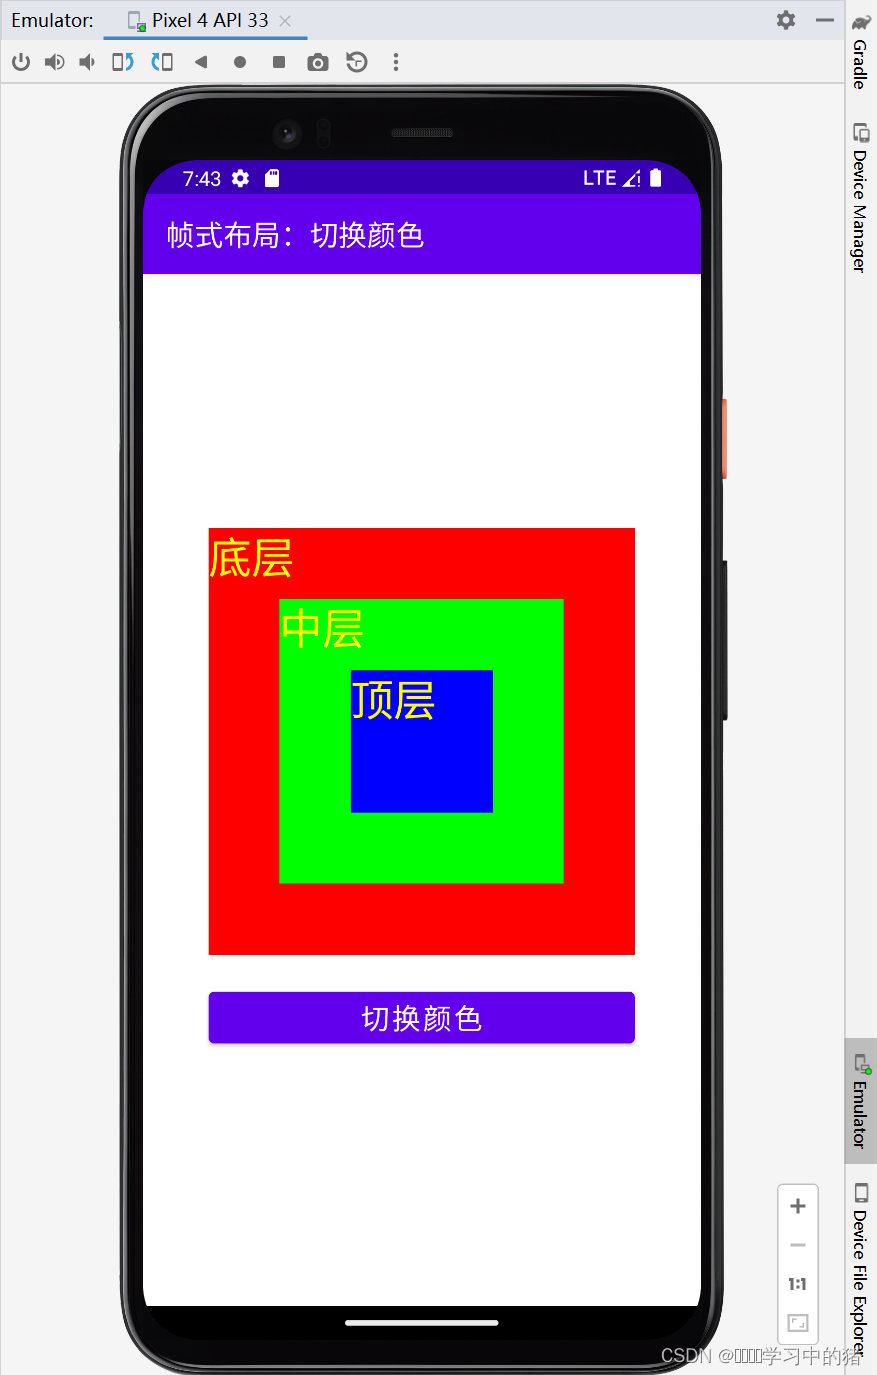
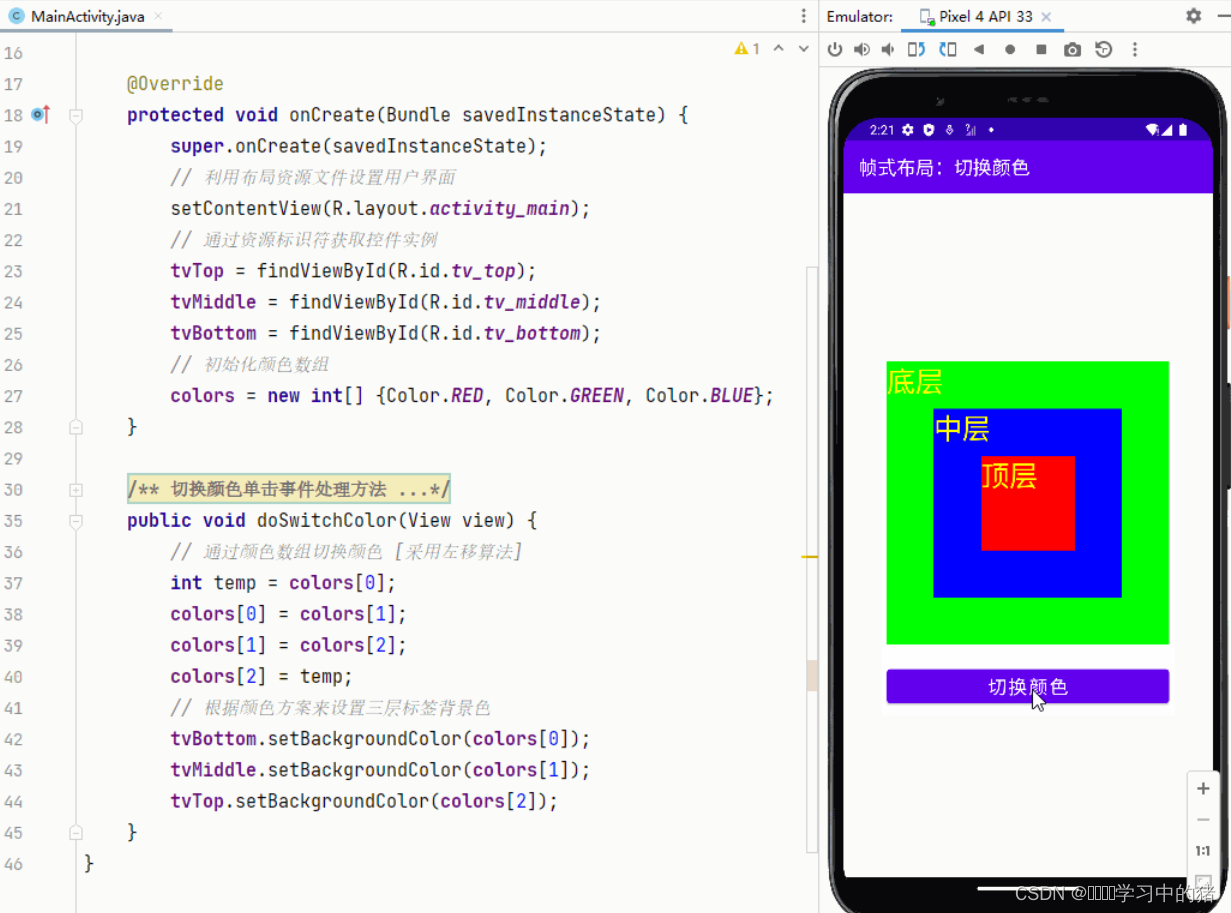
5、启动应用,查看效果
- 单击【切换颜色】按钮
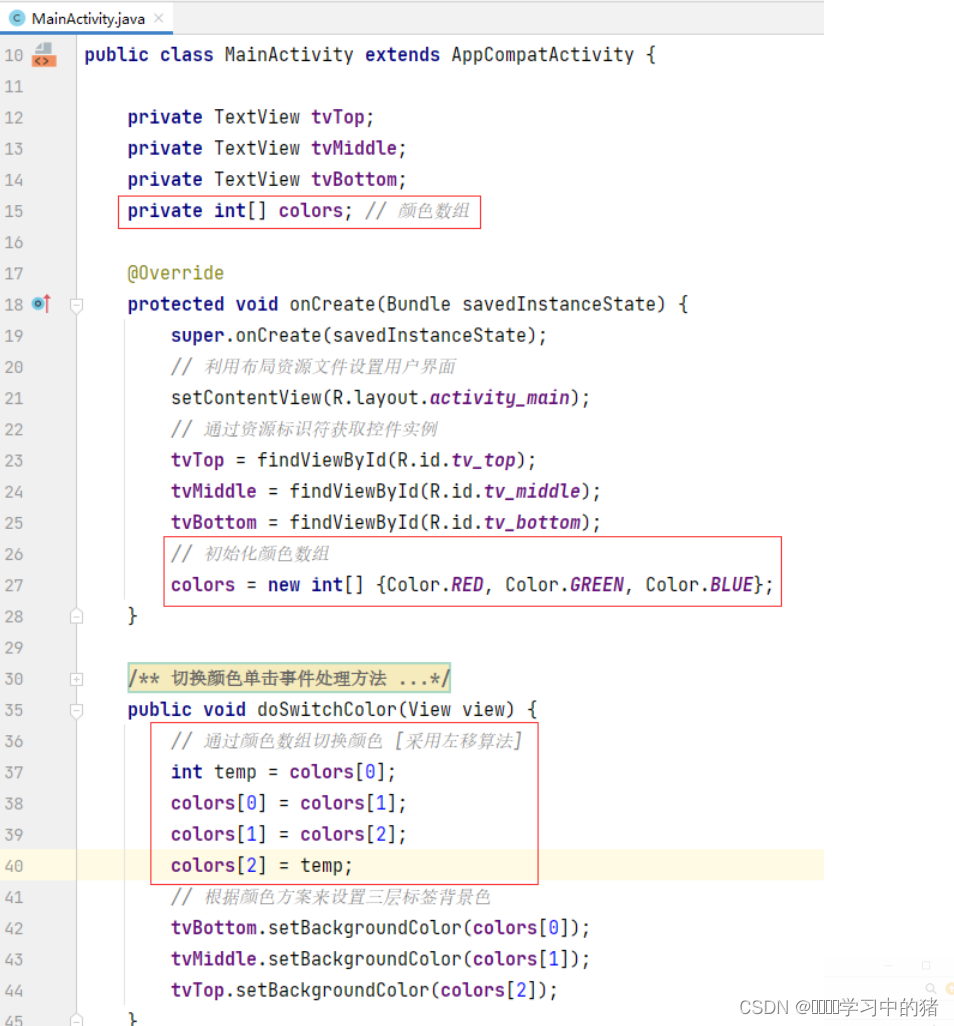
6、优化切换颜色算法
- 采用左移算法切换颜色
- 启动应用,查看效果
如代码有误,可查看优化后的代码
package net.lh.switch_color;
import androidx.appcompat.app.AppCompatActivity;
import android.graphics.Color;
import android.os.Bundle;
import android.view.View;
import android.widget.TextView;
public class MainActivity extends AppCompatActivity {
private TextView tvTop;
private TextView tvMiddle;
private TextView tvBottom;
private int[] colors;
@Override
protected void onCreate(Bundle savedInstanceState) {
super.onCreate(savedInstanceState);
setContentView(R.layout.activity_main);
tvTop = findViewById(R.id.tv_top);
tvMiddle = findViewById(R.id.tv_middle);
tvBottom = findViewById(R.id.tv_bottom);
colors = new int[] {Color.RED, Color.GREEN, Color.BLUE};
}
public void doSwitchColor(View view) {
int temp = colors[0];
for (int i = 0; i < colors.length - 1; i++) {
colors[i] = colors[i + 1];
}
colors[colors.length - 1] = temp;
tvBottom.setBackgroundColor(colors[0]);
tvMiddle.setBackgroundColor(colors[1]);
tvTop.setBackgroundColor(colors[2]);
}
}


 本文介绍了Android中的帧布局(FrameLayout)及其特点,它是一种简单的层叠布局,后添加的控件会覆盖前面的。通过案例展示了如何在帧布局中创建三个重叠的TextView,并实现点击按钮切换它们背景颜色的功能,使用了颜色数组和左移算法进行颜色切换。


 1409
1409

 被折叠的 条评论
为什么被折叠?
被折叠的 条评论
为什么被折叠?
 到【灌水乐园】发言


