


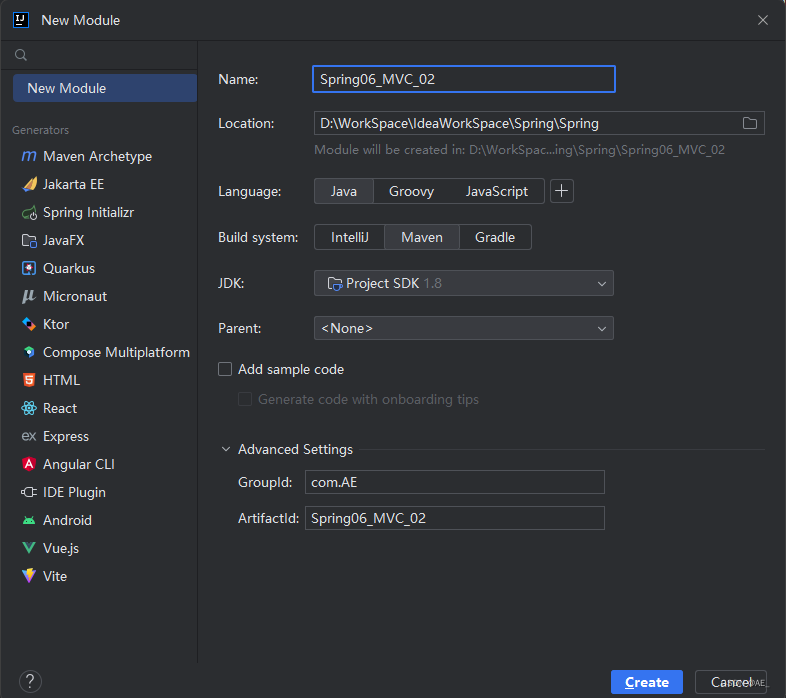
1、新建空项目
名字和路径自定义,Maven项目,不建议勾选Add sample code
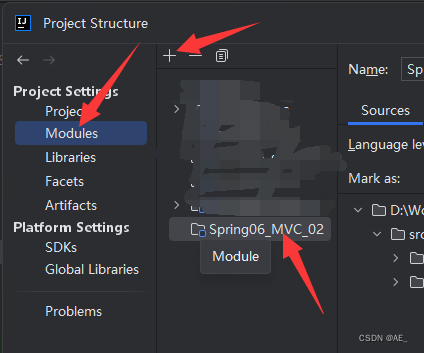
2、创建web模块
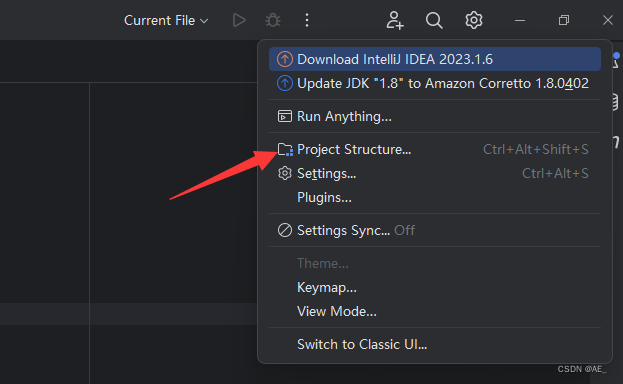
选中当前项目
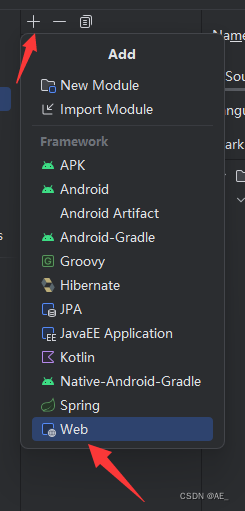
修改路径,注意是在main包下
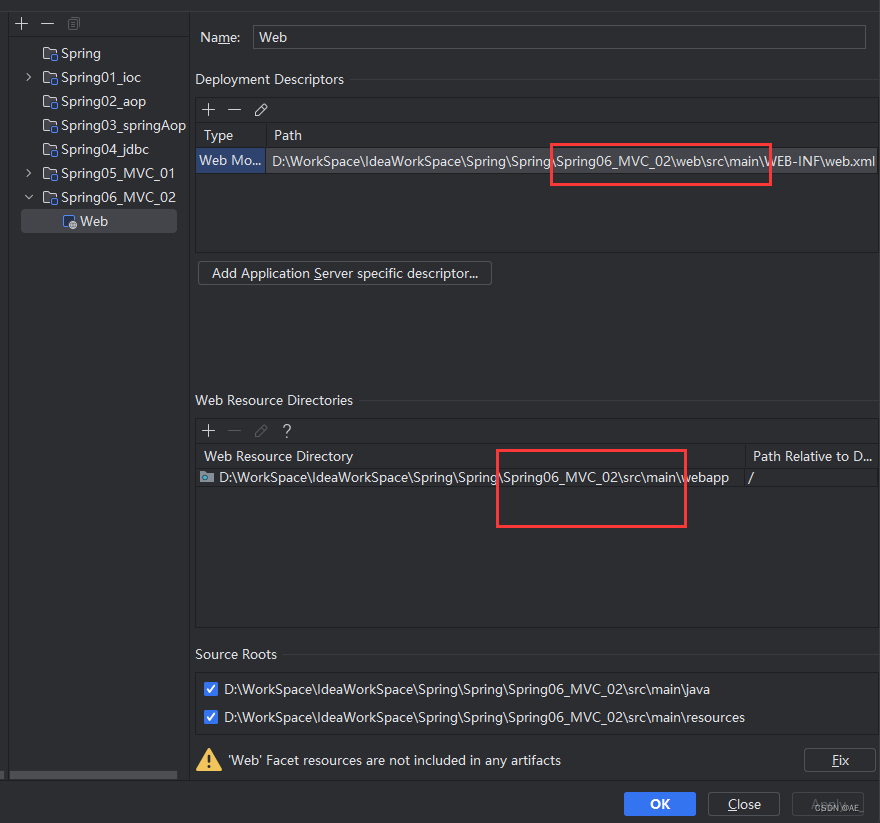
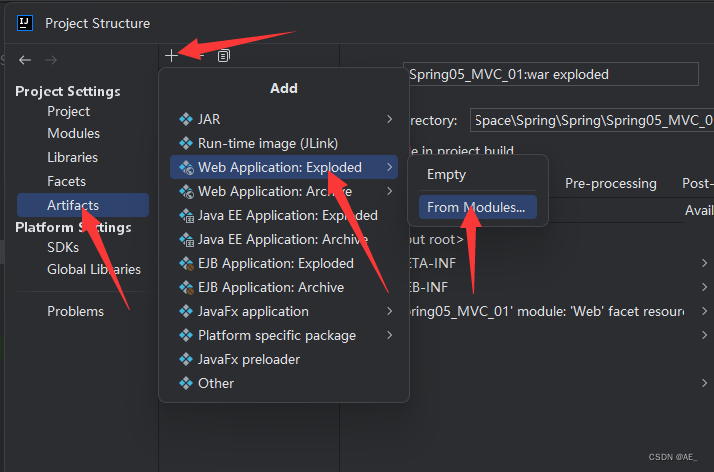
选择当前项目

3、编写pom.xml文件
在文件中加入以下内容,packaging标签表明了maven打包类型。
    <packaging>war</packaging>
    <dependencies>
        <!-- springMvc依赖-->
        <dependency>
            <groupId>org.springframework</groupId>
            <artifactId>spring-webmvc</artifactId>
            <version>5.2.13.RELEASE</version>
        </dependency>
        <!-- springMvc依赖-->
        <!--Servlet依赖-->
        <dependency>
            <groupId>javax.servlet</groupId>
            <artifactId>javax.servlet-api</artifactId>
            <version>4.0.1</version>
            <scope>provided</scope>
        </dependency>
        <!--Servlet依赖-->
    </dependencies>
    <build>
        <plugins>
            <!--  编译插件    -->
            <plugin>
                <groupId>org.apache.maven.plugins</groupId>
                <artifactId>maven-compiler-plugin</artifactId>
                <version>3.8.0</version>
                <configuration>
                    <source>1.8</source>
                    <target>1.8</target>
                </configuration>
            </plugin>
            <!--tomcat插件-->
            <plugin>
                <groupId>org.apache.tomcat.maven</groupId>
                <artifactId>tomcat7-maven-plugin</artifactId>
                <version>2.2</version>
                <configuration>
                    <path>/</path>
                    <port>8080</port>
                </configuration>
            </plugin>
        </plugins>
    </build>
加载maven依赖项
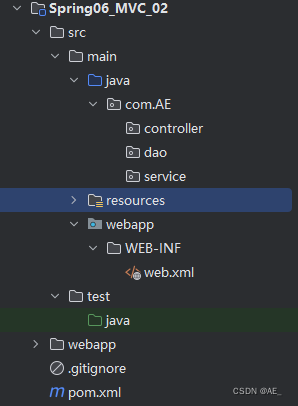
4、创建Java中对应的包结构
5、编写Spring以及SpringMvc配置文件
applicationContext.xml
<?xml version="1.0" encoding="UTF-8"?>
<beans xmlns="http://www.springframework.org/schema/beans"
       xmlns:xsi="http://www.w3.org/2001/XMLSchema-instance"
       xmlns:context="http://www.springframework.org/schema/context"
       xsi:schemaLocation="http://www.springframework.org/schema/beans http://www.springframework.org/schema/beans/spring-beans.xsd
        http://www.springframework.org/schema/context
        http://www.springframework.org/schema/context/spring-context.xsd
">
    <!-- spring的配置文件,除了控制器之外的bean都在这里进行扫描 -->
    <context:component-scan base-package="com.AE.service, com.AE.dao"/>
</beans>
springmvc.xml
<?xml version="1.0" encoding="UTF-8"?>
<beans xmlns="http://www.springframework.org/schema/beans"
       xmlns:xsi="http://www.w3.org/2001/XMLSchema-instance"
       xmlns:context="http://www.springframework.org/schema/context"
       xmlns:mvc="http://www.springframework.org/schema/mvc"
       xsi:schemaLocation="http://www.springframework.org/schema/beans http://www.springframework.org/schema/beans/spring-beans.xsd
        http://www.springframework.org/schema/context http://www.springframework.org/schema/context/spring-context.xsd
        http://www.springframework.org/schema/mvc http://www.springframework.org/schema/mvc/spring-mvc.xsd
">
    <!-- spring的配置文件,除了控制器之外的bean都在这里进行扫描 -->
    <context:component-scan base-package="com.AE.controller"/>
    <!--视图解析器-->
    <bean id="internalResourceViewResolver" class="org.springframework.web.servlet.view.InternalResourceViewResolver">
        <property name="prefix" value="/jsp/"/>
        <property name="suffix" value=".jsp"/>
    </bean>
    <mvc:annotation-driven/>
    <!--如果url-pattern:值是 / 需要单独处理静态资源
    DefaultServletRequestHandler
    -->
    <!--静态资源处理方式1:-->
    <mvc:default-servlet-handler/>
    <!--方式2:
    location-->
    <!--    <mvc:resources mapping="/images/**" location="/images/"/>-->
    <!--    <mvc:resources mapping="/js/**" location="/js/"/>-->
</beans>
6、编写web.xml文件
web.xml
因为web项目启动首先加载的是web.xml文件,spring和springmvc的相关配置文件时扫不到的,所以需要在webxml文件中载入配置文件。
并且将后缀为*.do的请求直接交给dispatcherServlet处理。
<?xml version="1.0" encoding="UTF-8"?>
<web-app xmlns="http://xmlns.jcp.org/xml/ns/javaee"
xmlns:xsi="http://www.w3.org/2001/XMLSchema-instance"
xsi:schemaLocation="http://xmlns.jcp.org/xml/ns/javaee http://xmlns.jcp.org/xml/ns/javaee/web-app_4_0.xsd"
version="4.0">
<!--web项目启动首先加载web.xml文件-->
<!--spring的配置-->
<context-param>
<param-name>contextConfigLocation</param-name>
<param-value>classpath*:applicationContext.xml</param-value>
</context-param>
<listener>
<listener-class>org.springframework.web.context.ContextLoaderListener</listener-class>
</listener>
<!--springmvc的配置-->
<servlet>
<servlet-name>dispatcherServlet</servlet-name>
<servlet-class>org.springframework.web.servlet.DispatcherServlet</servlet-class>
<init-param>
<param-name>contextConfigLocation</param-name>
<param-value>classpath*:springmvc.xml</param-value>
</init-param>
<load-on-startup>1</load-on-startup>
</servlet>
<servlet-mapping>
<servlet-name>dispatcherServlet</servlet-name>
<url-pattern>*.do</url-pattern>
</servlet-mapping>
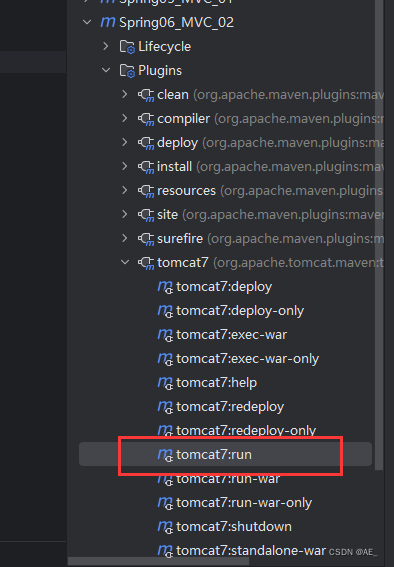
</web-app>7、测试使用
运行是使用Maven中插件中的tomcat7中的run
service编写,正常加Service注解即可,因为大部分的操作都是在controller层。
@Service
public class TeamService {
    public void add() {
        System.out.println("TeamService---add----");
    }
}
RequestMapping注解,可以将请求映射到该方法上,通过不同的请求调用不同的方法。
ModelAndView类可以返回给视图解析器,前后端可以通过该类相互传递信息以及返回视图。
适合javaweb中用req来跳转和传递信息
setViewName就相当于是跳转到index的jsp文件,在springmvc的xml配置文件中有过设置,index通过视图解析器可以变成/jsp/index.jsp.返回给前端。
addObject可以给前端传递一对键值。
@Controller
public class TeamController {
    @Autowired
    private TeamService teamService;

    @RequestMapping("add.do")
    public ModelAndView add() {
        teamService.add();
        ModelAndView mv = new ModelAndView();
        mv.setViewName("index");
        mv.addObject("teamName", "AE-ModelAndView");
        return mv;
    }
}


 4743
4743

 被折叠的 条评论
为什么被折叠?
被折叠的 条评论
为什么被折叠?
 到【灌水乐园】发言


