


项目来源
https://field-robotics-lab.github.io/dave.doc/
1 安装ubuntu
安装好Ubuntu20.04后,在桌面的右上方弹出一个错误
未知错误:"<calss 'KeyError'>"("The cache has no package named 'ubuntu-pro-client:amd64'")
这通常意味着您安装的软件包有未满足的依赖关系
直接安装依赖就可以解决
sudo apt-get install ubuntu-pro-client:amd64
我直接在官网上下载的ubuntu镜像源,不知道为什么还是有这个问题,但是无所谓了,能解决的问题就是小问题 ,装系统的时候要多分配空间,将根目录分配了40G的空间。
2 选择nvidia安装CUDA
//这部分主要在声纳部分才体现,但是如果先进行其他部分,可能安好了才发现没有足够的内存安装CUDA了
直接在软件和更新中选择535即可
然后按照ubuntu20.04安装CUDA-优快云博客中的内容安装CUDA即可,因为项目中采用的是12.3所以我找了这篇文章
项目中给出安装CUDA的代码如图,但是这个网址找不到,所以我才另外找的
  wget https://developer.download.nvidia.com/compute/cuda/repos/$distro/$arch/cuda-keyring_1.1-1_all.deb
  sudo dpkg -i cuda-keyring_1.1-1_all.deb
  sudo apt update
  # Make sure you are getting 12.3 versions
  sudo apt-get install cuda-toolkit
在继续进行时,执行
nvcc --version
显示找不到nvcc的命令,建议进行
sudo apt-get install nvidia-cuda-toolkit
如果按照原文中进行sudo apt-get install cuda-toolkit会显示无法定位软件包cuda-toolkit
然后运行
gedit ~/.bashrc
将添加可执行文件和库的路径,运行文中的代码(这里我没有按照安装参考文章中的要求,而是采用了项目中给出的,是没有影响的
  export PATH=/usr/local/cuda/bin${PATH:+:${PATH}}$
  export LD_LIBRARY_PATH=/usr/local/cuda/lib64${LD_LIBRARY_PATH:+:${LD_LIBRARY_PATH}}
在进行这一步之前运行nvcc都显示的其他版本的(我的是10.1),如果运行nvidia-smi均显示为12.2,使用nvcc --version可以查询到CUDA为12.3,实际中nvcc查到的才是准确的。
3 安装ros和gazebo
//这个在
Upgrade to the latest packages:
sudo apt update
sudo apt full-upgrade
Install required tools:
sudo apt install -y build-essential cmake cppcheck curl git gnupg libeigen3-dev libgles2-mesa-dev lsb-release pkg-config protobuf-compiler python3-dbg python3-pip python3-venv qtbase5-dev ruby software-properties-common sudo wget
Install required ROS and Gazebo Packages
sudo sh -c 'echo "deb http://packages.ros.org/ros/ubuntu $(lsb_release -sc) main" > /etc/apt/sources.list.d/ros1-latest.list'
sudo apt-key adv --keyserver 'hkp://keyserver.ubuntu.com:80' --recv-keys C1CF6E31E6BADE8868B172B4F42ED6FBAB17C654
sudo sh -c 'echo "deb http://packages.osrfoundation.org/gazebo/ubuntu-stable `lsb_release -cs` main" > /etc/apt/sources.list.d/gazebo-stable.list'
wget https://packages.osrfoundation.org/gazebo.key -O - | sudo apt-key add -
sudo apt update
DIST=noetic
GAZ=gazebo11
sudo apt install -y ${GAZ} lib${GAZ}-dev python3-catkin-tools python3-rosdep python3-rosinstall python3-rosinstall-generator python3-vcstool ros-${DIST}-gazebo-plugins ros-${DIST}-gazebo-ros ros-${DIST}-gazebo-ros-control ros-${DIST}-gazebo-ros-pkgs ros-${DIST}-effort-controllers ros-${DIST}-geographic-info ros-${DIST}-hector-gazebo-plugins ros-${DIST}-image-view ros-${DIST}-joint-state-controller ros-${DIST}-joint-state-publisher ros-${DIST}-joy ros-${DIST}-joy-teleop ros-${DIST}-kdl-parser-py ros-${DIST}-key-teleop ros-${DIST}-move-base ros-${DIST}-moveit-commander ros-${DIST}-moveit-planners ros-${DIST}-moveit-simple-controller-manager ros-${DIST}-moveit-ros-visualization ros-${DIST}-pcl-ros ros-${DIST}-robot-localization ros-${DIST}-robot-state-publisher ros-${DIST}-ros-base ros-${DIST}-ros-controllers ros-${DIST}-rqt ros-${DIST}-rqt-common-plugins ros-${DIST}-rqt-robot-plugins ros-${DIST}-rviz ros-${DIST}-teleop-tools ros-${DIST}-teleop-twist-joy ros-${DIST}-teleop-twist-keyboard ros-${DIST}-tf2-geometry-msgs ros-${DIST}-tf2-tools ros-${DIST}-urdfdom-py ros-${DIST}-velodyne-gazebo-plugins ros-${DIST}-velodyne-simulator ros-${DIST}-xacro
按照项目中给出的进行安装后没有报错,但是我想与运行小海龟测试的时候出问题了
所以找了这篇文章【ubuntu】ubuntu20.04安装ros noetic(亲测有效,附操作步骤)-优快云博客
对上面的安装部分中进行了补充后能够成功测试小海龟
sudo apt install ros-noetic-desktop-full
//设置&更新环境变量
echo "source /opt/ros/noetic/setup.bash" >> ~/.bashrc
source ~/.bashrc
//安装ros所需工具sudo apt install python3-rosinstall python3-rosinstall-generator python3-wstool build-essential python3-roslaunch
//进行测试//第一个终端运行
roscore
//第二个终端运行
rosrun turtlesim turtlesim_node
//第三个终端运行
rosrun turtlesim turtle_teleop_key
//然后将鼠标放在第三个终端里,操控键盘上的方向键就可以控制小海龟移动。
按照原文运行gazebo能够成功现实,且检查gazebo的版本有显示,但同原文中给出的有不同。
//验证gazebo能否启动
gazebo
//检查gazebo版本
gazebo --version
4 获取源代码
Clone this repository and other relevant repositories provided under Field-Robotics-Lab:
mkdir -p ~/uuv_ws/src
cd ~/uuv_ws/src
git clone https://github.com/Field-Robotics-Lab/dave.git
install vcstool:
sudo pip3 install -U vcstool进入到~/uuv_ws/src/dave/extras/repos中的dave_sim.repos,然后将其中的gist@github.com: 换成 https://github.com/,这一步很重要,同时因为要用到多波束声纳的multibeam_sim.repos这个也做同样的修改
vcs import --skip-existing --input dave/extras/repos/dave_sim.repos .vcs import --skip-existing --input dave/extras/repos/multibeam_sim.repos .5 build dave environment
cd ~/uuv_ws
catkin build
编译后即可
When the build is finished, source your new setup.bash:
source ~/uuv_ws/devel/setup.bash
# Source devel/setup.bash or install/setup.bash depending on whether you used the installation option
然后用他给出的实例进行测试即可
Test that the installation is working by running one of the Dave demos
roslaunch dave_demo_launch dave_demo.launch
因为这时候已经编译好了多波束声纳的部分
可以同时进行多波束声纳的测试
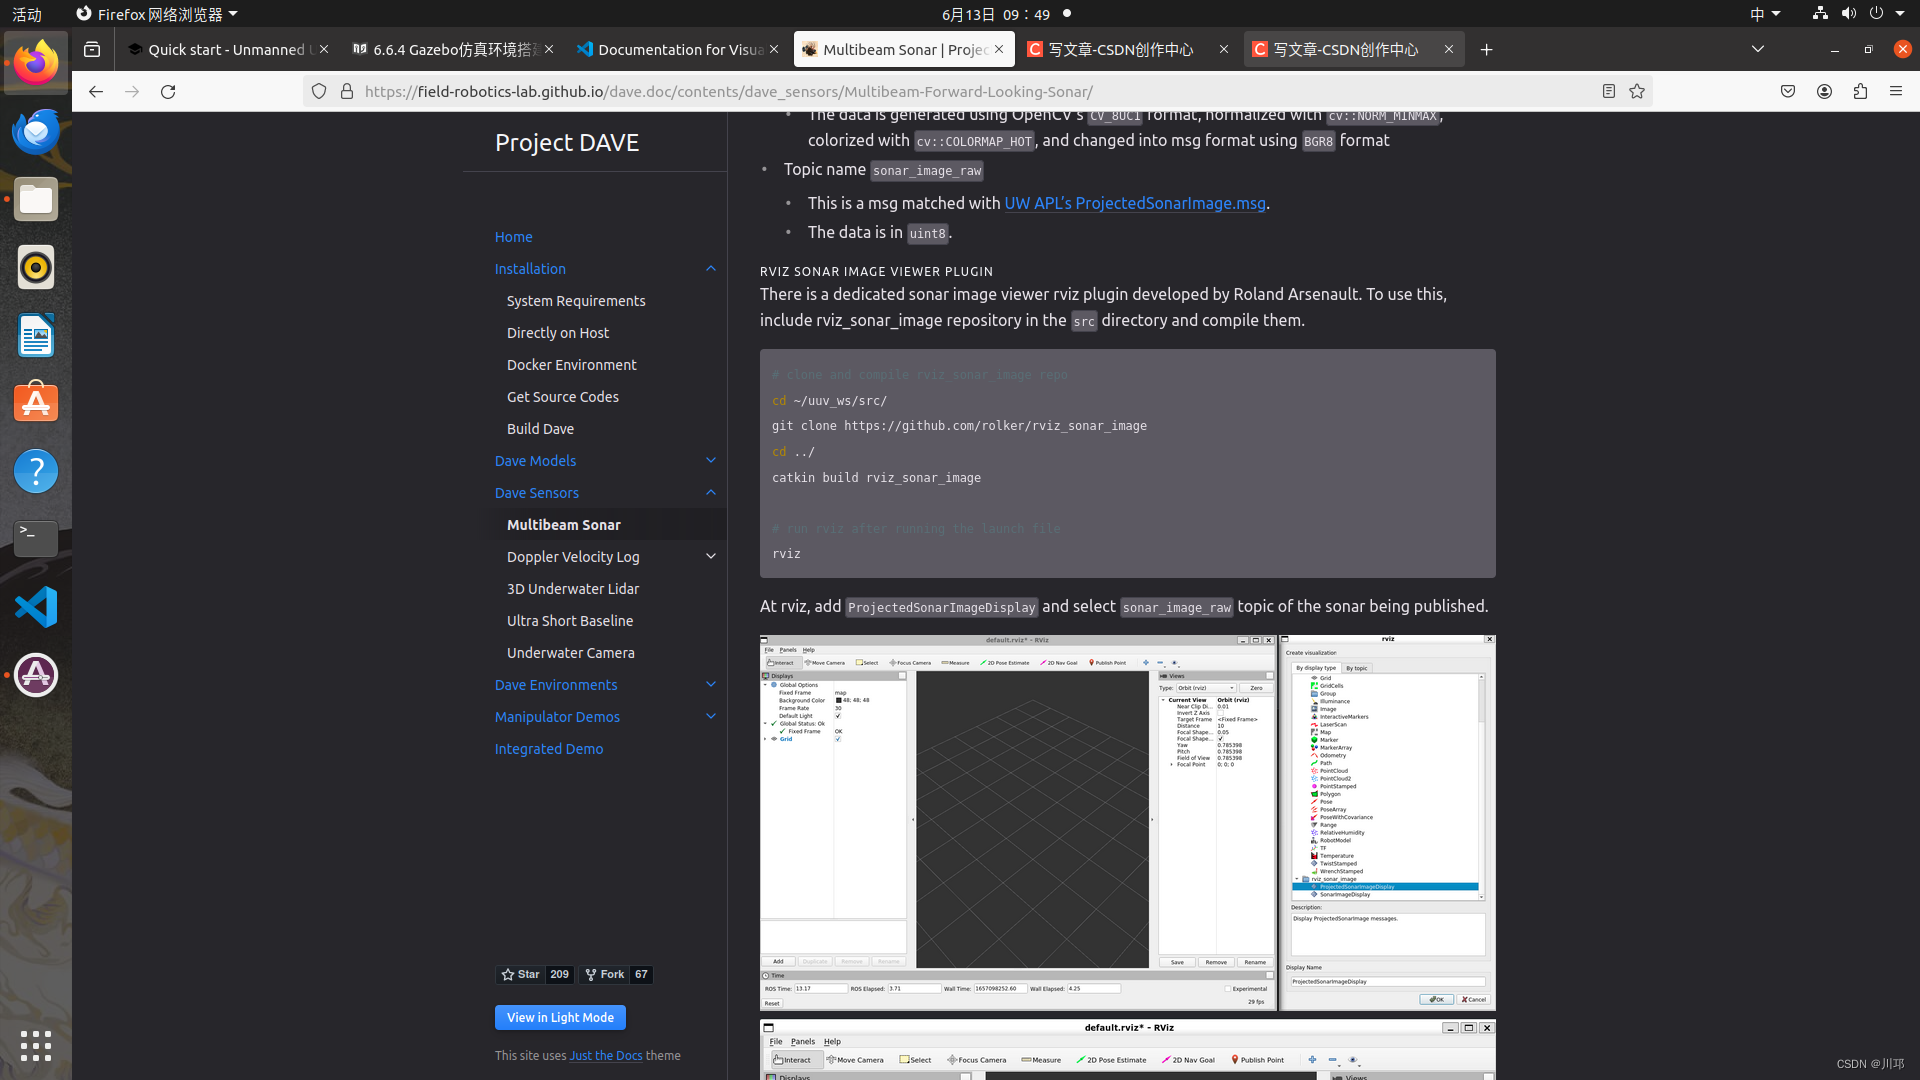
roslaunch nps_uw_multibeam_sonar sonar_tank_blueview_p900_nps_multibeam.launch6 rviz
# clone and compile rviz_sonar_image repo
cd ~/uuv_ws/src/
git clone https://github.com/rolker/rviz_sonar_image
cd ../
catkin build rviz_sonar_image

# run rviz after running the launch file
rviz
具体的操作示意图都在开源项目中可以看到


 8259
8259

 被折叠的 条评论
为什么被折叠?
被折叠的 条评论
为什么被折叠?
 到【灌水乐园】发言


