


 本文档介绍了如何在SpringBoot项目中集成MyBatis,添加MySQL数据库依赖,并配置MyBatis代码生成插件mybatis-generator。通过配置generatorMapper.xml文件,设置数据库连接信息,生成对应的实体类、Mapper接口和Mapper XML文件。完成配置后,通过Maven插件生成代码,简化开发流程。
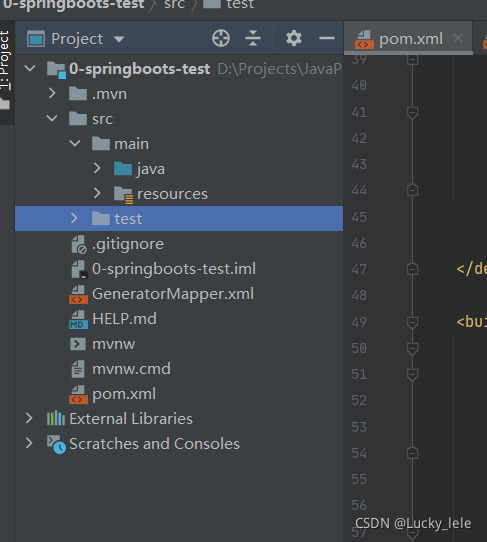
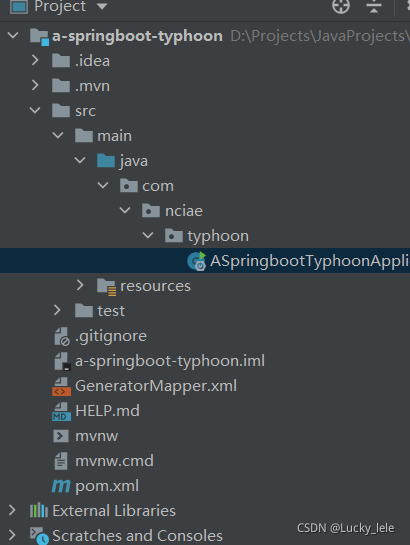
1.首先建立起一个springboot工程
2.在pom.xml中添加mybatis和mysql依赖
<!--MyBatis集成SpringBoot框架起步依赖-->
		<dependency>
			<groupId>org.mybatis.spring.boot</groupId>
			<artifactId>mybatis-spring-boot-starter</artifactId>
			<version>2.0.0</version>
		</dependency>
		<!--MySQL驱动-->
		<dependency>
			<groupId>mysql</groupId>
			<artifactId>mysql-connector-java</artifactId>
			<!--<version>5.1.9</version>-->
		</dependency>
3.添加插件,放到pom.xml文件末尾处的plugins里面
<!--mybatis 代码自动生成插件-->
			<!--用于逆向工程生成实体类-->
			<plugin>
			<groupId>org.mybatis.generator</groupId>
			<artifactId>mybatis-generator-maven-plugin</artifactId>
			<version>1.3.6</version>
			<configuration>
				<!--配置文件的位置-->
				<configurationFile>GeneratorMapper.xml</configurationFile>
				<verbose>true</verbose>
				<overwrite>true</overwrite>
			</configuration>
			</plugin>
4.在与pom.xml同级下新建GeneratorMapper.xml,需要根据自己的表结构自己编写
<?xml version="1.0" encoding="UTF-8"?>
<!DOCTYPE generatorConfiguration
        PUBLIC "-//mybatis.org//DTD MyBatis Generator Configuration 1.0//EN"
        "http://mybatis.org/dtd/mybatis-generator-config_1_0.dtd">
<generatorConfiguration>
    <!-- 指定连接数据库的 JDBC 驱动包所在位置,指定到你本机的完整路径 -->
    <classPathEntry location="D:\mysql-connector-java-8.0.17.jar"/>
    <!-- 配置 table 表信息内容体,targetRuntime 指定采用 MyBatis3 的版本 -->
    <context id="tables" targetRuntime="MyBatis3">
        <!-- 抑制生成注释,由于生成的注释都是英文的,可以不让它生成 -->
        <commentGenerator>
            <property name="suppressAllComments" value="true"/>
        </commentGenerator>
        <!-- 配置数据库连接信息 -->
        <jdbcConnection driverClass="com.mysql.cj.jdbc.Driver"
                        connectionURL="jdbc:mysql://localhost:3306/envir?serverTimezone=Asia/Shanghai"
                        userId="root"
                        password="123456">
        </jdbcConnection>
        <!-- 生成 model 类,targetPackage 指定 model 类的包名, targetProject 指定
        生成的 model 放在 eclipse 的哪个工程下面-->
        <javaModelGenerator targetPackage="com.text.springboot.model"
                            targetProject="src/main/java">
            <property name="enableSubPackages" value="false"/>
            <property name="trimStrings" value="false"/>
        </javaModelGenerator>
        <!-- 生成 MyBatis 的 Mapper.xml 文件,targetPackage 指定 mapper.xml 文件的
        包名, targetProject 指定生成的 mapper.xml 放在 eclipse 的哪个工程下面 -->
        <sqlMapGenerator targetPackage="com.text.springboot.mapper"
                         targetProject="src/main/java">
            <property name="enableSubPackages" value="false"/>
        </sqlMapGenerator>
        <!-- 生成 MyBatis 的 Mapper 接口类文件,targetPackage 指定 Mapper 接口类的包
        名, targetProject 指定生成的 Mapper 接口放在 eclipse 的哪个工程下面 -->
        <javaClientGenerator type="XMLMAPPER"
                             targetPackage="com.text.springboot.mapper" targetProject="src/main/java">
            <property name="enableSubPackages" value="false"/>
        </javaClientGenerator>

        <!-- 数据库表名及对应的 Java 模型类名 -->
        <table tableName="sitedata" domainObjectName="Sitedata"
               enableCountByExample="false"
               enableUpdateByExample="false"
               enableDeleteByExample="false"
               enableSelectByExample="false"
               selectByExampleQueryId="false"/>
        <table tableName="sitecity" domainObjectName="Sitecity"
               enableCountByExample="false"
               enableUpdateByExample="false"
               enableDeleteByExample="false"
               enableSelectByExample="false"
               selectByExampleQueryId="false"/>
        <table tableName="sitepm25" domainObjectName="Sitepm25"
               enableCountByExample="false"
               enableUpdateByExample="false"
               enableDeleteByExample="false"
               enableSelectByExample="false"
               selectByExampleQueryId="false"/>
        <table tableName="sitepm252018" domainObjectName="Sitepm252018"
               enableCountByExample="false"
               enableUpdateByExample="false"
               enableDeleteByExample="false"
               enableSelectByExample="false"
               selectByExampleQueryId="false"/>
        <table tableName="sitepm252019" domainObjectName="Sitepm252019"
               enableCountByExample="false"
               enableUpdateByExample="false"
               enableDeleteByExample="false"

               enableSelectByExample="false"
               selectByExampleQueryId="false"/>
        <table tableName="sitepm252020" domainObjectName="Sitepm252020"
               enableCountByExample="false"
               enableUpdateByExample="false"
               enableDeleteByExample="false"
               enableSelectByExample="false"
               selectByExampleQueryId="false"/>
    </context>
</generatorConfiguration>
5.刷新maven,出现mybatis-generator,双击即可 。
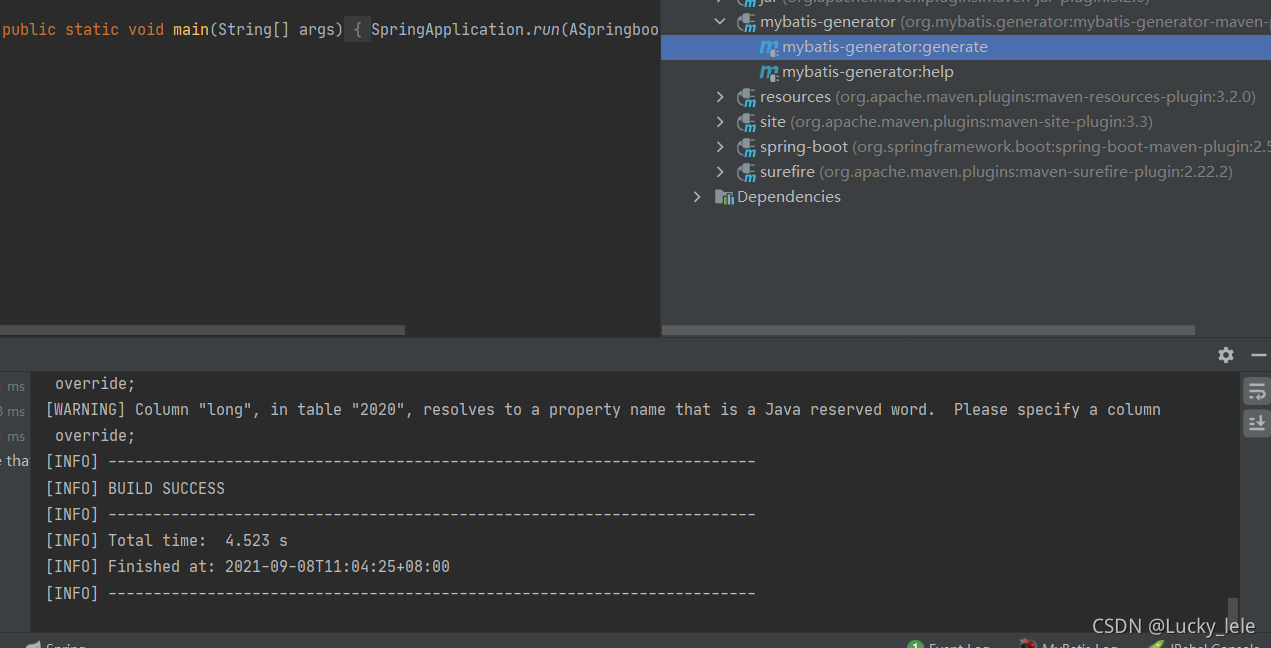
运行结果图: 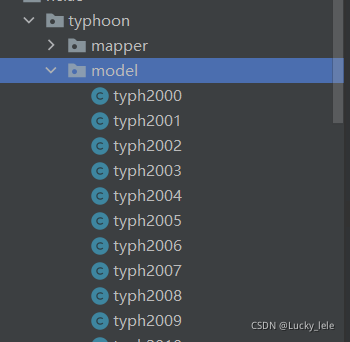


 631
631

 被折叠的 条评论
为什么被折叠?
被折叠的 条评论
为什么被折叠?
 到【灌水乐园】发言


