


目录
前言
最近尝试发送钓鱼邮件,发现网上关于gophish的教程基本上一致,碰到的问题却找不到解决方法;postfix的教程各种各样,不太清楚应该按照哪个教程来走,这里分享一下我的安装、使用流程。本文章更多作为一个补充,关注关键步骤以及遇到的坑,其他教程已经有的内容不再赘述
- 官方文档: http://www.postfix.org/SASL_README.html
- sasl服务,协议的描述: https://tools.ietf.org/html/rfc4422
- 官方指导手册地址 : https://docs.getgophish.com/user-guide
使用方法
这部分是在已经全部安装好之后,作为每次启动的一个备忘录,之所以放在最前面,是为了方便之后用到的时候更容易看到。
A.启动postfix (放到vps上的话不用每次都启动。)
- postfix start
- postfix stop
B.启动gophish
- cd /root/gophish/
- ./gophish
登录https://xxx.xxx.xxx.xxx:3333/login?next=%2F
用户admin 密码****** 这样gophish就运行了。
postfix安装方法
首先安装postfix,主要参考两篇文章:
最新ubuntu搭建公网个人邮件服务器(基于postfix,dovecot,mysql)-腾讯云开发者社区-腾讯云
3分钟安装配置Postfix邮件服务器 - 廖雪峰的官方网站
这两个文章虽然一个是4年前的文章,一个是16年前的文章,但是并未过时
安装postfix
- apt update
- apt install postfix postfix-mysql dovecot-core dovecot-pop3d dovecot-imapd dovecot-lmtpd dovecot-mysql
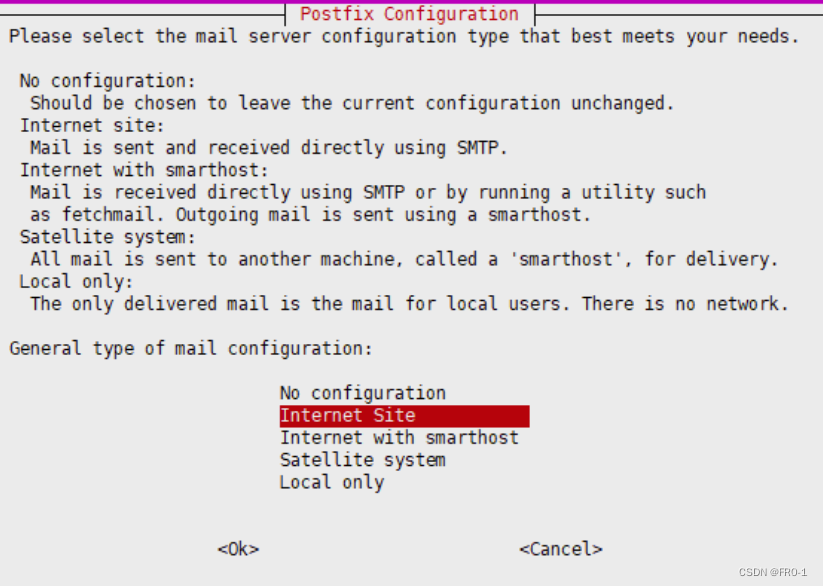
选择Internet Site
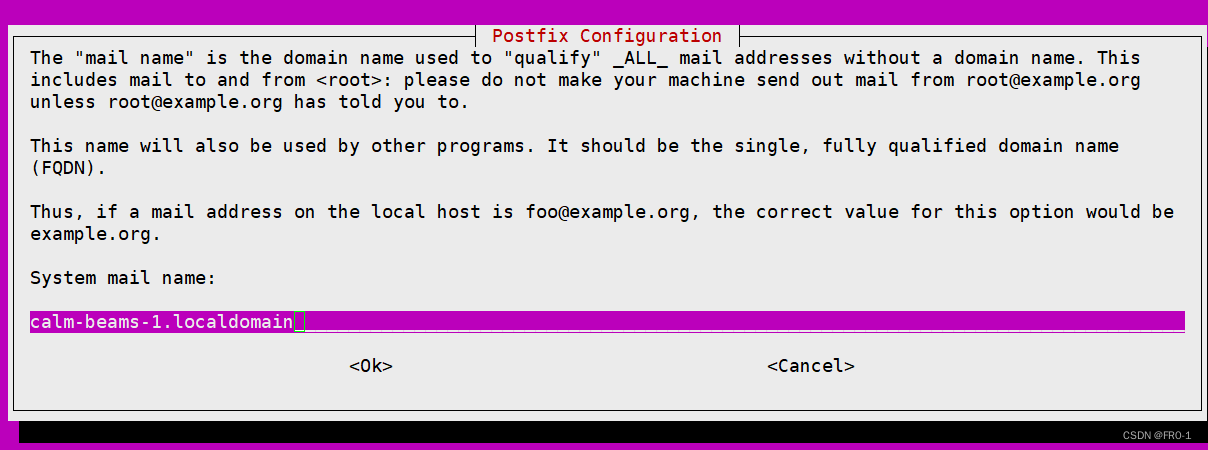
填写 你申请的域名 这里应该是会生成一个/etc/mailname 文件,内容就是这个地址。
这个感觉填不填应该没太大影响,只要配置文件配好了也可以。
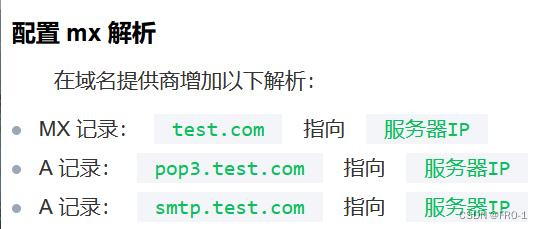
然后这里去配置mx解析,具体流程就不细说了
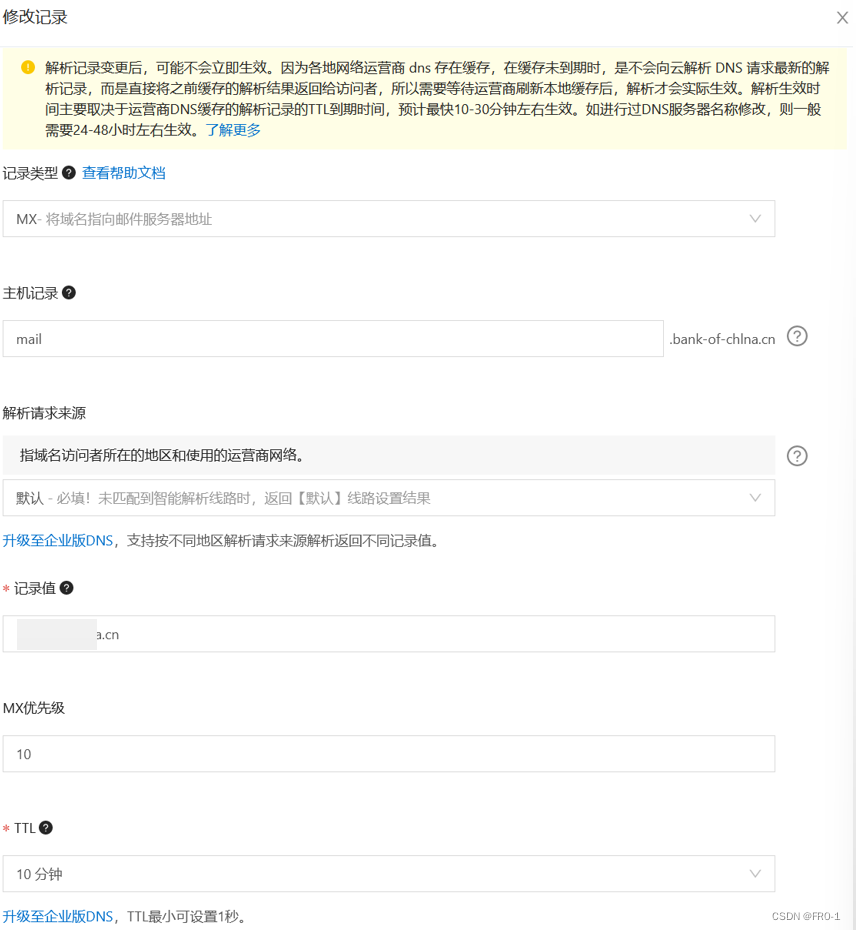
这里有一个注意的点,这个 记录值 虽然说一般填ip,但是这里填的是域名。
接下来一篇文章的步骤是创建数据库、生成SSL证书,这一部分可以跳过。
直接修改POSTFIX的配置文件main.cf
- cp /etc/postfix/main.cf /etc/postfix/main.cf.bak
- vi /etc/postfix/main.cf
这里的配置修改,找了很多文章,说的也是五花八门
这里贴一下我的main.cf ,这个是可以正常收发邮件的,可能在一些配置上还存在问题,这个可以后续在慢慢看和优化。
# See /usr/share/postfix/main.cf.dist for a commented, more complete version


# Debian specific:  Specifying a file name will cause the first
# line of that file to be used as the name.  The Debian default
# is /etc/mailname.
#myorigin = /etc/mailname

smtpd_banner = $myhostname ESMTP $mail_name (Ubuntu)
biff = no

# appending .domain is the MUA's job.
append_dot_mydomain = no

# Uncomment the next line to generate "delayed mail" warnings
#delay_warning_time = 4h

readme_directory = no

# See http://www.postfix.org/COMPATIBILITY_README.html -- default to 2 on
# fresh installs.
compatibility_level = 2

# TLS parameters
#smtpd_tls_cert_file=/etc/ssl/certs/ssl-cert-snakeoil.pem
#smtpd_tls_key_file=/etc/ssl/private/ssl-cert-snakeoil.key
#smtpd_use_tls=yes
#smtpd_tls_session_cache_database = btree:${data_directory}/smtpd_scache
#smtp_tls_session_cache_database = btree:${data_directory}/smtp_scache

# See /usr/share/doc/postfix/TLS_README.gz in the postfix-doc package for
# information on enabling SSL in the smtp client.

smtpd_relay_restrictions = permit_mynetworks permit_sasl_authenticated defer_unauth_destination
myhostname = mail.test.cn
alias_maps = hash:/etc/aliases
alias_database = hash:/etc/aliases
myorigin = test.cn
#myorigin = /etc/mailname
mydomain = test.cn
mydestination = $myhostname, test.cn, calm-beams-1.localdomain, localhost.localdomain, localhost
relayhost =
mynetworks = 127.0.0.0/8 [::ffff:127.0.0.0]/104 [::1]/128
mailbox_size_limit = 0
recipient_delimiter = +
inet_interfaces = all
inet_protocols = all
smtpd_sender_restrictions = permit_mynetworks, check_sender_access hash:/etc/postfix/sender_access, permit
smtpd_recipient_restrictions = permit_mynetworks, check_recipient_access hash:/etc/postfix/recipient_access, reject
注意,这里的test.cn 需要换成自己的域名。
这一步完成后就可以启动postfix.
启动和停止的命令:
- postfix start
- postfix stop
下面尝试用这个发送邮件
发送邮件
1.
echo "Mail Content" | mail -s "Mail Subject" 2222222@qq.com
这个发送失败,应该是得下载工具才能用mail命令
2.
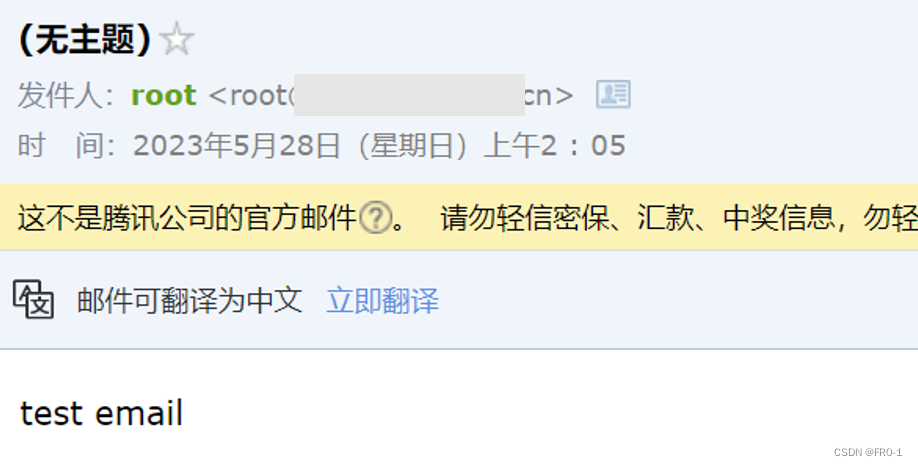
echo "test email" | sendmail 2222222@qq.com
放到垃圾邮件中了
查看日志
sudo tail /var/log/mail.log
GOPHISH
安装
Github 地址:https://github.com/gophish/gophish
这个有windows版本也有linux版本
可以看这篇文章,了解如何安装、登录、和基本的使用
钓鱼工具gophish史上最详细教程(附实例) —— 手把手教你成为“捕鱼人”_Ve99的博客-优快云博客
windows:
下载下来执行,然后本地浏览器访问:
https://远程ip:3333 (注意使用https协议)
输入默认账密进行登录:
admin/gophish
但是这里推荐用linux方法,将gophish与postfix放在同一个服务器上。
linux:
wget https://github.com/gophish/gophish/releases/download/v0.11.0/gophish-v0.11.0-linux-64bit.zip unzip gophish-v0.11.0-linux-64bit.zip #改一下配置:vi config.json ,将listen_url修改为0.0.0.0:3333 chmod 777 gophish ./gophish
config.json如图
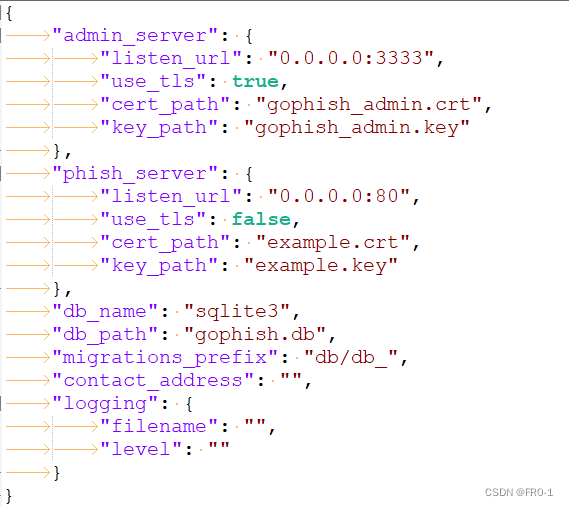

密码是 38945c1e024cbaf4 注意这个密码,登录要用
https://远程ip:3333 (注意使用https协议)
首次登录会重置密码
使用
然后就是去配置gophish,这部分网上有很多教程,内容都是相似的,不再赘述
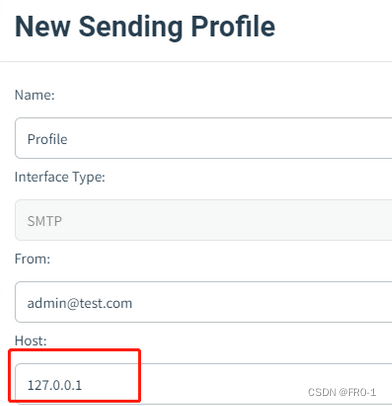
把这里改成127.0.0.1 (原来是smtp.test.cn)
这里是重点,若不更改,则可能出现下面的报错信息
454 4.7.1 <2222222@qq.com>: Relay access denied 554 5.7.1 <2222222@qq.com>: Recipient address rejected: Access denied

很好,确实成功发送了,目前还有几下几个问题需要优化
四个问题
1.乱码问题,附件名称以及正文是乱码
2.伪造用户,不用root
3.找到一个免杀的木马
4.防止我的服务器被别人转发,看一下设置。
1.乱码问题
对于乱码问题,导出成eml文件,然后全部复制过来import
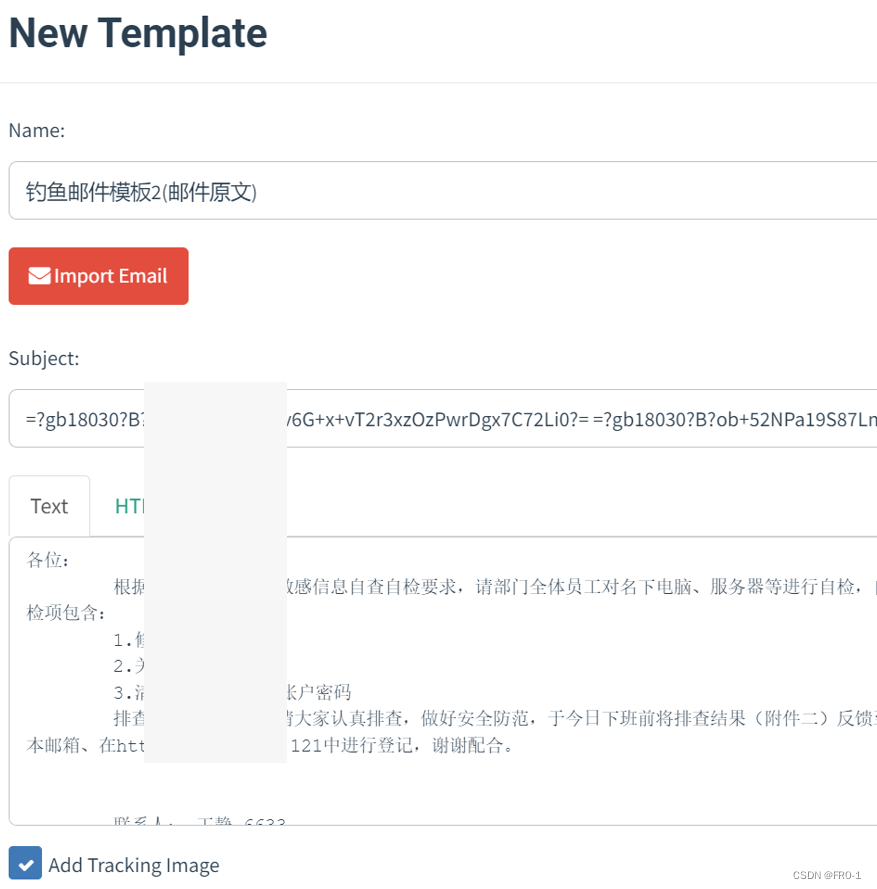
虽然在这里看起来是中文,但是HTML中就是乱码,而且邮件也是乱码

这里在网上搜也没有什么结果
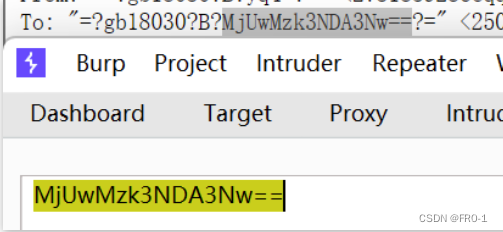
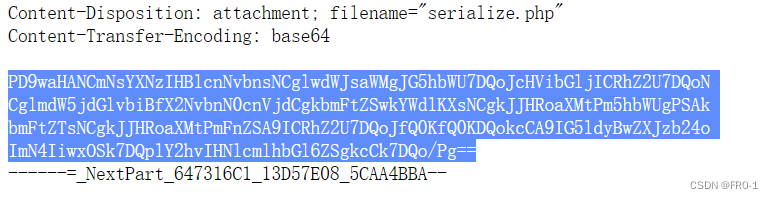
于是考虑用英文发邮件试一下,另外看看导出eml 什么样子,定位正文与附件名区域。
然后再进行替换与测试
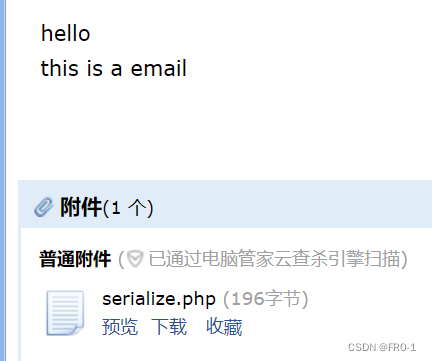
以这个邮件为例: 邮件eml我就不放出来了.
邮件名为 test_english_email
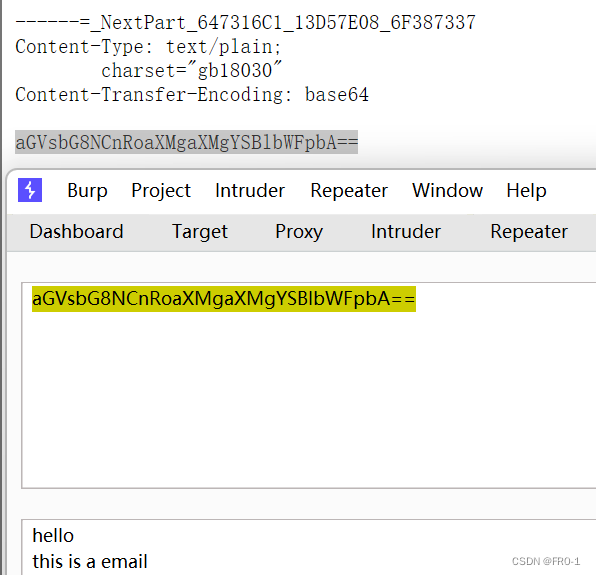
正文为:
hello this is a email
附件名为serialize.php
附件内容为:php文件内容
此处为邮件收件人名
此处为邮件正文
此处为html
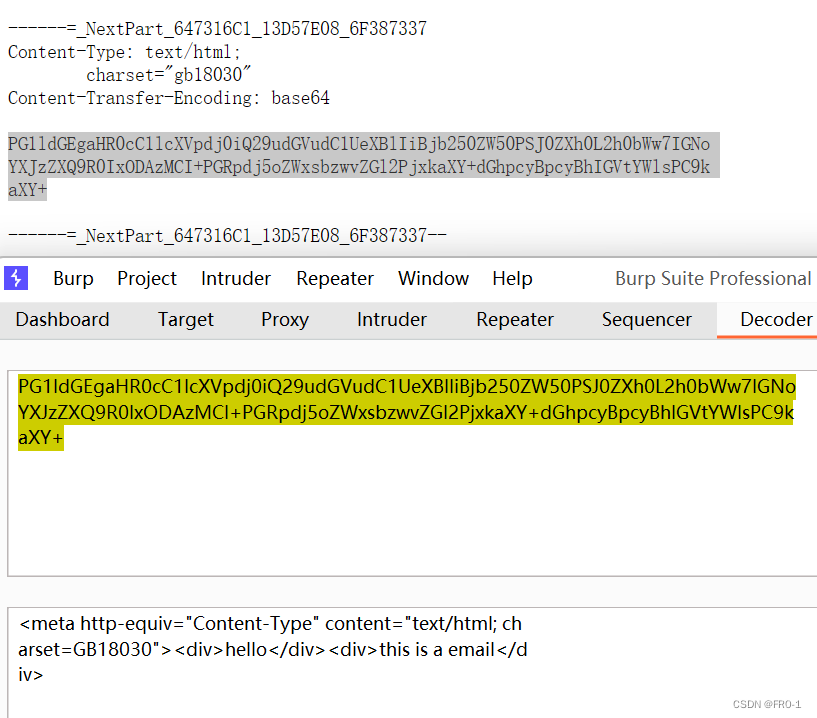
此处为邮件内容
对其进行替换,然后将替换后的eml传上去,就解决了乱码问题
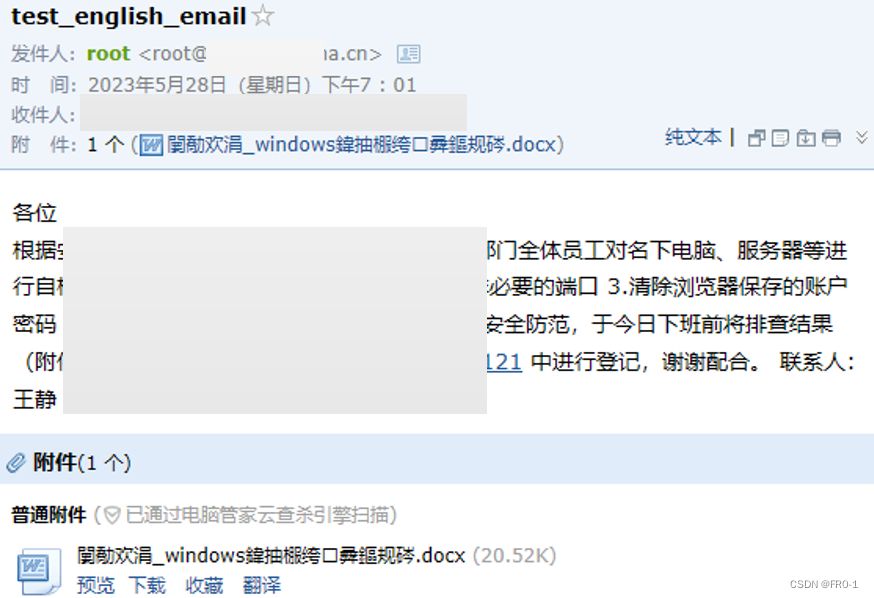
正文成功解决乱码的问题,附件还是乱码,先放放。
这个附件很奇怪,在电脑端是乱码,在手机邮箱不是乱码。
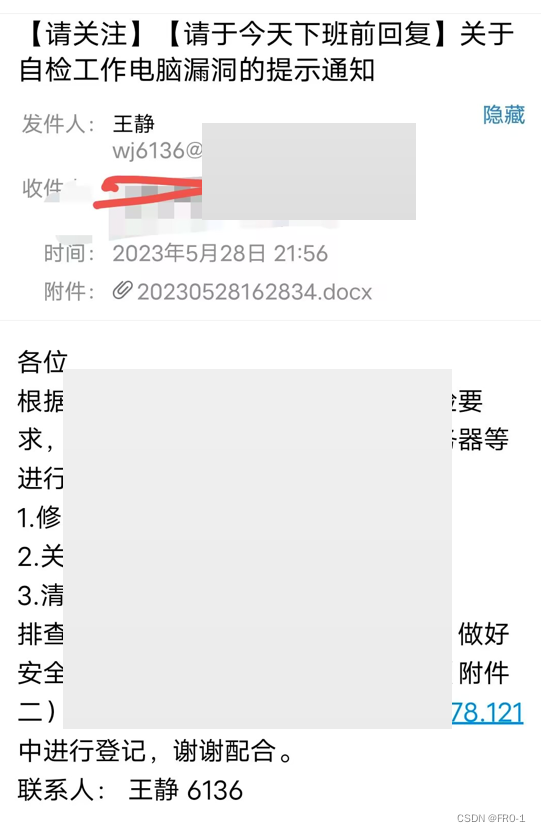
2.伪造用户,不再用root
添加王静用户 linux用户也就是postfix的用户
wj6136
useradd -m wj6136
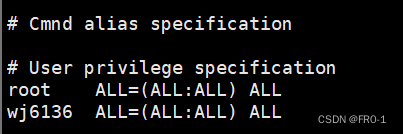
创建好用户后,在邮件策略新增
效果最终为
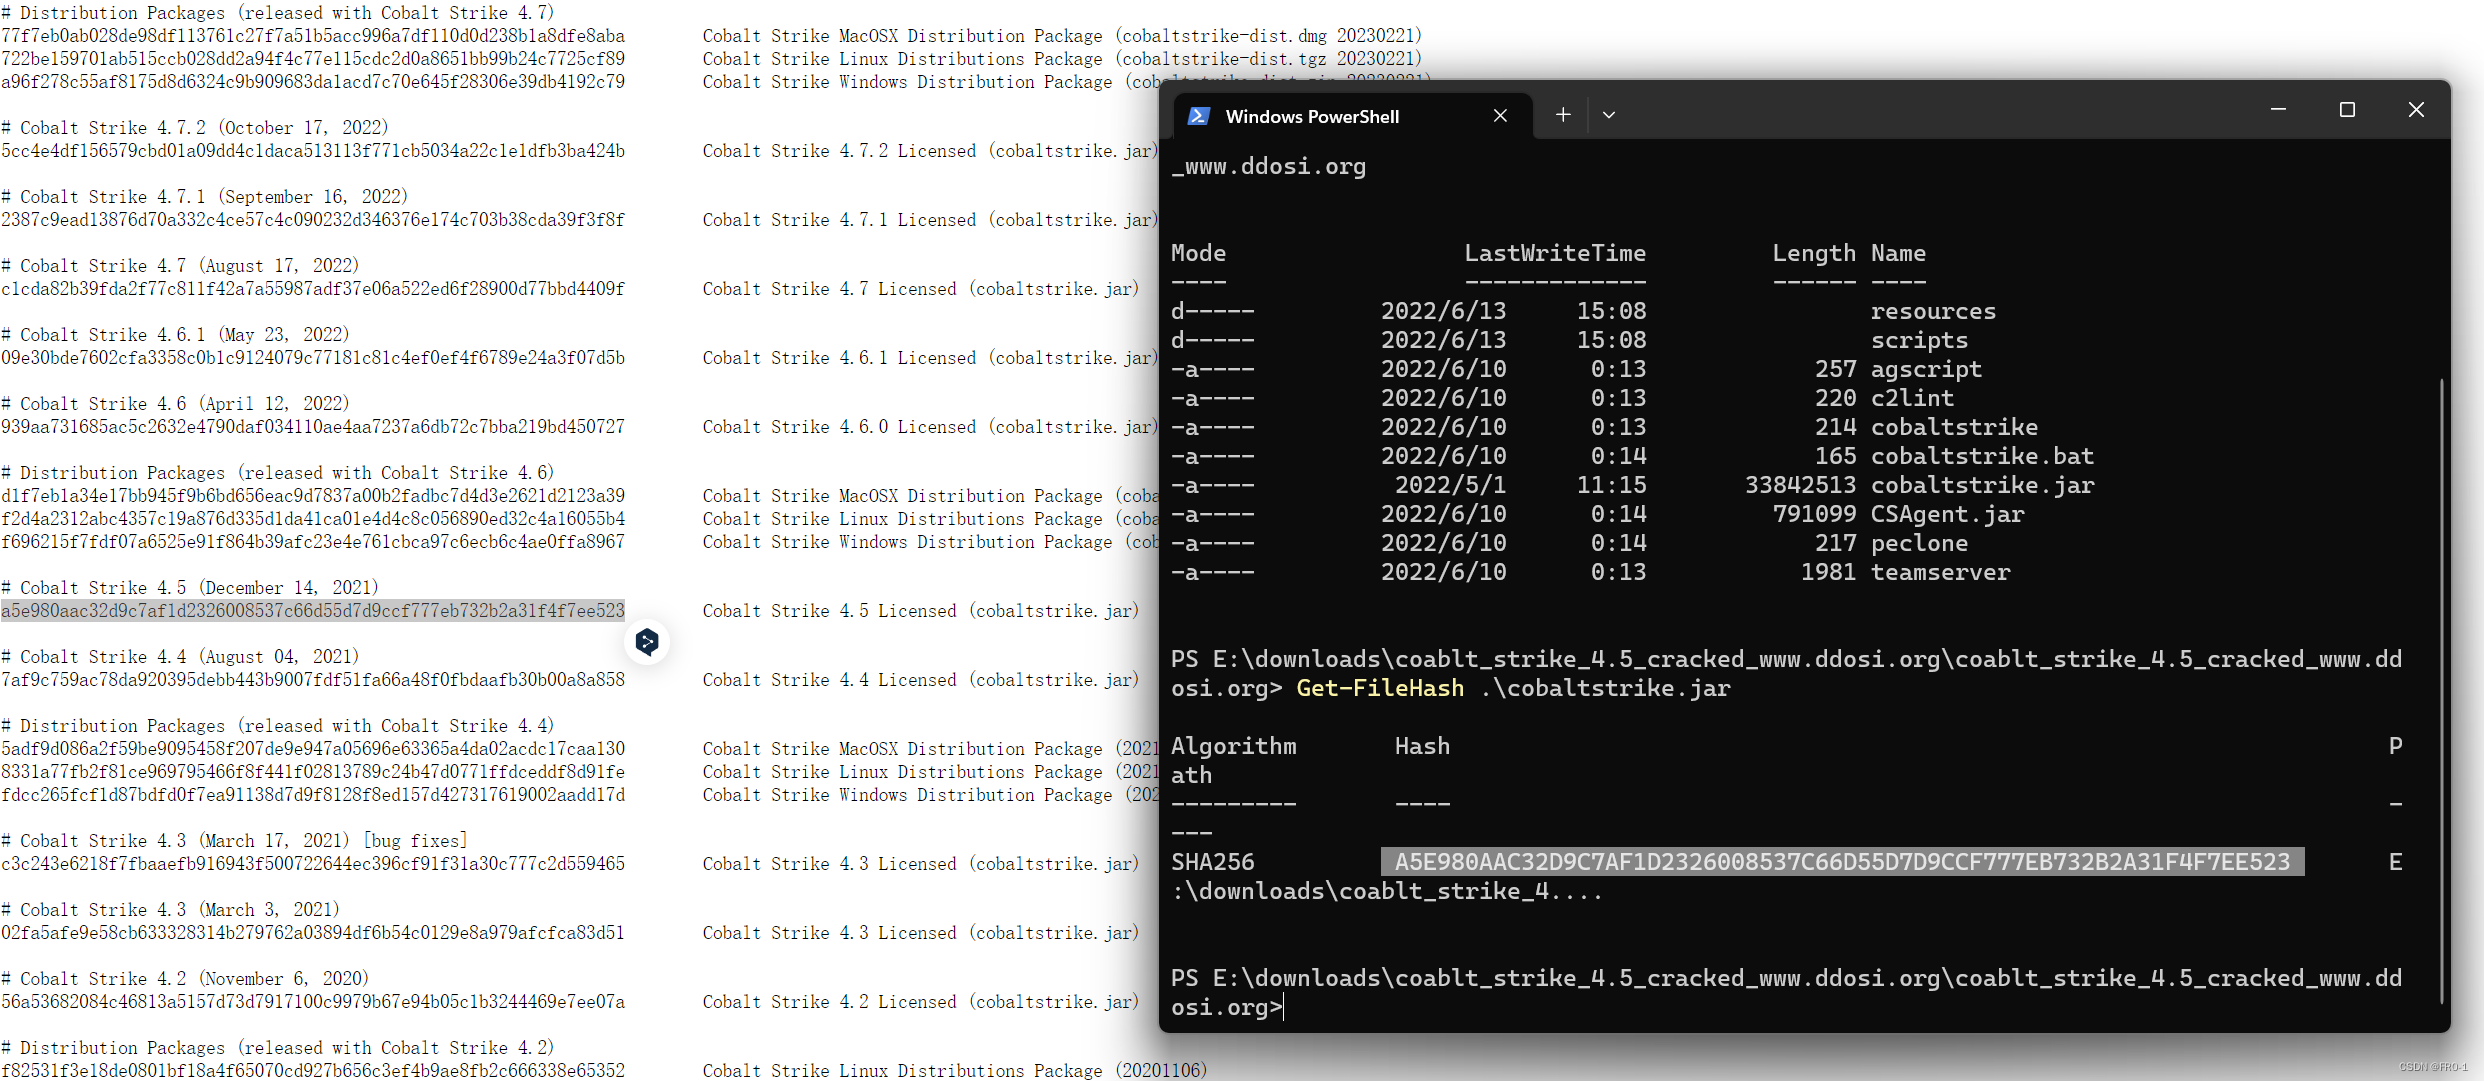
3.免杀木马
使用CobaltStrike 免杀
GitHub - zer0yu/Awesome-CobaltStrike: CobaltStrike的相关资源汇总 / List of Awesome CobaltStrike Resources
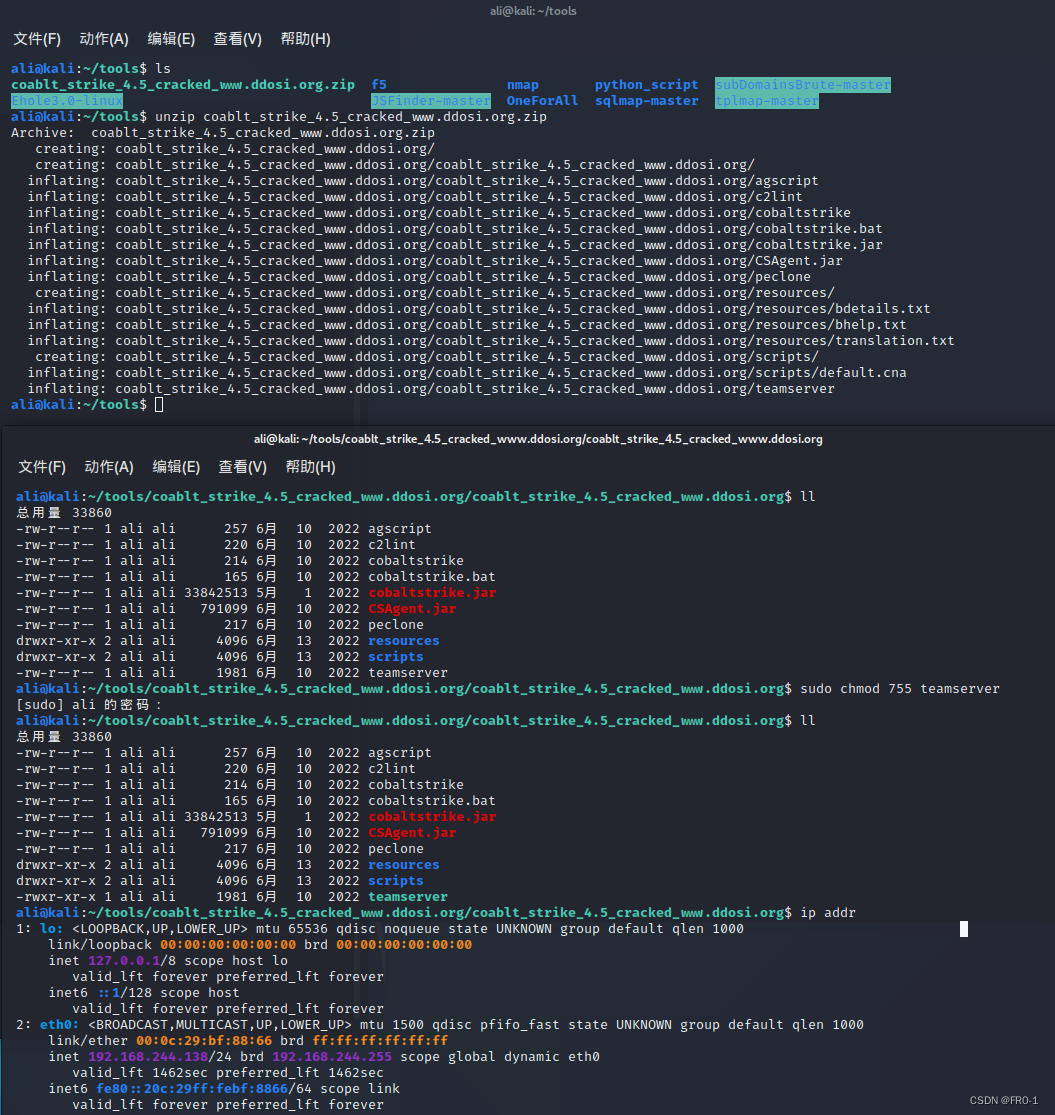
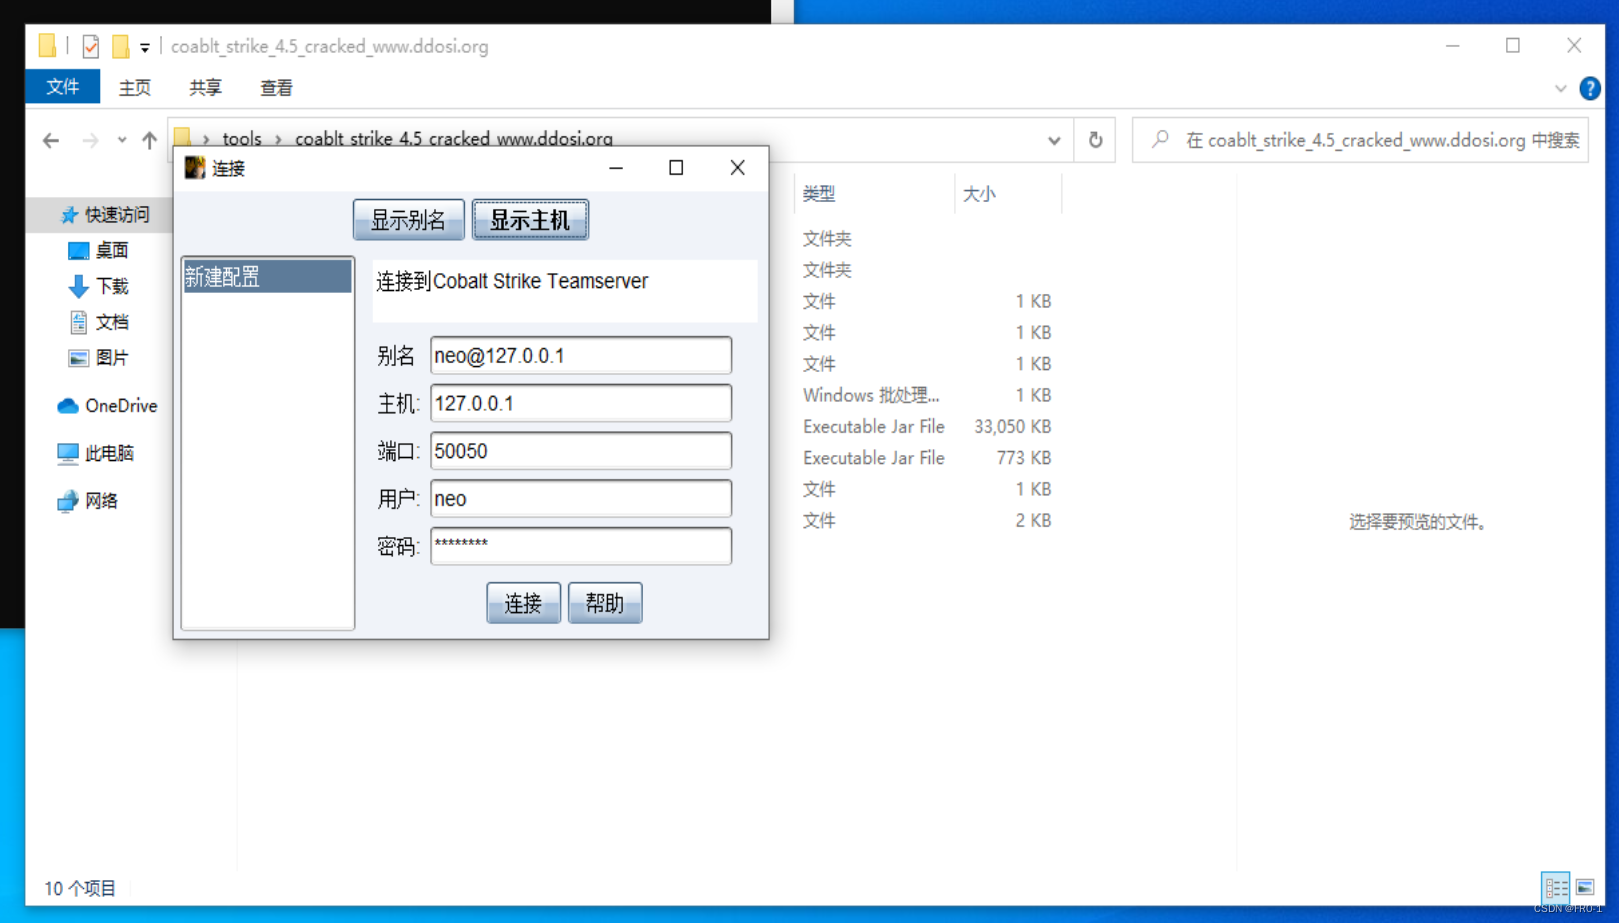
下载地址: 云中转-传文件不限速
校验地址:https://verify.cobaltstrike.com/
校验:
放到虚拟机

这个对应

说明没有问题
4.配置限制
https://www.cnblogs.com/navysummer/p/12672657.html
在配置文件/etc/postfix/main.cf 添加如下几行 注意如没有相关选项,添加即可 smtpd_sasl_auth_enable = yes #使用SMTP认证 broken_sasl_auth_clients = yes #让不支持RFC2554的smtpclient也可以跟postfix做交互 smtpd_sasl_local_domain = $myhostname #需要认证的域, smtpd_sasl_security_options = noanonymous //不允许指定域进行匿名发送邮件
这个或许可以学习他的配置方法
postconf -a
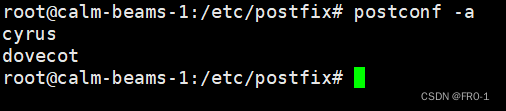
说明默认支持cyrus和dovecot这两种认证方式


 279
279

 被折叠的 条评论
为什么被折叠?
被折叠的 条评论
为什么被折叠?
 到【灌水乐园】发言


