


fastapi实战:linux中配置anaconda环境实操
文章目录
一、先安装anaconda
1.1 下载anaconda的安装包
这里我们需要在官网上查找自己需要的版本,地址链接在下面:
https://repo.anaconda.com/archive/
这里以我自己安装的版本为例:
https://repo.anaconda.com/archive/Anaconda3-5.3.0-Linux-x86_64.sh
这是我选择的版本,然后我们在控制台输入这句话:
wget https://repo.anaconda.com/archive/Anaconda3-5.3.0-Linux-x86_64.sh
1.2 下载时候若没有wegt,需要先安装
apt-get install -y wget
1.3 安装anaconda
接下来我们需要首先赋权再执行安装程序,依次输入下面两句命令:
chmod +x Anaconda3-5.3.0-Linux-x86_64.sh
./Anaconda3-5.3.0-Linux-x86_64.sh
1.4 安装过程
点击yes与按Enter
1.5 验证
在命令里面输入
conda -V
二、创建虚拟环境
2.1 查看当前的虚拟环境
代码如下(示例):
conda env list
conda info --envs
2.2 创建虚拟环境
代码如下(示例):
conda create -n fastapienv python=3.7 (pytorch 是我自己取的名字)
conda activate fastapienv
pip install -r requirements.txt(从之前环境中导出)
三、问题与解决方案
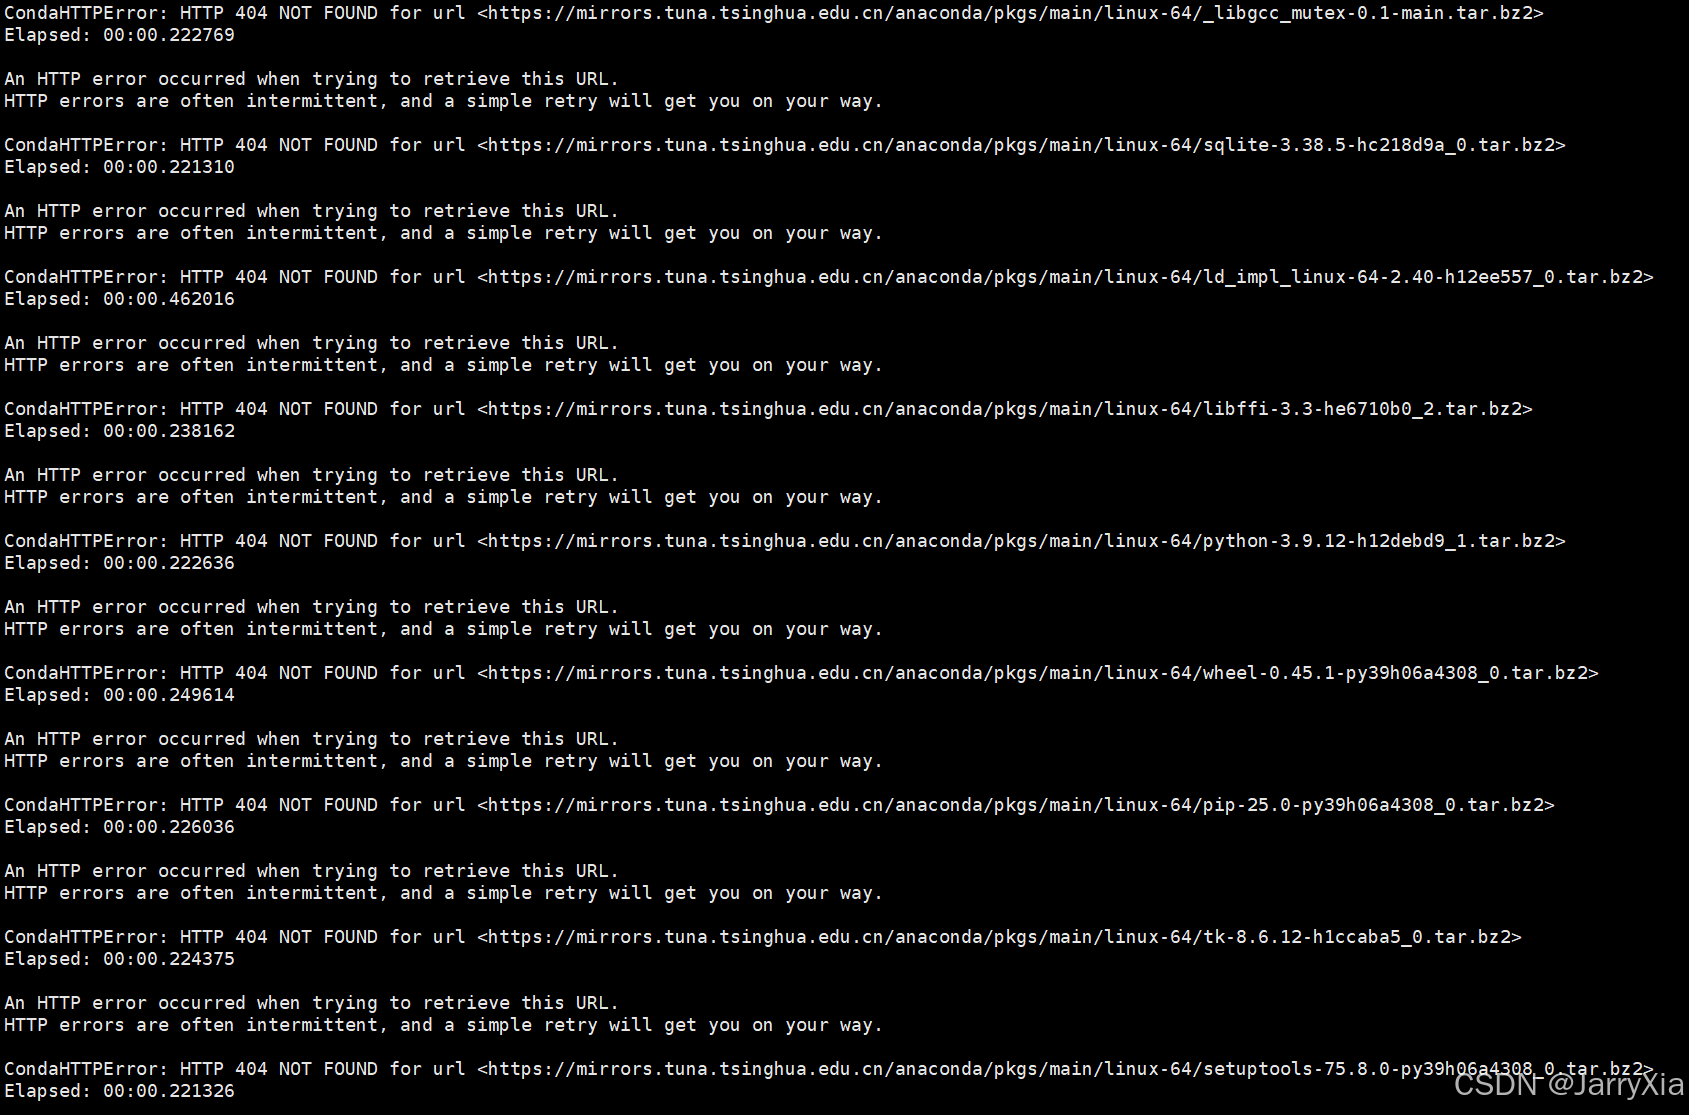
3.1 问题
An HTTP error occurred when trying to retrieve this URL.
HTTP errors are often intermittent, and a simple retry will get you on your way.
CondaHTTPError: HTTP 404 NOT FOUND for url https://mirrors.tuna.tsinghua.edu.cn/anaconda/pkgs/main/linux-64/zlib-1.2.12-h7f8727e_2.tar.bz2
Elapsed: 00:00.277965
3.2 解决方案
1.打开终端,编辑.condarc文件
vim ~/.condarc
2.编辑内容
输入i进入编辑模式
清除所有内容,将内容替换为:
offline: false
show_channel_urls: true
ssl_verify: false
channels:
  - http://mirrors.tuna.tsinghua.edu.cn/anaconda/pkgs/free/
  - http://mirrors.tuna.tsinghua.edu.cn/anaconda/cloud/conda-forge/
  - http://mirrors.tuna.tsinghua.edu.cn/anaconda/cloud/msys2/
default_channels:
  - http://mirrors.tuna.tsinghua.edu.cn/anaconda/pkgs/main
  - http://mirrors.tuna.tsinghua.edu.cn/anaconda/pkgs/r
  - http://mirrors.tuna.tsinghua.edu.cn/anaconda/pkgs/msys2
custom_channels:
  conda-forge: http://mirrors.tuna.tsinghua.edu.cn/anaconda/cloud
  msys2: http://mirrors.tuna.tsinghua.edu.cn/anaconda/cloud
  bioconda: http://mirrors.tuna.tsinghua.edu.cn/anaconda/cloud
  menpo: http://mirrors.tuna.tsinghua.edu.cn/anaconda/cloud
  pytorch: http://mirrors.tuna.tsinghua.edu.cn/anaconda/cloud
  pytorch-lts: http://mirrors.tuna.tsinghua.edu.cn/anaconda/cloud
  simpleitk: http://mirrors.tuna.tsinghua.edu.cn/anaconda/cloud
3.保存
按esc退出编辑模式,输入:wq后按enter保存
4.验证
cat ~/.condarc
显示内容为刚刚替换内容,说明完成
5.清除缓存
conda clean --all


 3万+
3万+

 被折叠的 条评论
为什么被折叠?
被折叠的 条评论
为什么被折叠?
 到【灌水乐园】发言


