


 本文介绍使用Python和OpenCV进行图像阈值处理的方法,包括全局阈值、局部阈值和自适应阈值。通过实例展示了如何将彩色图像转换为灰度图像,并应用不同的阈值技术以实现图像分割。
Python版本是Python3.7.3,OpenCV版本OpenCV3.4.1,开发环境为PyCharm
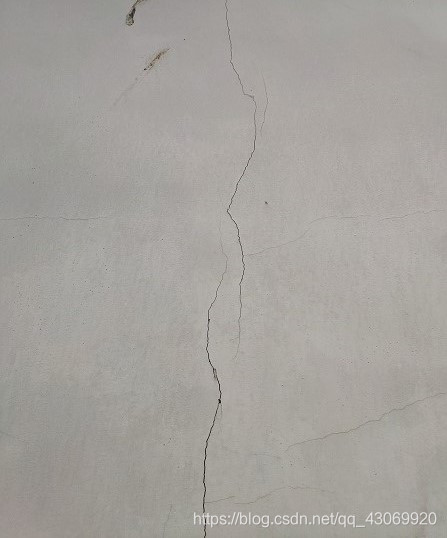
原照片
import cv2 as cv
import numpy as np
#全局阈值
def threshold_demo(image):
gray = cv.cvtColor(image, cv.COLOR_RGB2GRAY) #把输入图像灰度化
#直接阈值化是对输入的单通道矩阵逐像素进行阈值分割。
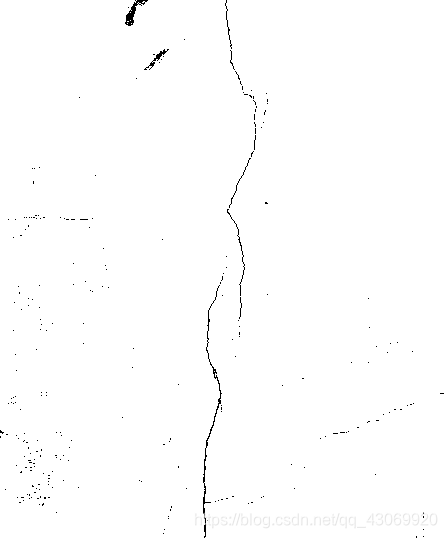
ret, binary = cv.threshold(gray, 0, 255, cv.THRESH_BINARY | cv.THRESH_TRIANGLE)
print("threshold value %s"%ret)
cv.namedWindow("binary0", cv.WINDOW_NORMAL)
cv.imshow("binary0", binary)
#局部阈值
def local_threshold(image):
gray = cv.cvtColor(image, cv.COLOR_RGB2GRAY) #把输入图像灰度化
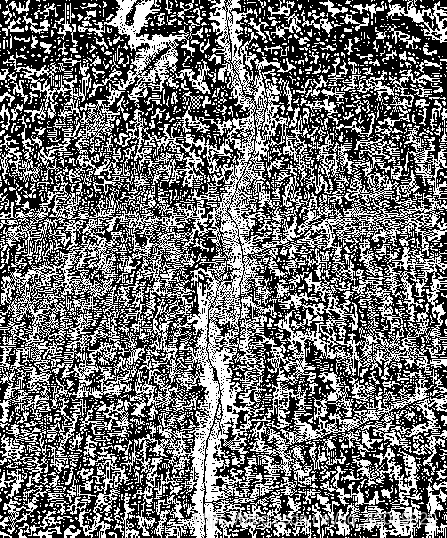
#自适应阈值化能够根据图像不同区域亮度分布,改变阈值
binary = cv.adaptiveThreshold(gray, 255, cv.ADAPTIVE_THRESH_GAUSSIAN_C,cv.THRESH_BINARY, 35, 0)
cv.namedWindow("binary1", cv.WINDOW_NORMAL)
cv.imshow("binary1", binary)
#自适应阈值
def custom_threshold(image):
gray = cv.cvtColor(image, cv.COLOR_RGB2GRAY) #把输入图像灰度化
h, w =gray.shape[:2]
m = np.reshape(gray, [1,w*h])
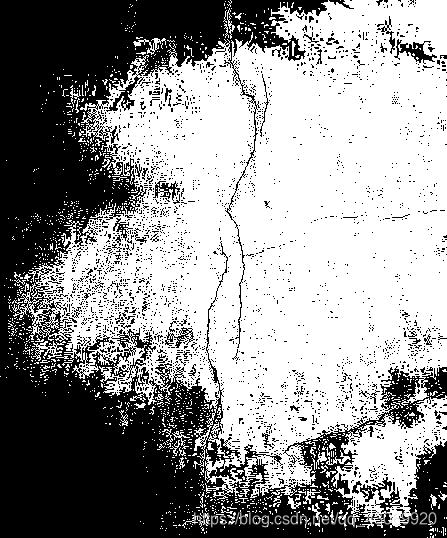
mean = m.sum()/(w*h)
print("mean:",mean)
ret, binary = cv.threshold(gray, mean, 255, cv.THRESH_BINARY)
cv.namedWindow("binary2", cv.WINDOW_NORMAL)
cv.imshow("binary2", binary)
src = cv.imread("067.jpg")
cv.namedWindow('input_image', cv.WINDOW_NORMAL)
cv.imshow('input_image', src)
threshold_demo(src)
local_threshold(src)
custom_threshold(src)
cv.waitKey(0)
cv.destroyAllWindows()
运行程序,显示结果
全局阈值
局部阈值
自适应阈值


 被折叠的 条评论
为什么被折叠?
被折叠的 条评论
为什么被折叠?
 到【灌水乐园】发言


