


1. 什么是controller(控制器)
controller控制器是在k8s集群中管理和运行容器的一个对象,和pod这种概念性的不同,他是真实存在的,用于保证pod副本数量为预期值。
2. pod和Controller关系
总的来说,Controller(控制器)是pod的一个管理者,Controller(控制器) 需要保证集群内一组pod能够始终保持在某个期望的状态正常运行
(比如,有一个容器挂掉了,会根据这个副本的期望值去创建新的副本来保证副本一定满足某个数量)
这种期望包含 pod副本数量、节点选择、资源约束、持久化数据维持等
3. pod和controller之间是通过什么建立关系的?
听说pod和Controller是通过label标签连接的,这里暂时不确定。 有问题请指出谢谢
apiVersion: apps/v1
kind: Deployment
metadata:
  creationTimestamp: null
  labels:
    app: web
  name: web
spec:
  replicas: 1
  selector:         #我们前面提到过,pod和Controller是通过label标签连接的
    matchLabels:      #这里是控制器controller需要匹配pod的标签信息
      app: web
  strategy: {}

  template:
    metadata:
      creationTimestamp: null
      labels:         #这个是pod的标签信息
        app: web
    spec:            #下面的是容器信息
      containers:
      - image: nginx:1.15
        name: nginx
        resources: {}
status: {}
~
4. 部署应用及字段说明
我们前面使用kubectl 命令去创建控制器,虽然这样是可用的。
但是并没有复用性,使用并不方便,更多用于测试
(比如你kubectl create deployment web --image=nginx:1.15,这种命令你跑了几十个,还有其他类型的控制器
突然有一天你要停掉某个服务,你还要去找他关联的权限、端口暴露、配置挂载、pv存储等等信息,你就GG了)
#获取yaml文件
kubectl create deployment web --image=nginx:1.15 --dry-run -o yaml > 1.yaml
返回
apiVersion: apps/v1
kind: Deployment
metadata:
  creationTimestamp: null
  labels:
    app: web
  name: web
spec:
  replicas: 1
  selector:
    matchLabels:
      app: web
  strategy: {}
  template:
    metadata:
      creationTimestamp: null
      labels:
        app: web
    spec:
      containers:
      - image: nginx:1.15
        name: nginx
        resources: {}
status: {}
部署
kubectl create -f 1.yaml 查看
[root@k8s-master01 ~]# kubectl get pod
NAME                   READY   STATUS    RESTARTS   AGE
web-7d9697b7f8-5zvk5   1/1     Running   0          3s
将这个服务的端口暴露出来
kubectl expose deployment web --port=8080 --type=NodePort --target-port=80 --name=web-svc --dry-run -o yaml > web-svc.yaml返回
apiVersion: v1
kind: Service
metadata:
  creationTimestamp: null
  labels:
    app: web
  name: web-svc
spec:
  ports:
  - port: 8080           #暴露到svc的端口,可以通过svc ip+端口可以访问
    protocol: TCP
    targetPort: 80       #需要暴露的容器端口,这里是容器中提供服务的端口
  selector:
    app: web
  type: NodePort      #nodeport模式暴露到集群外部提供访问,如果不指定端口,默认随机端口
status:
  loadBalancer: {}
部署
kubectl create -f web-svc.yaml查看
[root@k8s-master01 ~]# kubectl get svc
NAME         TYPE        CLUSTER-IP   EXTERNAL-IP   PORT(S)          AGE
kubernetes   ClusterIP   10.0.0.1     <none>        443/TCP          28d
web-svc      NodePort    10.0.0.142   <none>        8080:32441/TCP   4h19m
测试访问1 (集群内部)
#访问svc的ip+端口
curl 10.0.0.142:8080
返回
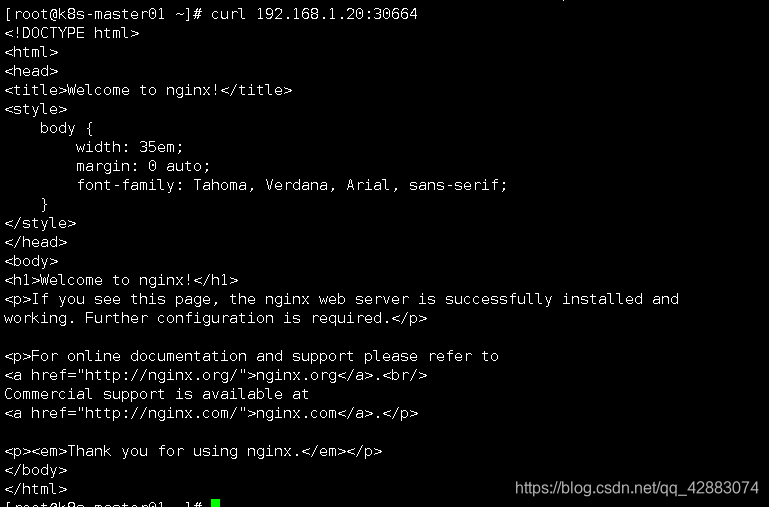
<!DOCTYPE html>
<html>
<head>
<title>Welcome to nginx!</title>
<style>
    body {
        width: 35em;
        margin: 0 auto;
        font-family: Tahoma, Verdana, Arial, sans-serif;
    }
</style>
</head>
<body>
<h1>Welcome to nginx!</h1>
<p>If you see this page, the nginx web server is successfully installed and
working. Further configuration is required.</p>

<p>For online documentation and support please refer to
<a href="http://nginx.org/">nginx.org</a>.<br/>
Commercial support is available at
<a href="http://nginx.com/">nginx.com</a>.</p>

<p><em>Thank you for using nginx.</em></p>
</body>
</html>
测试访问2(集群外部)
#查看svc中nodeport的暴露端口
[root@k8s-master01 ~]# kubectl get svc
NAME         TYPE        CLUSTER-IP   EXTERNAL-IP   PORT(S)          AGE
kubernetes   ClusterIP   10.0.0.1     <none>        443/TCP          28d
web-svc      NodePort    10.0.0.23    <none>        8080:'30664'/TCP   9m24s

#可以看到是30664,直接访问(任意节点的该端口)
curl 192.168.1.20:30664
5. 应用控制器更新
#更新运行中控制器的镜像
kubectl set image deployment web nginx=nginx:1.16
查看
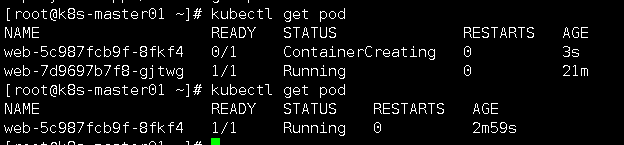
[root@k8s-master01 ~]# kubectl get pod
NAME                   READY   STATUS              RESTARTS   AGE
web-5c987fcb9f-8fkf4   0/1     ContainerCreating   0          3s
web-7d9697b7f8-gjtwg   1/1     Running             0          21m
这里可以看到新建了一个pod副本,关于pod更新的机制就是。
先使用新的镜像创建一个副本,等待创建完成后,删除之前旧版本的容器来实现更新
查看更新状态
kubectl rollout status deployment web返回
#部署“web”成功推出
deployment "web" successfully rolled out
6. 应用控制器回滚
#查看
[root@k8s-master01 ~]# kubectl rollout history deployment web
deployment.apps/web
REVISION  CHANGE-CAUSE
1         <none>          #这个是1.15的 但是不显示,全靠你猜 ( ̄▽ ̄)
2         <none>          #这个是更新的1.16的
我们这里回滚到1.15版本
#回到上一次更新/回滚的版本
kubectl rollout undo deployment web
查看镜像
[root@k8s-master01 ~]# kubectl get deployment web -o yaml | grep image:
                f:image: {}
      - image: nginx:1.15

#已经回到1.15版本了


#查看滚动历史
[root@k8s-master01 ~]# kubectl rollout history deployment web
deployment.apps/web
REVISION  CHANGE-CAUSE
2         <none>           #这个是1.16的
3         <none>           #这个是回滚的1.15的,现在这个是最新的
指定回滚的版本
#这里通过--to-revision=2 指定回滚的id号
kubectl rollout undo deployment web --to-revision=2
不知道大家绝对这个怎么样,我这里感觉历史更新记录太不友好了
我还是比较喜欢用edit和kubectl apply去更新
(不过需要每次都要手动备份下yaml)
7.弹性伸缩
这玩意前面咱们已经做过了
#scale 扩展/缩减副本数量
kubectl scale deployment web --replicas=10
查看
[root@k8s-master01 ~]# kubectl get pod
NAME                   READY   STATUS    RESTARTS   AGE
web-5c987fcb9f-6wm22   1/1     Running   0          2m
web-5c987fcb9f-d4s84   1/1     Running   0          2m
web-5c987fcb9f-f769x   1/1     Running   0          4m3s
web-5c987fcb9f-hwpbf   1/1     Running   0          2m
web-5c987fcb9f-l7gwg   1/1     Running   0          2m
web-5c987fcb9f-m8wrg   1/1     Running   0          2m
web-5c987fcb9f-q5q47   1/1     Running   0          2m
web-5c987fcb9f-qgx2c   1/1     Running   0          2m
web-5c987fcb9f-qxl9r   1/1     Running   0          2m
web-5c987fcb9f-tjszw   1/1     Running   0          2m


 431
431

 被折叠的 条评论
为什么被折叠?
被折叠的 条评论
为什么被折叠?
 到【灌水乐园】发言


