


 本文详细记录了在Ubuntu20.04上安装Zsh的步骤,包括使用apt安装Zsh,从GitHub或Gitee下载oh-my-zsh,切换默认shell至zsh,以及配置.zshrc文件。此外,还介绍了添加zsh-autosuggestions、zsh-syntax-highlighting和autojump等插件来增强Zsh的功能,并解决了可能的卡顿问题。
本文主要记录下安装Zsh的过程,方便后续换设备安装!与大家共同学习!(Ubuntu 20.04)
安装zsh
sudo apt install zsh2.下载oh-my-zsh 并安装
# GitHub方式
git clone https://github.com/robbyrussell/oh-my-zsh.git ~/.oh-my-zsh
# 下载网速慢的话可以用gitee
git clone https://gitee.com/mirrors/oh-my-zsh.git ~/.oh-my-zsh

sudo cp ~/.oh-my-zsh/templates/zshrc.zsh-template ~/.zshrc
3.切换 shell 为 zsh
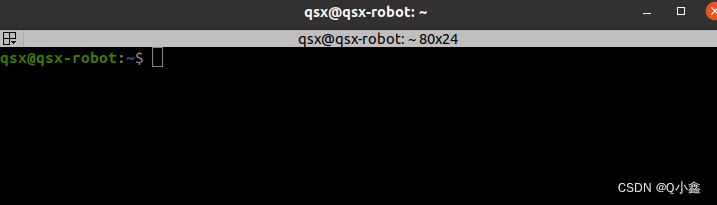
chsh -s /bin/zsh我们可以看到重新开启终端就变化了
以前我们的bash的编辑文件都是在 ~/.bashrc
现在我们的zsh的编辑文件就是在 ~/.zshrc
然后再
source ~/.zshrc原先是这样的:
echo $SHELL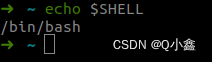
重启后

4.插件!
接下是关键环节,加插件!
zsh自带 :extract
以后解压只需 extract + 文件名 ,就可以解压zip, tar.bz2, gz 文件
下载插件:
zsh-autosuggestions:
git clone https://github.com/zsh-users/zsh-autosuggestions.git ~/.oh-my-zsh/custom/plugins/zsh-autosuggestionszsh-syntax-highlighting:
git clone https://github.com/zsh-users/zsh-syntax-highlighting.git ~/.oh-my-zsh/custom/plugins/zsh-syntax-highlightingautojump:快速切换目录插件
# 安装
sudo apt install autojump
# 使用
autojump Document/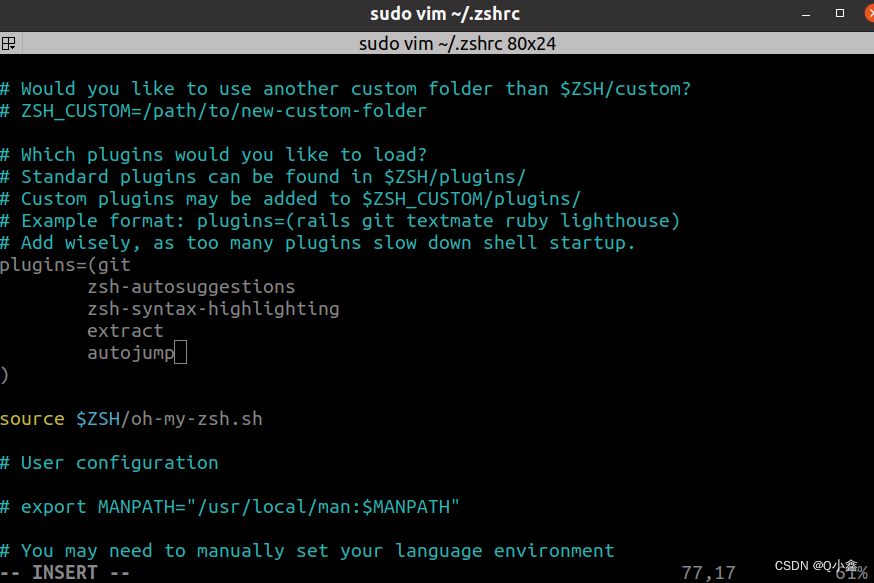
plugins=(git
        zsh-autosuggestions
        zsh-syntax-highlighting
        extract
        autojump
)
解决卡顿问题
有时候执行 cd 会卡,这让人难以忍受。原因是 oh-my-zsh 在获取 git 信息,可以将 git 信息隐藏:
git config --global oh-my-zsh.hide-status 1


 1426
1426

 被折叠的 条评论
为什么被折叠?
被折叠的 条评论
为什么被折叠?
 到【灌水乐园】发言


