


MyBatis
核心组件
- SqlSessionFactory:用于创建SqlSession的工厂类
- SqlSession:MyBatis的核心组件,用于向数据库执行SQL
- 主配置文件:XML配置文件,可以对MyBatis的底层行为做出详细配置
- Mapper接口:就是DAO接口,在MyBatis中习惯性称之为Mapper
- Mapper映射器:用于编写SQL,并将SQL和实体类映射的组件,采用XML、注解均可实现
示例
- 使用MyBatis对用户表进行CRUD操作
导入包后进行配置,spring boot的配置基本都在application.propertites
# DataSourceProperties
#数据库驱动,5.x版本和8.x版本不一样
spring.datasource.driver-class-name=com.mysql.jdbc.Driver
#数据库连接url,jdbc:mysql://数据库ip地址:端口/数据库名?字符编码&是否启用安全连接&时区
spring.datasource.url=jdbc:mysql://localhost:3306/community?useSSL=false&useUnicode=true&characterEncoding=utf-8
#数据库用户名和密码
spring.datasource.username=root
spring.datasource.password=1234
#连接池类型,最大连接数,最小空闲和超时时间
spring.datasource.type=com.zaxxer.hikari.HikariDataSource
spring.datasource.hikari.maximum-pool-size=15
spring.datasource.hikari.minimum-idle=5
spring.datasource.hikari.idle-timeout=30000

# MybatisProperties
#mybatis相关配置,mapper的位置,实体类的包,自动生成key和下划线命名驼峰命名的匹配
mybatis.mapper-locations=classpath:mapper/*.xml
mybatis.type-aliases-package=com.neu.langsam.community.entity
mybatis.configuration.useGeneratedKeys=true
mybatis.configuration.mapUnderscoreToCamelCase=true
上手操作
做好相关配置后,我们就开始上手对user表进行操作。首先先写实体类,创建entity包,新建User实体类,根据数据库字段写好对应的属性。使用idea可以自动生成get和set方法和toString方法,快捷键alt+ins,或者菜单栏code下generate。然后在dao下创建UserMapper接口,我们只需要在接口定义我们需要用到的抽象方法。比如根据id查找user,那么写返回类型User 方法名selectUser (参数int id)。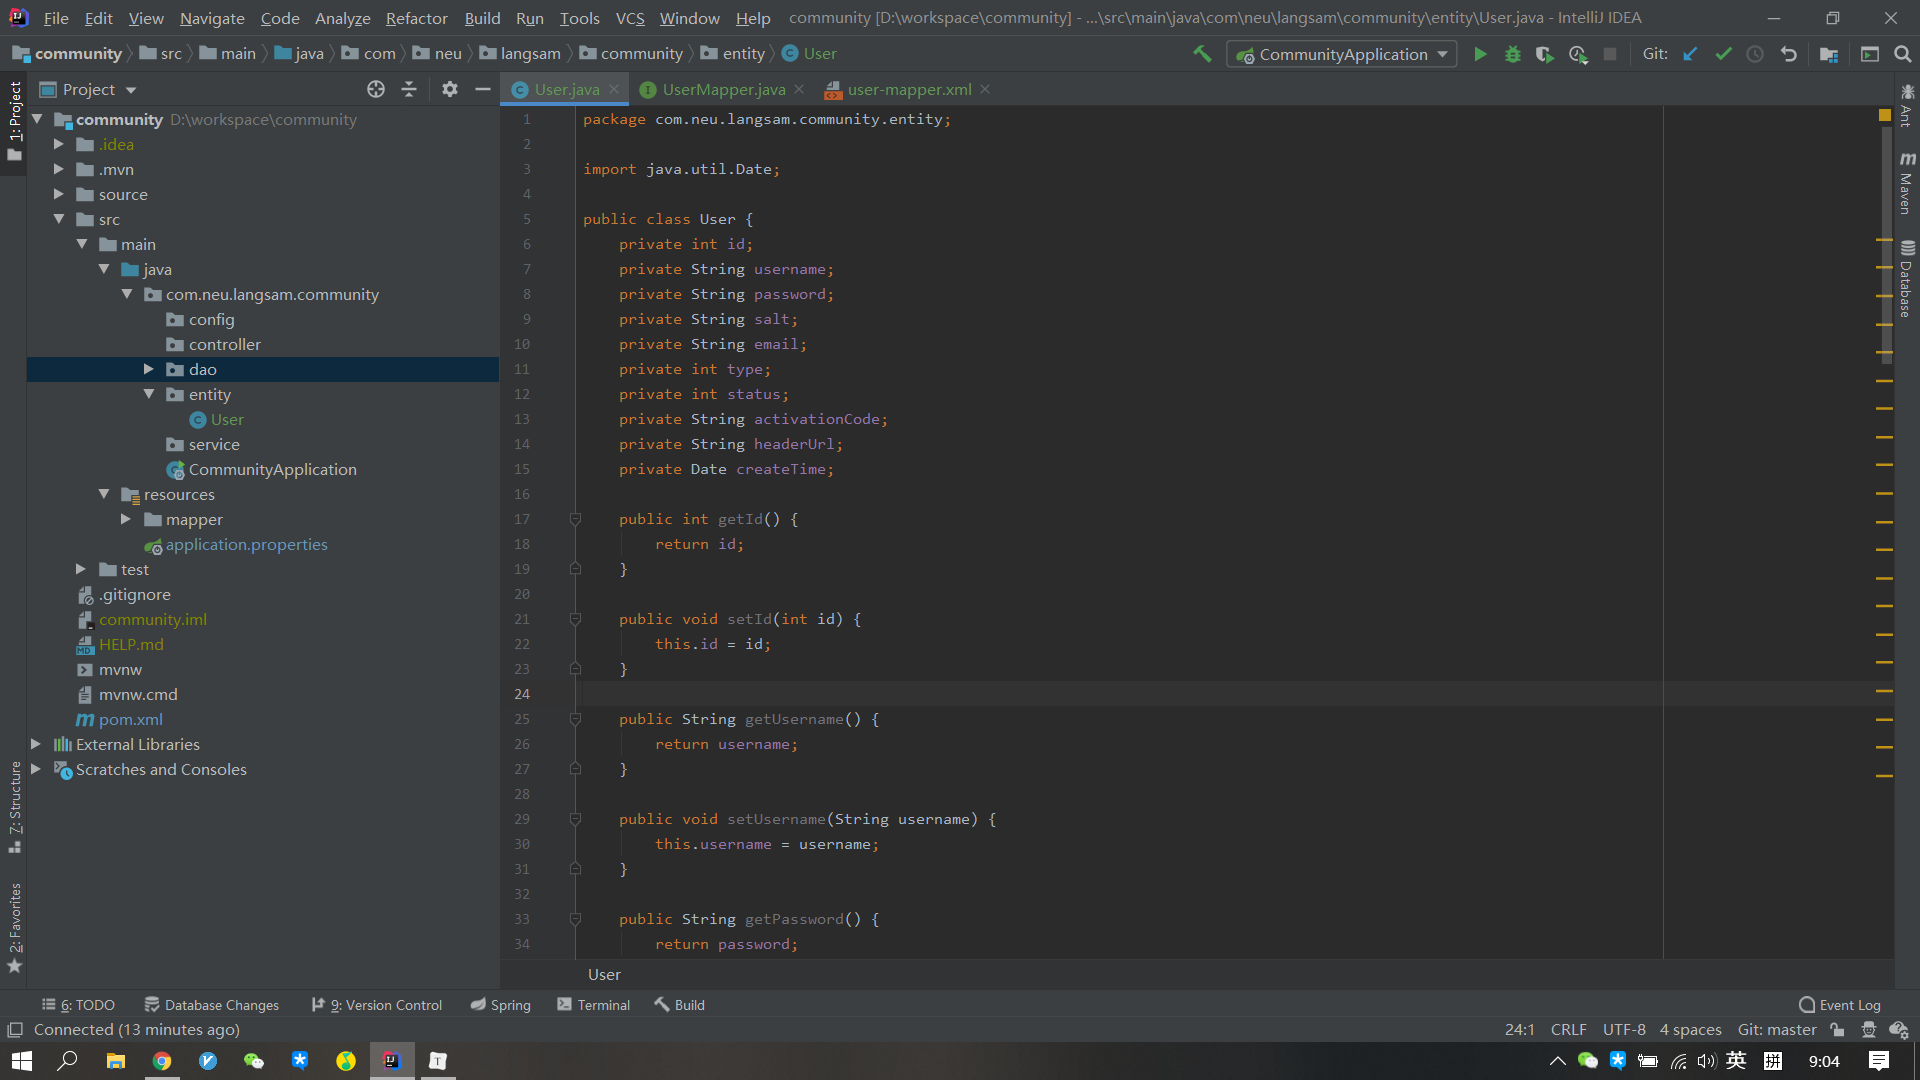
package com.neu.langsam.community.dao;


import com.neu.langsam.community.entity.User;
import org.apache.ibatis.annotations.Mapper;

@Mapper
public interface UserMapper {

    User selectById(int id);

    User selectByName(String username);

    User selectByEmail(String email);

    int insertUser(User user);

    int updateStatus(int id, int status);

    int updateHeader(int id,String headerUrl);

    int updatePassword(int id,String password);

}
然后在resource下新建mapper目录写对应的配置。在mapper目录下我们新建一个user-mapper.xml。mapper的格式在官网上有,这里我直接贴出来。
- 首先头部是标准格式,不用修改
- 外层是标签,标签内定义了namespace,也就是对应的mapper接口
- 内存有select、insert、update、sql等标签,每一种举一个例子
- 第一个sql标签,我们设置了一个id,在标签内写了user表里的一些字段,这个的作用是为了复用sql语句,我后面多个查询都可以直接用这个sql标签定义的sql语句。
- select标签,同样设置了一个id来唯一标识,同时定义了resultType也就是结果类型,因为User是我们自己创建的,这样就会把查询的结果封装到user对象中,本来应该写完整的包名,但是我们在application.properties里配置好了实体类的包。标签里是sql语句,是引入了前面写好的sql,也可以直接替换为sql标签里的字段。需要传入的参数使用#{参数}形式。
<?xml version="1.0" encoding="UTF-8" ?>
<!DOCTYPE mapper
        PUBLIC "-//mybatis.org//DTD Mapper 3.0//EN"
        "http://mybatis.org/dtd/mybatis-3-mapper.dtd">
<mapper namespace="com.neu.langsam.community.dao.UserMapper">

    <sql id="insertFields">
        username, password, salt, email, type, status, activation_code, header_url, create_time
    </sql>

    <sql id="selectFields">
        id, username, password, salt, email, type, status, activation_code, header_url, create_time
    </sql>

    <select id="selectById" resultType="User">
        select <include refid="selectFields"></include>
        from user
        where id = #{id}
    </select>

    //不使用引入sql语句
    <select id="selectById" resultType="User">
        select username, password, salt, email, type, status, activation_code, header_url, create_time
        from user
        where id = #{id}
    </select>

    <select id="selectByName" resultType="User">
        select <include refid="selectFields"></include>
        from user
        where username = #{username}
    </select>

    <select id="selectByEmail" resultType="User">
        select <include refid="selectFields"></include>
        from user
        where email = #{email}
    </select>

    <insert id="insertUser" parameterType="User" keyProperty="id">
        insert into user (<include refid="insertFields"></include>)
        values(#{username}, #{password}, #{salt}, #{email}, #{type}, #{status}, #{activationCode}, #{headerUrl}, #{createTime})
    </insert>

    <update id="updateStatus">
        update user set status = #{status} where id = #{id}
    </update>

    <update id="updateHeader">
        update user set header_url = #{headerUrl} where id = #{id}
    </update>

    <update id="updatePassword">
        update user set password = #{password} where id = #{id}
    </update>

</mapper>
那么我们对user表的内容就写完了,接下来我们在测试类里试一下。如图写好测试类和测试方法,可以看到我调用userMapper里写好的selectById方法查询id为101的user,控制台里打印出了id=101的user的相关信息,说明我们的操作成功了。


 被折叠的 条评论
为什么被折叠?
被折叠的 条评论
为什么被折叠?
 到【灌水乐园】发言


