


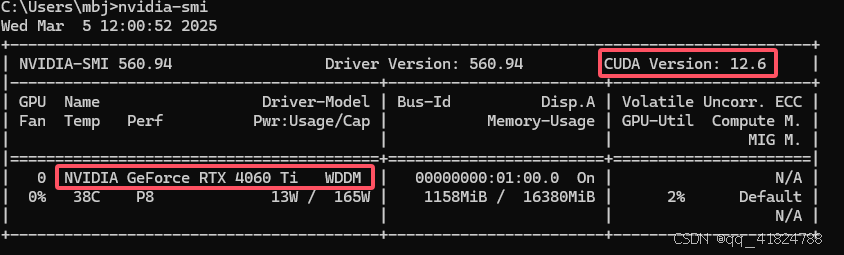
我的CUDA版本为:12.6,最高支持12.6
1.创建虚拟环境
我之前安装的就是3.10.0,所以还是用它
conda create -n dgl_1 python=3.10.0
删除环境:
conda remove -n 【name】--all
2.安装torch
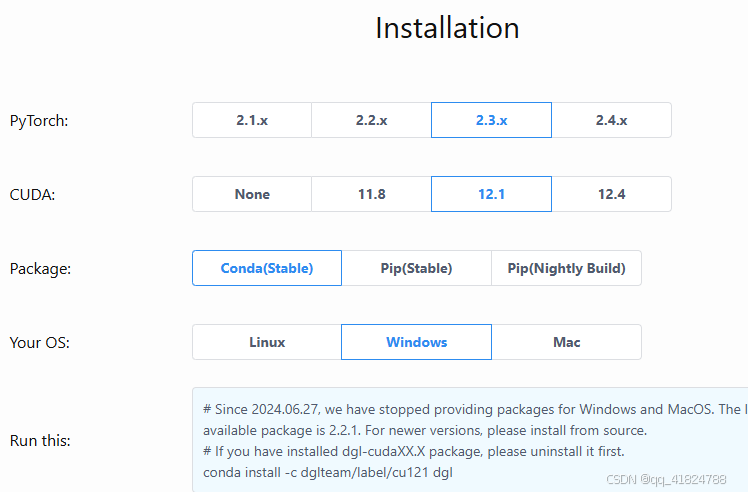
为方便起见,安装已经验证成功的版本(cuda=12.1),torch版本是2.3.0
torch与torchaudio的对应关系
torch与torchvision的对应关系
torch与torchtext的对应关系
torch与torchdata的对应关系
当已经装好torch包时,pip install torchvision torchaudio会自动寻找对应的版本安装。
conda install pytorch=2.3.0 torchvision=0.18.0 torchaudio=2.3.0 pytorch-cuda=12.1 -c pytorch -c nvidia
3. 安装 torch_geometric及其依赖
支持版本:下载链接

在终端进入这个四个安装包所在的目录,直接执行(卸载也用pip)
pip install torch_cluster-1.6.3+pt23cu121-cp310-cp310-win_amd64.whl torch_scatter-2.1.2+pt23cu121-cp310-cp310-win_amd64.whl torch_sparse-0.6.18+pt23cu121-cp310-cp310-win_amd64.whl torch_spline_conv-1.2.2+pt23cu121-cp310-cp310-win_amd64.whl
或 把四个安装包放在同一目录下(
pip install D:\installation_package\torch\torch_cluster_scatter_sparse_spline___pt23cu121_cp310\torch_cluster-1.6.3+pt23cu121-cp310-cp310-win_amd64.whl
pip install D:\installation_package\torch\torch_cluster_scatter_sparse_spline___pt23cu121_cp310\torch_scatter-2.1.2+pt23cu121-cp310-cp310-win_amd64.whl
pip install D:\installation_package\torch\torch_cluster_scatter_sparse_spline___pt23cu121_cp310\torch_sparse-0.6.18+pt23cu121-cp310-cp310-win_amd64.whl
pip install D:\installation_package\torch\torch_cluster_scatter_sparse_spline___pt23cu121_cp310\torch_spline_conv-1.2.2+pt23cu121-cp310-cp310-win_amd64.whl
安装torch_geometric

conda install pyg -c pyg
or
pip install pyg_lib torch_scatter torch_sparse torch_cluster torch_spline_conv -f https://data.pyg.org/whl/torch-2.3.0+cu121.html

pip install torch_geometric
4. 安装dgl库
进入dgl网站
直接运行
conda install -c dglteam/label/cu121 dgl
5.安装其它库
conda install scikit-learn tqdm pandas matplotlib
pip install sortednp
6.安装jupyter
conda install ipykernel
# 完成后验证
python -m ipykernel --version

# 为jupyter添加内核
python -m ipykernel install --user --name=【内核真名】 --display-name 【在内核选择时显示的内核假名】
7.pycharm配置环境
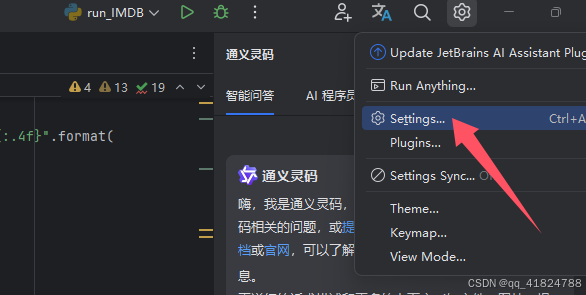
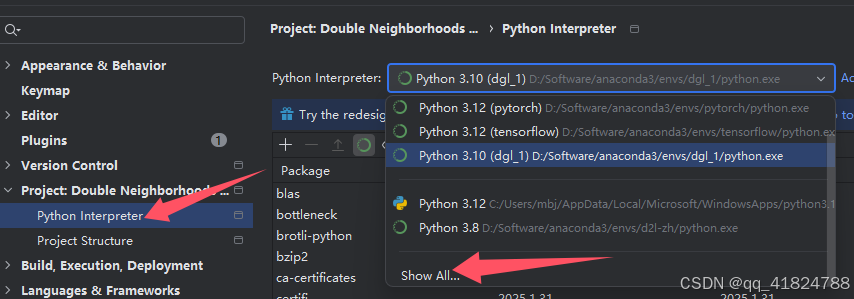
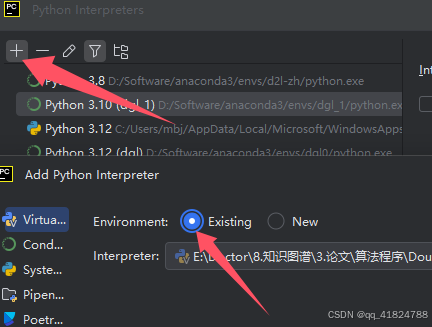
选择创建的环境python.exe即可


 被折叠的 条评论
为什么被折叠?
被折叠的 条评论
为什么被折叠?
 到【灌水乐园】发言


