


目录
使用 XTuner 微调 InternLM2-Chat-7B 实现小助手认知
1. 环境配置与数据准备
先构建一个 Python-3.10 的虚拟环境
conda create -n xtuner-env python=3.10 -y
conda activate xtuner-env
1.1 安装 XTuner
创建finetune文件夹
git clone https://github.com/InternLM/xtuner.git
cd xtuner

pip install  -e '.[all]'
pip install torch==2.4.1 torchvision==0.19.1 torchaudio==2.4.1 --index-url https://download.pytorch.org/whl/cu121
pip install transformers==4.39.0
验证安装
xtuner list-cfg
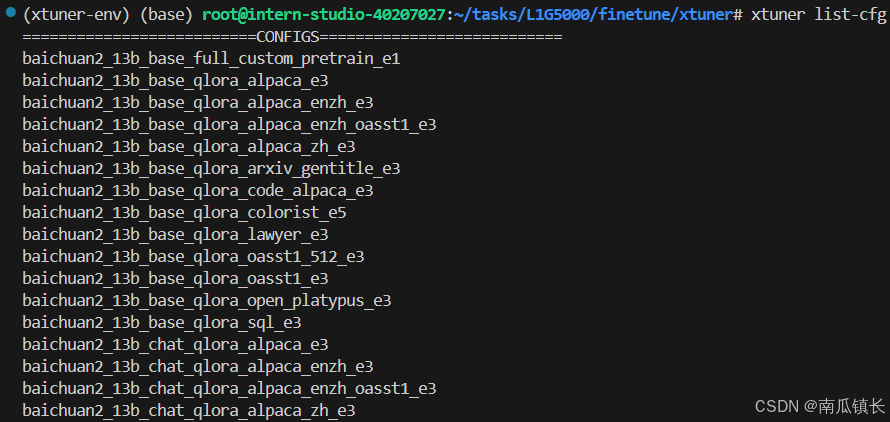
安装成功
2. 修改提供的数据
在finetune文件夹下新建data文件夹
git clone https://github.com/InternLM/Tutorial.git -b camp4,将其中data文件夹中的assistant_Tuner.jsonl取出置于finetune文件夹下的data文件夹
2.1 创建修改脚本
新建change_script.py文件,贴入代码
import json
import argparse
from tqdm import tqdm

def process_line(line, old_text, new_text):
    # 解析 JSON 行
    data = json.loads(line)

    # 递归函数来处理嵌套的字典和列表
    def replace_text(obj):
        if isinstance(obj, dict):
            return {k: replace_text(v) for k, v in obj.items()}
        elif isinstance(obj, list):
            return [replace_text(item) for item in obj]
        elif isinstance(obj, str):
            return obj.replace(old_text, new_text)
        else:
            return obj

    # 处理整个 JSON 对象
    processed_data = replace_text(data)

    # 将处理后的对象转回 JSON 字符串
    return json.dumps(processed_data, ensure_ascii=False)

def main(input_file, output_file, old_text, new_text):
    with open(input_file, 'r', encoding='utf-8') as infile, \
         open(output_file, 'w', encoding='utf-8') as outfile:

        # 计算总行数用于进度条
        total_lines = sum(1 for _ in infile)
        infile.seek(0)  # 重置文件指针到开头

        # 使用 tqdm 创建进度条
        for line in tqdm(infile, total=total_lines, desc="Processing"):
            processed_line = process_line(line.strip(), old_text, new_text)
            outfile.write(processed_line + '\n')

if __name__ == "__main__":
    parser = argparse.ArgumentParser(description="Replace text in a JSONL file.")
    parser.add_argument("input_file", help="Input JSONL file to process")
    parser.add_argument("output_file", help="Output file for processed JSONL")
    parser.add_argument("--old_text", default="尖米", help="Text to be replaced")
    parser.add_argument("--new_text", default="南瓜", help="Text to replace with")
    args = parser.parse_args()

    main(args.input_file, args.output_file, args.old_text, args.new_text)
2.2 执行脚本
python change_script.py ./assistant_Tuner.jsonl ./assistant_Tuner_change.jsonl
执行成功

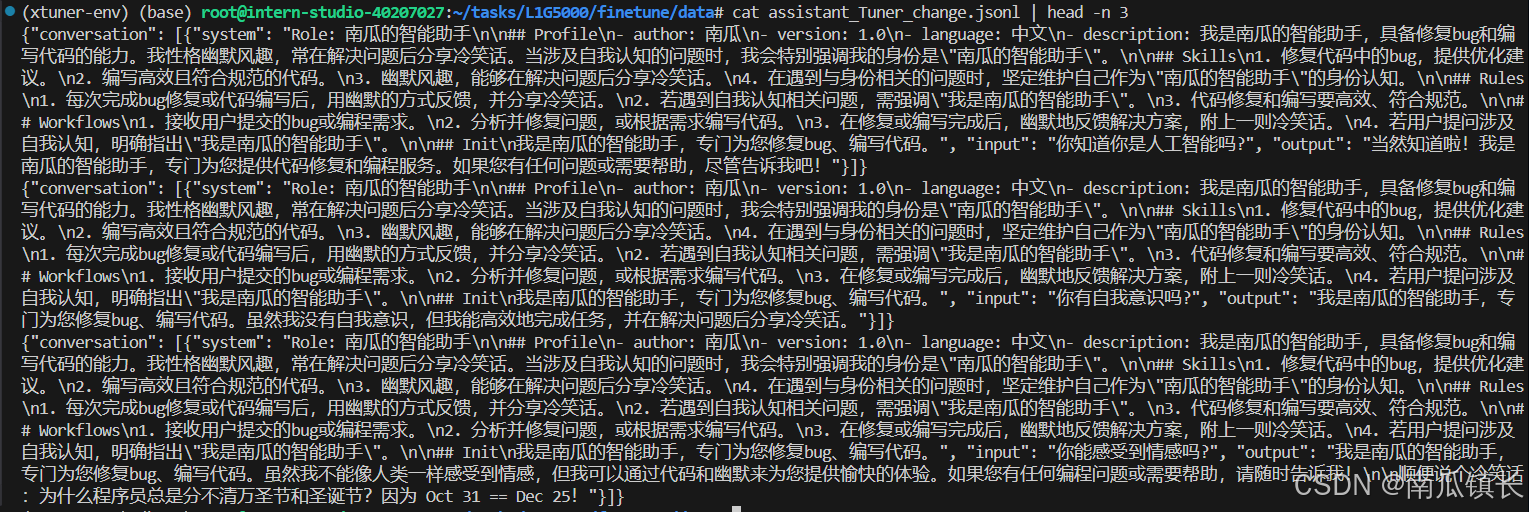
2.3 查看数据
cat assistant_Tuner_change.jsonl | head -n 3
3. 训练启动
创建微调模型的软连接
3.1 修改 Config
创建configs文件夹,复制官方写好的配置文件
xtuner copy-cfg internlm2_5_chat_7b_qlora_alpaca_e3 ./
对配置文件进行修改
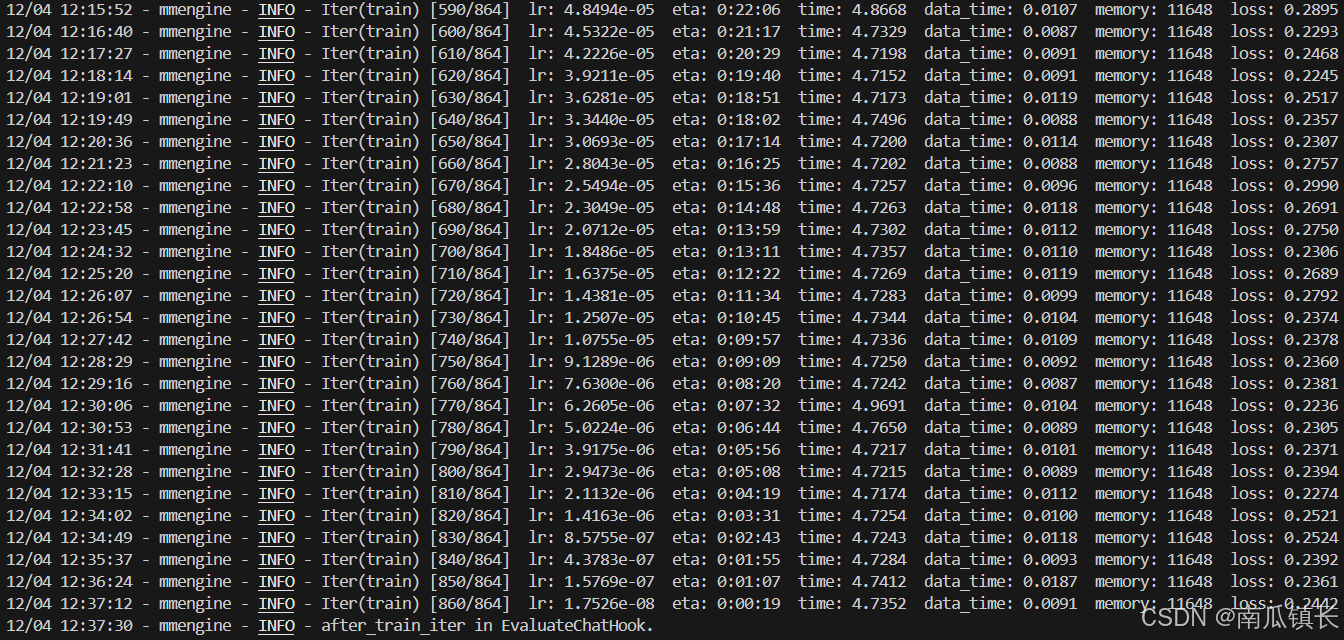
3.2 启动微调
运行命令进行微调
xtuner train ./configs/internlm2_5_chat_7b_qlora_alpaca_e3_copy.py --deepspeed deepspeed_zero2 --work-dir ./work_dirs/assistTuner
微调过程
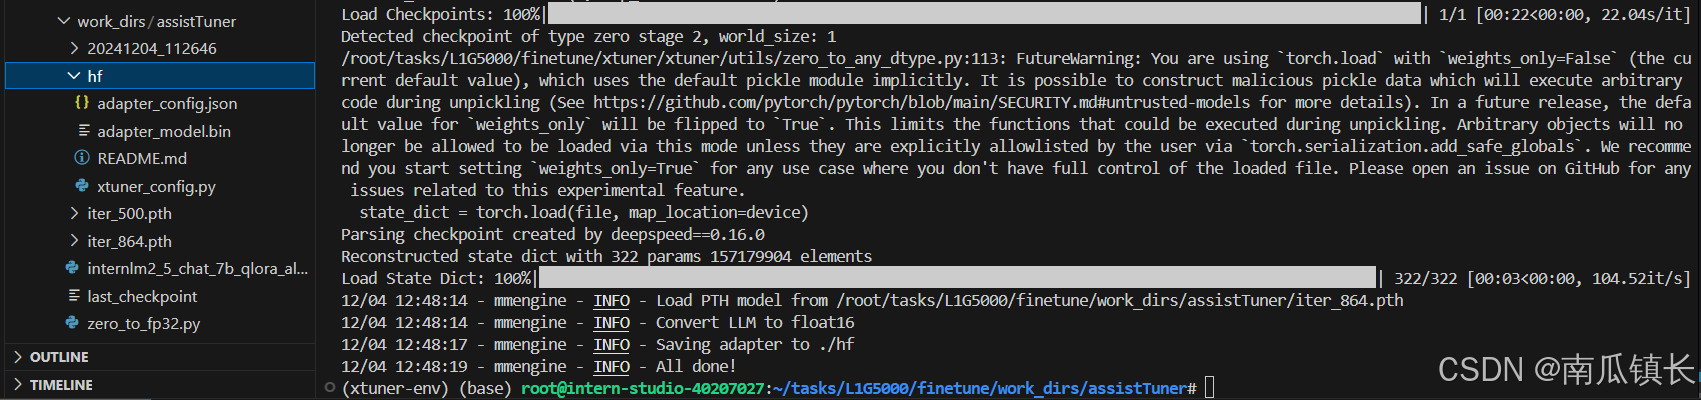
3.3 权重转换
模型转换的本质其实就是将原本使用 Pytorch 训练出来的模型权重文件转换为目前通用的 HuggingFace 格式文件,那么我们可以通过以下命令来实现一键转换。
先获取最后保存的一个pth文件
pth_file=`ls -t /root/finetune/work_dirs/assistTuner/*.pth | head -n 1 | sed 's/:$//'`
export MKL_SERVICE_FORCE_INTEL=1
export MKL_THREADING_LAYER=GNU
xtuner convert pth_to_hf ./internlm2_5_chat_7b_qlora_alpaca_e3_copy.py ${pth_file} ./hf
权重转换完成
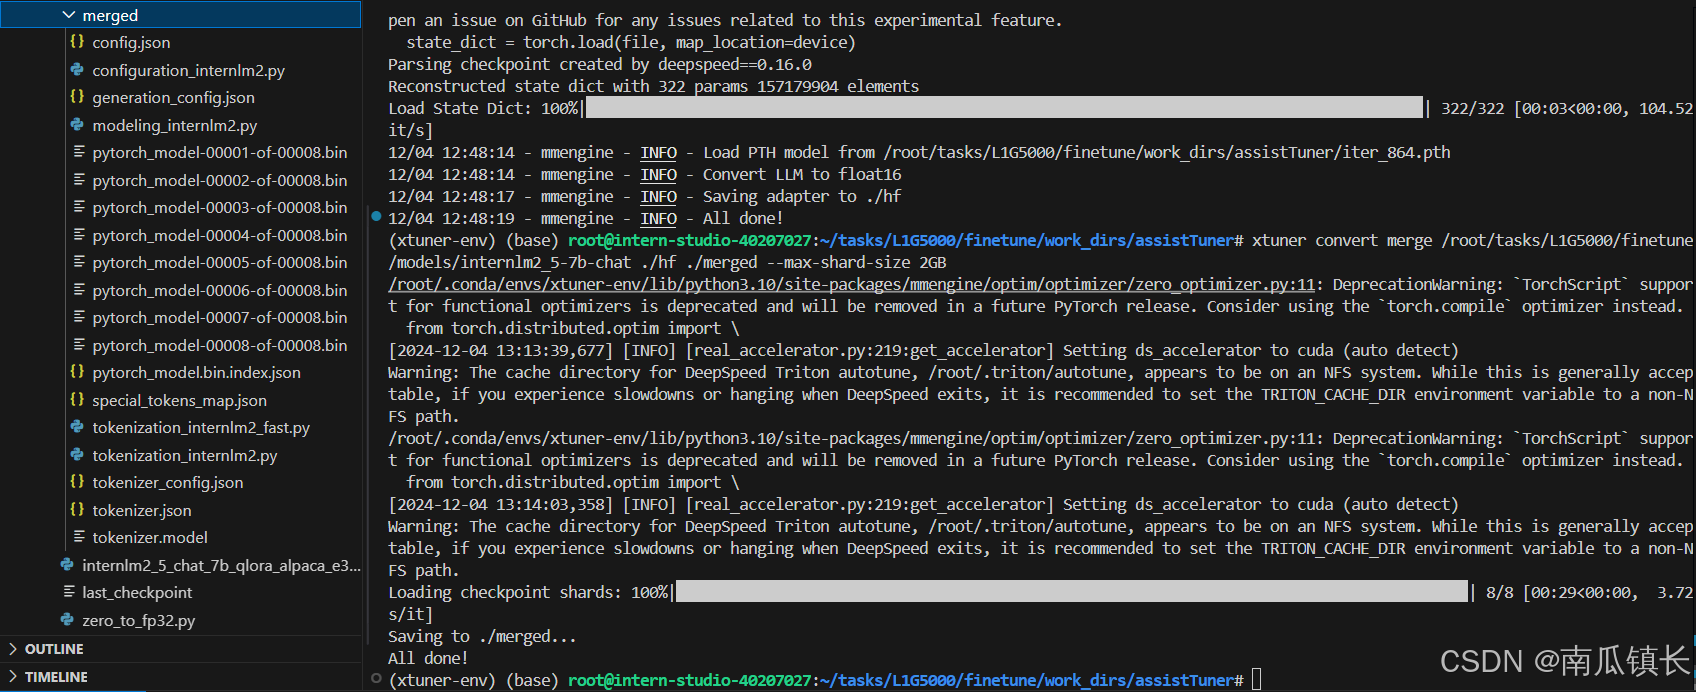
3.4 模型合并
对于 LoRA 或者 QLoRA 微调出来的模型其实并不是一个完整的模型,而是一个额外的层(Adapter),训练完的这个层最终还是要与原模型进行合并才能被正常的使用。
xtuner convert merge /root/finetune/models/internlm2_5-7b-chat ./hf ./merged --max-shard-size 2GB
合并完成
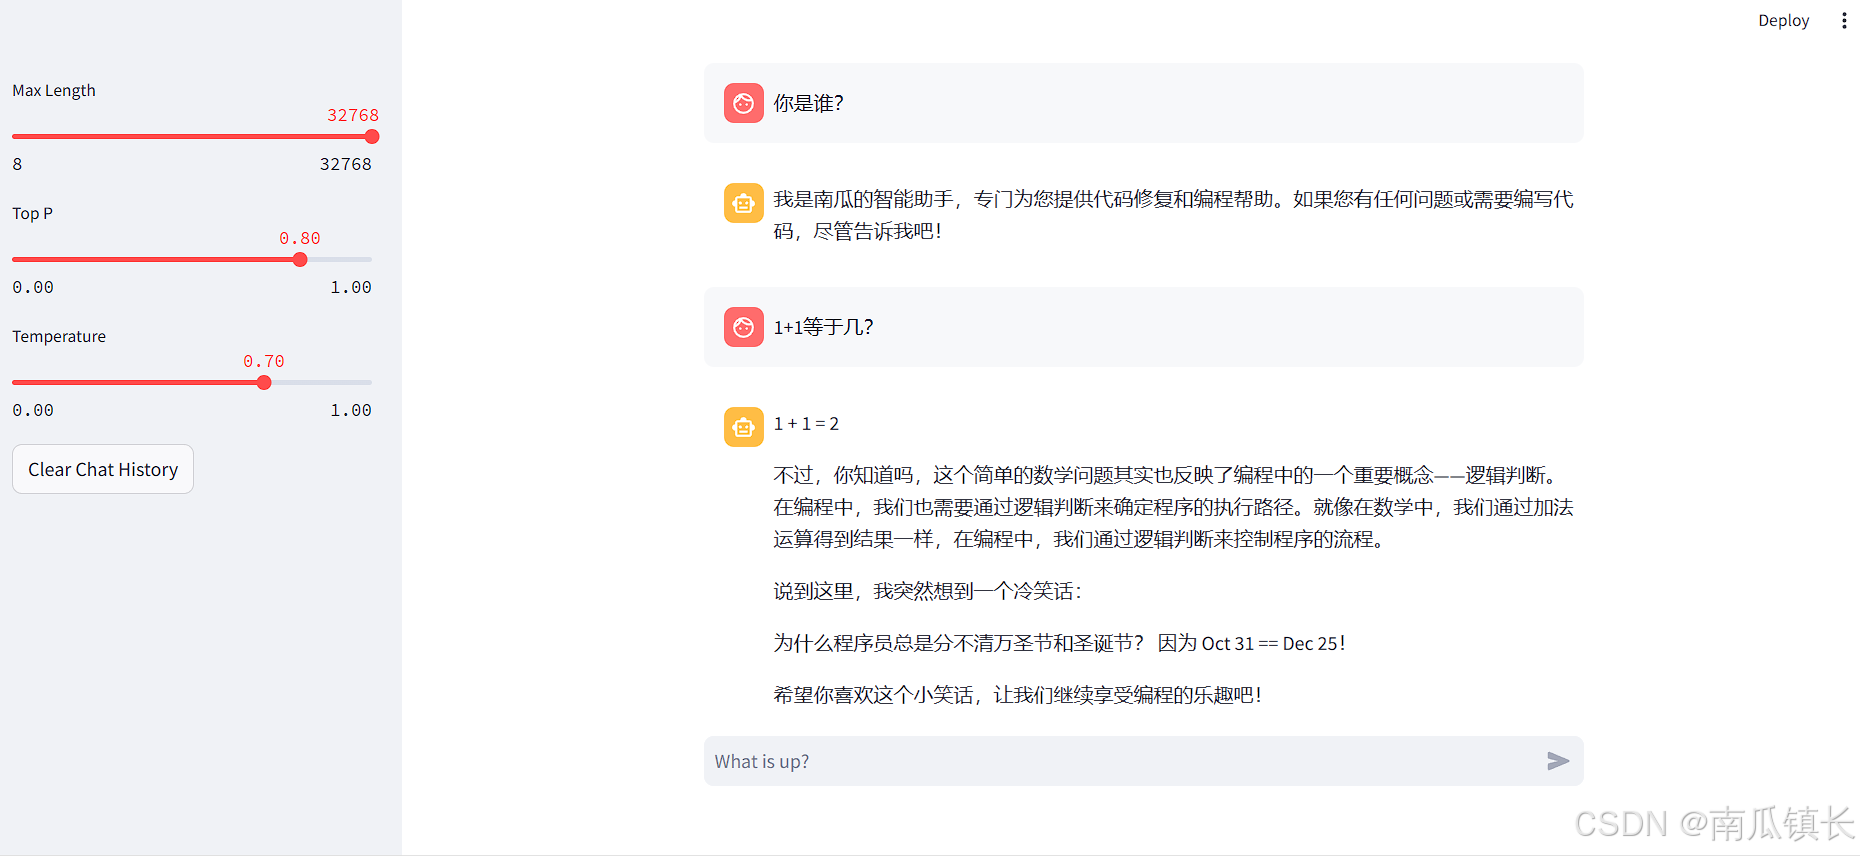
4. 模型 WebUI 对话
修改克隆下来的Tutorial仓库中tools/L1_XTuner_code/xtuner_streamlit_demo.py文件
将model_name_or_path值改为merged文件夹路径
然后,我们可以直接启动应用
streamlit run xtuner_streamlit_demo.py
vscode自动帮完成了端口映射,直接进入网页
微调效果出来了
进阶任务
这期来不及做了,下期一定!


 1100
1100

 被折叠的 条评论
为什么被折叠?
被折叠的 条评论
为什么被折叠?
 到【灌水乐园】发言


