


 本文详细介绍如何使用SpringBoot创建一个简单的HelloWorld项目,包括环境搭建、项目创建、代码编写及运行测试等步骤。
1、前期准备
读者的电脑要先安装Tomcat,jdk,编译器idea(推荐)或者eclipse
2、开始
1)从spring的官网下载快速开始压缩包,地址:https://start.spring.io/
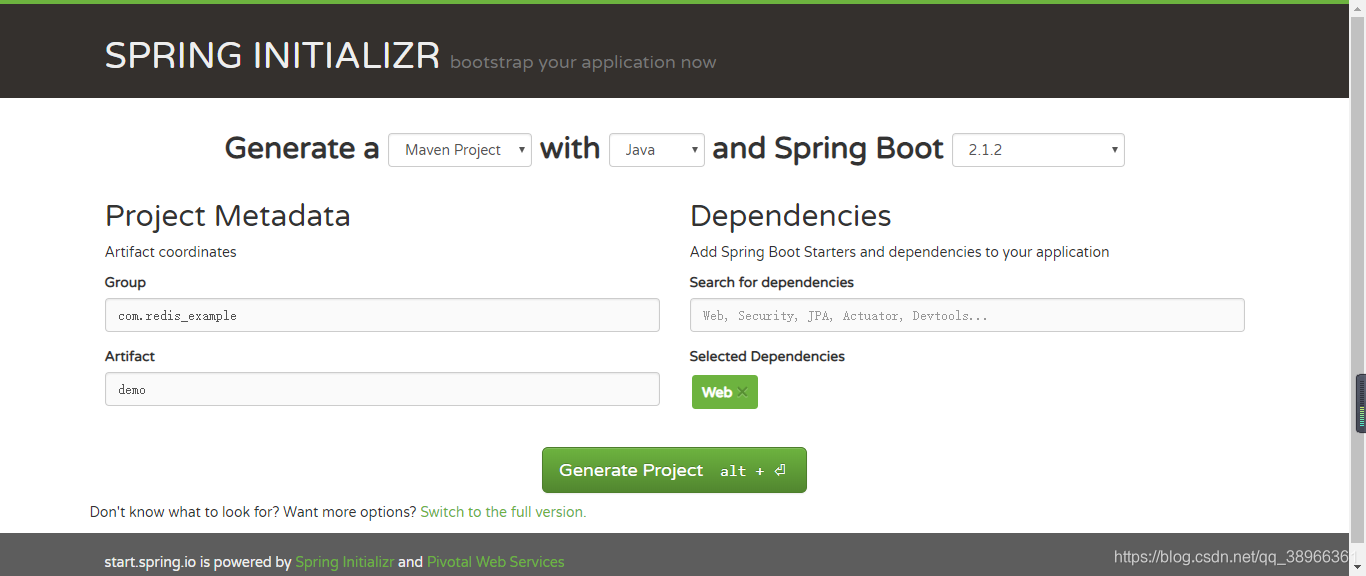
2)选择maven,springboot版本,依赖,项目名(如果只是入门测试,可以按照我的来)
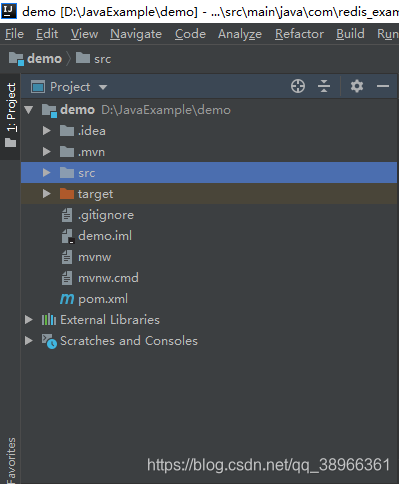
2)下载后解压,在编译器中打开解压后的包所在目录;
点击idea的File-->open-->找到解压后的包打开
3)建立对应的package,(右键选择package)
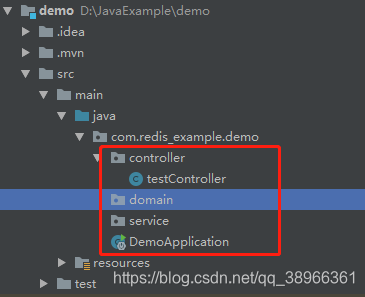
4)打开testController,编写如下代码
package com.redis_example.demo.controller;

import org.springframework.web.bind.annotation.RequestMapping;
import org.springframework.web.bind.annotation.ResponseBody;
import org.springframework.web.bind.annotation.RestController;

@RestController
public class testController {
    @RequestMapping("/hello")
    @ResponseBody
    public String hello(){
        return "hello world";
    }
}
5)运行项目后,在浏览器中输入localhost:8080/hello
结果如图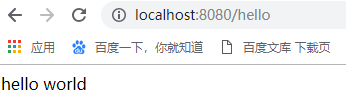
至此,springboot的helloworld完成


 9406
9406

 被折叠的 条评论
为什么被折叠?
被折叠的 条评论
为什么被折叠?
 到【灌水乐园】发言


