


 文章介绍了如何在PyTorch中使用torch.hub加载预训练的FCN-ResNet模型进行图像处理,包括模型结构、输入要求以及如何对图像进行归一化。示例展示了如何下载图像并进行预测,以生成21类的语义分割结果。
pytorchhub模块里面有很多模型
https://pytorch.org/hub/
github网址:https://github.com/pytorch/pytorch
import torch
model = torch.hub.load('pytorch/vision:v0.10.0', 'fcn_resnet50', pretrained=True)
# or
# model = torch.hub.load('pytorch/vision:v0.10.0', 'fcn_resnet101', pretrained=True)
model.eval()
All pre-trained models expect input images normalized in the same way, i.e. mini-batches of 3-channel RGB images of shape (N, 3, H, W), where N is the number of images, H and W are expected to be at least 224 pixels. The images have to be loaded in to a range of [0, 1] and then normalized using mean = [0.485, 0.456, 0.406] and std = [0.229, 0.224, 0.225].
The model returns an OrderedDict with two Tensors that are of the same height and width as the input Tensor, but with 21 classes. output['out'] contains the semantic masks, and output['aux'] contains the auxillary loss values per-pixel. In inference mode, output['aux'] is not useful. So, output['out'] is of shape (N, 21, H, W). More documentation can be found here.
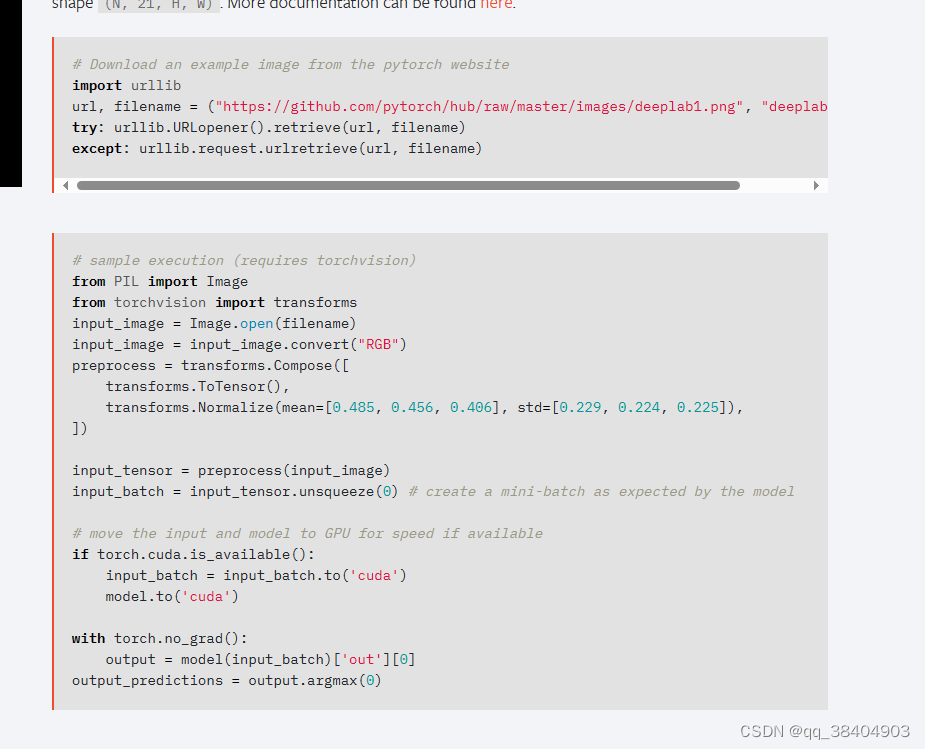
# Download an example image from the pytorch website
import urllib
url, filename = ("https://github.com/pytorch/hub/raw/master/images/deeplab1.png", "deeplab1.png")
try: urllib.URLopener().retrieve(url, filename)
except: urllib.request.urlretrieve(url, filename)
# sample execution (requires torchvision)
from PIL import Image
from torchvision import transforms
input_image = Image.open(filename)
input_image = input_image.convert("RGB")
preprocess = transforms.Compose([
transforms.ToTensor(),
transforms.Normalize(mean=[0.485, 0.456, 0.406], std=[0.229, 0.224, 0.225]),
])
input_tensor = preprocess(input_image)
input_batch = input_tensor.unsqueeze(0) # create a mini-batch as expected by the model
# move the input and model to GPU for speed if available
if torch.cuda.is_available():
input_batch = input_batch.to('cuda')
model.to('cuda')
with torch.no_grad():
output = model(input_batch)['out'][0]
output_predictions = output.argmax(0)
The output here is of shape (21, H, W), and at each location, there are unnormalized probabilities corresponding to the prediction of each class. To get the maximum prediction of each class, and then use it for a downstream task, you can do output_predictions = output.argmax(0).
Here’s a small snippet that plots the predictions, with each color being assigned to each class (see the visualized image on the left).
# create a color pallette, selecting a color for each class
palette = torch.tensor([2 ** 25 - 1, 2 ** 15 - 1, 2 ** 21 - 1])
colors = torch.as_tensor([i for i in range(21)])[:, None] * palette
colors = (colors % 255).numpy().astype("uint8")
# plot the semantic segmentation predictions of 21 classes in each color
r = Image.fromarray(output_predictions.byte().cpu().numpy()).resize(input_image.size)
r.putpalette(colors)
import matplotlib.pyplot as plt
plt.imshow(r)
# plt.show()
Model Description
FCN-ResNet is constructed by a Fully-Convolutional Network model, using a ResNet-50 or a ResNet-101 backbone. The pre-trained models have been trained on a subset of COCO train2017, on the 20 categories that are present in the Pasca

根据灰色的部分复制相应的代码


 1060
1060

 被折叠的 条评论
为什么被折叠?
被折叠的 条评论
为什么被折叠?
 到【灌水乐园】发言


