


目录
11.3 使用 QLabel 的 setScaledContents 方法自动缩放图像
2) 还可以利用 PyQt6 支持的 QPalette 类来定制应用的颜色主题
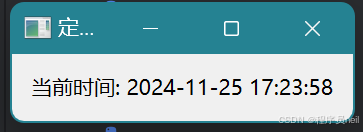
10. 定时器
使用 QTimer 可以创建定时器,实现定时事件。
import sys
from PyQt6.QtWidgets import QApplication, QLabel, QWidget, QVBoxLayout
from PyQt6.QtCore import QTimer, QDateTime


class MainWindow(QWidget):
    def __init__(self):
        super().__init__()

        self.initUI()

        # 设置定时器
        self.timer = QTimer(self)
        self.timer.timeout.connect(self.update)
        self.timer.start(1000)  # 每 1 秒触发一次

    def initUI(self):
        # 初始化界面
        self.label = QLabel('等待更新...', self)

        layout = QVBoxLayout()
        layout.addWidget(self.label)
        self.setLayout(layout)

        self.setWindowTitle('定时器示例')
        self.show()

    def update(self):
        # 定时器触发时调用的方法
        current_time = QDateTime.currentDateTime().toString('yyyy-MM-dd hh:mm:ss')
        self.label.setText(f'当前时间: {current_time}')
        print(f"定时器触发 - {current_time}")


if __name__ == '__main__':
    app = QApplication(sys.argv)

    window = MainWindow()

    sys.exit(app.exec())
每秒会更新一次
11. 图像处理
QPixmap 和 QImage 类可以用于加载和显示图像。
11.1 使用 QImage 加载和显示图像
QImage 可以直接从文件加载图像,并提供了一些图像处理功能。
import sys
from PyQt6.QtWidgets import QApplication, QLabel, QWidget, QVBoxLayout
from PyQt6.QtGui import QImage, QPixmap


class MainWindow(QWidget):
    def __init__(self):
        super().__init__()

        self.initUI()

    def initUI(self):
        # 加载图像
        image = QImage("deng.png")

        # 将 QImage 转换为 QPixmap
        pixmap = QPixmap.fromImage(image)

        # 创建一个 QLabel 并设置其内容为 QPixmap
        label = QLabel(self)
        label.setPixmap(pixmap)

        # 设置布局
        layout = QVBoxLayout()
        layout.addWidget(label)
        self.setLayout(layout)

        self.setWindowTitle('QImage 示例')
        self.show()


if __name__ == '__main__':
    app = QApplication(sys.argv)

    window = MainWindow()

    sys.exit(app.exec())
11.2 使用 QPixmap 加载和显示图像
QPixmap 是专门为 GUI 应用程序设计的,更适合用于显示图像。
import sys
from PyQt6.QtWidgets import QApplication, QLabel, QWidget, QVBoxLayout
from PyQt6.QtGui import QPixmap


class MainWindow(QWidget):
    def __init__(self):
        super().__init__()

        self.initUI()

    def initUI(self):
        # 加载图像
        pixmap = QPixmap("deng.png")

        # 创建一个 QLabel 并设置其内容为 QPixmap
        label = QLabel(self)
        label.setPixmap(pixmap)

        # 设置布局
        layout = QVBoxLayout()
        layout.addWidget(label)
        self.setLayout(layout)

        self.setWindowTitle('QPixmap 示例')
        self.show()


if __name__ == '__main__':
    app = QApplication(sys.argv)

    window = MainWindow()

    sys.exit(app.exec())
11.3 使用 QLabel 的 setScaledContents 方法自动缩放图像
import sys
from PyQt6.QtWidgets import QApplication, QLabel, QWidget, QVBoxLayout
from PyQt6.QtGui import QPixmap


class MainWindow(QWidget):
    def __init__(self):
        super().__init__()

        self.initUI()

    def initUI(self):
        # 加载图像
        pixmap = QPixmap("deng.png")

        # 创建一个 QLabel 并设置其内容为 QPixmap
        label = QLabel(self)
        label.setPixmap(pixmap)
        label.setScaledContents(True)  # 自动缩放图像

        # 设置布局
        layout = QVBoxLayout()
        layout.addWidget(label)
        self.setLayout(layout)

        self.setWindowTitle('QPixmap 缩放显示示例')
        self.resize(800, 600)  # 设置窗口大小
        self.show()


if __name__ == '__main__':
    app = QApplication(sys.argv)

    window = MainWindow()

    sys.exit(app.exec())
11.4 手动调整 QPixmap 的大小
import sys
from PyQt6.QtWidgets import QApplication, QLabel, QWidget, QVBoxLayout
from PyQt6.QtGui import QPixmap
from PyQt6.QtCore import Qt


class MainWindow(QWidget):
    def __init__(self):
        super().__init__()

        self.init()

    def init(self):
        # 加载图像
        original_pixmap = QPixmap("deng.png")

        # 手动调整图像大小
        scaled_pixmap = original_pixmap.scaled(800, 600, Qt.AspectRatioMode.KeepAspectRatio,
                                               Qt.TransformationMode.SmoothTransformation)

        # 创建一个 QLabel 并设置其内容为 QPixmap
        label = QLabel(self)
        label.setPixmap(scaled_pixmap)

        # 设置布局
        layout = QVBoxLayout()
        layout.addWidget(label)
        self.setLayout(layout)

        self.setWindowTitle('QPixmap 手动缩放显示示例')
        self.resize(800, 600)  # 设置窗口大小
        self.show()


if __name__ == '__main__':
    app = QApplication(sys.argv)

    window = MainWindow()

    sys.exit(app.exec())
12. 创建菜单和工具栏
PyQt6 提供了强大的菜单和工具栏支持,可以轻松添加应用程序的菜单和快捷工具。
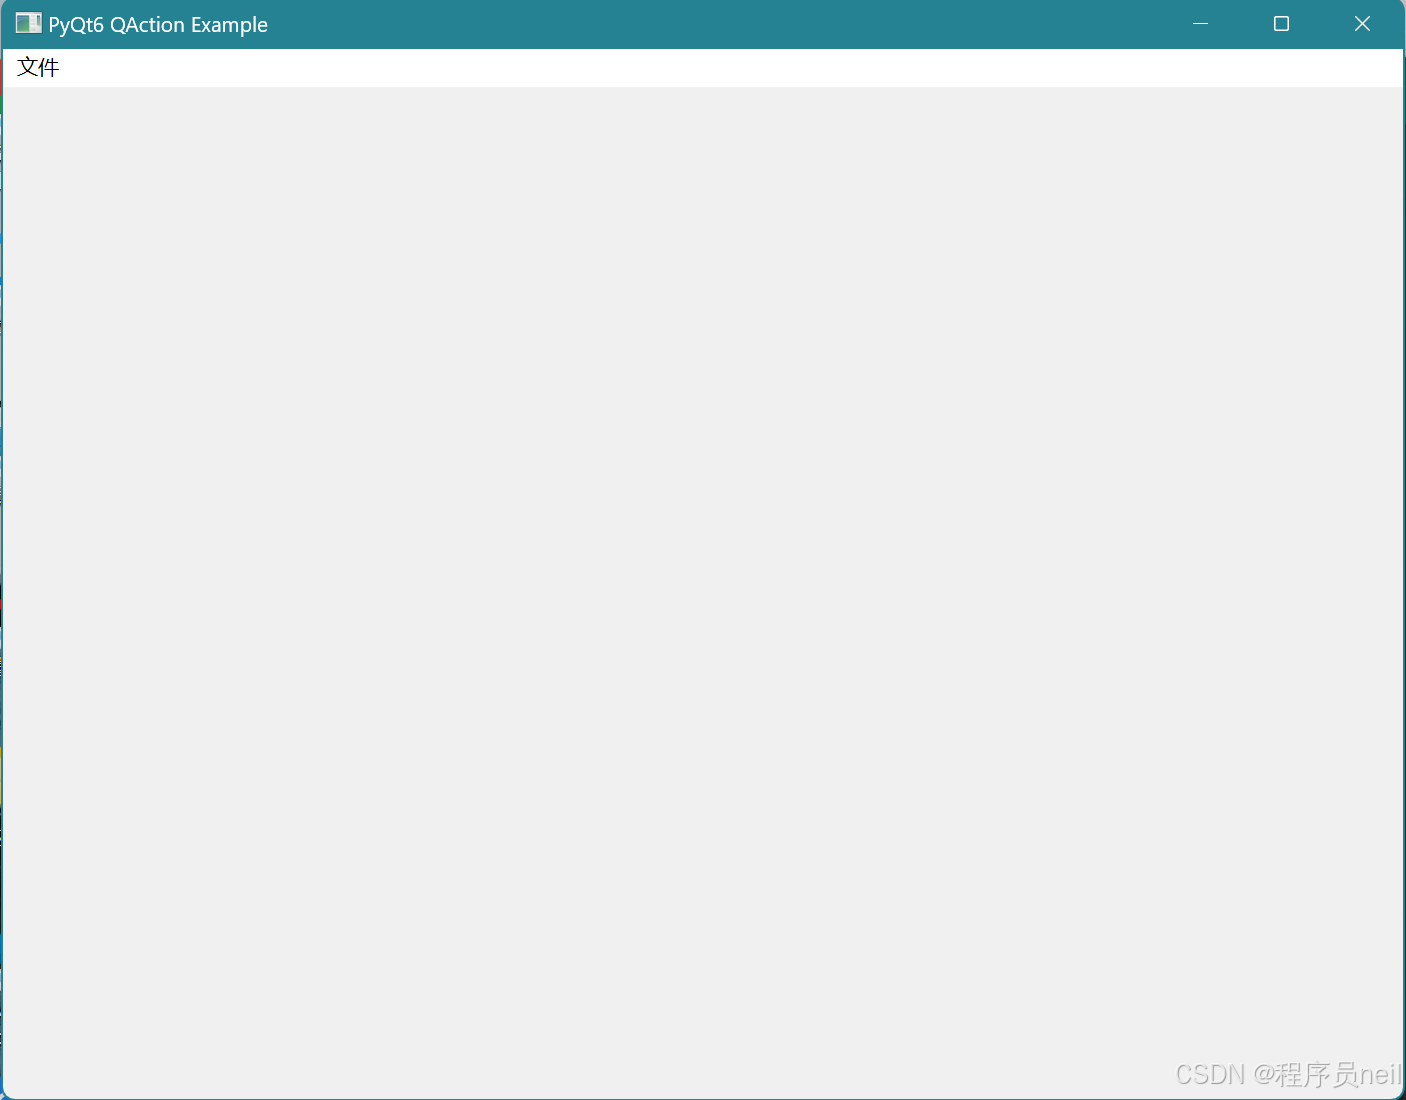
12.1 创建菜单
从 PyQt6 的 6.0 版本开始,QAction 从 QtWidgets 模块移到了 QtGui 模块。
import sys
from PyQt6.QtWidgets import QApplication, QMainWindow
from PyQt6.QtGui import QAction

class MainWindow(QMainWindow):
    def __init__(self):
        super().__init__()
        self.initUI()

    def initUI(self):
        self.setWindowTitle('PyQt6 QAction Example')
        self.setGeometry(100, 100, 800, 600)

        # 创建菜单栏
        menubar = self.menuBar()

        # 创建文件菜单
        file_menu = menubar.addMenu('文件')

        # 添加文件菜单项
        new_action = QAction('新建', self)
        new_action.setShortcut('Ctrl+N')
        new_action.triggered.connect(self.new_file)
        file_menu.addAction(new_action)

        exit_action = QAction('退出', self)
        exit_action.setShortcut('Ctrl+Q')
        exit_action.triggered.connect(self.close)
        file_menu.addAction(exit_action)

    def new_file(self):
        print('新建文件')

if __name__ == '__main__':
    app = QApplication(sys.argv)
    window = MainWindow()
    window.show()
    sys.exit(app.exec())
12.2 创建工具栏
import sys
from PyQt6.QtWidgets import QApplication, QMainWindow, QToolBar
from PyQt6.QtGui import QIcon, QAction

class MainWindow(QMainWindow):
    def __init__(self):
        super().__init__()
        self.initUI()

    def initUI(self):
        self.setWindowTitle('PyQt6 ToolBar Example')
        self.setGeometry(100, 100, 800, 600)

        # 创建工具栏
        toolbar = QToolBar('Main Toolbar')
        self.addToolBar(toolbar)

        # 添加工具栏按钮
        new_action = QAction('新建', self)
        new_action.setShortcut('Ctrl+N')
        new_action.triggered.connect(self.new_file)
        toolbar.addAction(new_
最低0.47元/天 解锁文章


 被折叠的 条评论
为什么被折叠?
被折叠的 条评论
为什么被折叠?
 到【灌水乐园】发言


